To screenprint on your Mac, start by updating macOS to ensure compatibility and optimal performance.
Next, install design software compatible with screenprinting, such as Adobe Illustrator or Photoshop. These tools will help you create precise artwork suitable for printing.
Create your artwork at 300 dpi in CMYK color mode, using vector graphics for sharp, crisp lines. Export your designs in formats like TIFF or PDF, making sure to include accurate color separations on separate layers. This preparation is crucial for high-quality screenprinting results.
Before printing, connect and test your screenprinting hardware, verifying that all drivers are up to date. This step helps avoid common technical issues during the printing process.
For a seamless experience and troubleshooting tips, detailed instructions will follow.
Key Takeaways
- Update your Mac’s OS and install essential design software like Adobe Illustrator or Photoshop for screenprinting.
- Use mac-compatible screenprinting software with tools for color separation, vector handling, and export to print-ready formats.
- Design artwork at 300 dpi in CMYK, using vector graphics and matching canvas size to the print area.
- Export files as TIFF, PDF, AI, or EPS with separate color layers for accurate screenprint reproduction.
- Test hardware connections and troubleshoot issues by checking color separations, stencil cleanliness, and screen angles on your Mac.
Getting Your Mac Ready for Screenprinting
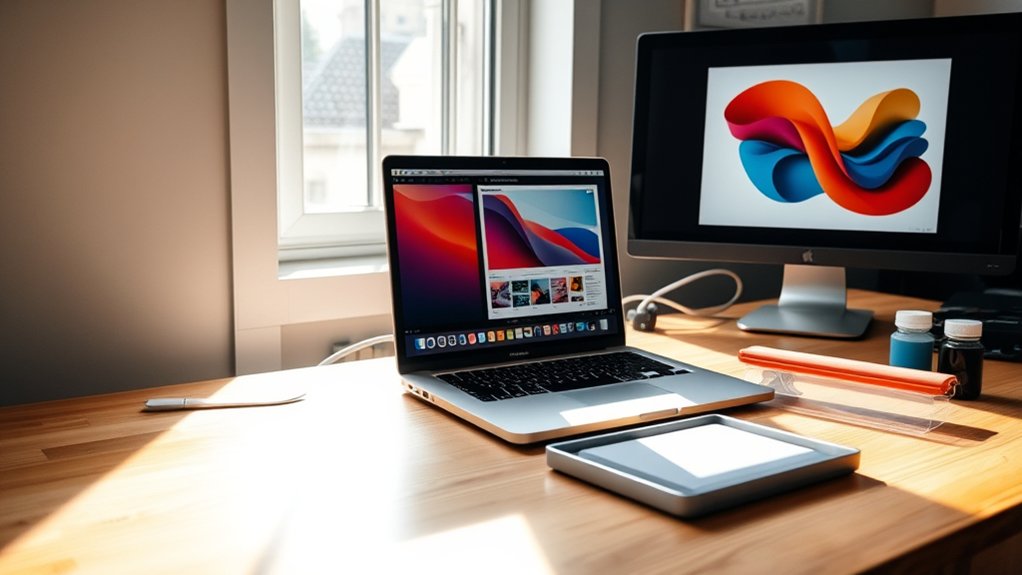
Before you begin screenprinting on your Mac, verify it meets the necessary technical requirements by updating your operating system to the latest version and installing essential design software like Adobe Illustrator or Photoshop.
Next, ascertain your screenprinting hardware setup, including your printer, exposure unit, and drying rack, is fully compatible with your Mac operating system. Connect all devices via USB or Wi-Fi, confirming drivers are installed and up to date. Test communication between your Mac and hardware by printing a sample image to avoid workflow interruptions.
Calibrate your monitor to accurately represent colors, as precise color matching is critical in screenprinting. With your Mac optimized and hardware linked, you’ll establish a reliable foundation for efficient and professional screenprinting production.
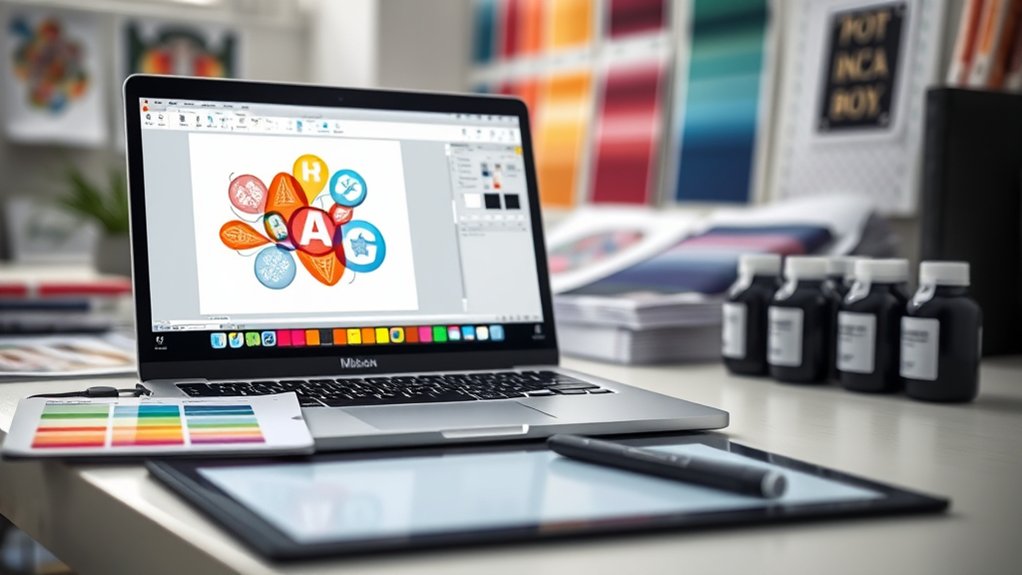
Choosing the Best Screenprinting Software for Mac
When selecting screenprinting software for your Mac, focus on compatibility, functionality, and ease of use to streamline your design-to-print workflow. Consult recent screenprinting software reviews to identify options optimized for macOS. Prioritize software with a clean user interface comparison that highlights intuitive navigation and minimal learning curve. Make certain the software supports essential features like color separation, halftones, and vector editing.
Consider these criteria when choosing:
- macOS compatibility and regular updates
- Thorough toolset tailored for screenprinting
- Efficient file export options for screenprint-ready formats
- User interface comparison emphasizing simplicity and speed
- Positive feedback from professional screenprinters in software reviews
This approach guarantees you select a reliable, efficient tool that integrates smoothly with your Mac setup.
Designing and Preparing Artwork for Screenprinting on Mac
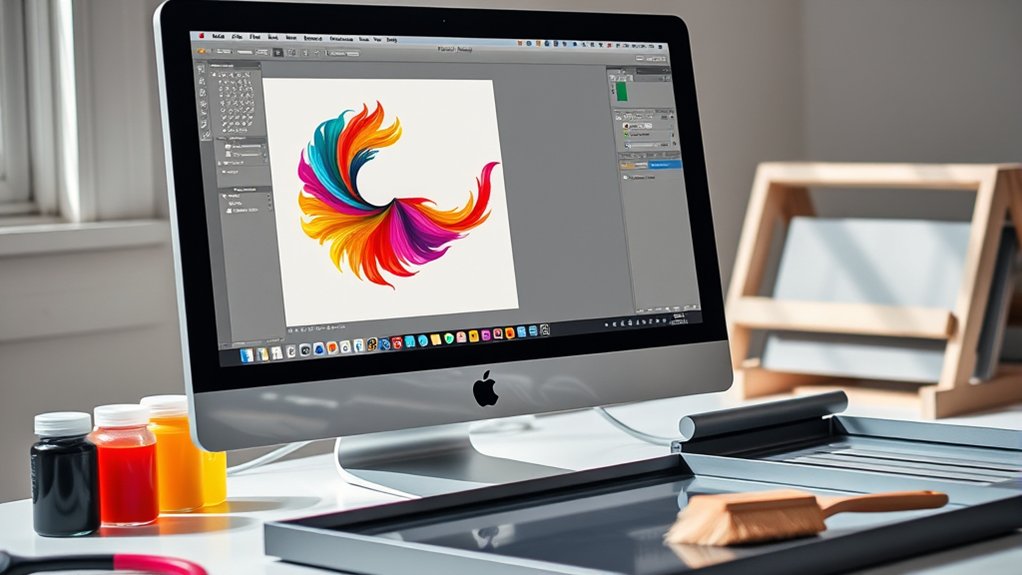
Although designing for screenprinting on a Mac requires attention to detail, you can optimize your artwork by setting the correct resolution, color mode, and dimensions from the start. Use vector graphics whenever possible for crisp lines and scalability.
When working in Photoshop, utilize Photoshop tips like working in CMYK color mode and setting a minimum 300 dpi resolution to guarantee print quality. Confirm your canvas size matches the intended print area precisely.
| Element | Recommended Setting |
|---|---|
| Resolution | 300 dpi |
| Color Mode | CMYK |
| File Dimensions | Match print area exactly |
| Artwork Format | Vector graphics preferred |
Following these guidelines guarantees your design is print-ready and minimizes adjustments later in the screenprinting process.
Exporting and Formatting Files for Screenprinting
When exporting your artwork for screenprinting, choose file formats like TIFF or PDF that preserve image quality and support vector data. You’ll also need to separate colors accurately, creating individual layers for each ink used in your design.
Mastering these steps guarantees your files are optimized for precise screenprint reproduction.
File Format Selection
Since screenprinting demands precise color separations and sharp details, you’ll need to select file formats that preserve image quality and support vector graphics. Choosing the right file types and resolution settings guarantees your design prints accurately without pixelation or loss of detail. Focus on formats that maintain scalability and crisp edges.
Use these file formats for ideal screenprinting results:
AI (Adobe Illustrator): Ideal for vector art and easy color separations.
EPS (Encapsulated PostScript): Maintains vector data and is widely compatible.
PDF (Portable Document Format): Preserves vectors and embeds fonts.
TIFF (Tagged Image File Format): Use for high-resolution raster images, 300 DPI minimum.
PNG (Portable Network Graphics): Best for transparency but only for raster images with high resolution.
Always check resolution settings to match the screenprinting requirements.
Color Separation Techniques
Mastering three essential color separation techniques lets you prepare your design files accurately for screenprinting. First, use spot color separation, isolating each color into individual channels to control precise color mixing without blending.
Second, apply halftone separation, converting continuous tones into dots, which is vital for reproducing gradients and photographic images. Third, use channel splitting, dividing your artwork into RGB or CMYK channels depending on your ink system.
When exporting, save files in formats like TIFF or PSD that support layers and transparency, ensuring each separation remains editable. Always check that separation methods align with your printer’s capabilities to avoid registration errors.
Proper formatting guarantees crisp, clean screens and accurate color reproduction, optimizing your screenprinting workflow on Mac.
How to Test and Perfect Your Screenprinting Designs
Before finalizing your screenprinting design, you need to conduct thorough tests to identify any issues with alignment, color registration, and ink coverage. Effective design evaluation and print testing help you catch errors early and guarantee a high-quality final product.
Start by printing test runs on similar material to your final substrate. Focus on checking alignment marks for precise registration, inspecting color layers individually for consistency, verifying ink opacity and coverage uniformity, analyzing edges for sharpness and bleed, and adjusting screen tension if prints show distortion.
Use your Mac’s design software to simulate layering and preview separations before physical testing. By systematically testing and tweaking, you’ll perfect your design’s printability and minimize costly mistakes during production.
Fixing Common Screenprinting Problems on Your Mac
Many screenprinting issues can be diagnosed and resolved directly on your Mac by leveraging its design and editing tools. Start with precise color separation in your graphics software to prevent misregistration, a frequent common printing error.
Use vector-based programs like Adobe Illustrator to maintain crisp edges and adjust screen angles to avoid moiré patterns. Employ screenprinting troubleshooting tips such as checking mesh count compatibility with your ink viscosity and design detail.
Maintain crisp edges with vector software and prevent moiré by adjusting screen angles and matching mesh count to ink viscosity.
If you notice inconsistent ink coverage, review your file’s opacity settings and confirm you’re using the correct screen resolution—typically 300 dpi for sharp prints. Additionally, verify your stencil is clean and free from blockages by inspecting your design layers on the Mac.
Following these steps helps you identify and fix common printing errors efficiently, guaranteeing consistent, high-quality screenprints.
Frequently Asked Questions
Can I Use a Mac for Traditional Screenprinting Setup and Exposure?
You can use a Mac to design your artwork for a traditional setup, then print transparencies for exposure techniques.
Macs handle digital prep well, but exposure and screen preparation require physical equipment beyond the computer itself.
What Are the Best Mac-Compatible Printers for Screenprinting Transfers?
Ironically, not all inkjet printers cooperate with transfer paper. For crisp screenprinting transfers, you’ll want Epson EcoTank or Canon Pixma models, both Mac-compatible and precise.
Calibrate settings carefully for ideal ink absorption and sharp detail.
How Do I Clean and Maintain My Screenprinting Equipment?
You clean your screenprinting supplies by rinsing screens immediately after use, applying appropriate cleaning solutions, and using recommended cleaning techniques like scrubbing gently with a soft brush to prevent damage.
Regular maintenance guarantees longevity and print quality.
Are There Mac Apps for Mixing and Matching Ink Colors?
Like a modern-day Da Vinci, you can use Mac apps such as InkHunter or ColorSnap to master color mixing and ink compatibility. These tools ensure precise blends and perfect prints by digitally simulating ink interactions before your actual screenprint run.
What Are Eco-Friendly Screenprinting Options Compatible With Mac Software?
You can use sustainable inks and biodegradable materials with Mac-compatible software like Adobe Illustrator. Make certain your design files support eco-friendly printing, then collaborate with printers using water-based, non-toxic inks to minimize environmental impact effectively.
Conclusion
By preparing your Mac properly, selecting the right screenprinting software, and mastering artwork preparation, you guarantee precise control over your prints. Remember, while digital tools streamline the process, the theory that perfect prints come solely from software is misleading—manual adjustments and test runs remain essential.
Regularly exporting in compatible formats and troubleshooting issues on your Mac sharpens your technique. This balanced approach ensures consistent, high-quality screenprinting results every time.
In conclusion, understanding how to screenprint on Mac involves both technical preparation and creative finesse to achieve the best possible prints.