To use your heat press machine effectively, first place it on a stable, heat-resistant surface and inspect the electrical components for safety.
Selecting the right fabric and transfer materials is crucial for optimal results.
Next, prepare your design by mirroring and printing it on suitable transfer paper. Adjust the temperature, time, and pressure settings according to the specifications of the fabric and transfer.
Position the design precisely on the fabric, then apply heat and pressure for the set duration.
Carefully peel the transfer and allow the garment to cool.
Mastering these steps will help you achieve flawless transfers and troubleshoot potential issues effectively.
Key Takeaways
- Position the heat press on a stable, heat-resistant surface and inspect electrical components before use.
- Select suitable fabric and transfer materials compatible with the heat press temperature and pressure settings.
- Mirror your design and print it on appropriate transfer paper with high resolution (300 DPI or higher).
- Set correct temperature, pressure, and timing based on fabric and transfer paper instructions before pressing.
- Peel the transfer paper carefully as specified, then allow the garment to cool fully before handling.
Heat Press Machine Setup and Safety
Before you start using your heat press machine, verify you complete five essential setup steps to assure safety and peak performance. First, position the machine on a stable, heat-resistant surface to prevent movement during operation.
Second, inspect the electrical cord and plug for damage to avoid electrical hazards. Third, calibrate the temperature and pressure settings according to the manufacturer’s instructions.
Fourth, review and implement all safety precautions, including wearing heat-resistant gloves and keeping the workspace clear of flammable materials. Finally, establish a routine for machine maintenance by cleaning the heat platen and checking mechanical components regularly.
Adhering to these steps assures your heat press operates efficiently, reduces the risk of injury, and prolongs the machine’s lifespan through proper upkeep and safe handling.
Choosing the Right Heat Press Materials
When selecting materials for your heat press projects, you must consider their heat tolerance and compatibility with transfer methods. Choosing the right materials guarantees ideal heat press compatibility and maintains material durability throughout the process.
Selecting materials with proper heat tolerance ensures compatibility and durability in your heat press projects.
- Fabric Type: Opt for materials like cotton, polyester, or blends that withstand high temperatures without melting or warping. Check manufacturer guidelines for heat press compatibility to avoid damage.
- Transfer Material: Select transfer papers or vinyl designed specifically for your fabric type. This prevents peeling or cracking after pressing.
- Thickness and Texture: Confirm materials aren’t too thick or textured, as this can interfere with heat and pressure distribution, compromising transfer quality and durability.
Preparing Your Design and Heat Press Transfer Paper

Start by selecting a design that suits your project’s material and size requirements. Choose the appropriate transfer paper based on your fabric type. Light, dark, or sublimation paper each have specific uses.
Confirm your design is properly mirrored before printing to guarantee correct orientation after pressing.
Design Selection Tips
Choosing the right design and preparing your heat press transfer paper correctly are essential steps that directly impact the quality of your final product. When selecting a design, focus on clear, high-resolution images that suit your target application.
Use design inspiration from current trends but make certain your color palette complements the fabric and transfer paper for maximum adhesion and vibrancy. Follow these tips:
- Optimize Image Resolution: Use 300 DPI or higher to avoid pixelation.
- Select Appropriate Colors: Choose a color palette that contrasts well with the base material to enhance visibility.
- Mirror Your Design: Flip your image horizontally before printing on transfer paper to make certain it transfers correctly.
Following these technical guidelines will make certain your design transfers accurately and looks professional.
Transfer Paper Types
Several types of transfer paper exist, each designed for specific fabrics and printing methods, so selecting the correct one is crucial for achieving durable, high-quality transfers. For polyester or polymer-coated substrates, use sublimation paper, which holds dye sublimation inks that convert to gas under heat, embedding the design into the fabric.
When working with cotton or mixed fabrics, opt for transfer paper compatible with inkjet or laser printers. Alternatively, vinyl sheets provide a versatile option; they require cutting your design with a vinyl cutter before heat pressing and offer excellent durability on various textiles.
Always verify your design’s compatibility with the chosen transfer medium, adjust heat press temperature and time accordingly, and test on a sample fabric to guarantee ideal transfer adherence and color vibrancy.
Setting the Right Temperature, Time, and Pressure
Although mastering your heat press machine involves multiple steps, setting the right temperature, time, and pressure is crucial for achieving ideal transfer results. Begin with temperature calibration to match the fabric and transfer paper specifications accurately. Use the machine’s digital controls to set the precise heat level.
Next, adjust the pressure by turning the pressure knob or lever to guarantee firm, even contact between the platen and material. Too much pressure can damage fabric, too little can cause incomplete transfers.
Finally, set the timer according to the transfer paper instructions, avoiding under or overexposure. Follow these steps:
- Calibrate the temperature precisely for your materials.
- Adjust pressure evenly to optimize transfer quality.
- Set the correct time for consistent, durable results.
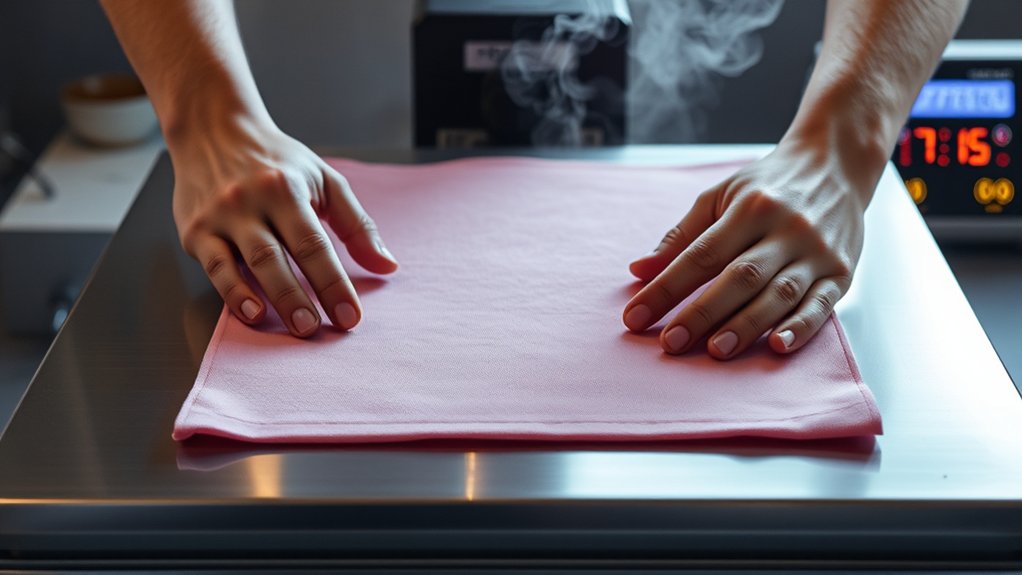
Positioning Your Design on Fabric Correctly
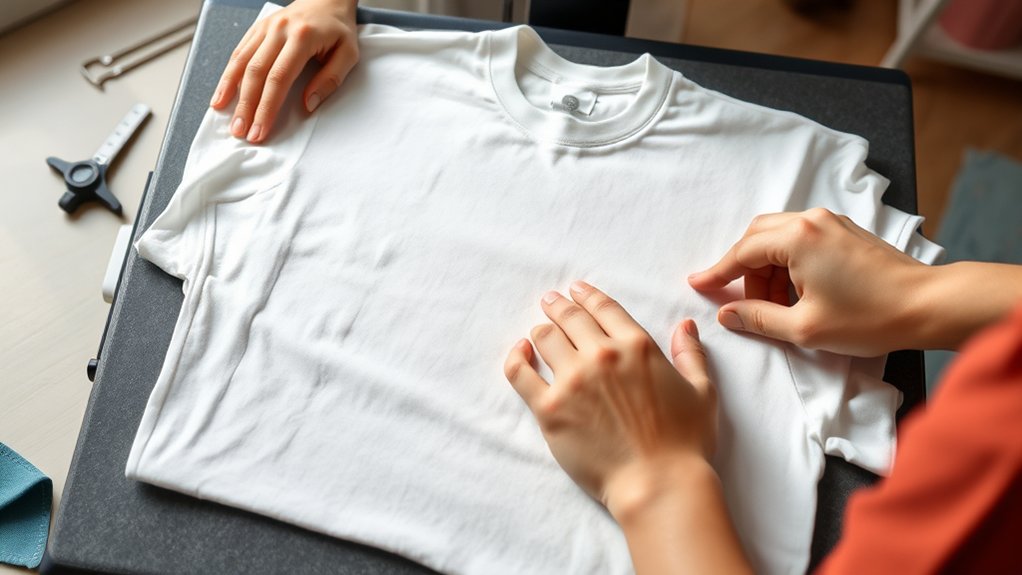
Proper alignment is essential when positioning your design on fabric to confirm a professional finish. Begin by laying the fabric flat on the heat press platen, making sure there are no wrinkles or folds.
Use a ruler or alignment tool to measure equal distances from fabric edges, establishing a central reference point. Place your transfer paper or design sheet on the fabric, aligning it carefully according to your measurements.
Measure equal distances from fabric edges to find the center, then align your design precisely before pressing.
Double-check design alignment by visually confirming symmetry and straightness relative to the fabric grain and edges. Secure the transfer with heat-resistant tape if necessary to prevent shifting during pressing.
Accurate fabric positioning minimizes misprints and guarantees consistent results, so take your time to verify placement before proceeding to heat pressing.
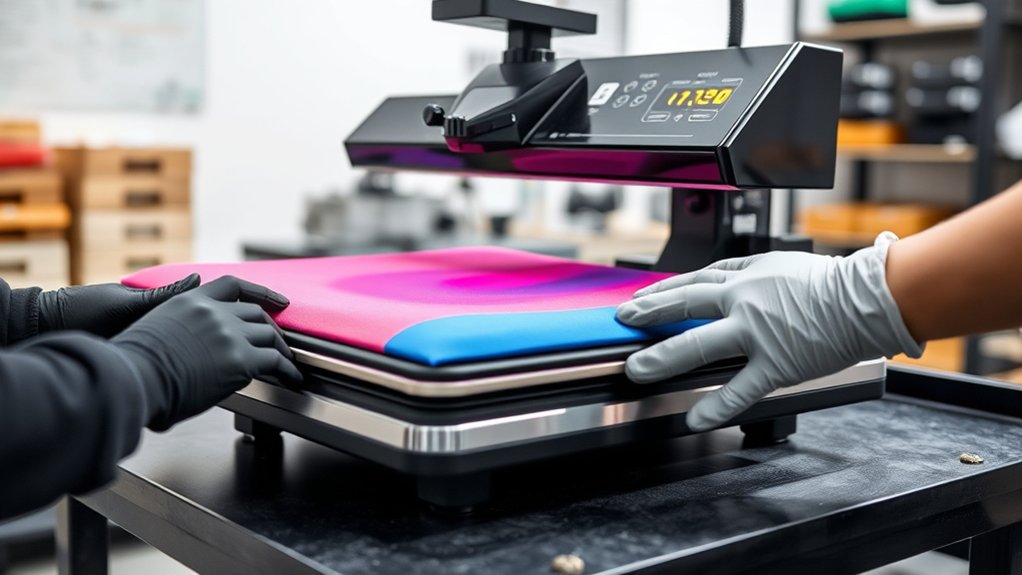
Operating Your Heat Press: Applying Pressure and Heat
You’ll need to set the correct pressure based on your material’s thickness to guarantee even contact. Next, adjust the temperature settings according to the type of transfer and fabric you’re using.
Finally, time the heat application precisely to achieve ideal adhesion without damaging your project.
Setting Correct Pressure
Setting the correct pressure is critical to achieving ideal transfer results with your heat press machine. Improper pressure can cause incomplete transfers or damage materials. Start by performing pressure calibration to guarantee your machine applies consistent force.
Follow these steps:
- Identify the recommended pressure for your specific transfer material.
- Use the pressure adjustment knob or lever to set the machine. Turn clockwise to increase pressure, counterclockwise to decrease.
- Test the pressure by placing a sheet of thin paper or pressure-sensitive film between the platen and the base. Adjust until you see even imprinting across the surface.
Regularly verifying pressure calibration prevents uneven transfers and prolongs machine life. Always make fine pressure adjustments before each job to maintain precision and quality.
Adjusting Temperature Settings
Although pressure plays a vital role, adjusting temperature settings correctly guarantees perfect adhesion and durability of your transfers. Start by consulting the heat setting guidelines specific to your material and transfer type. Use temperature calibration techniques to verify your heat press’s actual temperature matches the displayed setting; an inaccurate temperature can cause poor results.
To calibrate, place a reliable infrared thermometer or heat sensor on the platen, then compare readings to your machine’s settings and adjust accordingly. Set the temperature precisely, avoiding excessive heat that can damage substrates or insufficient heat that prevents bonding. Regularly recalibrate to maintain consistency in production.
Following these steps guarantees your heat press operates within ideal parameters, delivering consistent, high-quality transfers every time.
Timing Heat Application
Once you’ve calibrated the temperature accurately, focus on timing the heat application precisely to secure ideal transfer quality. Timing accuracy directly influences the adhesion and vibrancy of your design.
To control heat duration effectively, follow these steps:
- Set the timer according to the material and transfer type; refer to manufacturer guidelines for exact heat duration.
- Start the timer immediately once you close the heat press to secure consistent exposure.
- Release the pressure exactly when the timer signals to avoid under- or overexposure, which can cause incomplete transfer or scorching.
Maintaining strict timing accuracy optimizes the bond between substrate and transfer medium, securing durability and sharp detail. Always monitor and adjust timing parameters during initial runs to refine the process for each new material or design.
Removing Transfers Safely and Finishing Your Project
After the heat press cycle is complete, you’ll need to remove the transfer carefully to avoid damaging the design or fabric. Use the recommended transfer removal techniques, such as peeling the transfer sheet slowly and evenly while it’s still warm or allowing it to cool completely, depending on your material’s specifications. Avoid rapid or uneven peeling to prevent distortion.
Once the transfer is removed, inspect the design for any imperfections. For project finishing touches, apply a protective sheet and press briefly again to secure edges and improve durability. Finally, let the garment cool fully before handling or wearing.
Following these precise steps guarantees a professional finish and prolongs the life of your heat-pressed project. Always adhere to the manufacturer’s guidelines specific to your transfer type.
Troubleshooting Common Heat Press Problems
Anyone using a heat press machine will encounter occasional issues that can affect the quality of their transfers. To address these common issues effectively, follow these troubleshooting tips:
Using a heat press machine can present challenges, but simple troubleshooting can improve your transfer quality significantly.
- Uneven Pressure or Incomplete Transfers: Check the platen alignment and adjust the pressure knob to guarantee even contact across the entire surface.
- Blurry or Faded Prints: Verify the temperature setting matches the transfer material specifications. Increase heat or time slightly if necessary but avoid overheating.
- Transfer Sticking to the Protective Sheet: Confirm correct peeling time, hot peel vs. cold peel, as per the transfer type. Improper peeling often causes sticking.
Frequently Asked Questions
Can I Use a Heat Press Machine for Ceramic Mugs?
Yes, you can use a heat press machine for ceramic mugs by applying heat transfer specifically designed for ceramic printing. Make certain you use mug attachments and follow precise temperature, pressure, and time settings for ideal results.
How Do I Clean My Heat Press Machine Properly?
Picture wiping away stubborn residue with a soft cloth. Use non-abrasive cleaning techniques and mild solvents.
Regularly check heating elements and lubricate moving parts for peak performance. Follow these maintenance tips to extend your heat press’s lifespan.
Is It Safe to Leave the Heat Press Machine on Overnight?
You shouldn’t leave the heat press machine on overnight due to heat safety concerns and overnight risks like fire hazards or equipment damage.
Always switch it off after use to guarantee safety and prolong your machine’s lifespan.
Can I Use Heat Press Machines for Leather Materials?
You can use heat press machines for leather materials, but verify leather compatibility by selecting low heat settings and short press times. Test a small leather piece first to prevent damage, and always follow manufacturer guidelines for best results.
What Maintenance Is Required to Extend Heat Press Machine Lifespan?
Think of your heat press machine as a finely-tuned engine; you’ll extend its lifespan by performing regular inspections, cleaning heat press accessories, tightening loose parts, and lubricating moving components to guarantee smooth, precise operation every time.
Conclusion
Using your heat press machine is like wielding a precise tool that transforms ideas into lasting impressions. By mastering setup, material choice, and proper timing, you guarantee every transfer bonds perfectly, just as a key fits its lock.
Remember, careful positioning and safety measures are your guiding compass. With practice, your heat press won’t just apply heat—it’ll imprint quality and professionalism onto every project you create.
Mastering how to use the heat press machine ensures each design is perfectly transferred, making your work stand out with durability and finesse.