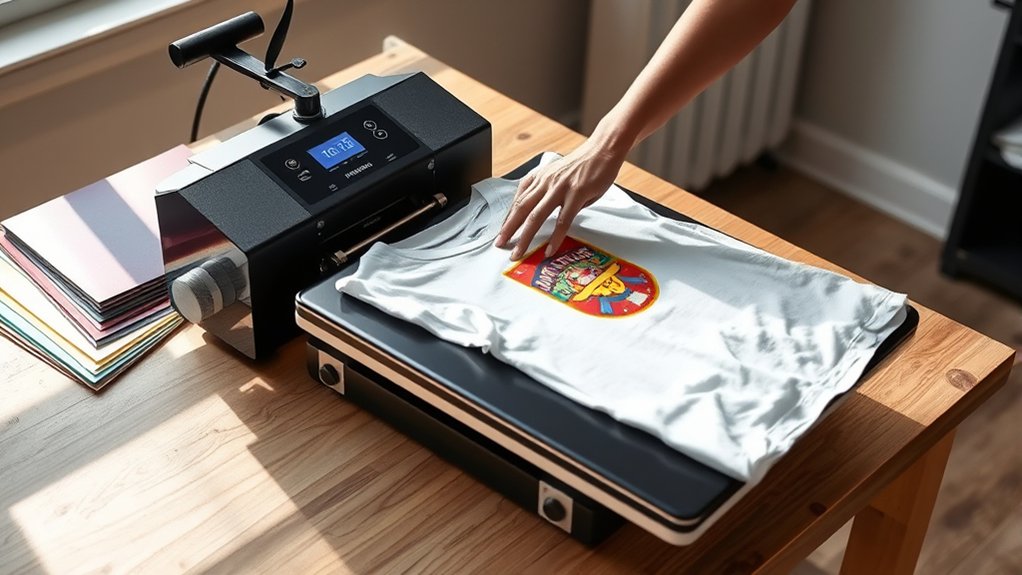
To use your Htvront Heat Press, start by placing it on a stable, heat-resistant surface and plug it in.
Set the temperature and timer based on your material, then pre-press your fabric to remove wrinkles.
Position your mirrored design carefully on the garment, secure it with heat-resistant tape, and align the press over it.
Apply firm, even pressure for the recommended time, then lift the press and let it cool.
Explore further to master setup, materials, and maintenance tips for perfect transfers every time.
Key Takeaways
- Place the Htvront heat press on a stable, heat-resistant surface near a power outlet with good ventilation and lighting.
- Set temperature and time according to your material and transfer type, consulting the manual or transfer instructions for accuracy.
- Prepare and position your design by mirroring images, trimming excess, pre-pressing garments, and securing designs with heat-resistant tape.
- Operate safely by wearing protective gloves, preheating the press, applying even pressure, and carefully removing the press after the timer ends.
- Maintain your heat press by regularly cleaning the platen, checking temperature accuracy, inspecting pressure settings, and storing it properly.
Setting Up Your Htvront Heat Press
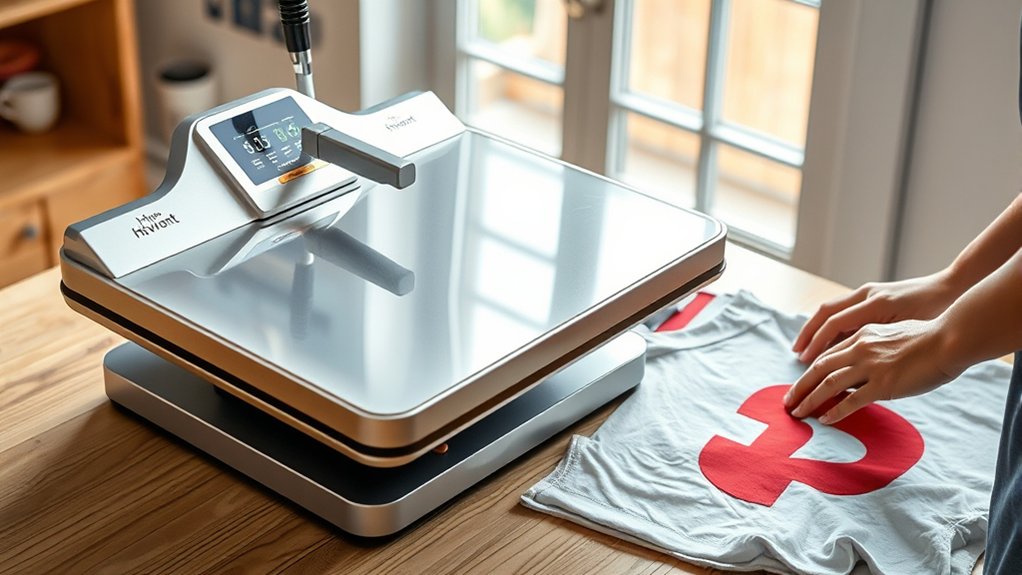
To set up your Htvront heat press, start by placing it on a stable, heat-resistant surface near a power outlet. Choosing workspace wisely guarantees safety and efficiency. Pick an area with good ventilation and ample lighting.
Place your Htvront heat press on a stable, heat-resistant surface with good ventilation and lighting near a power outlet.
Clear the space around the press to prevent accidental burns or damage. Next, organize supplies—arrange vinyl sheets, heat-resistant tape, and protective parchment paper within easy reach. Use containers or shelves to keep tools like heat gloves and scrapers orderly.
This setup minimizes interruptions during your workflow. Plug in the heat press and confirm the power cord isn’t stretched or tangled. Double-check that the workspace supports the heat press’s weight and size.
Proper setup not only protects your equipment but also streamlines your heat transfer process, preparing you for precise, consistent results.
Temperature and Time Settings for Your Project
With your workspace organized and the Htvront heat press ready, you can focus on dialing in the right temperature and time settings for your project. Start by performing temperature calibration to confirm the heat plate reaches and maintains the exact temperature displayed. Use an infrared thermometer if needed to verify accuracy.
Next, adjust the time based on your material and transfer type. Consult the Htvront manual or transfer instructions for recommended settings. Remember, small time adjustments can affect adhesion and durability, so test on a sample first.
Set the temperature and timer using the digital controls, then lock your settings. Accurate temperature calibration paired with precise time adjustments guarantees clean, lasting transfers without scorching or incomplete bonding. This step sets the foundation for professional-quality results with your Htvront heat press.
Preparing Materials for Htvront Heat Press Transfers
Choose fabrics that handle heat well, like cotton or polyester blends, to guarantee crisp transfers. Prepare your designs by mirroring images and trimming excess material for clean edges.
Finally, pre-press your garment to remove wrinkles and moisture, creating a smooth surface for ideal adhesion.
Selecting Suitable Fabrics
Fabric selection plays an essential role in achieving crisp, durable transfers with your Htvront heat press. You’ll find cotton blends ideal, offering excellent ink absorption and vibrant color retention.
Polyester fabrics work well, especially with sublimation transfers, but watch for temperature sensitivity to avoid melting. Specialty materials like nylon, leather, or canvas require careful testing, as their heat tolerance and texture vary widely.
Always check fabric care labels to verify compatibility with your press’s heat and pressure settings. Avoid fabrics with coatings or finishes that repel ink. Before pressing, preheat the fabric to remove moisture and wrinkles, guaranteeing a smooth surface.
Preparing Transfer Designs
Preparing your transfer designs requires careful attention to detail to secure sharp, vibrant results. Start by selecting the appropriate design software that supports high-resolution images and vector graphics for precise scaling.
Adjust your artwork dimensions to fit your garment and confirm color profiles match your printer and transfer types, whether heat transfer vinyl, sublimation, or inkjet transfers. For mirror-image transfers, flip your design horizontally to align correctly after pressing.
Optimize contrast and saturation to compensate for fabric color. Save your file in a lossless format like PNG or PDF to maintain crisp edges. By tailoring your design setup to the specific transfer type and fabric, you minimize errors and maximize visual impact, making sure your Htvront heat press delivers professional-grade results every time.
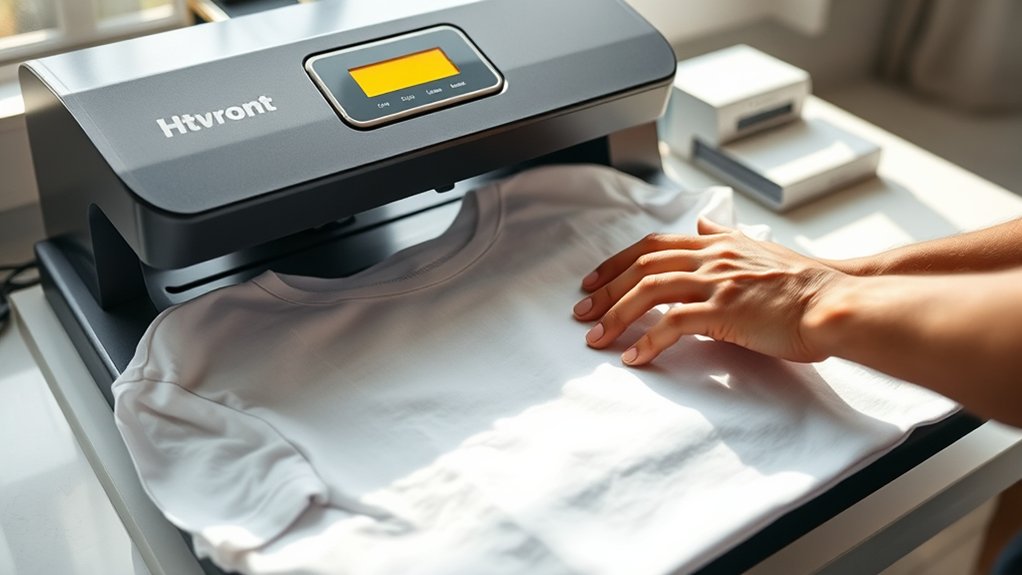
Pre-Press Garment Setup
Before placing your garment on the Htvront heat press, make certain it’s clean, dry, and free of wrinkles or lint. Proper pre-press garment setup guarantees a flawless transfer and prevents imperfections.
Follow these steps for peak preparation:
- Perform a garment pre wash to eliminate residues and shrinkage.
- Thoroughly dry the garment; moisture affects heat transfer quality.
- Use fabric wrinkle removal techniques such as steaming or ironing to create a flat surface.
- Remove lint and dust with a lint roller or tape to avoid transfer defects.
Positioning Designs on the Htvront Heat Press
You’ll want to carefully align your design on the garment to guarantee it’s centered and straight before pressing. Use a ruler or heat press platen as a guide to position your transfer accurately.
Secure the design with heat-resistant tape to prevent any shifting during the pressing process.
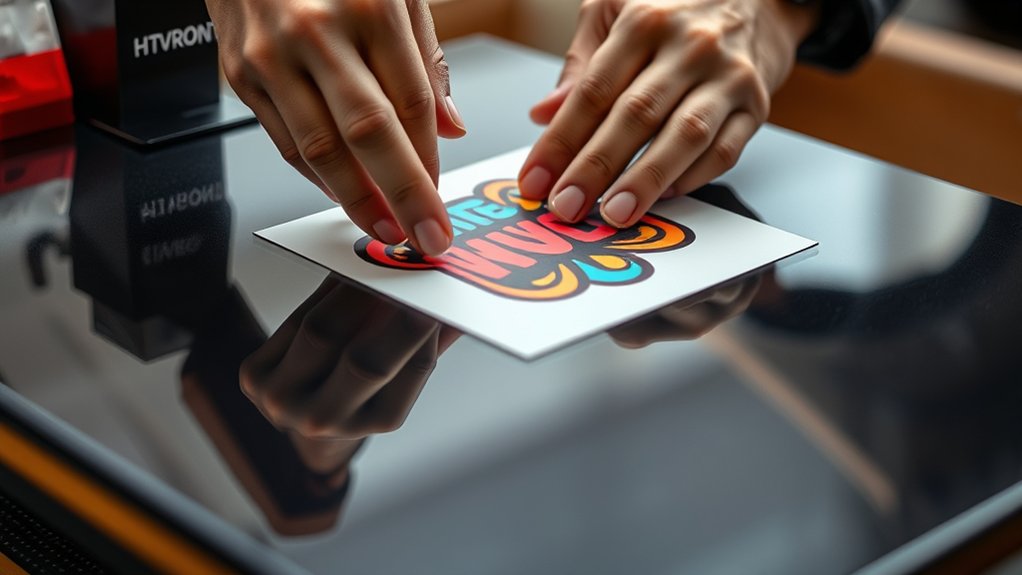
Aligning Design Placement
Several key steps assure your design sits perfectly on the Htvront Heat Press. Mastering design alignment techniques and placement strategies guarantees clean, professional results every time. Start by:
- Centering your garment on the press platen for balanced design placement.
- Using a ruler or alignment tool to position the design precisely where you want it.
- Marking reference points on the garment’s edges to confirm consistent placement across multiple items.
- Visually double-checking the design’s orientation and spacing before applying heat.
These steps help avoid off-center prints, crooked transfers, and wasted material. By applying these placement strategies, you’ll achieve a polished, repeatable workflow that maximizes your heat press’s capability and boosts your project’s quality.
Using Heat-Resistant Tape
Heat-resistant tape secures your design firmly in place, preventing unwanted shifts during pressing. Choose from heat resistant types like high-temperature polyester or silicone-based tapes for durability and clean removal.
Apply tape carefully along edges without covering the design’s surface to avoid residue or damage. Proper tape application guarantees even pressure and consistent heat transfer.
| Heat Resistant Types | Tape Application Tips |
|---|---|
| Polyester Tape | Apply edges only |
| Silicone-Based Tape | Use for delicate materials |
| Kapton Tape | Ideal for high temps |
| PTFE Tape | Prevents sticking |
Select the right tape based on your material and design type. Always test tape on scrap fabric first to confirm adhesion and heat resistance.
Using Your Heat Press Safely and Easily
Before operating the Htvront heat press, make certain you’ve cleared your workspace and put on protective gloves to shield your hands from high temperatures. Prioritize safety precautions and workspace organization to prevent accidents and guarantee efficiency.
Follow these steps:
- Verify the heat press is on a stable, flat surface away from flammable materials.
- Keep your workspace clutter-free to avoid interference during pressing.
- Set the temperature and timer according to your material specifications, avoiding overheating.
- Use heat-resistant gloves and avoid touching the heating element directly.
Removing Transfers and Caring for Your Finished Projects
Once the press cycle finishes, carefully lift the platen and peel the transfer while it’s still warm to ensure a clean release. Removing transfers promptly prevents adhesive residue and guarantees crisp designs.
Afterward, focus on caring projects properly to extend their lifespan.
| Step | Tip |
|---|---|
| Peel Direction | Peel backing slowly, away from design |
| Cooling Time | Let project cool completely before handling |
| Washing Instructions | Turn inside out; use cold water and gentle cycle |
| Storage | Store flat or hung to avoid creases |
Following these steps helps you achieve professional results and preserve your creations. Properly removing transfers and caring for projects will keep your heat-pressed items looking sharp and durable.
Troubleshooting Htvront Heat Press Issues
If your Htvront heat press isn’t delivering perfect results, troubleshooting common issues can save you time and materials. Start with essential heat press maintenance to guarantee peak performance. Use these troubleshooting techniques to pinpoint problems quickly:
- Check temperature accuracy with a heat gun; recalibrate if readings are off.
- Inspect pressure settings; uneven pressure causes poor transfer adhesion.
- Examine the platen for dirt or residue; clean it regularly to avoid scorch marks.
- Verify timer function; a faulty timer can lead to under or over pressing.
Addressing these areas keeps your heat press running smoothly. Regular maintenance combined with systematic troubleshooting techniques guarantees consistent, high-quality transfers every time.
Frequently Asked Questions
Can the Htvront Heat Press Be Used for Mug or Hat Printing?
You can’t use the Htvront heat press for mug printing or hat printing directly; it’s designed for flat surfaces like shirts. For mugs and hats, specialized attachments or presses are necessary to guarantee even heat and pressure.
What Warranty Does the Htvront Heat Press Come With?
Warranty whispers welcome: the Htvront Heat Press offers solid warranty details covering defects. You’ll enjoy dependable customer support, ensuring swift solutions.
Trust this technical titan to keep your pressing projects protected and productive.
Are Replacement Parts Available for the Htvront Heat Press?
Yes, you’ll find replacement part options for your Htvront heat press, ensuring smooth heat press maintenance. Easily swap worn components to keep your machine running efficiently and extend its lifespan with genuine, compatible parts.
Can the Heat Press Be Used With Sublimation Inks?
You can use the Htvront heat press with sublimation inks, but guarantee ink compatibility. The sublimation process requires precise temperature and pressure settings, which this press supports.
This enables vibrant and durable transfers on polyester fabrics or coated surfaces.
How Portable Is the Htvront Heat Press for Travel Use?
You’ll appreciate the Htvront heat press’s compact design, weighing just 10 pounds, making it travel friendly. Its foldable structure fits easily into a carry-on, so you can take it anywhere without hassle or bulky luggage.
Conclusion
Using your Htvront heat press is like wielding a precision instrument—each setting and careful placement shapes your project’s success. By mastering temperature, timing, and positioning, you’ll transform plain materials into vibrant, lasting designs. Treat your press with respect and follow safety steps to avoid pitfalls.
Like a skilled artist perfecting a masterpiece, your attention to detail guarantees every transfer emerges flawless. This careful approach makes your creative vision come alive with professional polish. With consistent practice and care, you’ll unlock the full potential of your Htvront heat press.