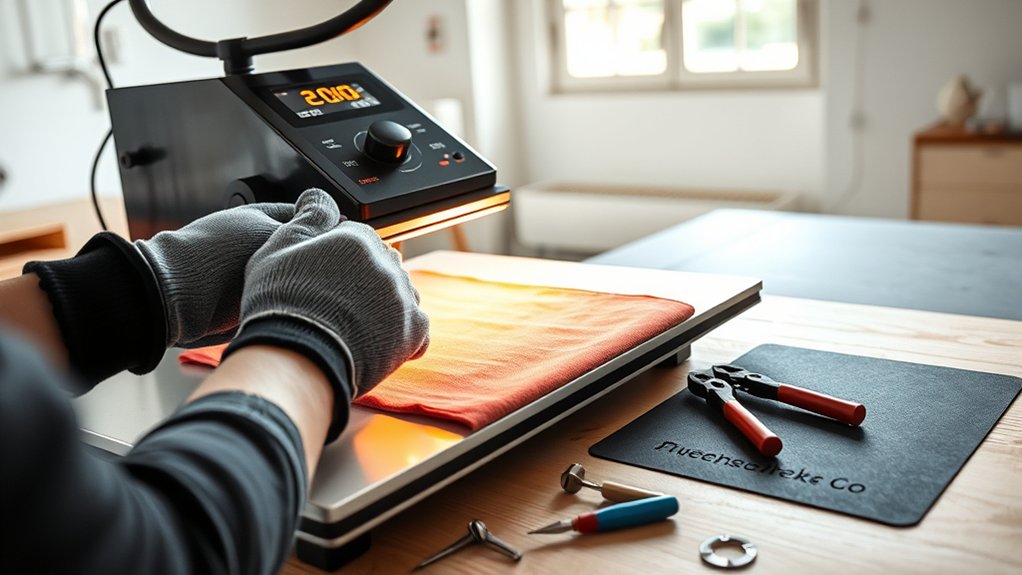
To use a heat press, first preheat it to the recommended temperature.
Set the correct pressure and timer based on your material to ensure optimal results.
Place your garment flat on the platen and remove any wrinkles.
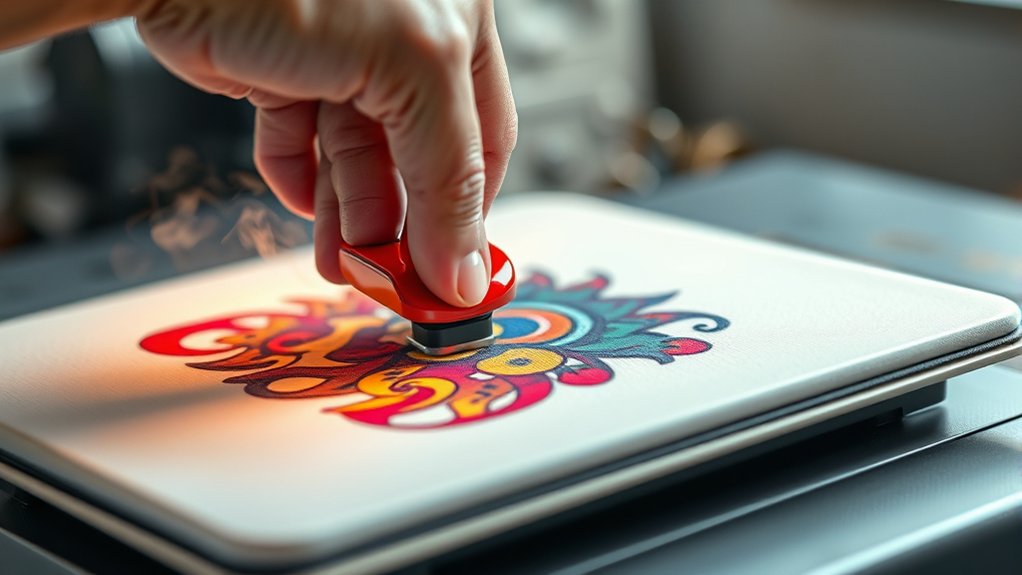
Position your transfer design precisely where you want it.
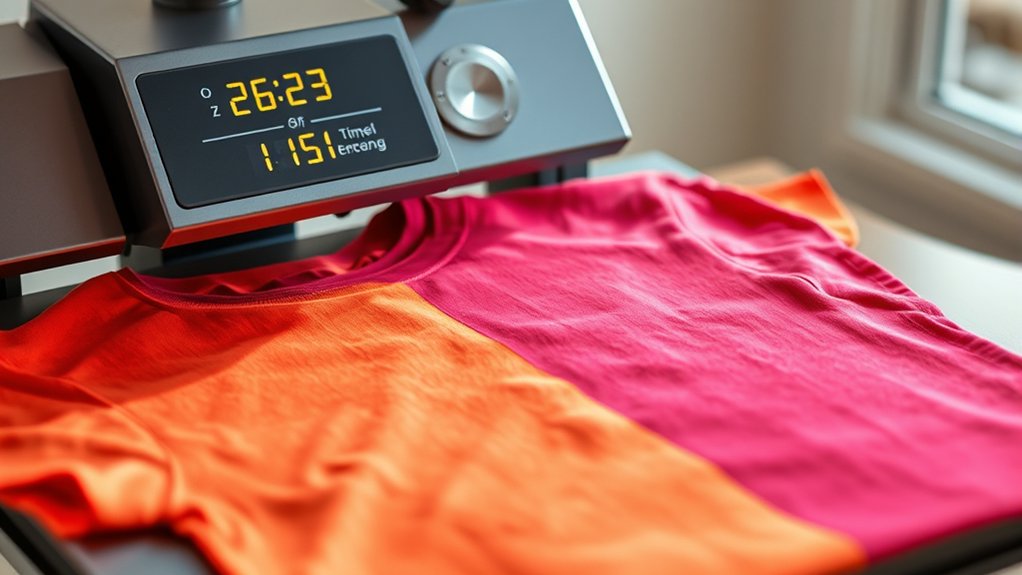
Close the press firmly for the set time.
Peel the transfer according to instructions, either hot or cold.
Always test on a sample to guarantee perfect adhesion and avoid damage.
Understanding these basics will help you master more advanced techniques and troubleshooting tips.
Key Takeaways
- Preheat the heat press to the recommended temperature and set the timer according to your transfer material instructions.
- Place the garment flat on the platen and remove wrinkles and moisture by preheating for a few seconds.
- Position the transfer design face down on the fabric and secure it with heat tape or adhesive spray if needed.
- Close the heat press and apply firm, even pressure for the specified time without moving the garment or design.
- Peel the transfer according to the manufacturer’s instructions, either hot or cold peel, to ensure proper adhesion.
Essential Heat Press Equipment and Materials
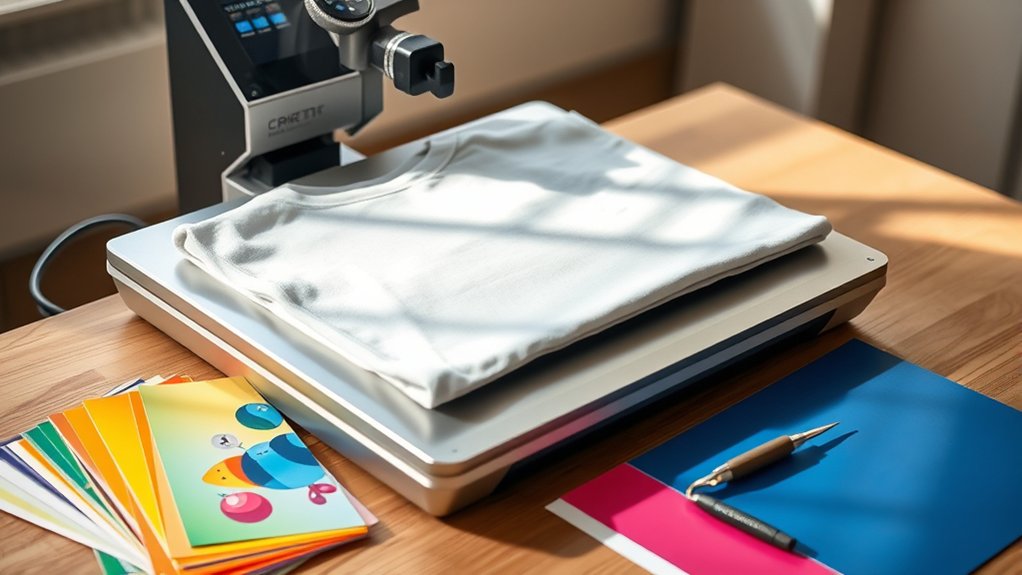
To effectively operate a heat press, you’ll need several essential pieces of equipment and materials. First, select the appropriate heat press type: clamshell, swing-away, or draw style, based on your workspace and project needs. Each type offers distinct advantages in accessibility and pressure control.
Essential accessories include a heat-resistant silicone pad to guarantee even heat distribution and protect your platen. You’ll also require Teflon sheets or parchment paper to prevent scorching and adhesive sprays or heat tape to secure your design during pressing.
A reliable digital timer and temperature controller integrated into the press are critical for precision. Additionally, always have heat-resistant gloves to prevent burns when handling hot components. Gathering these items guarantees efficient, safe, and professional-quality heat pressing every time.
Preparing Your Design and Garment for Heat Press
Once you’ve gathered the necessary equipment, focus on preparing your design and garment for heat pressing. First, verify fabric compatibility to prevent damage or poor adhesion. Next, position your design placement precisely on the garment, using alignment tools or grids for accuracy.
Preheat the garment briefly to remove moisture and wrinkles, improving transfer quality. Use a lint roller to clear debris that could disrupt the design. Below is a table summarizing key preparation steps:
| Task | Purpose |
|---|---|
| Fabric Compatibility | Prevents damage, verifies adhesion |
| Design Placement | Verifies accurate alignment |
| Preheating Garment | Removes moisture and wrinkles |
| Debris Removal | Prevents transfer defects |
| Test Press | Confirms settings and placement |
Following these steps guarantees excellent results when applying your design with a heat press.
How to Use a Heat Press Step-by-Step (Including Settings)
Start by setting your heat press to the recommended temperature, pressure, and time based on your transfer type and fabric. Different heat press types, such as clamshell, swing-away, or draw, require similar preparation but vary in handling.
Place your garment flat on the platen, guaranteeing no wrinkles. Position the transfer design face down on the fabric. Close the heat press and apply consistent pressure, adjusting for the material thickness.
Maintain the set time precisely; once complete, lift the press carefully to avoid burns. Use heat press safety measures: wear heat-resistant gloves and keep hands clear of the heated platen.
Finally, peel the transfer according to instructions, whether hot or cold peel. Following these exact steps assures durable, high-quality results while maintaining safe operation.
Tips for Adjusting Heat Press Temperature, Pressure, and Time
Adjusting the temperature, pressure, and time settings plays a critical role in achieving perfect heat press results. Begin by performing temperature calibration to verify your heat press accurately reflects the set value; use a reliable temperature gun or probe for verification.
For pressure adjustments, apply firm, even pressure, neither too light nor excessive, to prevent incomplete transfers or damage to materials. Adjust pressure by turning the knob or lever according to fabric thickness and transfer type.
Set the timer based on manufacturer guidelines, but be ready to modify it slightly after testing. Always test on a sample material to confirm ideal settings before production.
Regularly recalibrate temperature and reassess pressure adjustments to maintain consistent quality and avoid errors during heat pressing.
Troubleshooting Common Heat Press Problems
Although mastering the correct temperature, pressure, and time settings reduces errors, you may still encounter common heat press problems such as incomplete transfers, scorching, or uneven impressions. If you notice stuck vinyl during peeling, verify the temperature and time are adequate for the material. Too low causes incomplete adhesion.
Scorch marks often result from excessive heat or pressure. Reduce one to prevent fabric damage. Uneven pressure causes inconsistent transfers; test your platen’s alignment and adjust pressure knobs evenly across the surface. Use a pressure test sheet to identify weak spots.
If transfers lift or peel prematurely, increase pressure slightly but avoid over-compression. Regularly clean the heat platen to prevent residue buildup that can cause uneven heat distribution. Following these steps will help you troubleshoot and optimize your heat press results efficiently.
Frequently Asked Questions
Can I Use a Heat Press for Materials Other Than Fabric?
Yes, you can use a heat press for plastic materials, wood projects, leather items, and vinyl applications. Just adjust temperature, pressure, and time settings precisely to suit each material’s specific requirements for best results.
How Do I Clean and Maintain My Heat Press Machine?
You should clean your heat press regularly using a soft cloth and mild cleaner, avoiding abrasives. For maintenance, lubricate moving parts, check electrical connections, and calibrate temperature controls to guarantee consistent pressure and heat distribution.
What Are the Safety Precautions When Operating a Heat Press?
Don’t try to hug your heat press; it’s not a warm friend. Follow heat press safety by wearing gloves, avoiding loose clothing, and strictly adhering to operating guidelines to prevent burns, electrical hazards, and guarantee precise, safe use every time.
Can Heat Pressing Affect the Durability of Printed Designs?
Yes, heat pressing affects durability factors considerably. You need to optimize heat transfer techniques such as temperature, pressure, and time to enhance print longevity. Incorrect settings can degrade designs, so always calibrate your heat press precisely for best results.
Are There Any Eco-Friendly Heat Transfer Materials Compatible With Heat Presses?
Like leaves drifting on a breeze, eco friendly options flow into heat pressing. You’ll find sustainable materials such as water-based inks and biodegradable vinyl compatible with heat presses, ensuring precise, durable transfers while minimizing environmental impact.
Conclusion
Now that you know how to use a heat press effectively, remember that 70% of print failures come from incorrect temperature or pressure settings. By carefully adjusting these factors and following each step precisely, you’ll achieve professional, durable results every time.
Keep your equipment maintained and troubleshoot promptly to avoid common issues. Regular upkeep ensures your heat press operates smoothly and extends its lifespan.
With practice, you’ll master heat pressing and produce consistently high-quality designs on any garment. Using a heat press correctly is key to achieving the best results every time.