To use your Cricut Heat Press, first prepare your design by cutting the heat transfer vinyl and positioning it on your fabric.
Preheat the press to the recommended temperature for your material.
Then close it firmly and apply even pressure for the specified time.
Carefully peel the carrier sheet after it has cooled.
Remember to set the right temperature, time, and pressure for your fabric type to avoid damage.
If you want to master tips, troubleshooting, and creative project ideas, keep exploring further.
Key Takeaways
- Prepare your design with the Cricut machine and position the heat transfer vinyl accurately on the fabric.
- Preheat the Cricut Heat Press to the recommended temperature for your material type.
- Apply firm, even pressure by closing the heat press for the specified time duration.
- Peel the carrier sheet carefully after pressing, allowing the material to cool for best results.
- Maintain safety by using heat-resistant gloves, working on a stable surface, and keeping the area clear of flammable items.
What You Need to Use Your Cricut Heat Press
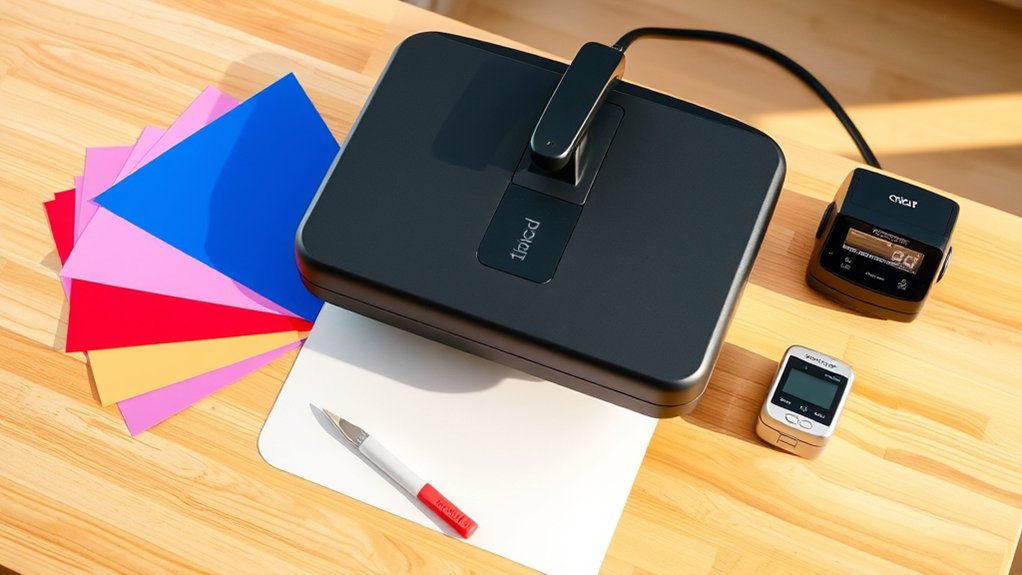
To get started with your Cricut Heat Press, you’ll need a few essential items to guarantee a smooth and successful pressing process. First, gather essential tools such as heat-resistant gloves, a Teflon sheet or parchment paper, and a reliable heat-resistant surface. These protect your hands and guarantee even heat distribution.
Next, focus on your workspace setup. Choose a flat, stable table with enough room to accommodate your heat press and materials comfortably. Guarantee good lighting to monitor your project closely. Keep your essential tools within reach to avoid interruptions.
Finally, have your Cricut Heat Press manual handy for quick reference. With these essentials and a well-organized workspace setup, you’re ready to press your designs with precision and confidence.
Setting Up Your Cricut Heat Press Safely
Before you power on your Cricut Heat Press, make certain you place it on a stable, heat-resistant surface away from flammable materials. Proper workspace organization is essential for both efficiency and safety.
Place your Cricut Heat Press on a stable, heat-resistant surface away from flammable items for safety and efficiency.
Follow these safety precautions to set up your heat press correctly:
- Clear the area around the heat press to avoid accidental burns or fire hazards.
- Confirm the power cord is untangled and positioned to prevent tripping or pulling.
- Keep a fire extinguisher nearby and familiarize yourself with its use.
- Verify that your workspace has adequate ventilation to dissipate heat safely.
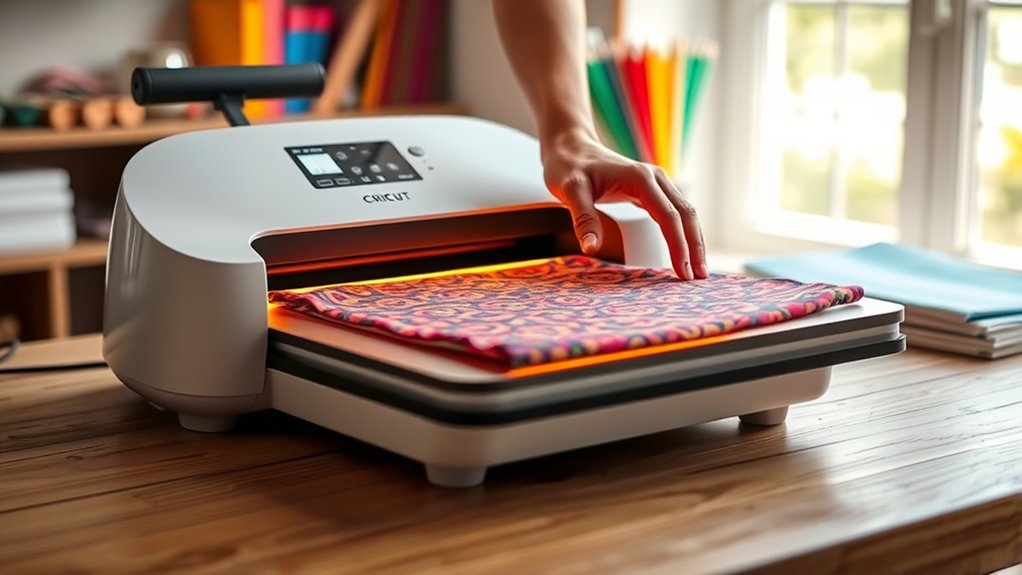
Step-by-Step Guide to Using the Cricut Heat Press
Although the Cricut Heat Press may seem complex at first, following each step carefully will guarantee you achieve professional-quality results. Start by preparing your design inspiration and cutting it with the Cricut machine. Next, position your heat transfer vinyl (HTV) on the fabric.
Preheat the heat press to the recommended temperature, then place the fabric and HTV on the lower platen. Close the heat press firmly and apply pressure for the specified time. After pressing, carefully peel the carrier sheet while the material cools.
| Step | Action |
|---|---|
| 1. Prepare Design | Cut design using Cricut machine |
| 2. Position HTV | Align vinyl on fabric |
| 3. Press & Peel | Apply heat, then peel carrier |
This precise process guarantees your design transfers perfectly every time.
How to Adjust Cricut Heat Press Settings for Different Materials
Mastering the basic steps of using the Cricut Heat Press sets a solid foundation, but adjusting the heat press settings according to different materials guarantees your designs adhere flawlessly. You need to evaluate fabric compatibility and temperature variations to avoid damage or poor adhesion.
Here’s how to adjust settings precisely:
- Identify your fabric type. Cotton, polyester, or blends require different heat levels.
- Consult the Cricut Heat Guide for recommended temperature, pressure, and time based on fabric compatibility.
- Adjust the temperature on your heat press, increasing or decreasing it according to the material’s heat tolerance.
- Set the timer and pressure accordingly, ensuring even heat distribution without scorching.
Tips for Perfect Cricut Heat Pressing Every Time
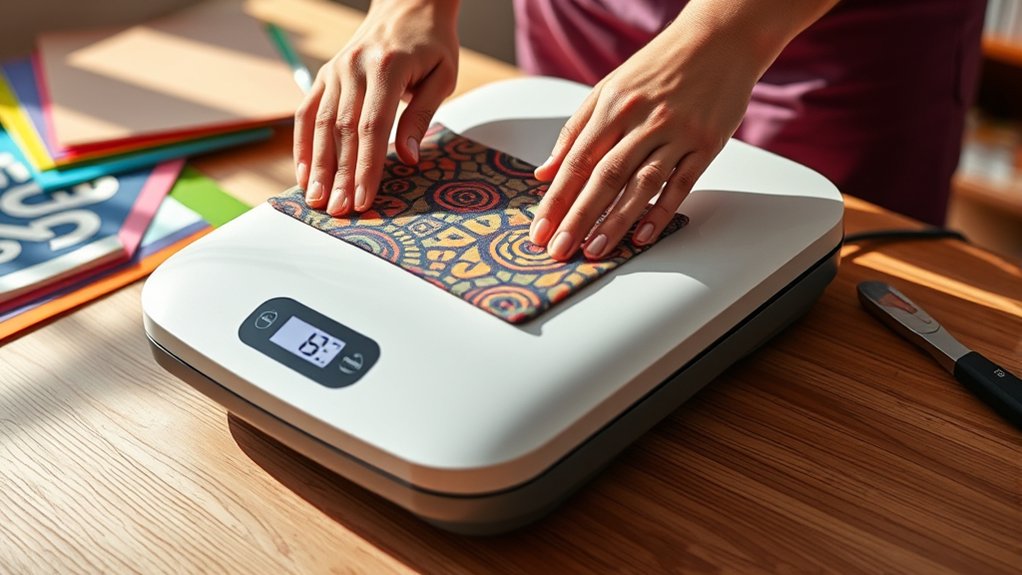
To achieve perfect heat pressing every time, you need to set the temperature precisely according to your material’s requirements. Make sure your design is placed flat and centered on the fabric to guarantee even heat distribution.
These details will help you avoid common mistakes and produce professional results consistently.
Optimal Temperature Settings
Selecting the right temperature is essential for achieving flawless results with your Cricut Heat Press. Proper temperature calibration guarantees effective heat transfer without damaging your materials. Here’s how to nail the ideal settings:
- Consult your material’s heat transfer guidelines to set a baseline temperature.
- Preheat the press and use a temperature strip or digital thermometer for accurate calibration.
- Adjust the temperature based on material thickness. Thicker fabrics typically need higher heat.
- Test on a scrap piece to confirm the press temperature produces a clean, durable transfer without scorching.
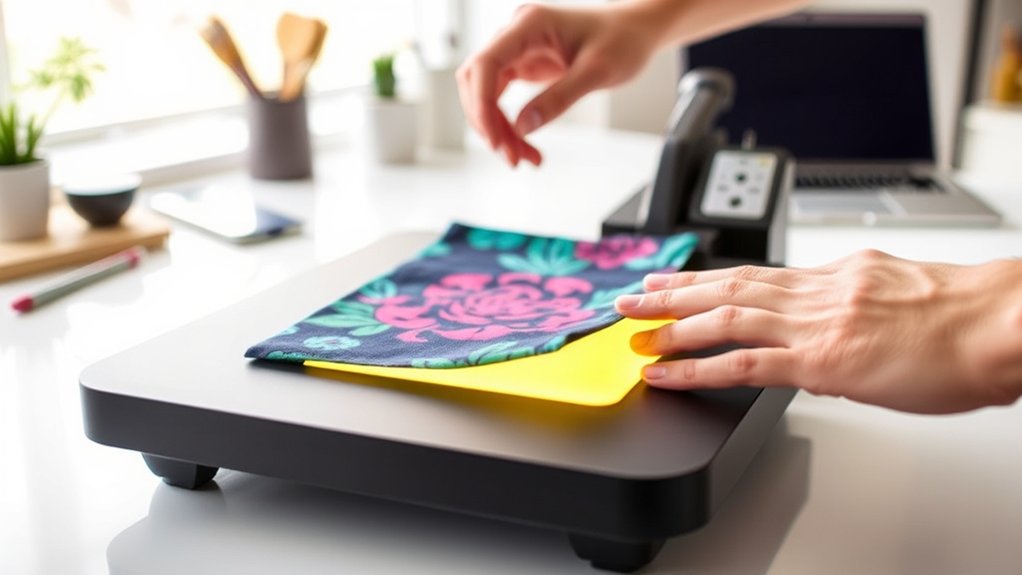
Proper Material Placement
Once you’ve set the right temperature for your material, positioning becomes the next key step in achieving a flawless heat transfer. Begin by laying your fabric on a flat, heat-resistant surface to avoid wrinkles.
Use material alignment techniques such as measuring and marking the center and edges to guarantee your design sits perfectly. Fold the fabric lightly to find the midpoint and align your transfer accordingly.
Apply fabric positioning tips by securing the material with heat-resistant tape if needed to prevent shifting during pressing. Double-check that the fabric lies flat and the design is straight before closing the press.
Precise placement not only enhances the final look but also prevents uneven heat distribution, guaranteeing your Cricut heat press results are consistently professional every time.
Troubleshooting Common Cricut Heat Press Problems
Many users encounter a handful of recurring issues when operating their Cricut Heat Press. Understanding common issues and troubleshooting tips can save you time and frustration.
- Uneven pressure: Adjust the pressure knob to guarantee firm, even contact across the entire surface.
- Temperature inaccuracies: Use a heat-resistant thermometer to verify the actual platen temperature matches your setting.
- Transfer not sticking: Confirm you’ve set the proper temperature, time, and pressure for your material and transfer type.
- Material scorching: Lower the temperature or reduce pressing time if you notice burning or discoloration.
Caring for and Maintaining Your Cricut Heat Press
To keep your Cricut Heat Press functioning at its best, you should perform regular cleaning and maintenance tasks. Begin by unplugging the device and allowing it to cool completely. Use a soft, damp cloth with mild soap to wipe the heat platen. Avoid abrasive materials that can damage the surface.
Employ recommended cleaning techniques, such as using a non-abrasive heat press cleaner for stubborn residue. Regularly check the power cord and make sure all connections are secure.
For heat press storage, always keep your machine in a dry, dust-free area, ideally covered to prevent debris accumulation. Store it in a position that avoids pressure on the platen or moving parts to maintain alignment and functionality.
Following these steps will extend your heat press’s lifespan and guarantee consistent results.
Creative Projects to Try With Your Cricut Heat Press
You can create personalized apparel like custom t-shirts and hoodies by carefully layering heat transfer vinyl and applying consistent pressure with your Cricut Heat Press.
For home decor, try pressing designs onto fabric pillows or canvas tote bags, ensuring your material is heat-resistant and flat before pressing. Start with simple shapes and lettering to master timing and temperature for flawless results.
Personalized Apparel Ideas
Creating personalized apparel with your Cricut Heat Press transforms ordinary clothing into unique statements. You can easily craft custom t shirts and personalized hoodies that reflect your style or make perfect gifts. Here’s how to get started:
- Choose your design and mirror the image before cutting on heat transfer vinyl.
- Weed the excess vinyl carefully to reveal your design.
- Preheat your apparel briefly to remove moisture and wrinkles.
- Position the vinyl on the fabric, apply firm pressure, and use the recommended temperature and time settings.
Home Decor Projects
Home decor projects offer a fantastic way to elevate your living space with personalized touches using your Cricut Heat Press. Start by designing custom wall art; select heat transfer vinyl (HTV) in colors that complement your room.
Cut your design with the Cricut machine, then precisely position it on a canvas or fabric base. Apply even pressure and heat according to your HTV’s instructions to guarantee a lasting bond.
For decorative pillows, choose quality pillow covers made from cotton or linen. Place your design centrally, then heat press with care to avoid fabric damage. Always preheat your base material to remove moisture and wrinkles for a smooth finish.
These projects are not only creative but also add a unique charm to your home environment.
Frequently Asked Questions
Can the Cricut Heat Press Be Used for Commercial Purposes?
Yes, you can use the Cricut Heat Press for commercial viability. It’s designed to handle business applications efficiently, letting you produce professional-quality heat transfers quickly and reliably.
This makes it perfect for small-scale commercial projects.
What Is the Warranty Period for the Cricut Heat Press?
You get a one-year warranty coverage for your Cricut Heat Press. Make sure to review the warranty details carefully to understand what’s included, like defects or malfunctions.
This way, you know how to protect your purchase properly.
Are There Any Compatible Accessories for the Cricut Heat Press?
Yes, you’ll find compatible accessories like heat-resistant mats and pressing pillows that support heat transfer and enhance pressing techniques. These tools help guarantee even pressure and prevent scorching, improving your final project’s quality and durability.
How Much Electricity Does the Cricut Heat Press Consume?
You won’t need a power plant; the Cricut Heat Press’s power consumption is modest, designed with energy efficiency in mind. It typically uses around 1000 watts, so managing your usage keeps both bills and environmental impact low.
Can the Cricut Heat Press Be Used Outdoors?
You can use the Cricut Heat Press outdoors, but prioritize outdoor safety by avoiding wet or windy conditions.
Always consider weather considerations like temperature and humidity to guarantee safe, effective pressing without damaging your materials or device.
Conclusion
Now that you know how to use your Cricut Heat Press with confidence, you’ll see just how much creativity you can unleash. Don’t doubt that mastering the right settings and techniques makes all the difference—it truly does. Each project you press perfectly proves that your effort and care pay off.
Keep experimenting, and you’ll turn simple materials into stunning designs, making every creation a rewarding success. Your Cricut Heat Press is ready when you are. Embrace the possibilities and enjoy the process of crafting with your Cricut Heat Press.

