To use your heat press machine for sublimation, start by printing your vibrant design on special sublimation paper using high-quality inks. This is essential for achieving bright, durable colors.
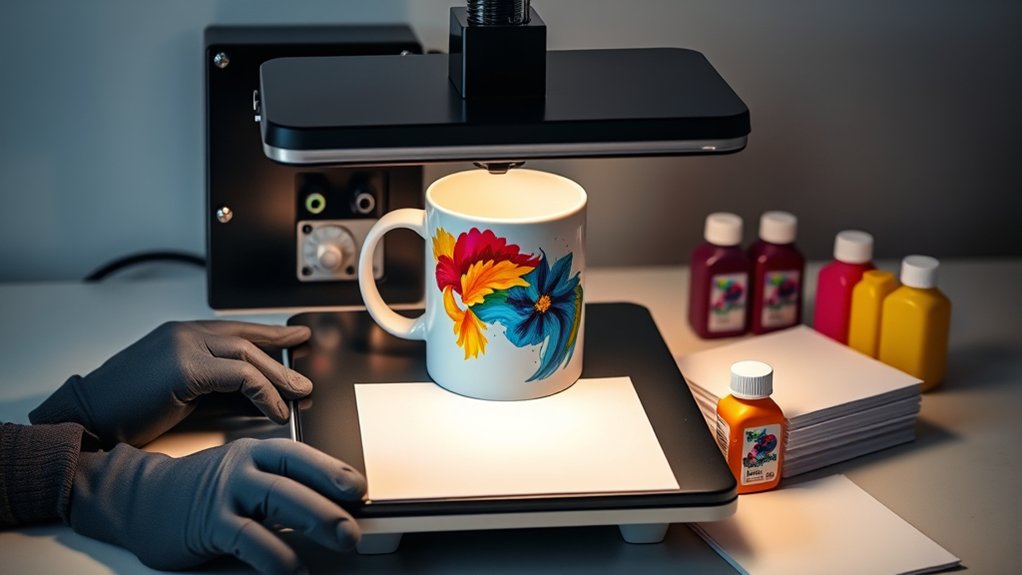
Choose polyester garments or coated items, as these materials work best for sublimation.
Place your design face-down on the item and secure it with heat-resistant tape to prevent shifting during pressing. Set your heat press to around 375°F–400°F with firm, even pressure. Press for the recommended time, typically between 30 to 60 seconds.
Heat activates the ink, infusing colors deeply into the fabric or coating. Master these steps, and you’ll soon craft flawless, eye-catching prints with ease using your heat press machine for sublimation.
Key Takeaways
- Use high-quality sublimation ink, sublimation paper, and polyester or coated substrates to ensure vibrant transfers.
- Print your design in a compatible format with high resolution, matching the heat press size and proper color profile.
- Set the heat press temperature between 375°F and 400°F, adjust time and pressure according to substrate guidelines.
- Align and secure the sublimation print on the substrate with heat-resistant tape to prevent shifting during pressing.
- Press the design firmly with even heat distribution, then carefully remove the paper to reveal a vivid sublimation print.
Essential Materials and Tools for Heat Press Sublimation
Before you even fire up your heat press machine, gathering the right materials and tools is essential to confirm vibrant, lasting sublimation prints. Start with high-quality sublimation inks; they’re the lifeblood of your designs, delivering rich, vivid colors that won’t fade.
Gather quality sublimation inks and tools first to ensure your prints are vibrant and long-lasting.
Pair these with sublimation paper designed for sharp, crisp transfers. Don’t forget your heat transfer substrates: polyester garments or specially coated items that absorb the sublimation inks perfectly.
You’ll also want a Teflon sheet or parchment paper to protect your design and heat press from ink stains. Precision tools like heat-resistant gloves and a lint roller guarantee your workspace stays clean and safe.
With these essentials ready, your heat press sublimation process will flow smoothly, capturing every colorful detail with expert clarity.
Preparing and Printing Your Sublimation Design
Once you have your materials ready, immerse yourself in preparing your design with keen attention to color settings and image resolution to guarantee every detail pops vividly on your final product.
Start by opening your preferred design software, ensuring it supports high-quality file formats like PNG or TIFF. Then, follow these steps:
- Optimize your canvas size to match your heat press dimensions, avoiding pixelation or distortion.
- Adjust color profiles in your design software to CMYK or RGB based on your printer’s requirements, enhancing color accuracy.
- Save your design in a compatible file format with a transparent background if needed, preserving crisp edges for sublimation.
Setting Temperature, Time, and Pressure on Your Heat Press
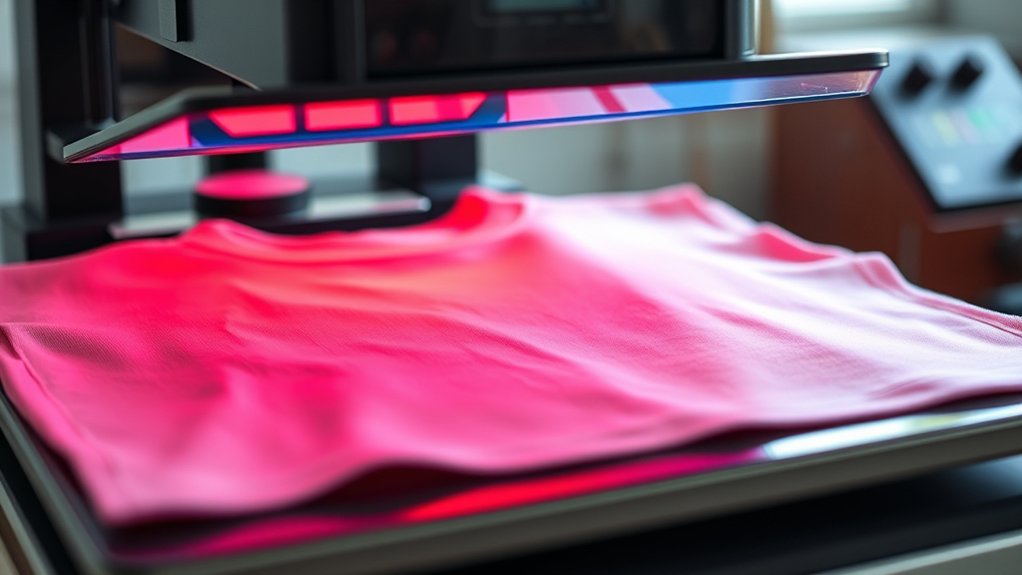
Although sublimation designs can be vibrant and intricate, your final product depends heavily on how you set the temperature, time, and pressure on your heat press. Begin with precise temperature calibration, matching the heat setting to the substrate’s requirements—usually around 375°F to 400°F. This guarantees the ink bonds perfectly with the material.
Next, set your timer carefully; too short, and colors won’t fully transfer; too long, and you risk scorching. Finally, adjust the pressure. This step is often overlooked but essential. Use firm, even pressure so the design presses uniformly, avoiding blotches or faded spots.
A proper pressure adjustment balances between too light, which causes incomplete transfers, and too heavy, which can damage fabrics. Mastering these settings will make your sublimation projects vivid and flawless every time.
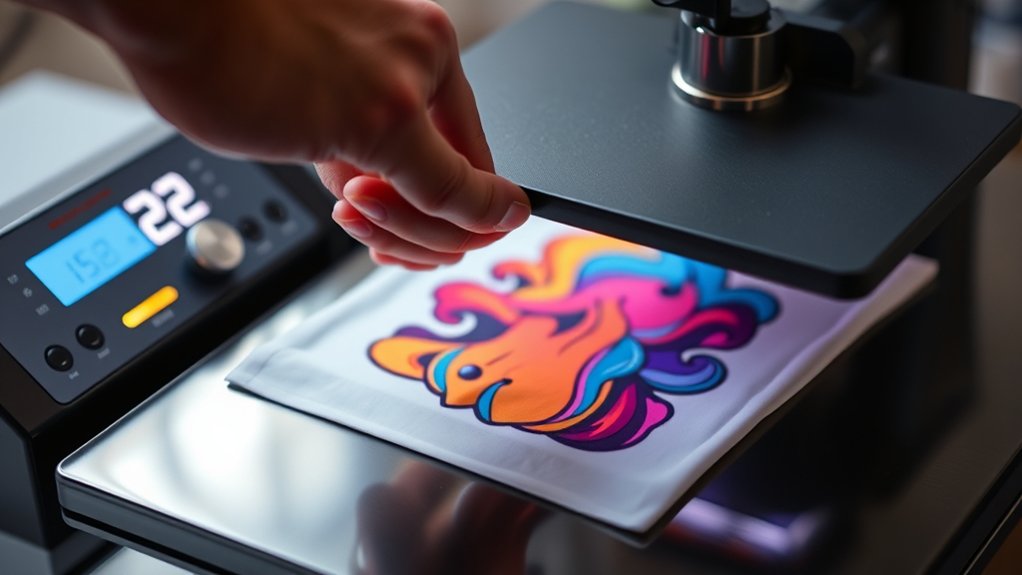
How to Transfer Your Design With a Heat Press
When you place your printed sublimation design onto the substrate, aligning it carefully guarantees every detail transfers exactly as intended. Mastering design placement is key to flawless results. Use these transfer techniques:
Careful alignment of your printed sublimation design ensures every detail transfers perfectly for flawless results.
- Secure the design with heat-resistant tape to prevent shifting during pressing.
- Position the substrate on the heat press platen, making sure of even contact for consistent heat distribution.
- Close the heat press firmly and apply the preset temperature, pressure, and time.
Visualize the colors infusing the fabric as the heat activates the sublimation ink. Precise placement combined with steady pressure transforms your design from paper to vibrant art. By controlling these elements, you guarantee crisp edges, vivid hues, and professional-quality sublimation transfers every time.
Avoid Common Mistakes for Vibrant Sublimation Prints
To achieve vibrant sublimation prints, you must steer clear of common pitfalls that dull colors or blur details. First, avoid uneven heat distribution; it can cause patchy colors and inconsistent print quality. Make sure your heat press plate is clean and properly calibrated before every transfer.
Next, don’t overlook the importance of pressure. Too light, and your design won’t bond well; too heavy, and it might distort. Always use fresh, high-quality sublimation ink and paper to prevent faded or muddy colors.
When colors look off, rely on sublimation troubleshooting: check your temperature, timing, and alignment carefully. By mastering these details, you’ll consistently produce sharp, vibrant prints that pop with life and clarity, turning every project into a visual masterpiece.
Frequently Asked Questions
Can I Use a Heat Press for Other Types of Printing Besides Sublimation?
You can definitely use a heat press for screen printing and vinyl transfer, too. Just adjust the temperature and time carefully, and watch vibrant colors and crisp designs come alive on fabrics, mugs, or even wood panels.
How Do I Clean and Maintain My Heat Press Machine?
You’ll want to pamper your heat press with gentle cleaning techniques. Wipe down surfaces after cooling, avoid harsh scrubbing, and regularly check for wear.
Consistent heat press maintenance guarantees smooth, vibrant prints and a long-lasting creative partner.
What Safety Precautions Should I Take When Using a Heat Press?
You should always wear personal protective gloves and eyewear for heat press safety. Keep your workspace clear, avoid touching hot surfaces, and never leave the machine unattended to prevent burns and accidents while creating vibrant sublimation designs.
Can Sublimation Be Done on Dark-Colored Fabrics?
Though a knight might struggle, you can’t do sublimation on dark fabrics directly. Sublimation techniques require light, polyester-rich fabric compatibility, so use white or light-colored materials to guarantee vivid, lasting, and vibrant designs pop perfectly.
How Long Does a Heat Press Typically Last With Regular Use?
Your heat press lifespan usually spans 5 to 10 years with regular maintenance like cleaning and calibration. Treat it like a trusted artist’s tool. Keep it sharp, and it’ll deliver vibrant, flawless prints consistently.
Conclusion
Now that you know how to use your heat press for sublimation, you’re ready to create vibrant, lasting designs. Did you know sublimation inks can produce over 16 million colors, making your prints incredibly vivid? By mastering temperature, time, and pressure, you’ll transform blank items into stunning art pieces.
Keep practicing and avoid common mistakes to improve your results. Each press brings your creativity to life, turning simple materials into colorful masterpieces. Remember, your heat press is the gateway to endless colorful possibilities.
With these tips, you’ll confidently use your heat press for sublimation and unlock incredible design potential every time.