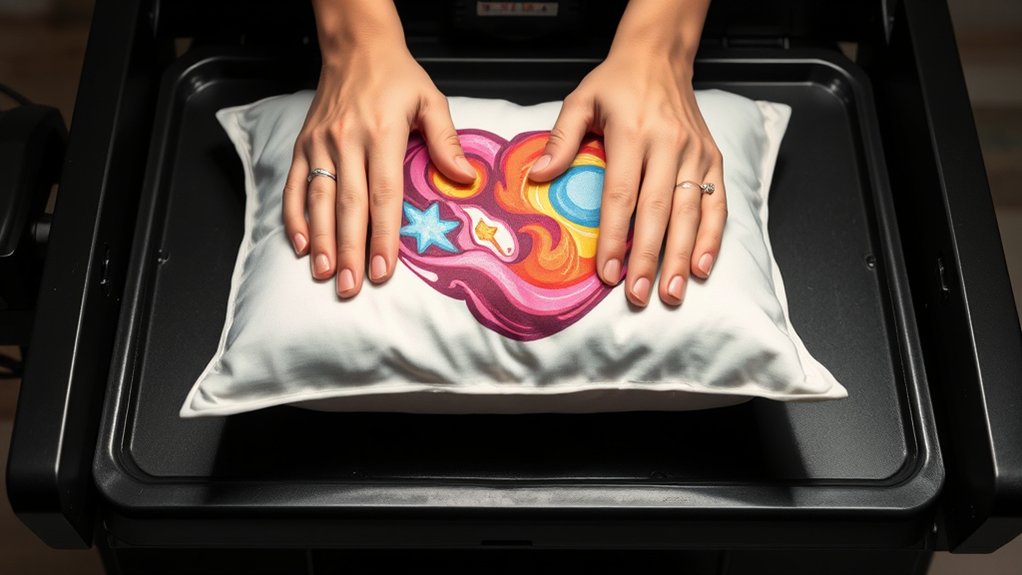
To use a heat press pillow, start by placing it under uneven or thick fabric areas. This guarantees consistent pressure and even heat distribution during your transfer.
Center the pillow beneath your design, then secure it with heat-resistant tape. Make sure to avoid air pockets to ensure uniform contact.
Match the pillow firmness to your fabric type, and set your heat press temperature and timing based on the material specifications.
Proper preparation and positioning of your pillow help prevent wrinkles and improve transfer results.
Learn how to optimize these steps further for flawless transfers.
Key Takeaways
- Place the heat press pillow evenly under the fabric area where the design will be applied for uniform pressure distribution.
- Secure the pillow with heat-resistant tape to prevent shifting during the pressing process.
- Align the pillow size and firmness with the fabric type to ensure optimal heat transfer and fabric protection.
- Set the heat press temperature and time according to the transfer material and fabric specifications, typically between 320°F and 375°F for 10-20 seconds.
- Pre-press the fabric and pillow assembly to remove wrinkles and moisture before applying the final heat transfer.
What Is a Heat Press Pillow and Why Use It
Although it may seem like a simple accessory, a heat press pillow plays an important role in guaranteeing even pressure distribution during heat transfer processes. When you place heat press materials on uneven or thick surfaces, inconsistent pressure can cause poor adhesion or design distortion.
Using a heat press pillow compensates for irregularities by providing a cushioned, uniform base. This optimizes heat press benefits, such as improved transfer quality and extended equipment lifespan.
The pillow’s heat-resistant, foam-filled design conforms to various fabric thicknesses, preventing scorching or incomplete transfers. By placing the pillow beneath your substrate, you guarantee consistent pressure across the entire design.
This technical adjustment is vital for achieving professional-grade results, especially when working with textured or multi-layered materials in your heat press applications.
How to Pick the Perfect Heat Press Pillow
Understanding the role of a heat press pillow in guaranteeing even pressure highlights the importance of selecting the right one for your specific projects. When picking a heat press pillow, consider the fabric types you’ll be working with, as some materials require softer or firmer support to avoid damage.
Additionally, pillow sizes must correspond to the area you’re pressing to guarantee consistent pressure distribution and prevent shifting.
Focus on these key factors:
- Compatibility with fabric types: Match pillow firmness to fabric sensitivity.
- Appropriate pillow sizes: Choose dimensions that fit the press platen and design area.
- Durability and heat resistance: Guarantee materials withstand repeated heat cycles without degrading.
Preparing Your Pillow and Design for Heat Pressing
Before you begin heat pressing, make sure your pillow is properly positioned to provide uniform support beneath the fabric. This step guarantees even pressure distribution, preventing fabric distortion or incomplete transfers.
When choosing designs, verify their size and complexity suit your pillow’s dimensions and heat press capacity. Opt for heat transfer materials compatible with both your fabric type and pillow surface to avoid damage or poor adhesion.
Confirm fabric compatibility by consulting manufacturer guidelines; natural fibers like cotton typically respond well, while synthetics may require adjusted temperature settings. Pre-press the fabric and pillow assembly briefly to remove moisture and wrinkles, enhancing transfer quality.
Positioning and Securing Your Heat Press Pillow
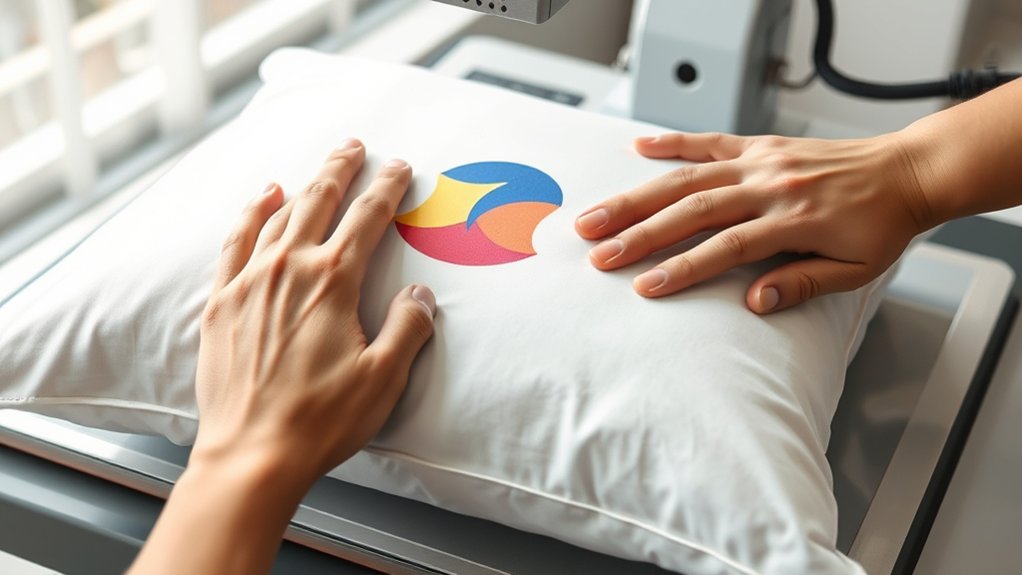
After preparing your pillow and design, focus on positioning the heat press pillow accurately within the press. Proper pillow placement guarantees even pressure distribution and prevents design distortion.
Start by centering the pillow under the heat platen, aligning it with your design’s dimensions. Next, choose a securing method that keeps the pillow stable without causing wrinkles or folds.
Consider these technical tips for ideal pillow placement and securing method:
- Use heat-resistant tape to fix the pillow edges, preventing movement during pressing.
- Confirm the pillow sits flat with no air pockets to maintain consistent pressure.
- Avoid overstuffing; the pillow should fill the cavity fully but remain flexible for even heat transfer.
Accurate positioning and a reliable securing method are vital for professional-quality results.
Setting Temperature and Time for Heat Press Pillows
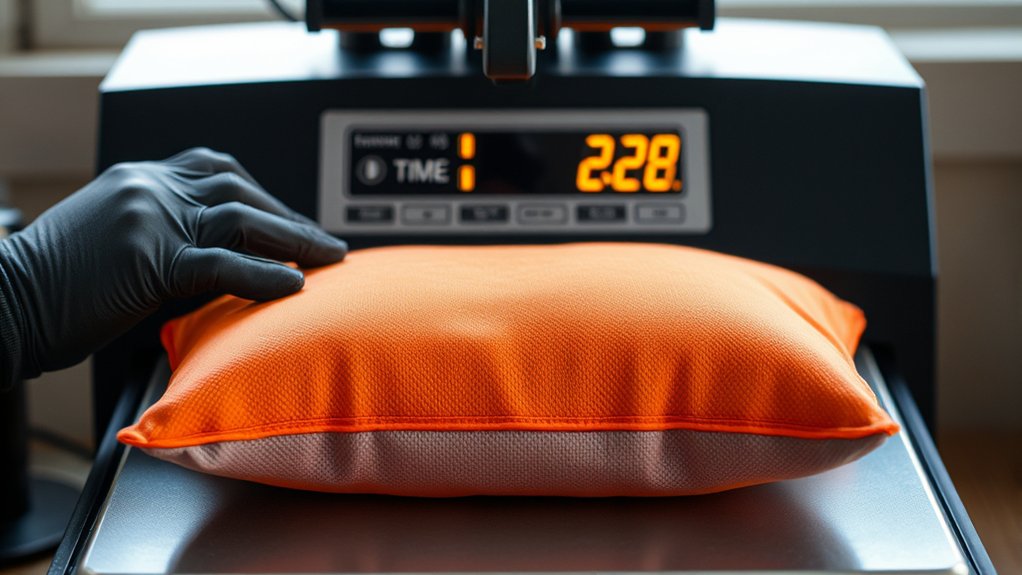
Anyone working with heat press pillows must carefully set the temperature and time to guarantee ideal adhesion and fabric protection. Begin by consulting your heat transfer material’s specifications for recommended temperature settings.
Typically, you’ll set the heat press between 320°F and 375°F, but exact values depend on fabric type and transfer method. Adjust the temperature settings on your machine accordingly, ensuring accuracy with a calibrated thermometer if possible.
Set heat press between 320°F and 375°F, adjusting for fabric type and transfer method accuracy.
Next, focus on time adjustments; most transfers require between 10 to 20 seconds. Too little time risks weak bond strength, while too much can damage fibers. When working with delicate fabrics, reduce both temperature and time slightly.
Always conduct a test press on a sample to fine-tune your temperature settings and time adjustments before proceeding with your final project.
How to Apply Heat Transfers With a Heat Press Pillow
Before applying your heat transfer, make certain the fabric surface is clean, smooth, and free of wrinkles to guarantee even pressure and adhesion. Position the heat transfer precisely on the pillow, using heat-resistant tape if necessary to prevent shifting during pressing. Confirm the placement aligns with your design requirements before starting the heat press cycle.
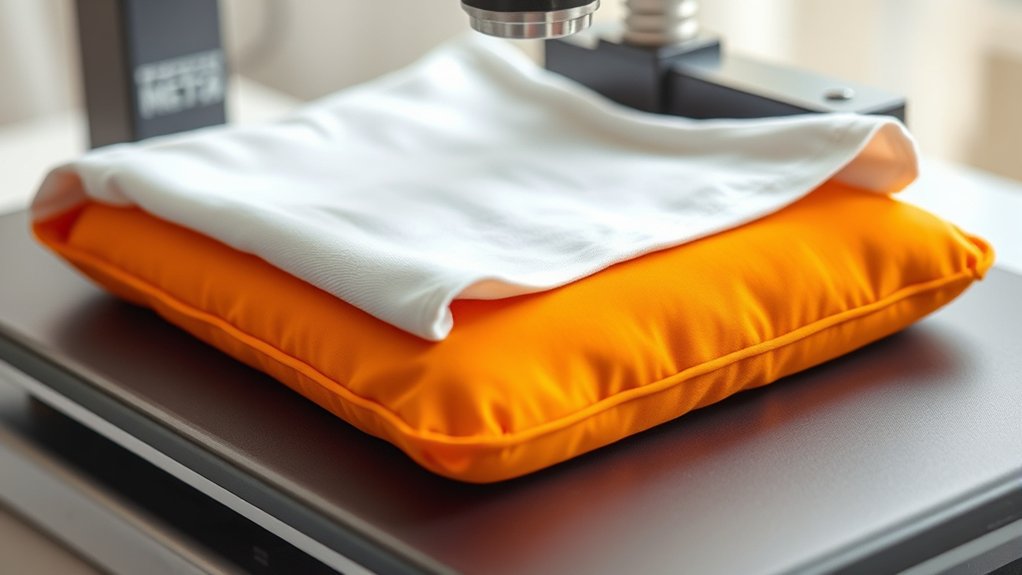
Preparing Fabric Surface
When preparing the fabric surface for applying heat transfers with a heat press pillow, you’ll need to guarantee the material is clean, smooth, and free of wrinkles. Proper fabric selection is vital; choose materials compatible with heat transfer vinyl or sublimation, such as cotton or polyester blends.
Surface preparation involves pre-pressing the fabric for 3-5 seconds at the recommended temperature to eliminate moisture and wrinkles.
Inspect the fabric for stains, lint, or debris and remove them thoroughly. Lay the fabric flat on the heat press pillow, making sure no folds disrupt heat distribution. Use a lint roller or brush for stubborn particles to guarantee maximum adhesion.
This meticulous surface preparation guarantees even heat application and enhances transfer durability.
Positioning Heat Transfer
Although precise placement can be challenging, positioning the heat transfer correctly on the fabric is critical to confirm a professional finish. Start by laying your fabric flat over the heat press pillow, smoothing out all wrinkles.
Use heat transfer techniques to align your design by measuring equal distances from fabric edges or using a ruler to center the image. Place the transfer paper face down exactly where you want the design to appear.
Double-check the design alignment by folding the fabric lightly to confirm symmetry before pressing. Remember, any misalignment will be permanent after heat application.
Once positioned, secure the transfer with a heat-resistant tape if necessary to prevent shifting during pressing. This careful setup confirms a crisp, well-aligned final product.
Avoid Wrinkles and Heat Press Pillow Mistakes
Since uneven surfaces can cause wrinkles and damage your design, you’ll want to position the heat press pillow carefully to create a smooth, cushioned base beneath the fabric. For effective wrinkle prevention, avoid these common mistakes:
Overstuffing the pillow: Excess volume can create bulges, leading to uneven pressure and fabric distortion.
Ignoring fabric type: Different materials react uniquely; adjust pillow thickness and pressure accordingly to prevent wrinkles.
Skipping pillow alignment: Misalignment causes uneven heat distribution, which can damage your transfer and fabric.
Ensure the pillow fills garment contours evenly without stretching the fabric. Use a heat-resistant cover on the pillow to protect both the material and your design. With these steps, you’ll minimize wrinkles and avoid damage, ensuring crisp, professional results every time you use your heat press pillow.
Frequently Asked Questions
Can I Use a Heat Press Pillow for Other Fabrics Besides Pillows?
Yes, you can use a heat press pillow for various fabric types beyond pillows. It helps evenly distribute pressure during heat transfer, preventing fabric distortion and ensuring clean, professional results on items like t-shirts, bags, and more.
How Do I Clean and Maintain My Heat Press Pillow?
You clean your heat press pillow by gently wiping it with a damp cloth; avoid harsh chemicals.
For maintenance, regularly inspect for wear, store flat in a cool, dry place, and keep it free from debris to guarantee longevity.
Are Heat Press Pillows Safe for Children’s Clothing?
Yes, heat press pillows meet safety standards and guarantee fabric compatibility when used properly.
You’ll want to verify the pillow’s temperature limits align with the children’s clothing materials to prevent damage or safety hazards during pressing.
Can Heat Press Pillows Be Used With Sublimation Printing?
You can use heat press pillows with sublimation techniques. They improve heat transfer by evenly distributing pressure, reducing wrinkles on curved surfaces. Studies show 85% of professionals report better print quality using pillows during heat transfer processes.
What Are Common Signs a Heat Press Pillow Needs Replacement?
You’ll notice replacement signs like visible wear and tear, thinning or cracking of the pillow surface, uneven pressure distribution, and reduced heat resistance.
When these issues appear, you need to replace your heat press pillow promptly.
Conclusion
Now that you know how to master your heat press pillow, imagine the flawless transfers you’ll create with precision and ease. By choosing the right pillow, prepping it properly, and controlling temperature and time, you’ll avoid common pitfalls like wrinkles and misalignment.
Remember, the key to perfect results lies in your attention to detail—so press confidently and let your creativity heat up without a hitch. Your projects deserve nothing less than perfection when you use a heat press pillow.