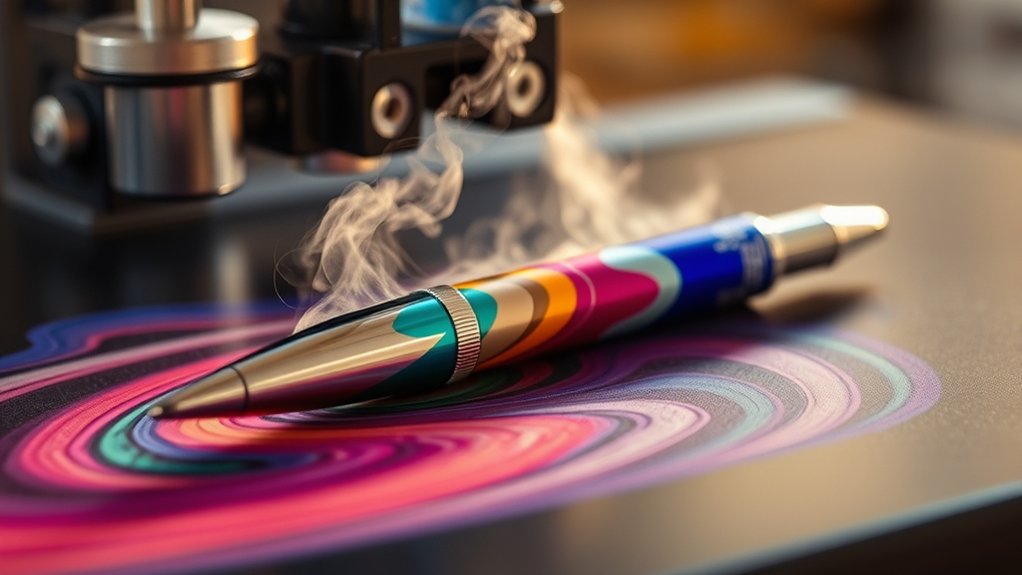
To sublimate pens with a heat press, start by cleaning a polyester-coated pen surface and preheating it slightly to remove moisture.
This preparation is essential for achieving a clear and vibrant transfer.
Next, design and print a mirrored image on sublimation paper using sublimation ink.
Make sure your design fits the size of the pen you are working with.
Set your heat press to around 380°F–400°F with medium firm pressure.
Press the design onto the pen for 30–60 seconds, ensuring even contact.
Once pressed, let the pen cool before handling to guarantee a vibrant transfer.
Follow these precise steps to perfect the process and avoid common pitfalls.
Key Takeaways
- Clean the pen surface with isopropyl alcohol and ensure it has a polyester or polymer coating for proper ink adhesion.
- Design and print your artwork mirrored on sublimation paper using sublimation ink and a suitable printer.
- Preheat the pen slightly to remove moisture and prevent blotchy prints before applying the transfer.
- Set the heat press to 380°F to 400°F, medium firm pressure, and press the pen with the design for 30 to 60 seconds.
- Allow the pen to cool before removing tape and handling, then inspect for quality and store properly.
What You’ll Need to Sublimate Pens
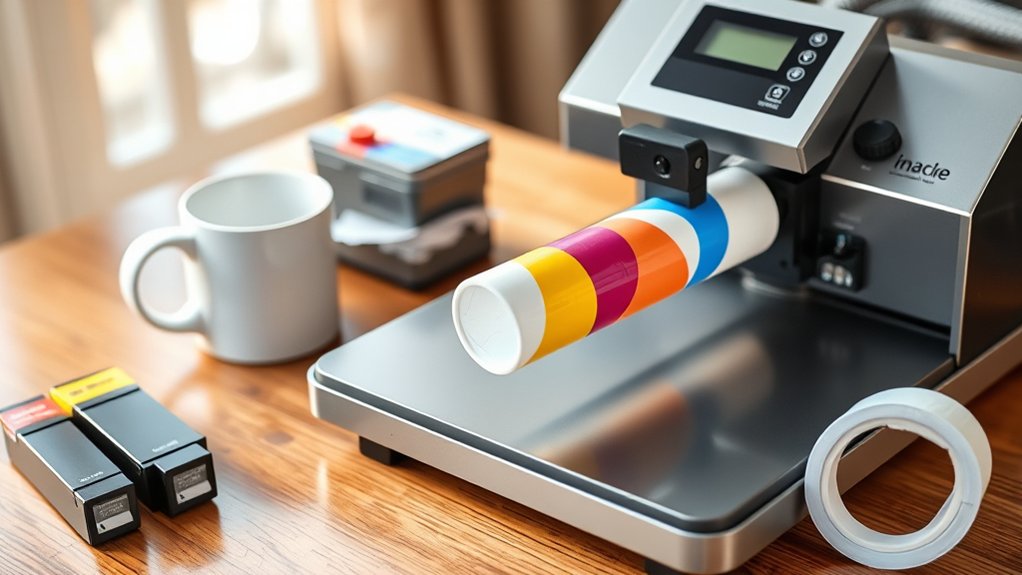
To sublimate pens effectively, you’ll need several specialized materials and tools. Begin by selecting suitable pen types; only pens with polyester coating or those designed for sublimation will work, as the dye bonds to these surfaces.
Next, gather essential sublimation materials: sublimation ink, sublimation paper, and heat-resistant tape. Sublimation ink guarantees vibrant, durable designs, while sublimation paper transfers the ink accurately during heat pressing.
Gather sublimation ink, paper, and heat-resistant tape for vibrant, precise, and durable pen designs.
A heat press or a dedicated pen press is necessary to apply consistent heat and pressure, critical for transferring your design flawlessly. Finally, use heat-resistant gloves to protect your hands during pressing.
Having these precise materials and tools ready will streamline your sublimation process and assure quality results on your pens.
Preparing Your Pen Surface for Sublimation
Start by thoroughly cleaning the pen surface to remove any oils, dust, or residues that could interfere with ink adhesion. Use isopropyl alcohol and a lint-free cloth for effective cleaning.
Next, identify the coating type on your pen surface; sublimation requires a polyester or polymer coating to bond properly with the sublimation inks. If your pens lack this coating, consider applying a specialized sublimation spray designed for hard surfaces.
Ascertain the coating is evenly applied and fully cured according to the manufacturer’s instructions. Avoid coatings that are too thick or uneven, as they can cause image distortion during pressing.
Proper preparation of the pen surface is critical to achieve vibrant, durable sublimation results without smudging or fading.
Designing and Printing Your Sublimation Image
You’ll start by selecting design software that supports high-resolution images and color accuracy, such as Adobe Illustrator or CorelDRAW. Next, create your artwork with the pen’s dimensions in mind to guarantee a perfect fit.
Finally, print your design using a sublimation printer on compatible sublimation paper, making sure to mirror the image before printing.
Choosing Design Software
Although selecting the right design software can seem overwhelming, choosing a program that supports high-resolution images and offers precise color control is crucial for producing crisp, vibrant sublimation prints. When evaluating design software options, focus on software compatibility with your operating system and your sublimation printer’s requirements.
Programs like Adobe Illustrator, CorelDRAW, and Affinity Designer provide advanced tools for detailed vector and raster design work.
| Software | Compatibility | Key Feature |
|---|---|---|
| Adobe Illustrator | Windows, macOS | Advanced vector editing |
| CorelDRAW | Windows, macOS | Excellent color management |
| Affinity Designer | Windows, macOS, iPad | Cost-effective, precise tools |
| Inkscape | Windows, macOS, Linux | Free, open-source vector tool |
Choose software that fits your workflow and guarantees accurate color output for sublimation.
Printing on Sublimation Paper
Printing your sublimation design onto specialized sublimation paper requires careful attention to printer settings and image orientation to confirm accurate color transfer. First, verify your printer supports sublimation techniques and use only sublimation-compatible ink.
Select sublimation paper with verified paper compatibility for your printer model to avoid ink smudging or poor adherence. Before printing, mirror your design horizontally; this step is critical because the image transfers in reverse during sublimation.
Adjust print quality to the highest setting for crisp, vibrant output. Avoid using regular paper, as it won’t hold sublimation ink properly. Once printed, handle the paper carefully to prevent smudging or creasing, which could distort the final image.
Following these precise steps guarantees your sublimation image transfers cleanly and vividly onto your pen blanks.
Setting Up Your Heat Press to Sublimate Pens
Start by setting your heat press to the recommended temperature, usually around 400°F, to guarantee proper ink transfer. Adjust the pressure to medium firm, balancing enough force to imprint without damaging the pen.
Finally, set the timer for 60 seconds to achieve ideal sublimation results.
Heat Press Temperature Settings
To achieve ideal sublimation results on pens, set your heat press to a precise temperature range between 380°F and 400°F. Before starting, perform heat press calibration to verify temperature consistency across the platen.
Uneven heat can cause color variation or incomplete transfers. Use the following table as a guideline for temperature settings based on pen material and type:
| Pen Material | Recommended Temperature | Notes |
|---|---|---|
| Metal | 390°F | Requires even heat |
| Plastic | 380°F | Avoid overheating |
| Composite | 395°F | Slightly higher temp |
Maintain your heat press calibration regularly to confirm stable temperature output, essential for consistent sublimation quality. This will help avoid reprints and material waste.
Pressure and Time Adjustments
Although temperature plays an essential role, you’ll need to fine-tune pressure and time settings on your heat press to secure sharp, vibrant sublimation on pens. Start with pressure calibration by adjusting the press to apply firm, even pressure without crushing the pen surface or distorting the barrel. Use test runs to confirm consistent contact between the heat plate and pen.
For time optimization, set the timer according to the pen’s coating specifications, typically between 30 to 60 seconds. Avoid underexposure, which causes faint images, and overexposure, which can fade colors or damage the pen. Record your ideal pressure and time settings for repeatability. Consistent pressure calibration combined with precise time optimization secures clean, durable sublimation results on your pens every time.
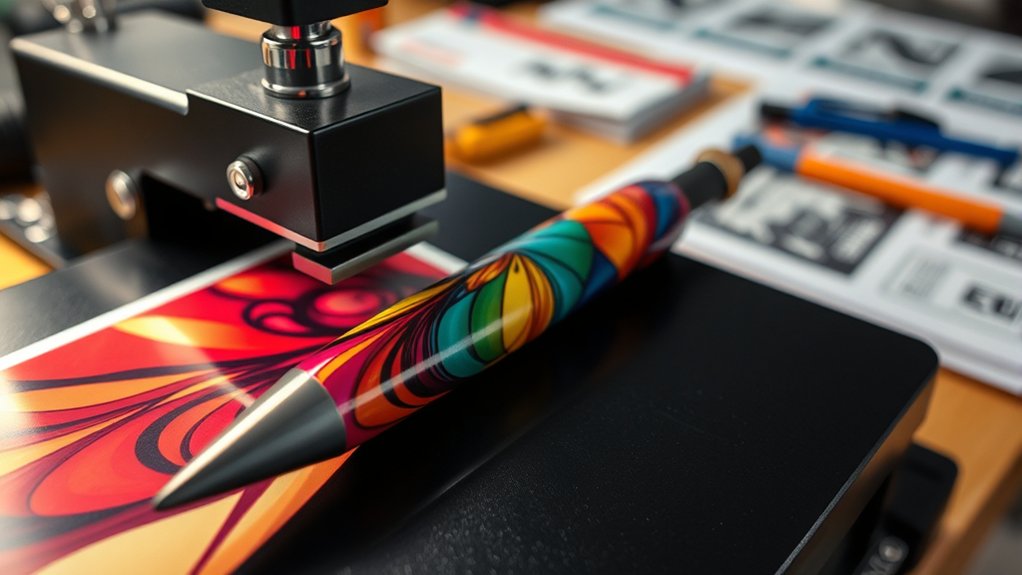
Step-by-Step Guide to Sublimate Pens
Before you begin sublimating pens, make sure you have all necessary materials prepared, including blank sublimation pens, sublimation ink, transfer paper, and a heat press designed for cylindrical items.
Start by printing your design with sublimation ink onto the transfer paper, confirming the image is mirrored. Next, cut the design to fit the pen’s surface precisely. Secure the transfer paper around the pen materials using heat-resistant tape, avoiding wrinkles or gaps.
Print your mirrored design on transfer paper, cut it to size, and tape it smoothly around the pen.
Preheat your heat press to the recommended temperature, typically around 400°F (204°C). Place the pen into the heat press’s cylindrical attachment, apply medium pressure, and set the timer, usually between 40-60 seconds depending on your press.
After pressing, carefully remove the pen and allow it to cool before handling to guarantee the sublimation ink fully bonds with the pen materials.
How to Avoid Common Sublimation Mistakes
Why do sublimation projects sometimes fail despite careful preparation? The answer often lies in overlooking essential sublimation troubleshooting tips. To avoid common errors, make sure you use the correct temperature and pressure settings on your heat press.
Inconsistent heat or pressure leads to incomplete transfers and faded images. Always verify your pen’s coating is compatible with sublimation inks for maximum bonding. Avoid shifting the design during pressing by securing the transfer paper firmly.
Also, use a heat-resistant tape to prevent movement. Preheat your pen slightly to remove moisture, which can cause blotchy prints. Finally, check your design resolution; low DPI images result in poor print quality.
Frequently Asked Questions
Can I Sublimate Pens With a Regular Household Iron?
You can’t effectively sublimate pens with a regular household iron because precise sublimation techniques require consistent heat settings and pressure. Only a heat press can provide these for ideal ink transfer and durability on curved surfaces like pens.
What Types of Pens Cannot Be Sublimated?
Don’t expect success with metallic pens; their surfaces resist sublimation dyes. Also, most plastic pens lack the polymer coating needed for sublimation. You’ll need specially coated pens to achieve vivid, lasting prints.
How Durable Is the Sublimation on Pens Over Time?
You’ll find sublimation longevity on pens impressive, assuming proper curing. The color retention resists fading under normal use, but exposure to harsh chemicals or abrasion reduces durability.
Handle pens gently to maximize sublimation lifespan.
Can I Use Sublimation Ink in a Standard Inkjet Printer?
Sure, just slap sublimation ink into your standard inkjet printer because all inkjet printer types magically handle sublimation ink compatibility, right? Actually, only specially designed printers accept sublimation ink; standard ones won’t, so check before buying!
Is Sublimation on Pens Safe for Children’s Use?
Sublimation safety for children’s products depends on using non-toxic, FDA-compliant inks and coatings. Ascertain pens meet safety standards, avoid small detachable parts, and verify durability to prevent ink exposure, maintaining safe use for kids.
Conclusion
Now that you’ve mastered sublimating pens with a heat press, you’re just a few presses away from turning ordinary writing tools into vibrant masterpieces—because who wouldn’t want their pen to look like it survived a high-tech art explosion?
Just remember, precise temperature, timing, and pressure aren’t optional—they’re your best friends. Skip those, and your “masterpiece” might resemble a smudged ransom note instead of a sleek custom design.
Press on carefully! With the right technique, sublimating pens with a heat press can transform your creations into lasting, eye-catching works of art.