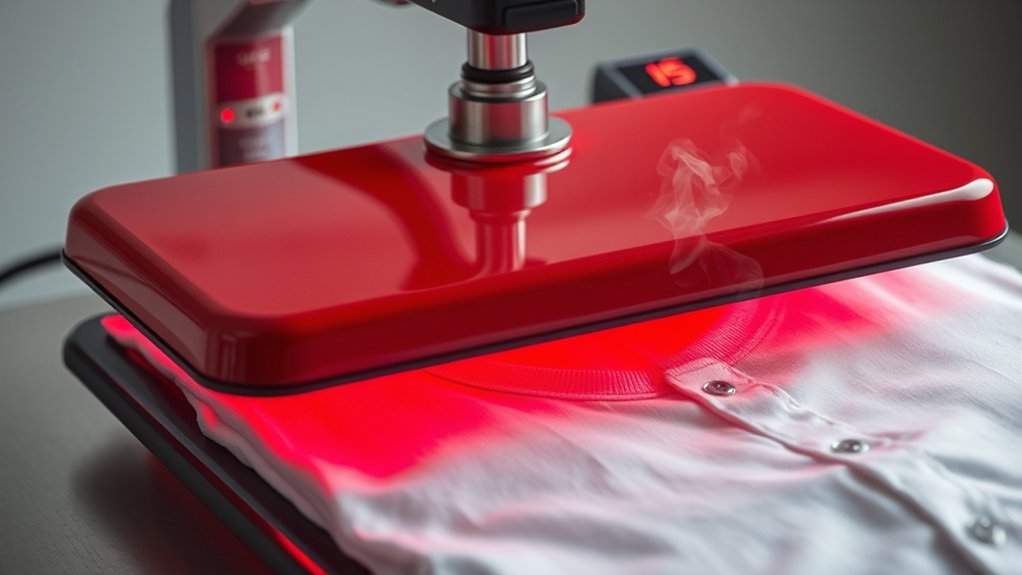
You’ll heat press a shirt between 10 and 60 seconds depending on your transfer type, fabric, and machine.
Vinyl transfers need about 10-15 seconds at 305°F, while sublimation requires 45-60 seconds at 400°F.
Cotton tolerates higher heat and moderate time; synthetics need less heat and time.
Adjust for layers and machine wattage, adding a few seconds per layer or if your press is lower-powered.
Correct timing guarantees strong adhesion without damage.
Explore how temperature, fabric, and machine affect your perfect press.
Key Takeaways
- Typical heat press time for vinyl transfers is 10-15 seconds at 305°F (150°C).
- Adjust time by 10-15% for every 10-15°F change in temperature to avoid damage or poor adhesion.
- Add 3-5 seconds for each additional transfer layer on specialty or layered shirts.
- Use manufacturer guidelines and test presses to find optimal time for your fabric and transfer type.
- Heat press machine wattage affects time: portable mini presses need longer than industrial flatbeds.
Recommended Heat Press Times for Different Transfer Types
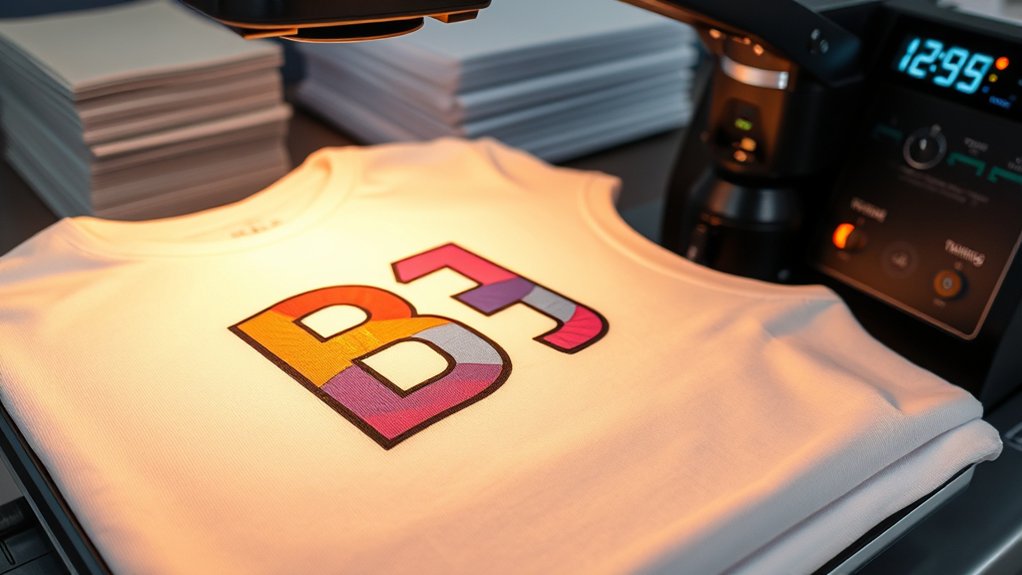
Although heat press times vary depending on the transfer type, you should always follow specific temperature and duration guidelines to guarantee ideal adhesion and durability. For vinyl transfers, the recommended times typically range from 10 to 15 seconds at 305°F (150°C).
Sublimation transfers require shorter pressing, usually about 45 to 60 seconds at 400°F (204°C). Plastisol transfers demand around 15 seconds at 320°F (160°C) for effective curing. When working with screen-printed transfers, follow manufacturer instructions closely, as times vary widely, often between 15 and 20 seconds.
Each transfer type’s recommended times are calibrated to guarantee prime bonding without damaging the shirt fabric or transfer material. Always refer to the transfer manufacturer’s guidelines to confirm precise timing and pressure for consistent, professional results.
How Heat Press Temperature Affects Timing
When you adjust the heat press temperature, you directly influence the required pressing time to achieve proper transfer adhesion. Higher temperature ranges typically reduce pressing time because heat activates adhesives faster, but excessive heat can damage both transfer and fabric.
Conversely, lower temperature ranges necessitate longer pressing times to guarantee full bond formation. To optimize results, start with manufacturer-recommended temperature ranges for your specific transfer type, then make precise timing adjustments based on observed outcomes.
For instance, if you increase temperature by 10–15°F, reduce pressing time by about 10–15%. Conversely, if you lower temperature, increase pressing time accordingly. Always monitor the transfer’s condition after each adjustment to prevent under- or over-pressing.
Maintaining the correct balance between temperature and time guarantees durable, high-quality transfers.
How Fabric Type Influences Heat Press Time
You need to adjust heat press time based on fabric type to avoid damage and guarantee proper adhesion. Cotton requires higher temperatures and longer pressing times, while synthetic fabrics need lower heat and shorter durations to prevent melting.
For delicate materials, always use reduced heat settings and minimal press time to protect the fabric’s integrity.
Cotton Versus Synthetic Fabrics
Since different fabrics respond uniquely to heat, understanding the distinctions between cotton and synthetic materials is crucial for setting the correct heat press time. Cotton characteristics include higher heat tolerance and moisture retention, which allow it to withstand longer heat press durations, typically around 15-20 seconds at 350°F.
Synthetic properties differ considerably; these fabrics have lower melting points and are sensitive to prolonged heat exposure. You should reduce heat press time to 10-15 seconds at a lower temperature, around 300-320°F, to prevent scorching or melting. Always adjust pressure accordingly. Cotton requires medium pressure, while synthetics need lighter pressure to avoid fabric distortion.
Delicate Materials Heat Settings
Understanding the heat tolerance of cotton and synthetic fabrics sets the stage for handling more delicate materials. When working with delicate materials, you must adjust heat settings to prevent damage.
These fabrics, such as silk, nylon, or rayon, require lower temperatures, typically between 270°F to 300°F, and shorter press times, often around 5 to 10 seconds. Excessive heat or prolonged pressure can cause scorching, melting, or distortion.
Always refer to manufacturer guidelines and test a small fabric section first. Use a protective sheet, like parchment paper, to shield the surface.
Monitor pressure carefully; too much pressure may leave marks or permanently alter fabric texture. By calibrating heat settings precisely for delicate materials, you protect your garment’s integrity while achieving ideal transfer results.
How to Time Heat Pressing for Layered or Specialty Shirts
When heat pressing layered or specialty shirts, you’ll need to adjust the time to guarantee even heat penetration without damaging the fabric. Use specific settings designed for specialty materials, and monitor heat distribution carefully to prevent scorching or incomplete adhesion.
Accurate timing combined with proper temperature and pressure is essential for ideal results.
Adjusting Time for Layers
Although heating a single-layer shirt requires a standard press time, layering or specialty materials demand careful adjustments to prevent damage and guarantee proper adhesion. When working with layering techniques, you need to increase the heat press time incrementally, typically by 3 to 5 seconds per additional layer.
This compensates for the added thickness without overheating the fabric. Always monitor the temperature closely; excessive heat can cause distortion or scorching. Start with your base material’s recommended timing and adjust based on the number of layers and their thickness.
Use a test press to verify adhesion and avoid peeling. Precise timing adjustments help that each layer bonds securely while maintaining the shirt’s integrity. Keep detailed notes for consistent results with future projects.
Specialty Fabric Settings
Since specialty fabrics often respond differently to heat and pressure, you’ll need to fine-tune your heat press settings carefully to avoid damage and guarantee proper adhesion. For stretchable materials, reduce the temperature by 10-15°F and shorten the pressing time by 5-10 seconds to prevent distortion. Apply moderate pressure to maintain fabric elasticity.
When working with unique textures, such as velvet or mesh, use a lower temperature and a protective cover sheet to avoid crushing or melting fibers. Extend pressing time slightly by 5 seconds to confirm full transfer without overheating delicate surfaces. Always test on a fabric scrap first, adjusting time and pressure incrementally. This approach guarantees that specialty fabrics retain their integrity while achieving ideal heat press results.
Managing Heat Distribution
Three key factors influence effective heat distribution when pressing layered or specialty shirts: fabric thickness, material composition, and transfer type. To guarantee uniform heat application, adjust your heat settings according to the thickest layer, increasing temperature slightly if necessary.
Apply consistent pressure; too little pressure causes uneven bonding, while too much risks fabric damage. For layered shirts, extend pressing time by 5-10 seconds beyond standard to accommodate heat penetration through multiple layers.
Specialty materials like vinyl or reflective fabrics may require customized heat settings and pressure application. Always consult manufacturer guidelines. Use a heat press with an even platen and consider a protective Teflon sheet to disperse heat evenly.
Monitor the process closely to avoid scorching or incomplete adhesion, guaranteeing durable, high-quality transfers on complex garments.
How to Test and Perfect Your Heat Press Time
How can you determine the ideal heat press time for your shirt? Begin with systematic press testing. Use a consistent temperature and pressure, then vary the time in small increments. Start at the manufacturer’s recommended baseline.
After each press, inspect the transfer for adhesion quality and fabric integrity. Record your results meticulously to guarantee timing accuracy. Repeat this process until you identify the shortest time that achieves a flawless transfer without damage.
Employ a stopwatch or timer to eliminate guesswork. Additionally, consider environmental factors like humidity that might affect curing time. This methodical approach to testing lets you perfect your heat press time with precision, ensuring consistent, high-quality results every time you press a shirt.
How to Tell If You’ve Heat Pressed Too Much or Too Little

Once you’ve established a baseline heat press time through testing, you need to monitor signs that indicate whether you’ve applied too much or too little heat and pressure. Heat press indications of over-pressing include scorching, fabric distortion, or a brittle, cracked transfer.
Conversely, under-pressing often results in incomplete adhesion, visible peeling, or a patchy transfer area. Evaluate transfer quality immediately after pressing by gently flexing the garment; a proper press will maintain transfer integrity without cracking or lifting.
If you observe any of these heat press indications, adjust your time, temperature, or pressure accordingly. Accurate interpretation of these signs guarantees consistent transfer durability and appearance, preventing damage and optimizing your heat press results.
Adjusting Heat Press Time for Different Heat Press Machines
Because heat press machines vary in design, wattage, and temperature distribution, you must adjust pressing times accordingly to achieve ideal transfer results. Different machine settings influence heat press efficiency, so calibrate time based on your specific equipment.
Lower wattage or uneven heat distribution generally requires longer pressing, while high-efficiency models may need shorter durations. Use the table below as a guideline to fine-tune your process:
| Machine Type | Wattage (W) | Recommended Time (seconds) |
|---|---|---|
| Clamshell | 1200 | 15-20 |
| Swing-away | 1500 | 12-18 |
| Draw-style | 1300 | 14-20 |
| Industrial flatbed | 1800 | 10-15 |
| Portable mini press | 800 | 18-25 |
Adjusting time based on these variables guarantees consistent transfer quality and maximizes heat press efficiency.
Frequently Asked Questions
Can I Heat Press Shirts Without Protective Parchment Paper?
You can heat press shirts without protective parchment paper, but you risk damaging your design or press. Use heat transfer techniques with protective paper alternatives like Teflon sheets or silicone mats to guarantee even heat distribution and protection.
How Do Humidity Levels Affect Heat Pressing Results?
Humidity effects can increase moisture content by up to 60%, impacting heat pressing results. You must control moisture control precisely, as excess humidity causes poor adhesion and longer pressing times.
Low humidity may lead to fabric brittleness.
Is It Safe to Reuse Transfer Sheets After Heating?
You shouldn’t reuse transfer sheets; their transfer sheet longevity decreases after heating, risking poor adhesion and heat transfer safety.
Always use a fresh sheet for each application to guarantee ideal results and avoid damage or incomplete transfers.
Can Heat Pressing Change a Shirt’s Color Permanently?
You might notice your shirt’s hue gently shifting due to color fading or unintended dye transfer during heat pressing. To minimize this, control temperature, time, and pressure precisely, ensuring you preserve the garment’s original vibrancy effectively.
What Maintenance Does a Heat Press Machine Require?
You need to perform regular heat press care by cleaning the platen with a non-abrasive cloth, checking pressure adjustments, lubricating moving parts, and inspecting electrical components to guarantee your machine cleaning maintains peak performance and longevity.
Conclusion
Now that you know how heat, fabric, and transfer type affect your pressing time, are you ready to nail the perfect press every time? Remember, adjusting your timing based on your specific heat press machine and material guarantees ideal results.
Always test before committing to a full run, and watch for signs of over or under-pressing. With practice, you’ll consistently achieve sharp, durable designs without guesswork or wasted materials.
Mastering how long to heat press a shirt is key to producing professional-quality results every time you press.