To remove HTV from your shirt with a heat press, start by preheating the press to about 320°F and apply medium pressure.
Next, place a Teflon sheet over the HTV to protect the fabric. Press firmly for 10–15 seconds, then carefully peel the HTV while it is still warm. If the HTV resists, reapply heat for a few more seconds.
Before beginning, ensure your shirt is made of cotton or a durable fabric and is free of any debris.
Use barrier sheets to protect the fabric from damage during the process.
Following these steps will make it easier to handle tougher adhesives and remove residues effectively.
Key Takeaways
- Preheat heat press to 280°F-320°F and apply medium pressure for 10-15 seconds to soften HTV adhesive.
- Cover HTV with a Teflon sheet before pressing to protect fabric and ensure even heat distribution.
- Peel HTV carefully while warm; reapply heat if the HTV does not release easily.
- Use plastic tools and mild adhesive remover on residue, testing on a hidden area first to avoid damage.
- Allow shirt to cool slightly before handling and wash inside out with cold water to remove chemical traces.
How To Set Heat Press Temperature And Pressure For HTV Removal
How do you determine the ideal heat press temperature and pressure for removing HTV from a shirt? Start by consulting the manufacturer’s recommendations for the specific HTV type. Generally, the best temperature ranges between 280°F and 320°F for removal.
Set your heat press settings to this temperature range to soften the adhesive without damaging the fabric. Apply medium pressure, enough to guarantee even heat transfer but not so much that the fabric distorts. Excessive pressure can embed the HTV deeper, complicating removal.
Maintain the temperature for about 10 to 15 seconds initially, then test peel a corner of the HTV. Adjust the heat press settings accordingly if the HTV doesn’t release cleanly. Precise control of temperature and pressure guarantees effective HTV removal while preserving shirt integrity.
How To Prepare Your Shirt Before Removing HTV
Before removing HTV, make certain you’re working with a suitable fabric that can withstand heat. Preheat the shirt evenly to loosen the adhesive without damaging the material.
Finally, clear any surface debris to guarantee a clean removal process.
Choose The Right Fabric
Although removing HTV can be challenging, selecting the right fabric guarantees a smoother process and prevents damage. Begin by identifying the fabric types of your shirt. Natural fibers like cotton tolerate heat better than synthetics.
Fabric blends require extra caution; blends with polyester or nylon can melt or distort under high temperatures. Avoid delicate fabrics such as silk or rayon, as they are prone to scorching or shrinkage during heat application.
Always check the garment’s care label to confirm fabric composition. Choosing a shirt with high cotton content or stable fabric blends provides ideal results when using a heat press to remove HTV. This preparation step helps maintain fabric integrity, reduces the risk of permanent damage, and facilitates cleaner HTV removal.
Preheat The Shirt
Since HTV adheres firmly to fabric fibers, you’ll need to preheat the shirt to loosen the adhesive bond before removal. Begin by consulting the preheat guidelines specific to your heat press machine and fabric type.
Set your heat press to a moderate temperature, typically between 290°F and 310°F, depending on the shirt material. Avoid exceeding these temperature settings to prevent fabric damage.
Place the shirt flat on the heat press platen, ensuring no wrinkles exist beneath the HTV area. Apply firm pressure for 5 to 10 seconds to evenly distribute heat across the design.
This preheating softens the adhesive, making HTV removal more manageable. After preheating, allow the fabric to cool slightly before proceeding to remove the HTV layer safely and effectively.
Remove Surface Debris
A clean surface guarantees effective HTV removal, so you’ll want to eliminate any dust, lint, or loose fibers from the shirt first. Proper surface preparation guarantees that the heat press applies even pressure and heat, improving the HTV removal process.
Use these cleaning techniques to prepare your shirt:
- Use a lint roller to pick up loose fibers and lint.
- Gently brush the shirt with a soft garment brush to remove dust particles.
- Wipe the surface with a slightly damp microfiber cloth to capture embedded debris; confirm the shirt dries completely before proceeding.
- Avoid using harsh chemicals that may damage fabric or alter adhesive properties.
Following these steps precisely will optimize your shirt’s surface for efficient, clean HTV removal with a heat press.
Step-By-Step Guide To Removing HTV Using A Heat Press
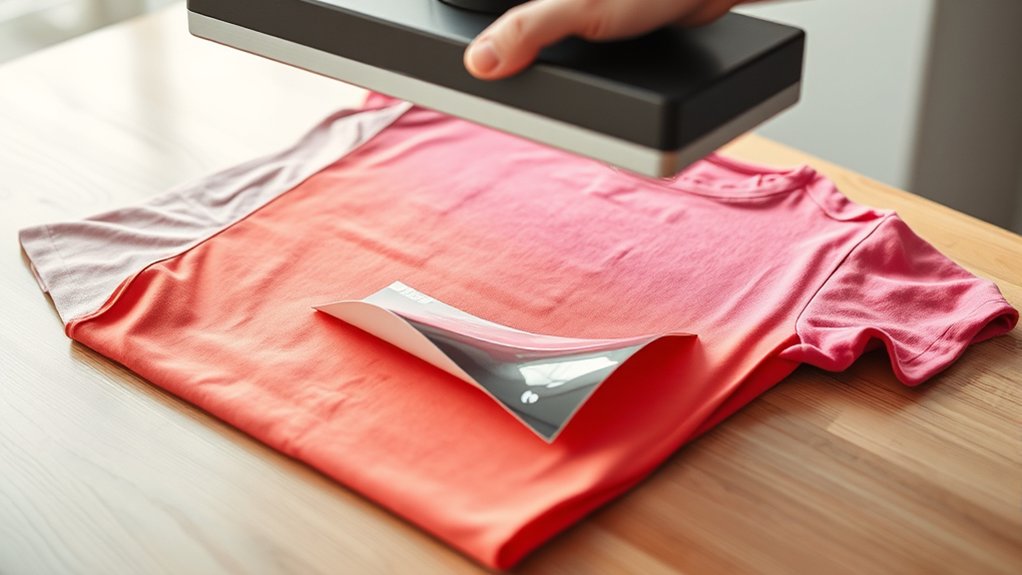
Follow these five precise steps to remove HTV from your shirt using a heat press. First, preheat your heat press to 320°F (160°C) to guarantee ideal adhesive softening.
Second, place the shirt on the press, positioning a Teflon sheet over the HTV to protect the fabric and heat press safety. Third, apply firm pressure for 10-15 seconds to loosen the HTV backing.
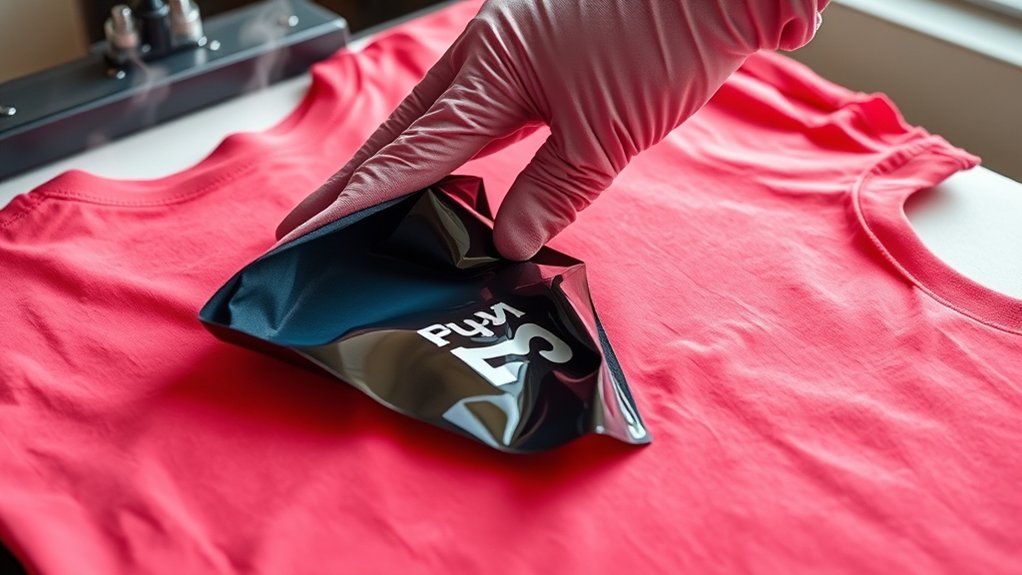
Fourth, carefully peel the HTV while warm; if resistance occurs, reapply heat briefly. Fifth, allow the shirt to cool completely before inspecting for any residual adhesive.
How To Remove Stubborn HTV And Clean Residue
When stubborn HTV resists standard removal, you’ll need targeted techniques to dissolve adhesive residue without damaging your fabric. Different HTV types require specific approaches, so follow these best practices carefully:
- Reapply low heat (around 250°F) with your heat press for 5-10 seconds to soften the adhesive.
- Gently peel off the HTV using a plastic scraper or tweezers to avoid fabric damage.
- Use a mild adhesive remover or isopropyl alcohol on a soft cloth to clean leftover residue; test on a hidden area first.
- Wash the shirt inside out with cold water to eliminate any chemical traces and prevent fabric weakening.
How To Protect Your Shirt Fabric During HTV Removal
To protect your shirt fabric during HTV removal, start by selecting the correct heat settings to prevent scorching. Always place a protective barrier layer, like parchment paper, between the heat source and the fabric.
Handle the shirt gently throughout the process to avoid stretching or damaging the fibers.
Choose Appropriate Heat Settings
Because excessive heat can damage your shirt fabric, you need to select heat settings carefully during HTV removal. Proper temperature control is essential to avoid scorching or weakening the material. Follow these steps to adjust heat settings precisely:
- Identify the fabric type and check its heat tolerance.
- Set the heat press to the lowest temperature recommended for HTV removal.
- Gradually increase temperature in small increments if the HTV doesn’t peel easily, monitoring the fabric closely.
- Limit heat exposure time to prevent overprocessing; typically 5–10 seconds is sufficient.
Use Protective Barrier Layers
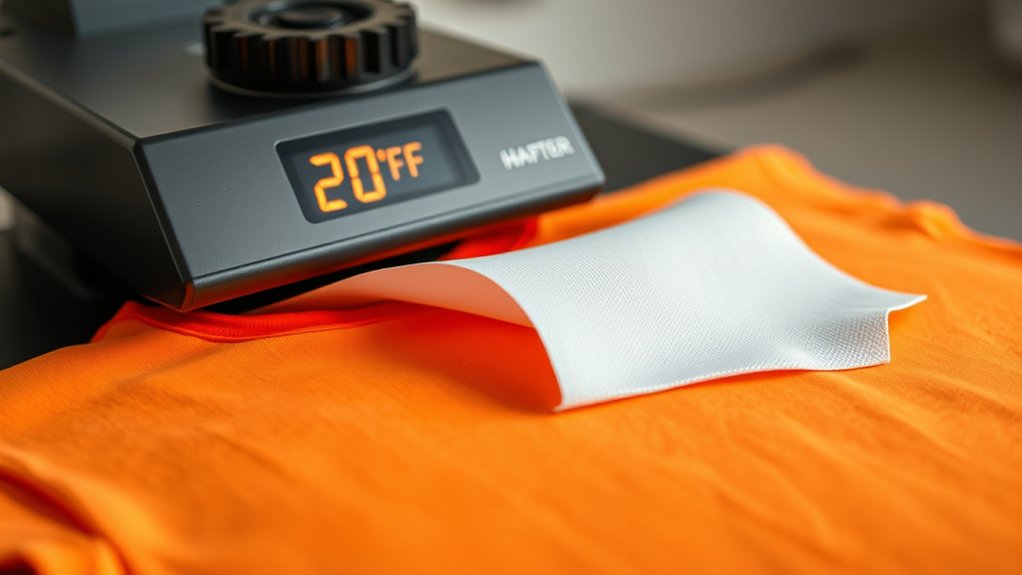
Anyone removing HTV should use protective barrier layers to shield the shirt fabric from direct heat and pressure. Start by placing heat resistant materials, such as silicone or Teflon sheets, over the HTV design before applying the heat press.
These protective sheets prevent scorching, melting, or fabric distortion during the removal process. Verify the barrier layer fully covers the HTV area to distribute heat evenly and avoid hot spots. Avoid using materials that can stick or melt onto the fabric.
You can also use parchment paper as an alternative, but confirm it’s rated for your specific heat press temperature. By consistently utilizing these protective barrier layers, you’ll safeguard your shirt’s integrity while efficiently loosening HTV for removal without damage.
Handle Fabric Gently
While applying heat and pressure to remove HTV, you must handle the fabric gently to prevent stretching, tearing, or distortion. Proper fabric care during HTV removal guarantees your shirt maintains its integrity and appearance.
Follow these steps for gentle handling:
- Avoid pulling or stretching the fabric when peeling off HTV; use slow, controlled motions.
- Support the fabric underneath with your hand or a flat surface to distribute pressure evenly.
- Use a protective barrier layer to minimize direct heat impact, preserving fabric fibers.
- Allow the fabric to cool slightly before manipulation to reduce stress from heat and maintain elasticity.
When Heat Press Removal Fails: Alternative HTV Removal Methods
If the heat press method doesn’t fully remove the HTV, you’ll need to try alternative techniques to avoid damaging the fabric. Begin by applying a heat gun or hairdryer to soften the adhesive further, then gently peel with a plastic scraper.
If residue remains, use a commercial adhesive remover suited for textiles; test it on a small area first. Another alternative method involves soaking the shirt in warm soapy water to loosen the HTV before carefully scraping it off.
As troubleshooting tips, avoid using metal tools that may tear fibers, and never apply excessive heat that could scorch the fabric. Always allow the material to cool between attempts to prevent warping.
These alternative methods guarantee safer, more effective HTV removal when heat press fails.
Frequently Asked Questions
Can HTV Be Removed From All Fabric Types Without Damage?
You can’t remove HTV from all fabric types without damage; fabric compatibility is essential. Use gentle removal techniques on delicate fabrics, while sturdier materials tolerate heat and pressure, minimizing damage during the HTV removal process.
How Long Does HTV Removal Take Using a Heat Press?
Like peeling a sticker, your removal time with a heat press usually spans 10 to 20 seconds. Apply firm pressure at 320-350°F, then gently lift the HTV to guarantee clean detachment without fabric damage.
Is It Safe to Reuse HTV After Removal?
You can reuse HTV after removal, but HTV longevity decreases with each reuse. Employ careful reuse techniques like gentle peeling and reheating to minimize damage.
Expect reduced adhesion and durability compared to fresh HTV applications.
What Tools Are Best for Peeling off HTV After Heating?
Don’t worry about damaging your shirt; use a thin, flexible plastic scraper or weeding tool for precise peeling techniques. Adjust heat settings carefully. Too high softens glue excessively, while too low prevents clean removal, ensuring effective HTV peeling.
Can Removing HTV With Heat Press Affect Shirt Color?
Yes, removing HTV with a heat press can cause color fading and compromise fabric integrity if temperature or duration exceeds fabric limits.
Always use recommended heat settings and test a small area to prevent damage effectively.
Conclusion
Now that you know how to set your heat press and prepare your shirt for HTV removal, you’re ready to tackle the process efficiently. Did you know that approximately 85% of HTV removals are successful using proper heat and pressure settings? By following these steps precisely, you’ll minimize fabric damage and residue.
If stubborn HTV remains, consider alternative methods to protect your shirt. Precision and care are key for flawless results every time. Remember, mastering how to remove HTV from a shirt with a heat press ensures your garments look great and last longer.