Unbox your printer and remove all protective materials.
Place it near a power source to prepare for setup. Setting up a printer is straightforward and begins with powering it on.
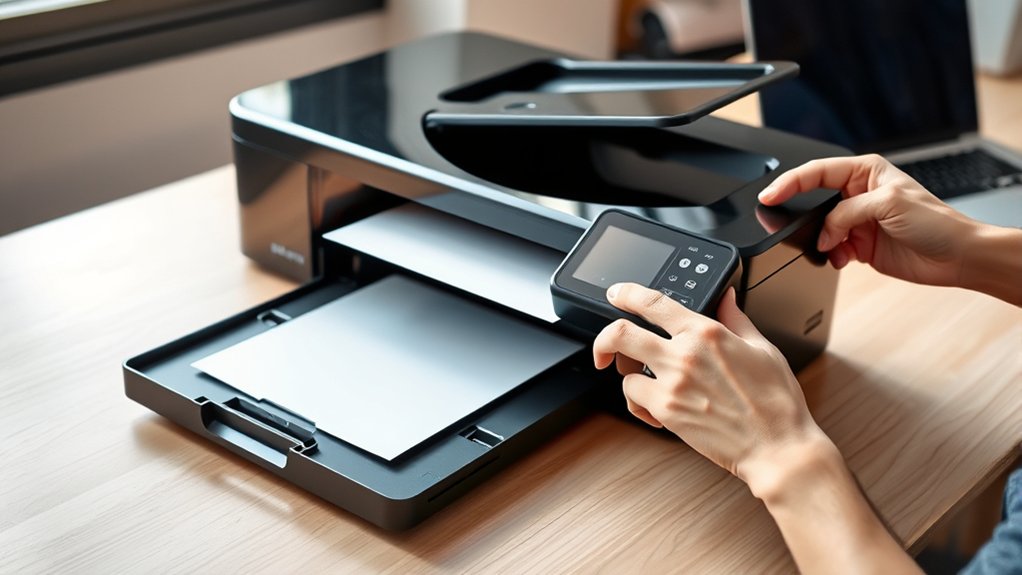
Plug the printer in and turn it on. Connect it to your computer using a USB cable or via Wi-Fi.
Next, download and install the latest drivers from the manufacturer’s website, following the on-screen prompts carefully.
Configure your print settings such as paper type and quality.
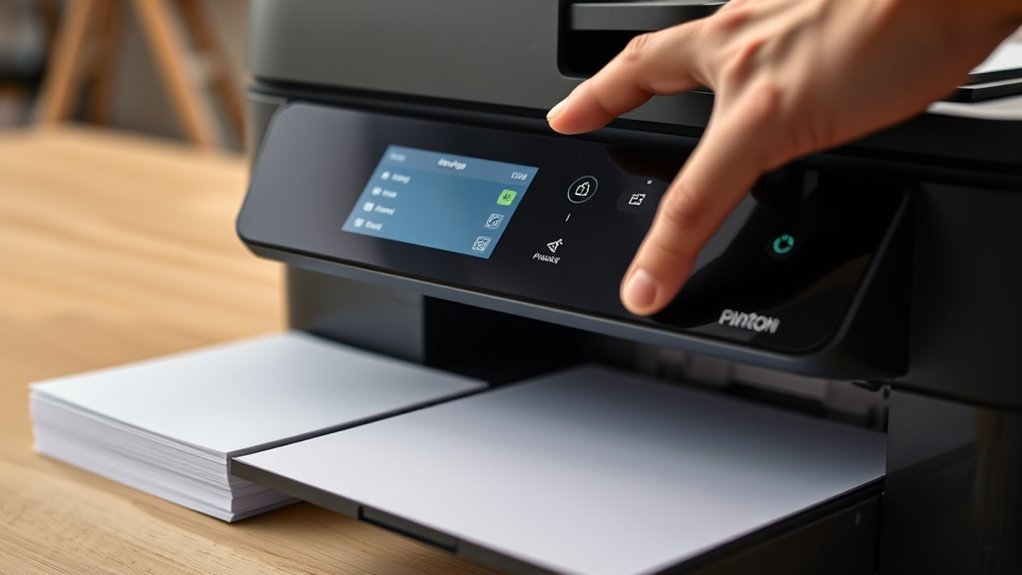
Perform a test print to ensure everything is working correctly.
If you want to explore wireless setup, troubleshooting, and maintenance, there’s more to uncover to keep your printer running smoothly.
Key Takeaways
- Unbox the printer, remove protective materials, and place it on a stable surface near a grounded power outlet.
- Connect the printer to your computer via USB or Wi-Fi, ensuring both devices are on the same network for wireless setup.
- Download and install the latest drivers from the manufacturer’s website, following on-screen instructions for connection type.
- Configure print settings such as paper size, print quality, and color options before saving preferences for future use.
- Perform a test print to verify setup, checking for print clarity, alignment, and proper paper feeding.
Unbox Your Printer and Get It Ready
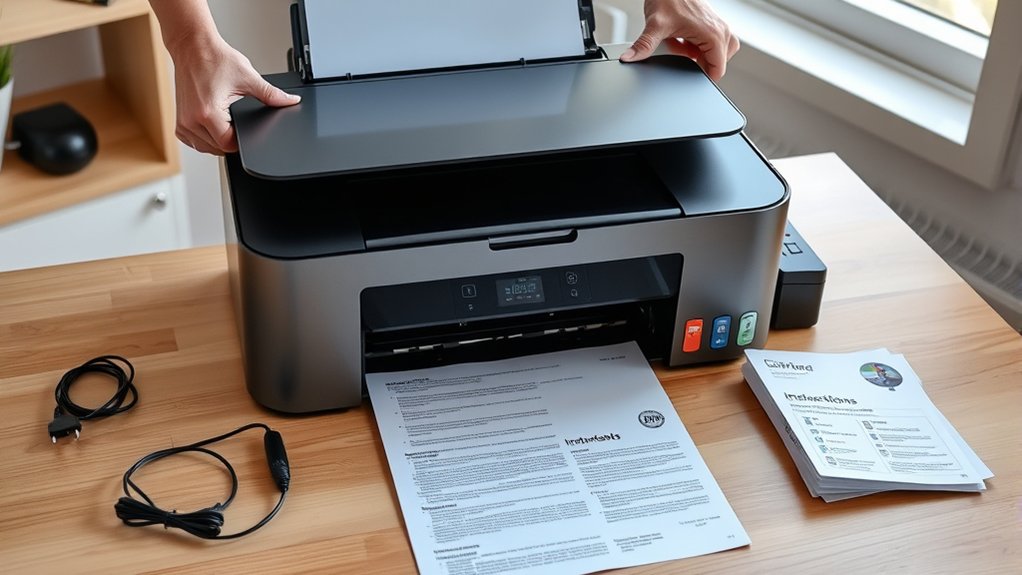
Before you start setting up your printer, carefully unbox it and remove all protective materials. Check inside the box for components like power cords, ink or toner cartridges, and manuals.
Verify printer model compatibility with your computer or device by consulting the included documentation or manufacturer’s website. Following printer setup basics, place the printer on a stable, flat surface near a power outlet.
Avoid moving the printer excessively after unboxing to prevent damage. Handle cartridges gently and remove any seals or protective tape before installation.
Keep the setup area clean and free of debris. Taking these initial steps guarantees your printer is ready for the next phase, preventing setup issues and promoting smooth operation.
This preparation is essential for a successful printer setup experience.
Plug In Your Printer and Connect to Your Computer
First, plug your printer’s power cable into an outlet and turn it on.
Next, connect your printer to your computer using the provided USB cable or set up a wireless connection if supported.
Make sure your computer recognizes the printer before moving on.
Power Connection Steps
Two essential steps get your printer ready for use: plugging it in and connecting it to your computer. First, locate a reliable power source near your printer. Verify the outlet is grounded and meets the printer’s voltage requirements.
For electrical safety, avoid using extension cords or power strips that can overload circuits. Next, firmly connect the printer’s power cable to both the printer and the power outlet. Double-check that the connection is secure to prevent interruptions.
Once powered, your printer should display lights or indicators signaling it’s ready. By following these power connection steps carefully, you’ll protect your device and verify it functions correctly. Always prioritize electrical safety to avoid hazards and keep your setup smooth and efficient.
Establish Computer Link
Connecting your printer to your computer involves a few straightforward steps that guarantee seamless communication between the devices. First, identify the printer connectivity methods your device supports, commonly USB, Ethernet, or wireless. Choose the appropriate cable type if you’re using a wired connection.
Plug the cable into your printer and then into your computer. For wireless, make certain both devices connect to the same Wi-Fi network. Confirm the connection by checking the printer status on your computer.
| Printer Connectivity Methods | Common Cable Types |
|---|---|
| USB | USB Type-B to USB Type-A |
| Ethernet | RJ-45 (Ethernet) Cable |
| Wireless | N/A |
| Bluetooth | N/A |
| Parallel Port | IEEE 1284 Cable |
This setup guarantees your printer communicates effectively with your computer.
How to Install Printer Drivers and Software
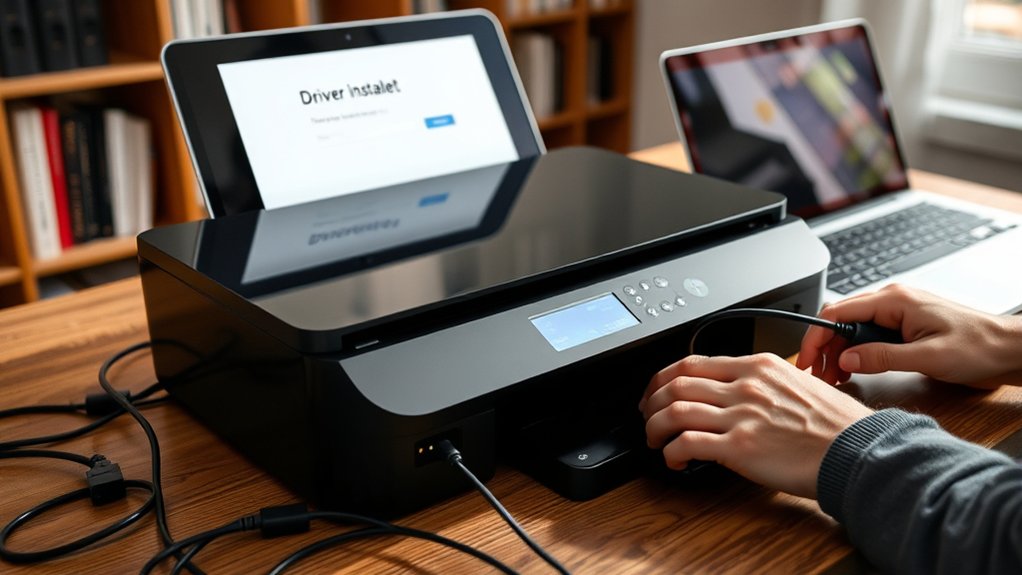
First, find the correct driver software that matches your printer model and operating system. Then, follow the installation prompts step-by-step to install the drivers on your computer.
Finally, check that the printer software is properly installed by printing a test page or verifying the printer’s status.
Locate Compatible Driver Software
Before you can use your printer, you’ll need to locate and install the correct driver software that matches your printer model and operating system. Ensuring driver compatibility is essential for smooth printer performance.
Start by visiting the manufacturer’s official website to find the latest drivers and software updates. Avoid third-party sources to prevent compatibility issues or malware.
| Step | Tip |
|---|---|
| Identify Model | Check your printer label or manual |
| Check OS Version | Use system settings on your device |
| Download Driver | Prefer official manufacturer sites |
Regularly check for software updates to keep your printer functioning at its best and resolve bugs. Once you’ve found the right driver, you’re ready to proceed with installation.
Install Drivers Step-by-Step
To install your printer drivers, start by running the downloaded installer file from the manufacturer’s website. Follow the on-screen prompts carefully. Selecting the correct driver version is essential to avoid printer compatibility issues that can prevent proper functioning.
If asked, choose the connection type, such as USB or Wi-Fi. During installation, accept the license agreement and allow the software to complete its process without interruption.
Verify Printer Software Installation
Once your driver installation finishes, you’ll want to confirm that the printer software installed correctly. Start by opening the printer’s control panel or software interface on your computer. Check if the printer appears in your devices list and run a test print to verify functionality.
If you encounter printer compatibility issues, make certain you downloaded the correct driver version for your operating system. Next, review the software update procedures. Most printer programs have a built-in update feature to keep drivers current.
Regular updates prevent bugs and improve performance. If the software fails to launch or the printer isn’t recognized, reinstall the driver or visit the manufacturer’s website for troubleshooting tips. Verifying installation now saves headaches later.
Configure Print Quality, Paper, and Device Settings
Start by selecting the print quality that matches your needs, balancing speed and resolution. Higher print quality produces sharper images but slows down printing, while lower quality saves time and ink.
Next, adjust the paper settings to fit the type and size you’re using. This guarantees proper feeding and prevents jams. Choose options like plain paper, photo paper, or labels as appropriate.
Adjust paper type and size to ensure smooth feeding and avoid jams for flawless printing results.
Then, configure device settings such as duplex printing, color mode, and default trays. Access these options through your printer’s control panel or software interface.
Setting these parameters correctly helps optimize your printer’s performance and output. Make certain to save your preferences so you don’t have to reconfigure each time you print. These steps set a solid foundation for smooth printing operations.
Test Your Printer With a Sample Print Job
A single test print can quickly reveal if your printer is set up correctly. To perform a printer test, send a sample print job from your computer or printer menu.
Check for print quality, alignment, and color accuracy. If issues arise, you can troubleshoot before starting real printing tasks.
Use this checklist to evaluate your sample print:
| Criteria | Pass | Fail |
|---|---|---|
| Text Clarity | ☐ | ☐ |
| Color Accuracy | ☐ | ☐ |
| Alignment | ☐ | ☐ |
| Paper Feeding | ☐ | ☐ |
| Ink Smudging | ☐ | ☐ |
If all criteria pass, your printer test is successful. If not, revisit settings or ink levels.
Set Up Wireless Printing and Network Options
How do you connect your printer to a wireless network? First, verify your printer supports wireless protocols like Wi-Fi Direct or 802.11n/ac. Access the printer’s control panel, then navigate to the wireless settings menu. Select your home network and enter the Wi-Fi password carefully. This step verifies network security by preventing unauthorized access.
Next, install the printer software on your computer or mobile device. During setup, choose the wireless connection option. The software will detect the printer on the same network and complete the pairing process.
Finally, confirm the printer’s IP address to manage network options and enable features like remote printing. By following these steps, you’ll set up wireless printing efficiently while maintaining strong network security.
Troubleshoot Common Printer Setup Problems (Connectivity, Drivers, Paper Jams)
Even if you follow all the setup steps correctly, printer issues like connectivity problems, driver errors, or paper jams can still occur. For printer connectivity, make sure your device stays connected to the correct wireless setup and restart your router if needed.
If you encounter driver issues, update or reinstall the printer drivers using the latest version from the manufacturer’s website. When paper jams happen, gently remove the jammed paper and check for small scraps inside the printer.
Use troubleshooting techniques such as checking error messages displayed on your printer or computer to identify specific problems. Refer to the user manual for detailed maintenance tips and instructions.
Regularly cleaning and maintaining your printer helps prevent common setup problems and guarantees smooth operation.
Frequently Asked Questions
How Do I Recycle My Old Printer Responsibly?
You can recycle your old printer responsibly by donating it if it still works or taking it to local recycling centers. Many centers accept electronics, ensuring proper disposal and reducing environmental impact.
Check nearby options online.
What Are the Best Printers for Photo Printing?
You’ll find inkjet printers offer the best photo quality, especially models from Canon and Epson. They produce vibrant colors and sharp details, making them ideal for printing high-resolution photos right at home or in the studio.
Can I Print From My Smartphone Without Wi-Fi?
You can print from your smartphone without Wi-Fi by using Bluetooth printing. Just enable Bluetooth on both devices, pair them, and use your phone’s mobile printing feature to send documents or photos directly to the printer.
How Often Should I Replace Printer Ink Cartridges?
You should replace ink cartridges when print quality declines or after their ink cartridge lifespan ends. Doing this guarantees cost efficiency by avoiding wasted ink and potential damage from running cartridges completely dry.
What Are Eco-Friendly Printing Practices to Save Paper?
You can practice sustainable printing by printing double-sided, using draft mode, and reducing margins.
Also, shift to digital documents whenever possible to save paper and minimize waste, helping you embrace eco-friendly printing habits.
Conclusion
Setting up your printer might seem like a maze of cables and settings, but with clear steps, it transforms into a smooth process. From unboxing to wireless setup, each action brings you closer to crisp prints instead of blank pages.
Just like assembling a puzzle, every connection and configuration fits perfectly to create a functional device. Follow these instructions carefully, and soon, your printer will work seamlessly, turning digital files into tangible results without frustration.
By following these guidelines, setting up a printer becomes easy and efficient, ensuring you get the best performance from your device right from the start.