You can clean your printer heads by first running the built-in cleaning cycle found in the printer’s maintenance menu to clear minor clogs. This initial step helps maintain print quality and ensures smooth ink flow.
If print quality doesn’t improve, power off the printer, remove cartridges, and gently wipe the print head with a lint-free cloth dampened with isopropyl alcohol or distilled water. Let it air dry before reinserting cartridges.
Regular cleaning prevents damage and ink flow issues. For persistent problems, professional solutions may be necessary—explore extensive maintenance steps next.
Key Takeaways
- Run the printer’s built-in head cleaning cycle from the maintenance menu to clear minor clogs and improve print quality.
- Power off the printer, remove ink cartridges, and gently wipe the print head with a lint-free cloth dampened with isopropyl alcohol.
- Use distilled water or a cleaning solution on cotton swabs to carefully clean tight spots on the print head without excess moisture.
- Regularly print and store cartridges properly to prevent ink drying and clogs in the printer heads.
- Seek professional cleaning if DIY methods fail, as experts use advanced techniques to restore print heads safely and effectively.
How to Tell When Your Printer Heads Need Cleaning
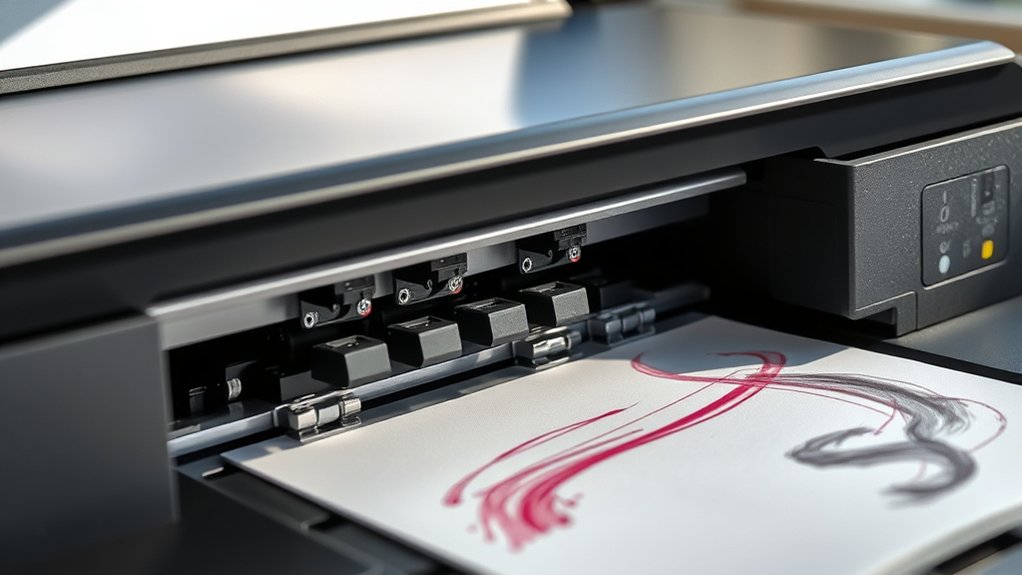
How can you determine when your printer heads require cleaning? Begin by inspecting the print quality for signs such as streaks, missing colors, or uneven lines. These defects typically indicate compromised ink flow caused by clogged or dried ink in the printer heads.
Conduct a test print using a diagnostic page if your printer supports it; this will reveal any irregularities in ink distribution. Observe whether the colors blend correctly and if the text appears sharp. If you notice gaps or faded areas consistently, it’s a clear signal that the ink flow is obstructed.
Regularly monitoring these indicators will help you identify when cleaning is necessary, preventing damage to the printer heads and ensuring peak print performance.
How to Use Your Printer’s Built-In Cleaning Function
You’ll start by accessing your printer’s maintenance or settings menu to find the cleaning options. Once located, run the cleaning cycle as directed by the printer’s interface to clear clogged nozzles.
If print quality doesn’t improve, you may need to repeat the cleaning process according to the recommended intervals.
Accessing Cleaning Options
Although printer models vary, accessing the built-in cleaning function typically involves maneuvering through the printer’s control panel or software interface. Start by locating the “Settings” or “Maintenance” menu on the printer’s display screen or within the printer management software on your computer.
From there, select the “Cleaning” or “Head Cleaning” option. Some models may require you to navigate submenus to find this feature. Refer to your printer’s manual for exact steps if needed.
Regularly performing cleaning cycles based on recommended cleaning frequency prevents clogs and guarantees ideal print quality. Incorporate this into your maintenance tips routine to extend the printer head’s lifespan.
Running the Cleaning Cycle
Once you’ve accessed the cleaning options, initiate the cleaning cycle through your printer’s control panel or software interface by selecting the appropriate command. The printer will use a small amount of ink to flush clogged nozzles and clear any dried residue based on the ink type installed.
Make sure you choose the cycle suited for your printer model, as some offer standard and deep cleaning modes. Maintain a peak cleaning frequency by running this cycle only when print quality deteriorates, to avoid excessive ink consumption.
Monitor the printer’s status during the process; avoid turning off or interrupting the cycle, as this may cause incomplete cleaning. After completion, print a test page to verify nozzle functionality and confirm the cleaning cycle’s effectiveness before resuming regular print jobs.
When to Repeat Cleaning
How often should you repeat the cleaning cycle to maintain excellent print quality? The cleaning frequency depends on your printer’s usage and the type of ink. Generally, initiate a cleaning cycle when you notice streaks, faded colors, or missing lines in prints.
Avoid excessive cleaning, as it consumes ink and can wear out components. Refer to your printer’s maintenance schedule for manufacturer-recommended intervals, typically every few weeks or after prolonged inactivity.
If print issues persist after one cleaning, run the cycle once more, but limit repetitions to prevent damage. Regularly monitor print output quality and adjust your cleaning frequency accordingly.
What Tools You Need for Manual Printer Head Cleaning
Successful manual cleaning of printer heads requires specific tools designed to handle delicate components without causing damage. You’ll need high-quality cleaning supplies such as lint-free cloths, isopropyl alcohol (at least 90%), and distilled water to avoid mineral residue.
Precision tools like cotton swabs or foam swabs help you access tight areas without scratching the nozzles. A small syringe or dropper is essential for applying cleaning fluid accurately. Additionally, have disposable gloves to protect your hands and prevent oil transfer.
These tools form the foundation of effective printer maintenance, ensuring you can clean heads precisely and safely. Preparing these supplies beforehand guarantees a methodical, damage-free process, improving your printer’s performance and longevity.
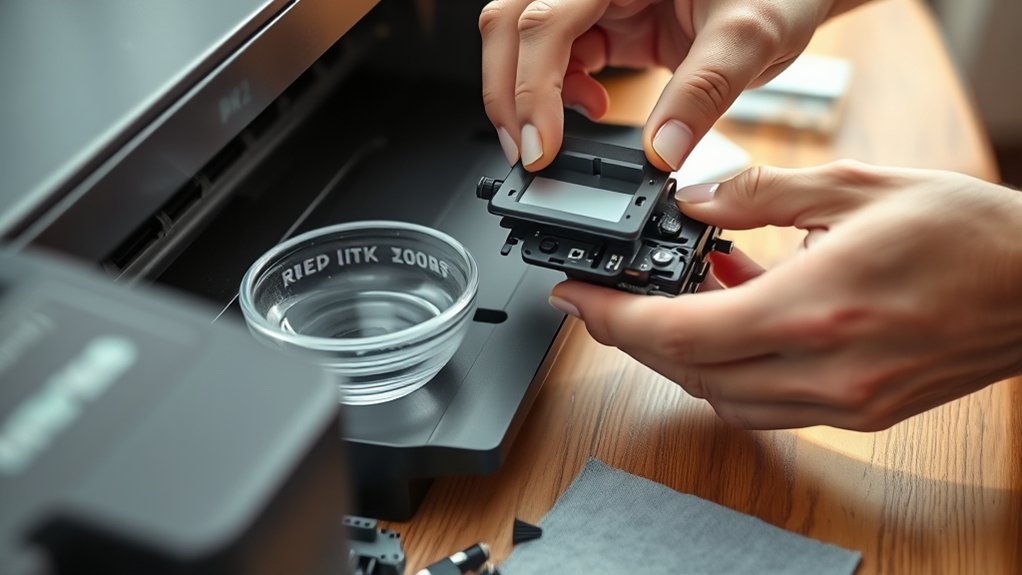
How to Manually Clean Your Printer Heads at Home
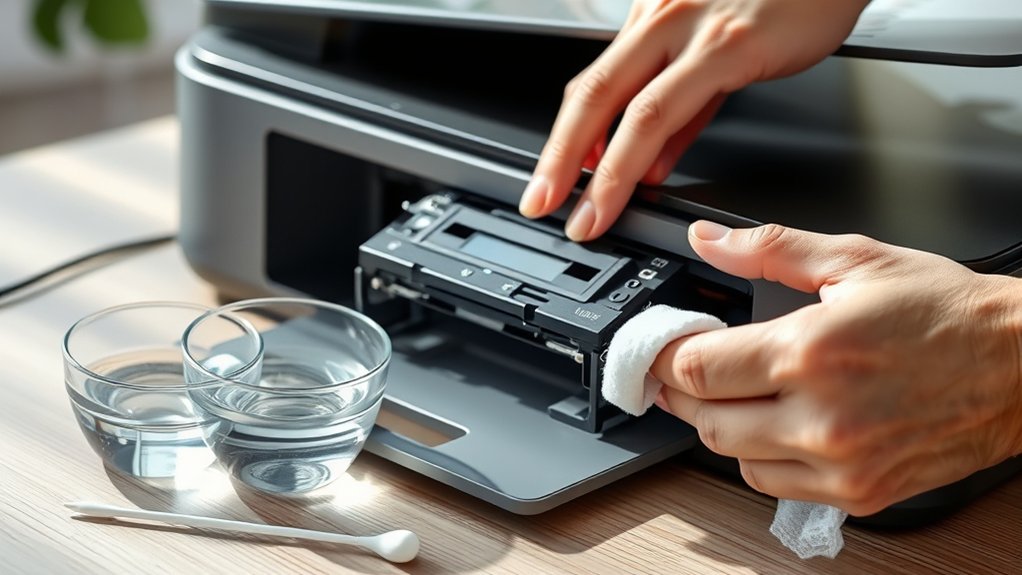
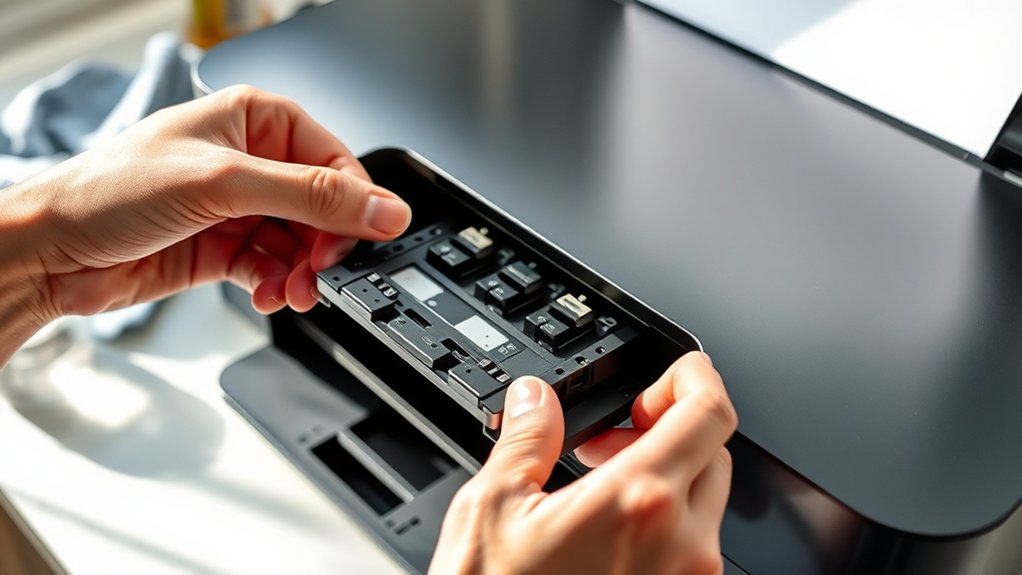
Start by powering off your printer and unplugging it to confirm safety during the cleaning process. Next, remove the ink cartridges to expose the print head.
Dampen a lint-free cloth or cotton swab with a recommended cleaning solution. Gently wipe the print head, avoiding excess moisture to prevent damage. Allow it to air dry before reinserting cartridges. Use proper maintenance techniques to avoid frequent clogs.
| Step | Action | Notes |
|---|---|---|
| 1 | Power off & unplug | Confirms safety |
| 2 | Remove cartridges | Access print head |
| 3 | Clean with solution | Use lint-free cloth, minimal liquid |
This manual procedure confirms effective cleaning without harming components.
Tips to Prevent Printer Head Clogs and Keep Prints Vibrant
Although occasional cleaning is necessary, you can greatly reduce printer head clogs by following consistent maintenance practices. Implementing preventative maintenance guarantees peak print quality and prolongs your printer’s lifespan.
Consistent maintenance reduces printer head clogs, ensuring top print quality and extending your printer’s life.
To keep your printer heads functioning efficiently, focus on these critical steps:
- Use your printer regularly to prevent ink from drying in the nozzles.
- Store ink cartridges properly in a cool, dry place to maintain ink consistency.
- Select high-quality, manufacturer-recommended ink to avoid residue buildup.
- Perform routine nozzle checks and automatic cleaning cycles to detect and resolve early clogs.
Troubleshooting Common Printer Head Cleaning Problems
When you encounter issues during printer head cleaning, identifying the root cause quickly secures effective resolution. Common causes include using incorrect cleaning solutions, insufficient cleaning frequency, or residual ink buildup.
If prints still show streaks or missing colors after cleaning, verify that you’re using manufacturer-recommended fluids and that the cleaning cycle is completed thoroughly. Avoid over-cleaning, as excessive cleaning frequency can damage delicate nozzles.
Additionally, check for clogged nozzles by printing a test pattern; if problems persist, manually clean the heads with lint-free cloths and isopropyl alcohol. Verify the printer’s software is up-to-date to prevent mechanical errors affecting head cleaning.
When to Get Professional Printer Head Cleaning or Replacement
If your printouts show persistent streaks or missing colors despite multiple cleanings, it’s a clear sign your printer heads may be damaged. When your DIY cleaning methods don’t restore print quality, professional cleaning or replacement might be necessary.
You should also weigh the cost of professional service against the price of a new printer head to decide the best course of action.
Signs Printer Head Damage
Anyone using a printer should recognize specific signs indicating printer head damage, which necessitate professional cleaning or replacement. Despite regular printer maintenance and using proper cleaning supplies, damaged printer heads can degrade print quality and impair functionality.
You should watch for these critical indicators:
- Persistent streaks or lines on printed documents despite multiple cleaning cycles
- Missing colors or uneven color distribution in printouts
- Frequent paper jams or printer errors related to ink flow
- Ink smudging or blotches appearing consistently on prints
If you notice any of these symptoms, it’s a clear signal that professional intervention is required. Addressing printer head damage early prevents further hardware deterioration, ensuring consistent print quality and extending your printer’s operational lifespan.
When DIY Cleaning Fails
Although routine DIY cleaning can resolve many printer head issues, persistent problems often indicate the need for professional service. If you’ve followed standard printer maintenance tips and practiced proper ink cartridge care but still encounter streaks, missing colors, or slow printing, it’s time to consult a specialist.
Professionals employ advanced cleaning solutions and ultrasonic methods that can restore clogged nozzles without risking damage. In cases where the printer head is physically damaged or severely clogged beyond repair, replacement is necessary.
Attempting further DIY fixes may worsen the issue, leading to costly repairs or replacement parts. Trusting experts guarantees precise diagnostics and effective remediation, extending your printer’s lifespan and maintaining peak print quality.
Recognizing when to escalate to professional cleaning safeguards your investment and enhances long-term printer performance.
Cost Considerations For Replacement
Determining when to opt for professional printer head cleaning or replacement often hinges on cost factors. You need to evaluate replacement costs against the printer’s overall value and your budget considerations. Professional cleaning can be less expensive but may not fully resolve severe clogs or damage.
Consider these points before deciding:
- Compare professional cleaning fees versus the cost of a new printer head.
- Factor in the printer’s age and likelihood of future issues.
- Assess the urgency of repair versus waiting for a replacement part.
- Account for potential downtime affecting your workflow.
Frequently Asked Questions
Can Using Third-Party Ink Damage My Printer Heads?
Yes, using third-party ink can damage your printer heads if the ink quality is poor. It may clog nozzles, affecting printer maintenance and print performance.
Always choose high-quality ink to guarantee proper function and longevity.
How Often Should I Clean Printer Heads for Heavy Use?
If you print 100+ pages daily, like a busy office, follow cleaning frequency recommendations of weekly printer maintenance tips. Regular cleaning prevents clogs, ensuring ideal print quality and extending your printer heads’ lifespan with precise, methodical care.
Does Printer Head Cleaning Affect Print Quality Immediately?
Yes, printer head cleaning has immediate effects on print quality. You’ll notice clearer, sharper prints as clogged nozzles clear.
However, multiple cleanings might be necessary for best results, depending on ink buildup severity.
Are There Any Risks in Cleaning Printer Heads Too Frequently?
Yes, excessive cleaning frequency can wear out printer heads prematurely. To avoid damage, follow maintenance tips by cleaning only when print quality declines, ensuring peak performance without risking unnecessary mechanical stress or ink wastage.
Can Environmental Factors Cause Printer Head Clogs?
Yes, environmental factors like high humidity levels and temperature fluctuations can cause printer head clogs by affecting ink viscosity and drying rates. You should control these conditions to maintain ideal printer performance and prevent blockages.
Conclusion
By recognizing printer head issues early, using built-in cleaning tools regularly, and performing careful manual cleaning when needed, you maintain peak print quality and extend your printer’s lifespan. You prevent clogs by keeping ink fresh, storing cartridges properly, and avoiding prolonged inactivity.
When problems persist, you seek professional help or replacement promptly. Consistently following these steps guarantees reliable performance, sharp prints, and efficient operation every time you print.
In conclusion, regular attention to how to clean printer heads ensures your device delivers optimal results and lasts longer.