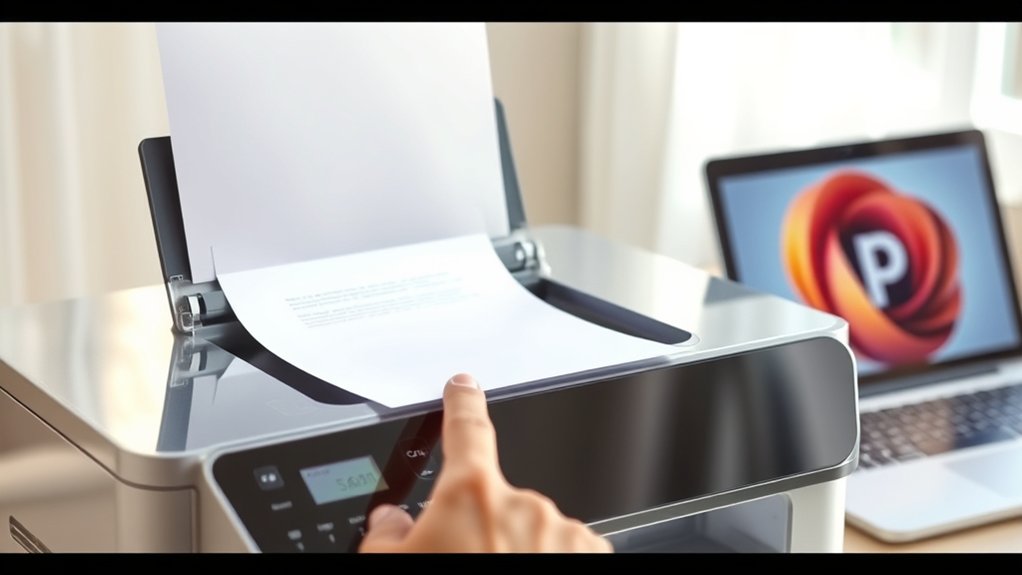
To scan from your printer to your computer, first make sure both devices are powered on and connected, either via USB cable or the same Wi-Fi network.
This connection is essential for the scanning process.
Next, open your printer’s scanning software on your computer. Select the desired settings like resolution and color, then place your document properly on the scanner bed.
After previewing the scan, save the file to your preferred folder.
If you want to improve scan quality or troubleshoot issues, several handy tips and techniques can help.
Key Takeaways
- Connect the printer to the computer via USB cable or ensure both are on the same Wi-Fi network for wireless scanning.
- Install and open the printer’s scanning software on your computer to access scanning features and settings.
- Place the document correctly on the scanner bed and close the lid to avoid light interference during scanning.
- Select appropriate scan settings like resolution (150-600 dpi) and color options before starting the scan.
- Save the scanned file to a preferred folder on your computer and organize files using clear naming conventions.
Get Your Printer and Computer Ready to Scan
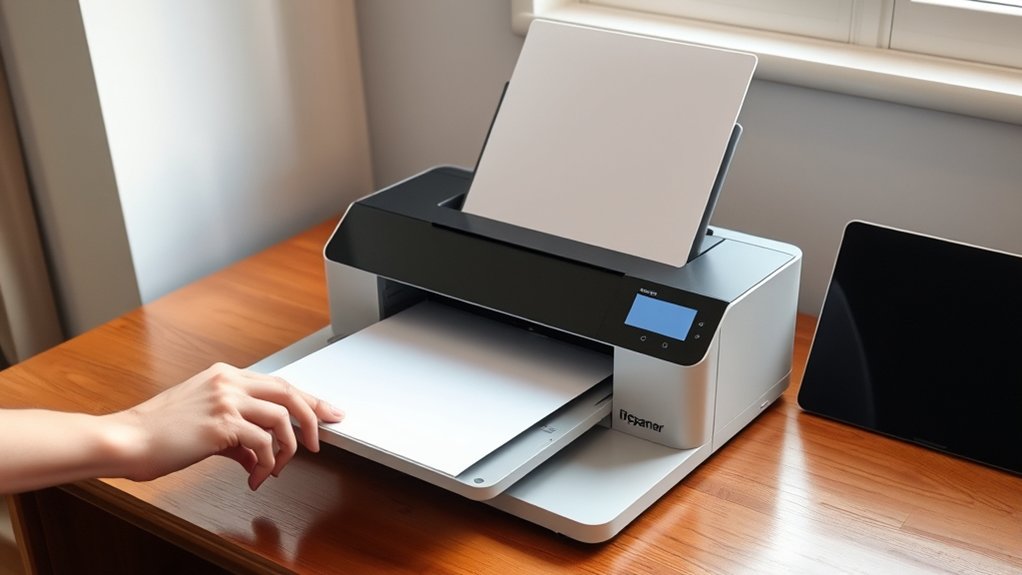
Before you start scanning, make certain your printer and computer are both powered on and connected. Check your printer compatibility with your computer’s operating system to avoid any issues. If you’re unsure, refer to the printer’s manual or manufacturer’s website for supported OS versions.
Next, adjust the scanning resolution settings based on your needs. Higher resolutions capture more detail but result in larger file sizes. Most printers allow you to select resolutions between 150 and 600 dpi. Setting it around 300 dpi is usually sufficient for documents, while photos might require higher settings.
Confirm you have the necessary scanning software installed on your computer, as it often controls resolution and other scan options. Taking these steps guarantees a smooth scanning process from your printer to your computer.
Connect Your Printer to Your Computer: Wired or Wireless
You’ll need to connect your printer to your computer either with a USB cable for a wired setup or through your wireless network. For a wired connection, simply plug the cable into both devices and follow any on-screen prompts.
If you prefer wireless, make sure your printer is connected to the same Wi-Fi network as your computer before proceeding.
Wired Connection Setup
Connecting your printer to your computer using a wired connection guarantees a stable and fast transfer for scanning documents. First, locate the USB cable that came with your printer.
Plug one end into the printer’s USB port and the other into an available USB port on your computer. Once connected, your computer should detect the printer automatically.
If it doesn’t, you’ll need to perform a driver installation. Visit the printer manufacturer’s website to download the latest driver compatible with your operating system. Follow the installation prompts carefully.
After the driver installation is complete, your computer will recognize the printer as a connected device. You can now launch your scanning software and start scanning documents directly to your computer without worrying about connectivity issues or delays.
Wireless Network Configuration
While a wired connection offers reliability, setting up your printer on a wireless network provides the convenience of scanning from anywhere within range. To start, verify your printer supports your home network’s frequency and has full network compatibility.
Access the printer’s control panel, select the wireless setup wizard, and choose your Wi-Fi network. Enter your Wi-Fi password carefully, keeping wireless security in mind to protect your data.
After connecting, install the printer software on your computer, which will detect the printer over the network. Finally, test the connection by scanning a document.
Scan Documents With Your Printer’s Software
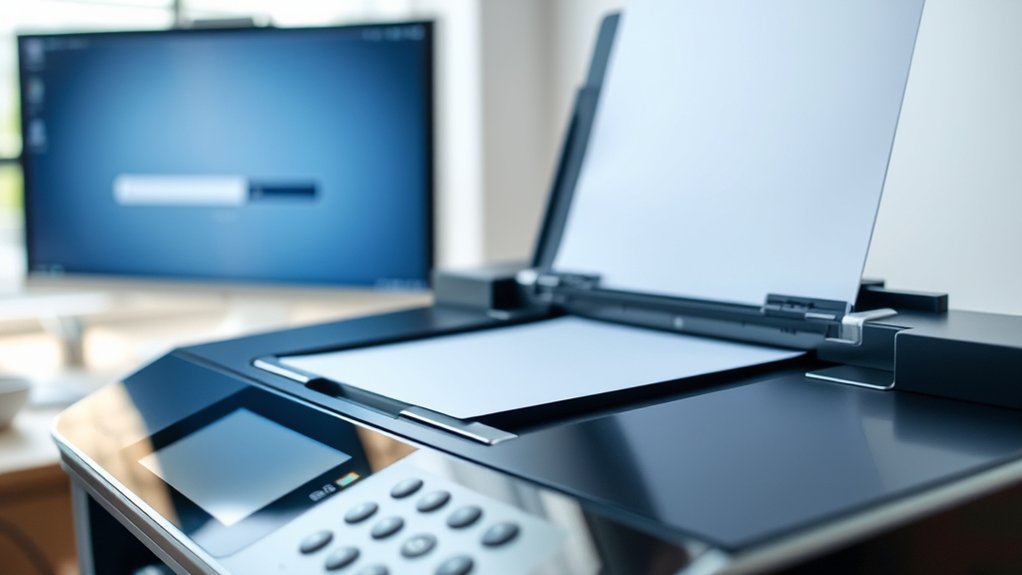
Open your printer’s software on your computer to start scanning. Choose the scan settings that fit your needs, like resolution and color options.
Once you finish, save the scanned document to your preferred location for easy access.
Accessing Printer Software
Before you start scanning, you’ll need to access your printer’s scanning software on your computer. First, verify your printer compatibility by checking the manufacturer’s website or user manual to confirm the software supports your operating system.
If you haven’t already, complete the software installation by downloading the latest version from the official site or using the installation CD that came with your printer. Once installed, locate the scanning software, usually found in your Start menu, Applications folder, or via a desktop shortcut.
Open the program to prepare for scanning. Some printers also allow you to access scanning features through a dedicated app or control panel on your computer. Having the correct software installed and accessed is essential for smooth scanning and file management.
Selecting Scan Settings
Once you access your printer’s scanning software, you’ll want to select the appropriate scan settings to assure your document is captured correctly. Adjusting these settings guarantees you get the best quality for your needs without wasting time or storage.
- Choose the scan resolution: Higher DPI means better detail but larger file size. Use 300 DPI for text and 600 DPI for images.
- Set color settings: Pick color, grayscale, or black and white depending on your document type.
- Select the scan area: Define whether to scan the entire page or a specific section.
- Choose the file format: TIFF, JPEG, or PDF, based on how you plan to use the scanned file.
These steps help you optimize scan quality quickly and efficiently.
Saving Scanned Documents
After choosing your scan settings, you’ll need to save the scanned document correctly to access it later. Begin by selecting the appropriate file format. Common options include PDF for multi-page documents or JPEG for single images.
Your printer’s software typically offers these choices; pick one that suits your needs. Next, choose a clear, descriptive file name to help with document organization. Create folders on your computer to group similar scans, making retrieval easier.
Avoid generic names like “scan1” to prevent confusion. Finally, save the file in your chosen folder. Taking these steps guarantees your scanned documents are easy to find and use whenever you need them, streamlining your digital workflow and keeping your files neat and accessible.
Scan Documents Using Mobile Apps
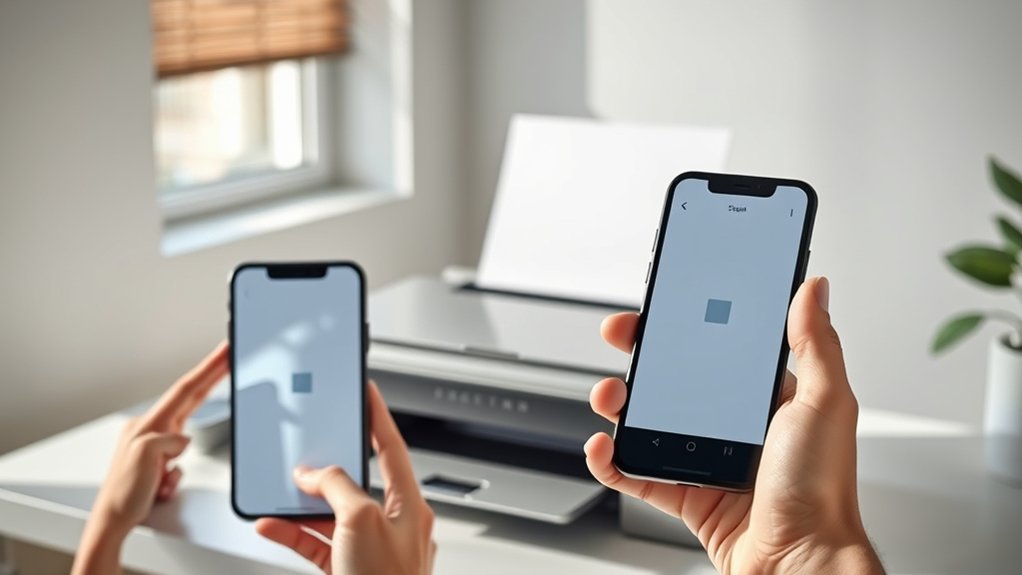
How can you quickly scan documents without using a computer? Mobile scanning apps offer a convenient solution, letting you capture documents directly with your smartphone. These apps come with advanced document scanning features like edge detection, automatic cropping, and image enhancement to guarantee clear scans.
To scan documents using mobile apps, follow these steps:
- Download a reputable mobile scanning app from your app store.
- Open the app and position your document within the camera frame.
- Use the app’s document scanning features to capture and adjust the scan.
- Save or share the scanned file directly from the app.
With these apps, you can scan documents anytime, anywhere, without needing a traditional scanner or computer.
Save and Organize Your Scanned Files
A well-organized system makes it easy to find and manage your scanned files. Start by creating dedicated folders on your computer for different document types, such as invoices, receipts, or personal records.
Use clear, consistent file naming conventions that include dates, descriptions, and version numbers to quickly identify each file. For example, name a receipt “2024-06-01_GroceryStore_Receipt.pdf.” Avoid vague names like “scan1” that make searching difficult.
Adopt clear, consistent file naming with dates and descriptions to easily locate your scanned documents.
Regularly back up your scanned files to cloud storage or an external drive to prevent loss. Review and delete duplicates or unnecessary scans to keep your document organization streamlined.
Taking these steps guarantees your scanned files stay accessible, saving you time and frustration when you need them.
Fix Common Scanning Problems
If your scans don’t come out as expected, don’t worry. You can usually fix common issues quickly. Start by following these steps to resolve typical problems:
- Check connections: Verify cables are secure or troubleshoot connectivity issues if using Wi-Fi.
- Clean the scanner glass: Dust and fingerprints can affect scan quality. Use scanner maintenance tips to keep it spotless.
- Restart devices: Power off your printer and computer, then turn them back on to refresh connections.
- Update drivers and software: Outdated drivers often cause scanning errors. Download the latest versions from the manufacturer’s website.
Tips to Improve Scan Quality and Speed
Once you’ve resolved common scanning issues, you can focus on enhancing your scan quality and speed. First, adjust the scan resolution based on your needs; higher resolution improves detail but slows scanning. For quick drafts, choose 150-200 dpi; for detailed images, select 300 dpi or higher.
Next, optimize color settings. Use grayscale or black and white for text documents to speed up scans and reduce file size. For photos, select full color to preserve quality. Keep your scanner glass clean to avoid streaks or spots affecting image quality.
Finally, close the scanner lid properly to prevent light leaks that degrade scans. By balancing scan resolution and color settings thoughtfully, you’ll get crisp scans faster without sacrificing necessary detail.
Frequently Asked Questions
Can I Scan Multiple Pages Into a Single PDF File?
Yes, you can batch scan multiple pages into a single PDF file. Use your scanner’s software to enable batch scanning, then apply PDF compression to reduce file size, making it easier to save and share your document.
How Do I Scan Photos Without Damaging Them?
You should handle photos gently, clean the scanner glass, and use photo preservation techniques.
Adjust scanner settings to high resolution and color correction. This prevents damage and guarantees quality scans without harming your photos.
Is It Possible to Scan Documents Directly to Cloud Storage?
You can zap documents straight to cloud storage like a superhero! Just connect your printer to Wi-Fi, select cloud storage in the menu, and streamline your document management without ever touching a USB or computer.
What File Formats Can I Save Scanned Documents As?
You can save scanned documents as PDF for security features, JPEG for compression, TIFF for advantages like high quality, or PNG if you need transparency. Choose based on your document’s purpose and quality needs.
How Do I Scan From a Printer on a Different Network?
You’ll need to adjust your network configuration to enable remote scanning. Connect both devices via VPN or cloud services, then use your printer’s software to access and scan documents from the printer on the different network.
Conclusion
Now that you know how to scan from your printer to your computer, you’re ready to tackle your documents like a pro. Whether you’re using wired, wireless, or mobile apps, following these steps will save you time and hassle.
Remember, practice makes perfect—so don’t be afraid to experiment with settings to get the best results. With these tips, scanning will be a walk in the park, keeping your files organized and easy to find.
By mastering how to scan from your printer to your computer, you can streamline your workflow and ensure your important documents are always at your fingertips.