To fix printer streaks, start by running the printer’s cleaning cycle to clear clogged print heads. This initial step often resolves the issue by removing dried ink or debris.
If streaks remain, gently wipe the heads with isopropyl alcohol and a lint-free cloth. Check ink or toner levels, ensuring cartridges are properly seated to avoid uneven printing.
Next, inspect and clean the drum unit and rollers to prevent smudging.
Using the right paper and adjusting ink density can also help improve print quality.
With these steps, you’ll greatly enhance your prints. Additional strategies can resolve any persistent issues you may encounter.
Key Takeaways
- Clean clogged print heads using your printer’s cleaning cycle or gently wipe with isopropyl alcohol and a lint-free cloth.
- Check and replace low or uneven ink cartridges to ensure consistent ink flow and prevent streaks.
- Inspect and clean rollers and drum units with isopropyl alcohol to remove toner smudges and debris.
- Perform regular printer calibration to keep cartridges aligned and maintain print quality.
- Use compatible paper types and adjust printer settings to reduce ink density and prevent streaking.
Why Printer Streaks Happen
Although printer streaks can be frustrating, they usually result from specific mechanical or consumable issues. The most common causes include clogged or damaged print heads, low or uneven ink levels, and worn-out rollers.
Misalignment of cartridges and dirty or defective drum units also contribute to streaking. To effectively address these, start by checking ink or toner levels and replacing cartridges if necessary. Use your printer’s built-in alignment tools to correct cartridge positioning.
Inspect rollers for debris or wear and clean them gently if needed. Avoid assuming software errors; focus on physical components first. Following these troubleshooting tips guarantees you identify the root cause and apply targeted fixes, minimizing downtime and improving print quality without unnecessary replacements or repairs.
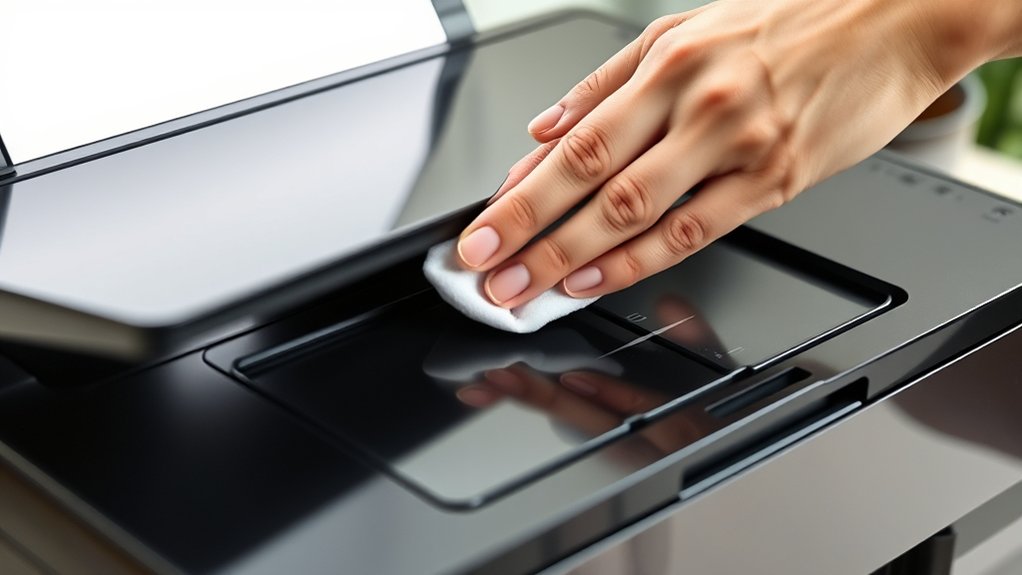
How to Clean Printer Heads and Nozzles
Once you’ve checked ink levels and cartridge alignment, focus on cleaning the printer heads and nozzles to resolve streaks caused by clogs or dried ink. Proper printer cleaning and nozzle maintenance guarantee consistent ink flow and prevent streaks.
Use your printer’s built-in cleaning utility first; if streaks persist, manually clean the heads with isopropyl alcohol and lint-free cloths. Avoid harsh chemicals or excessive force to prevent damage.
| Step | Tool/Material | Purpose |
|---|---|---|
| 1. Run cleaning cycle | Printer software | Clears minor clogs |
| 2. Remove cartridges | None | Access heads |
| 3. Apply alcohol | Isopropyl alcohol | Dissolves dried ink |
| 4. Wipe heads | Lint-free cloth | Removes residue |
| 5. Reinstall cartridges | None | Test print quality |
Regular nozzle maintenance optimizes print quality and longevity.
How to Fix Printer Streaks From Toner and Ink
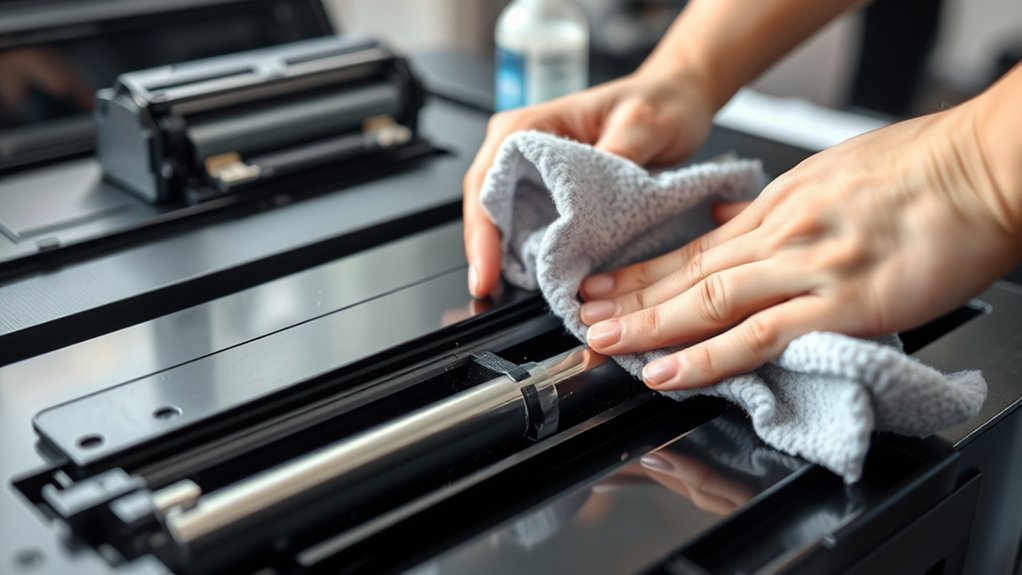
If your printer streaks persist after cleaning the heads and nozzles, the issue might stem from toner or ink distribution problems. First, check for toner smudging by inspecting the drum and rollers; clean them gently with a lint-free cloth and isopropyl alcohol to remove excess toner particles causing streaks.
For ink bleeding, verify you’re using the correct paper type and quality, as incompatible paper can cause ink to spread uncontrollably. Adjust your printer settings to a lower ink density to minimize bleeding. Also, confirm that the ink cartridges are properly seated to prevent uneven ink flow.
Run a test print after each adjustment to monitor improvement. These targeted steps address toner smudging and ink bleeding effectively, reducing streaks without replacing hardware prematurely.
When to Replace Printer Cartridges or Drum Units
You should monitor cartridge life indicators and watch for drum unit wear signs to know when replacement is necessary. Assess print quality regularly for streaks, faded areas, or inconsistent tones that signal component degradation.
Timely replacement guarantees ideal print performance and prevents ongoing streak issues.
Cartridge Life Indicators
Although printer cartridges and drum units often last for thousands of prints, their performance declines over time, causing streaks and faded output. You should monitor cartridge life indicators, such as low ink warnings or print quality deterioration, to determine when replacement is necessary.
Verify cartridge compatibility with your printer model to maintain peak print quality and prevent streaks caused by improper fit or electrical connection issues. Pay attention to the ink formulation, as original manufacturer inks typically perform better and last longer than third-party alternatives.
Using incompatible cartridges or incorrect ink formulations can accelerate streaking and reduce cartridge lifespan. Regularly check your printer’s software for precise cartridge status updates, and replace cartridges promptly when indicators signal depletion to avoid streaks and maintain consistent output quality.
Drum Unit Wear Signs
Monitoring cartridge life indicators provides valuable insight, but recognizing drum unit wear signs is equally important for maintaining print quality. The drum unit’s surface degrades over time, causing streaks or faded areas despite proper drum cleaning.
Wear indicators on the unit alert you when replacement is necessary. Ignoring these signs can worsen print defects.
| Wear Sign | Cause | Recommended Action |
|---|---|---|
| Streaks on Prints | Drum surface scratches | Replace drum unit |
| Faded Print Areas | Drum coating thinning | Check wear indicators |
| Repetitive Marks | Drum debris buildup | Perform drum cleaning |
| Error Messages | Wear indicator triggered | Replace drum unit promptly |
Print Quality Assessment
How do you determine the ideal time to replace printer cartridges or drum units for maintaining print quality? Monitoring print quality regularly is critical. Use these troubleshooting techniques to assess when replacement is necessary:
- Visual Inspection: Check for consistent streaks, fading, or blotches across prints. Persistent defects indicate cartridge or drum wear.
- Print Density Test: Run a density test page; uneven toner distribution signals the need for replacement.
- Error Messages: Pay attention to printer alerts specifying cartridge or drum status.
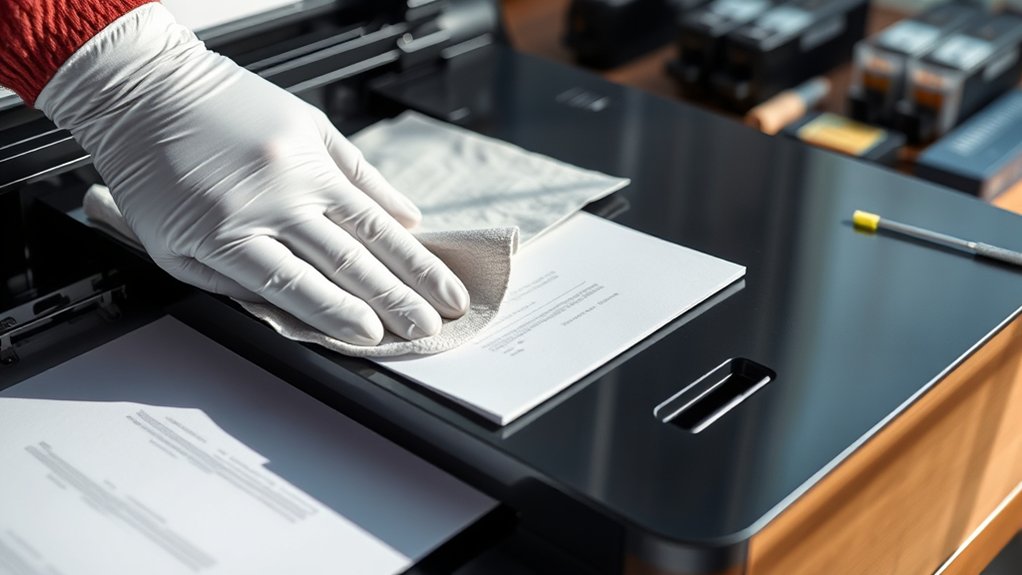
Choosing the Right Paper to Prevent Printer Streaks
When you select paper that matches your printer’s specifications, you reduce the risk of streaks caused by ink absorption issues or mechanical friction. Start by identifying the compatible paper types recommended for your printer, such as plain, glossy, or matte finishes.
The surface texture influences ink adherence and drying time, directly affecting streak formation. Next, consider paper weight; heavier paper typically handles ink better, preventing bleeding and streaks.
Using paper too thin or incompatible with your printer can cause jams and uneven ink distribution. Always verify the paper’s compatibility with your printer model and intended print job.
Essential Maintenance Tips to Keep Your Printer Streak-Free
Although selecting the right paper helps prevent streaks, regular printer maintenance is essential to keep your prints consistently clear. You need to focus on three critical areas:
- Perform Printer Calibration: Regularly calibrate your printer to guarantee precise alignment of print heads. Misalignment often causes streaks and uneven color distribution.
- Monitor Ink Viscosity: Use manufacturer-recommended inks and check their viscosity. Ink that’s too thick or thin can clog nozzles or produce streaks, so adjust or replace ink cartridges as needed.
- Clean Print Heads and Rollers: Dirt and dried ink buildup on print heads and rollers lead to streaks. Use the printer’s cleaning function or manually clean these components to maintain peak performance.
Frequently Asked Questions
Can Software Updates Fix Printer Streak Issues?
Yes, software updates can fix printer streak issues by improving software compatibility and providing driver updates. You should regularly check for and install these updates to guarantee peak printer performance and resolve streak-related problems.
Does Humidity Affect Printer Streaks?
Humidity impact is huge; you might imagine your printer drowning in a fog! Moisture levels affect ink flow and paper absorption, causing streaks.
You should control humidity precisely to maintain ideal printing quality and eliminate streak issues effectively.
How Do Different Printer Brands Compare in Streak Problems?
You’ll find that brand reliability varies; some require less frequent printer maintenance to prevent streaks.
Investing in well-reviewed brands with robust maintenance systems reduces streak issues and guarantees consistent print quality, saving you time and hassle.
Are Third-Party Cartridges More Prone to Causing Streaks?
Yes, third-party cartridges often face reliability issues and inconsistent ink quality, which can cause streaks. You should verify compatibility and test print samples to guarantee they meet your printer’s specifications and maintain print quality.
Can Streaks Affect Double-Sided Printing Quality?
Yes, streaks can degrade double-sided printing quality by causing misalignment or uneven ink distribution on both sides.
You’ll want to clean the print heads and align the printer to maintain consistent streak quality during double-sided printing.
Conclusion
To stop streaks and secure sharp, spotless prints, start by swiftly cleaning your cartridges and carefully checking your paper choices. Consistent cartridge care and cleaning can cut common causes of streaks, while timely toner or drum replacements keep your printer performing perfectly.
By practicing proper printer maintenance and picking the proper paper, you’ll prevent persistent printing problems and produce professional-quality pages every time. Stay sharp, stay streak-free, and sustain seamless printing success.
Following these steps is essential to fix printer streaks and ensure your prints always look their best.