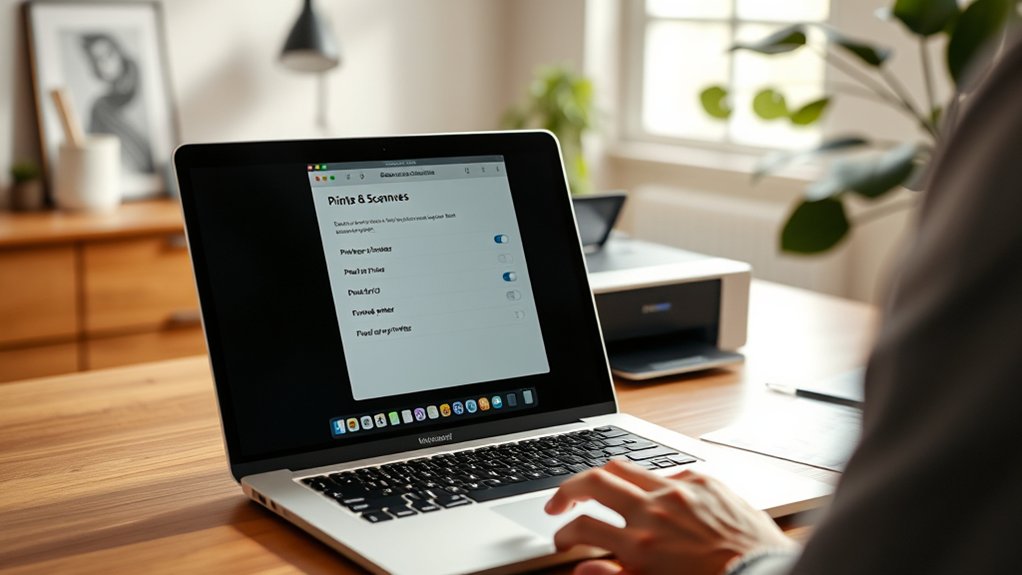
To configure a printer on your Mac, start by opening System Preferences and selecting “Printers & Scanners.” This section allows you to manage all printer-related settings on your device.
Click the plus (+) button to add your printer, making sure it’s connected either via USB or the same Wi-Fi network as your Mac. Install any necessary drivers from the printer manufacturer or through Apple’s Software Update to ensure compatibility.
Once added, choose your default printer to streamline the printing process.
If you experience any issues, try clearing the print queue or restarting your devices. Keep following for steps on sharing, resetting, and troubleshooting your printer effectively.
Key Takeaways
- Open System Preferences, select “Printers & Scanners,” then click the plus (+) button to add your printer.
- Ensure your printer is connected to the same Wi-Fi network as your Mac for wireless setup.
- Download and install the latest printer drivers from the manufacturer’s website or use Apple’s Software Update.
- Set your preferred printer as the default in “Printers & Scanners” for streamlined printing.
- Troubleshoot issues by checking connections, clearing the print queue, and restarting your Mac and printer.
How to Add a Printer on Your Mac
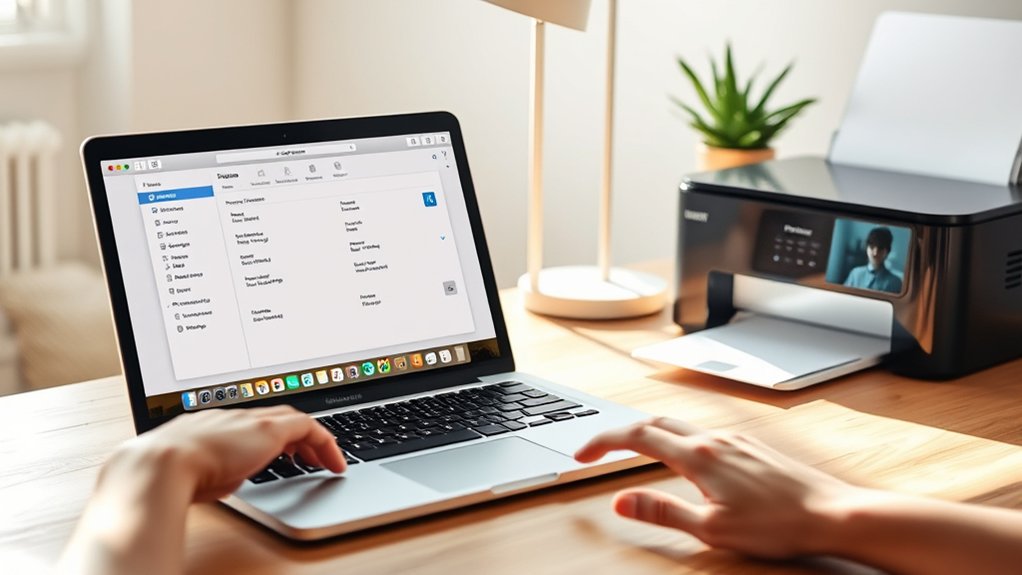
To add a printer on your Mac, start by opening the System Preferences and selecting “Printers & Scanners.” Click the plus (+) button to add a new printer.
If you’re setting up wireless printing, make certain your printer is connected to the same Wi-Fi network as your Mac. Your Mac should automatically detect available printers. Select your printer from the list and click “Add.”
Once added, you can customize printer preferences by selecting the printer and clicking “Options & Supplies.” Here, you can adjust settings like paper size, print quality, and default trays.
Configuring these preferences helps streamline your printing tasks. By following these steps, you’ll quickly connect and manage your printer for efficient wireless printing without hassle.
How to Find and Install Printer Drivers on Mac
Finding and installing the right printer drivers on your Mac guarantees smooth communication between your device and printer. First, check your printer’s compatibility with macOS on the manufacturer’s website.
Download the latest driver updates to confirm proper functionality and security. You can also use Apple’s Software Update feature to find compatible drivers automatically. Install the drivers following on-screen instructions, then restart your Mac if prompted.
| Step | Action |
|---|---|
| 1. Verify printer compatibility | Check manufacturer’s site |
| 2. Download driver updates | Get latest version for macOS |
| 3. Use Software Update | Find drivers automatically |
| 4. Install and restart | Follow prompts and reboot if needed |
How to Set Your Default Printer on Mac
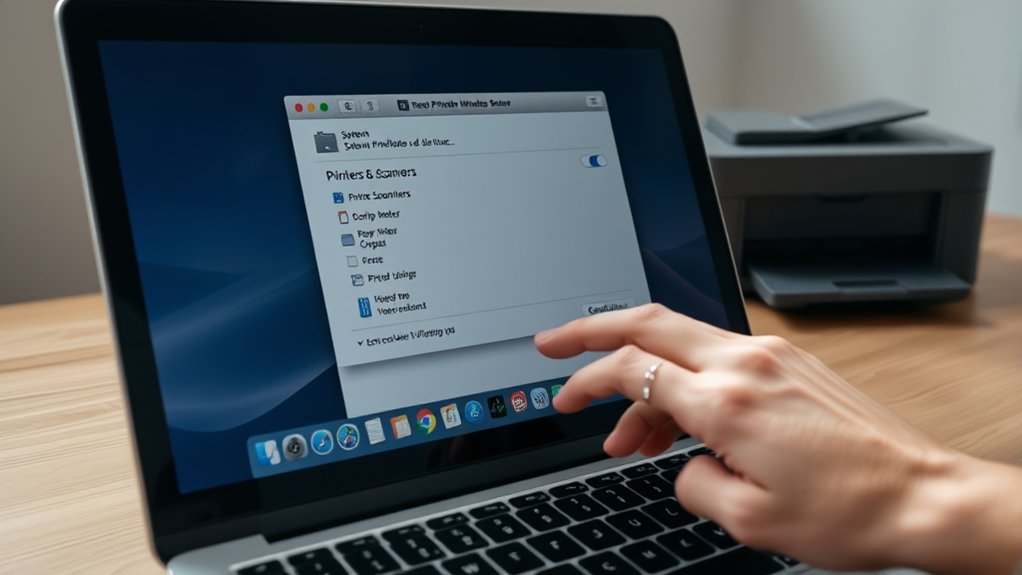
Once you’ve installed the correct printer drivers on your Mac, setting a default printer helps streamline your printing tasks. To do this, open System Preferences and click on Printers & Scanners.
Here, you’ll see a list of available printers. Select the printer you want as your default from the Default Printer drop-down menu at the bottom of the window. Choosing “Last Printer Used” is also an option if you prefer your Mac to remember your previous choice.
Managing printer preferences this way guarantees your Mac directs print jobs automatically without prompting each time. Adjusting your default printer settings saves time and simplifies your workflow, especially if you use a specific printer regularly.
How to Troubleshoot Common Printer Issues on Mac
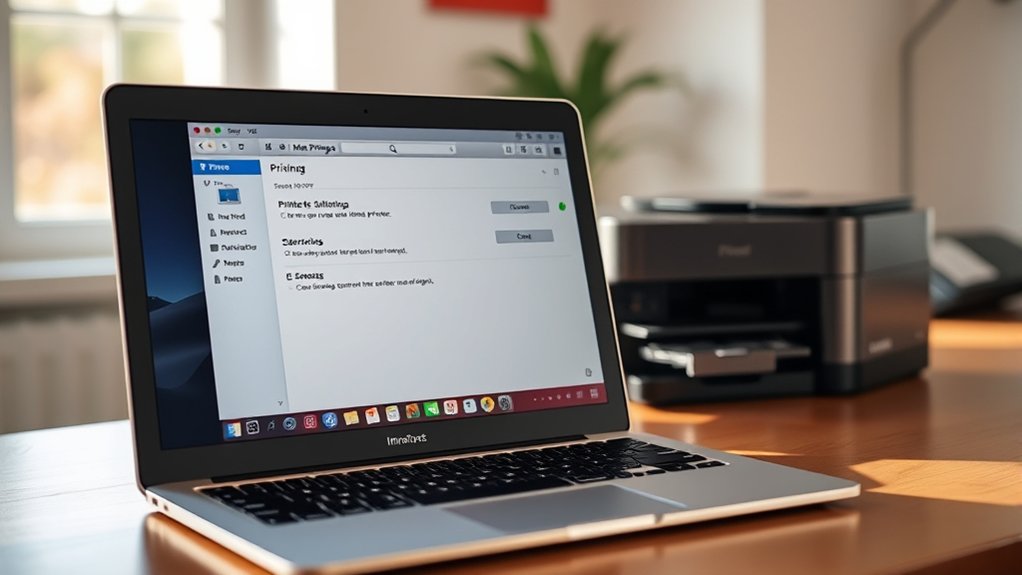
Although printers generally work smoothly with Macs, you might encounter issues like connectivity problems, paper jams, or print quality errors. Start troubleshooting by checking for any printer error messages on your Mac or printer display.
Next, verify your printer’s connection, whether via USB or Wi-Fi, to resolve common connectivity issues. If your printer isn’t responding, clear the print queue by opening “Printers & Scanners” in System Preferences, selecting your printer, and clicking “Open Print Queue.” Remove stuck jobs to restart printing.
Driver problems can also cause glitches, so confirm your printer driver is up to date by visiting the manufacturer’s website or using Apple’s Software Update. Restart your Mac and printer if problems persist.
These steps typically fix frequent printer issues on Mac quickly and effectively.
How to Share Your Printer With Other Mac Devices
To share your printer with other Mac devices, you first need to enable Printer Sharing in your Mac’s settings. Once sharing is turned on, other Macs on the same network can connect to your printer easily.
This allows everyone to print without needing separate setups.
Enable Printer Sharing
- Click Sharing in System Preferences.
- Check the box next to Printer Sharing.
- Select the printer you want to share from the list.
- Confirm your network configuration allows other devices to see your Mac.
This setup lets other Macs on the same network use your shared printer seamlessly. Ensuring your printer preferences are correct and your network configuration supports sharing is key to smooth operation.
Now, your printer is ready for shared use across your devices.
Connect Shared Printer
Once you’ve enabled printer sharing on your Mac, it’s time to connect other devices to the shared printer. First, verify all devices are on the same network to avoid network configuration issues.
On the Mac you want to print from, open System Settings, then go to Printers & Scanners. Click the plus (+) button to add a new printer.
Your shared printer should appear under Nearby Printers or in the list of available printers. Select it and click Add. If prompted, check that you have the correct printer permissions to access and use the shared printer.
Adjust these permissions on the host Mac if needed, under System Settings > Sharing > Printer Sharing. Following these steps lets you easily print from any Mac on your network.
How to Remove or Reset Your Printer on Mac
Although removing or resetting your printer on a Mac might seem intimidating, you can complete these tasks quickly through the System Preferences. Managing printer settings and device management is straightforward once you know where to go.
To remove or reset your printer, follow these steps:
- Open System Preferences and select Printers & Scanners.
- Choose the printer you want to remove from the list on the left.
- Click the minus (-) button below the printer list to remove it.
- To reset, click Reset printing system by right-clicking the printer list area, then confirm the action.
This process clears all printer queues and settings, giving you a fresh start for device management.
Frequently Asked Questions
Can I Print From My Mac to a Windows-Only Printer?
Yes, you can print from your Mac to a Windows-only printer by enabling network sharing on the Windows PC. This guarantees cross platform compatibility, letting your Mac access and use the printer over the network seamlessly.
How Do I Print Double-Sided on My Mac?
You can enable double sided printing by opening Printer Preferences on your Mac. Select your printer, then choose “Two-Sided” or “Duplex” printing under layout or finishing options before printing your document.
Can I Scan Documents Using My Mac Printer Setup?
You know, “a stitch in time saves nine.” Yes, you can scan documents using your Mac printer setup.
Just access scan settings in the app, choose your preferred document formats, and start scanning quickly and efficiently.
How Do I Manage Print Queues on macOS?
You manage print queues on macOS by opening System Preferences, selecting Printers & Scanners, then choosing your printer. From there, you can view and adjust print queue management settings and make necessary printer settings adjustments.
Is It Possible to Print Wirelessly Without Wi-Fi on Mac?
Yes, you can print wirelessly without Wi-Fi using Bluetooth printing or AirPrint alternatives that support direct connections.
Just pair your Mac with the printer via Bluetooth or use compatible apps to print without a network.
Conclusion
Now that you know how to add, set up, and troubleshoot your printer on Mac, printing becomes hassle-free. For example, Sarah struggled with her printer not responding, but after updating the driver and resetting the device following these steps, she printed her important reports without delay.
By mastering these simple configurations, you’ll save time and avoid frustration. This ensures your printer works smoothly whenever you need it.
With these tips, configuring your printer in Mac becomes an easy task that keeps your workflow uninterrupted.