To screenprint, start by preparing a clean mesh screen coated evenly with photo emulsion and dry it in a dark space.
Place your high-contrast design on the screen and expose it to light, then rinse to reveal your stencil.
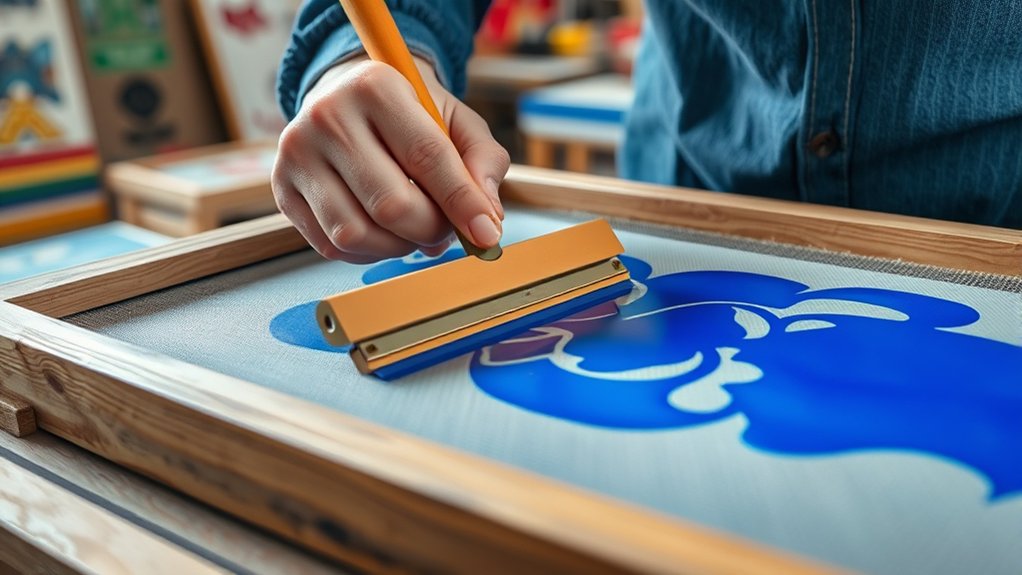
Secure fabric tightly and apply ink with a squeegee at a 45-degree angle, using consistent pressure for even coverage.
Clean your screen promptly after printing for reuse.
Mastering these steps sets the stage for more advanced techniques and better prints.
Key Takeaways
- Prepare a high-contrast design and create a stencil on a mesh screen using photo emulsion and exposure techniques.
- Secure and clean fabric, then tightly stretch it on a frame for smooth ink application.
- Load ink on the screen and use a squeegee at a 45-degree angle to evenly press ink through the stencil onto the fabric.
- Rinse and clean the screen immediately after printing to remove ink and preserve the stencil for reuse.
- Test print on fabric first to check ink adhesion and print quality before mass printing.
What Is Screenprinting and How Does It Work?
Screenprinting, also known as silk screening, is a printing technique that uses a mesh screen to transfer ink onto a substrate, except in areas made impermeable to the ink by a stencil. To start, you prepare a stencil that blocks ink in specific sections on the screen.
When you apply ink, it passes through the open mesh areas, imprinting your design onto the substrate beneath. Historically, screenprinting techniques trace back to ancient China but evolved markedly in the early 20th century with industrial advances.
Understanding this history overview helps you appreciate how modern tools and methods enhance precision and efficiency. As you learn, focus on mastering stencil preparation and ink application, as these steps are essential for achieving sharp, consistent prints in your screenprinting projects.
Materials and Tools Needed for Screenprinting
Mastering screenprinting requires assembling specific materials and tools that guarantee accuracy and quality in your prints. You’ll need a screen with a mesh count suited to your design, squeegees for even ink application, and appropriate ink types, such as plastisol or water-based, chosen based on your substrate and desired finish.
Additionally, emulsion and a light source are essential for stencil creation.
| Material/Tool | Purpose | Selection Tip |
|---|---|---|
| Screen Mesh | Holds stencil | Use 110-160 mesh for details |
| Ink Types | Transfers design | Choose plastisol for durability |
| Squeegee | Spreads ink evenly | Select firm rubber blades |
Selecting the right tools and ink types guarantees precision and durability in your screen printing projects.
Setting Up Your Screenprinting Workspace
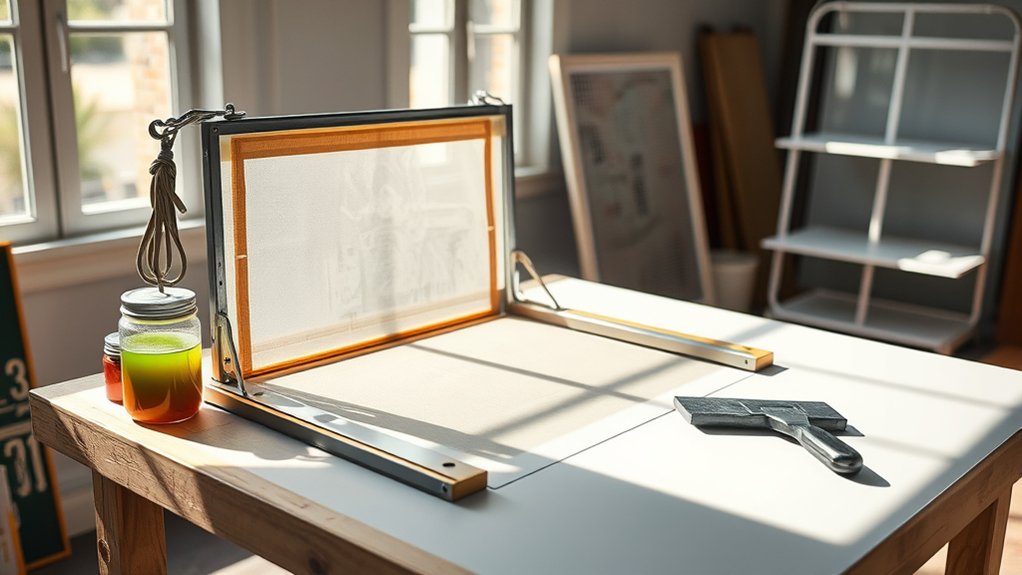
Before you start printing, organize your workspace to guarantee efficiency and cleanliness. Designate separate zones for screen preparation, printing, and drying to maintain workflow and prevent cross-contamination. Arrange all tools and materials within easy reach to minimize interruptions.
Prioritize workspace organization by using sturdy tables with non-porous surfaces for easy cleanup. Make certain adequate lighting considerations: position bright, even light sources above your printing station to reduce shadows and improve registration accuracy. Natural daylight or full-spectrum LED lights work best for color consistency and detailed work.
Keep ventilation in mind to dissipate fumes from inks and cleaning agents. Finally, secure your screens in a stable frame or press to maintain alignment. This setup minimizes errors and streamlines your screenprinting process from start to finish.
Preparing Your Design for Screenprinting
You’ll start by selecting artwork that’s clean, high-contrast, and suitable for the screenprinting process. Confirm your image resolution is at least 300 DPI to maintain sharp detail when transferring to the screen.
Finally, prepare transparent films carefully, making sure they’re opaque enough to block light during exposure.
Choosing The Right Artwork
Although screenprinting can reproduce complex images, selecting artwork designed specifically for the process guarantees ideal results. When choosing artwork, focus on bold lines and clear shapes to verify proper ink transfer.
Avoid gradients and intricate details that may not translate well. Your artwork selection should start with strong design inspiration, emphasizing contrast and simplicity. Use vector graphics or high-contrast black-and-white images to facilitate screen creation.
Remember, each color requires a separate screen, so limit your design’s color palette to reduce complexity and cost. Prepare your artwork on a transparent background to aid in precise exposure.
Image Resolution Importance
Selecting artwork with bold lines and clear shapes sets a strong foundation, but verifying your design has the proper image resolution is what guarantees sharp, detailed prints. You need to focus on image quality by maintaining high pixel density, typically at least 300 DPI, to avoid blurry or pixelated results during screenprinting.
Low-resolution images reduce detail and cause uneven ink distribution, compromising the final print. Use this table to understand ideal pixel densities for different print sizes:
| Print Size (inches) | Minimum DPI | Image Quality Result |
|---|---|---|
| Up to 4×4 | 300 | Crisp, clean edges |
| 5×5 to 8×8 | 300-350 | Detailed, sharp lines |
| 9×9 to 12×12 | 350-400 | High fidelity detail |
| 13×13 to 18×18 | 400-450 | Excellent clarity |
| Above 18×18 | 450+ | ideal precision |
Make sure your design matches these pixel densities to verify ideal screenprint quality.
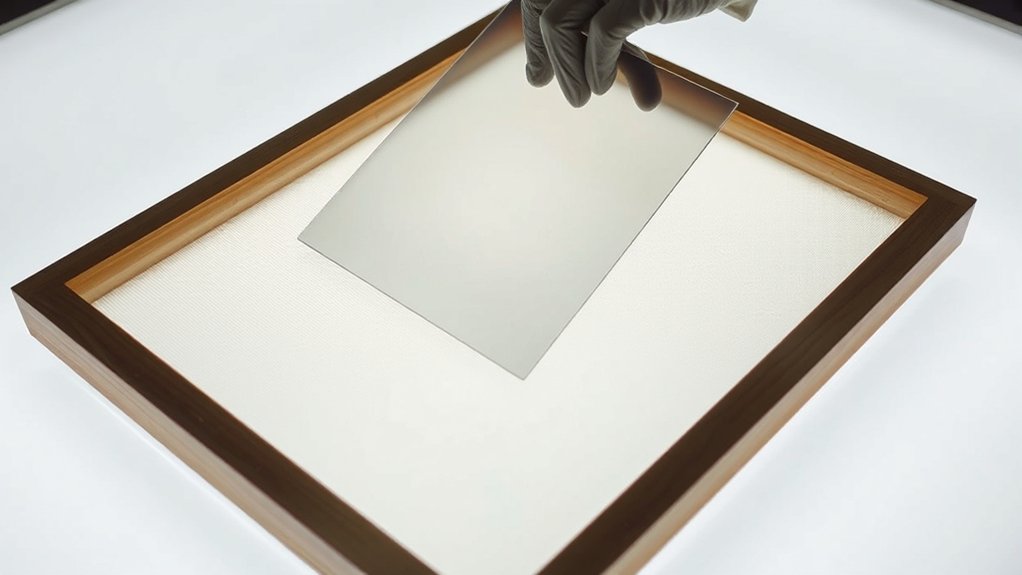
Preparing Transparent Films
Once your design meets the required resolution standards, prepare transparent films by printing your artwork onto clear, high-quality acetate sheets using a laser printer or specialized film printer. Choose the correct film types, matte or glossy, based on your ink and exposure method to guarantee ideal transparency quality.
Matte films reduce glare during exposure, while glossy films offer sharper image detail. Verify that the print is fully opaque in black areas to block UV light effectively during screen exposure. Avoid smudges or streaks, as these compromise image fidelity.
Align the film precisely to your screen frame, making sure no wrinkles or bubbles distort the design. Proper preparation of these transparent films is critical, as any imperfections will directly affect the screen’s stencil accuracy and, ultimately, the quality of your screenprinted output.
Creating and Coating Your Screen
Before you start applying the emulsion, prepare your screen by verifying it’s clean and free of any dust or oils that could interfere with adhesion. Select the appropriate screen type, typically aluminum frames with polyester mesh, based on your design’s detail and ink thickness.
Use a degreaser to remove residues thoroughly, then rinse and dry the screen completely. When coating, apply a thin, even layer of photo emulsion on both sides using a scoop coater held at a 45-degree angle.
Emulsion techniques require steady, smooth strokes to avoid streaks or bubbles, which can cause printing defects. Allow the emulsion to dry in a dark, dust-free environment. Proper coating facilitates sharp, consistent prints and prepares your screen effectively for the next exposure step.
Exposing Your Screen for Printing
After your screen is coated and thoroughly dried in a dark environment, the next step involves exposing it to light to create your stencil. Proper screen exposure depends on using a consistent light source and precise timing.
Once coated and dried, expose your screen to light with consistent timing to create a sharp stencil.
Position your design film on the screen, making certain it’s flat and aligned. Use a controlled light source, like a UV exposure unit, to avoid uneven exposure. Follow these essential steps for effective screen exposure:
Place the screen and film under the light source with no gaps.
Set exposure time based on your emulsion and light intensity.
Avoid moving the screen during exposure.
Keep the environment free from ambient light.
Rinse the screen immediately after exposure to reveal the stencil.
This method guarantees your stencil is sharp and durable for printing.
Printing Your Design on Fabric and Surfaces
Start by thoroughly cleaning and smoothing your fabric to guarantee the ink adheres properly without any imperfections.
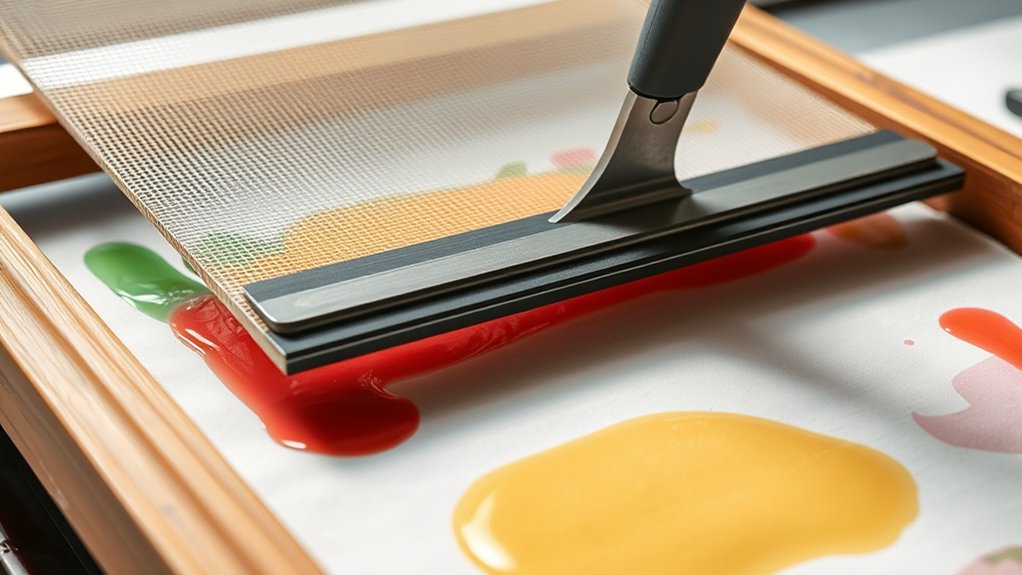
Next, load your screen with a consistent amount of ink and use a sharp squeegee to apply even pressure across the design. This controlled technique prevents smudging and guarantees crisp, clear prints on your chosen surface.
Preparing Fabric Surfaces
Preparing fabric surfaces requires thorough cleaning and smoothing to guarantee ideal ink adhesion and crisp print results. Proper surface preparation is essential. You’ll want to remove dust, oils, and sizing agents through fabric treatment before printing.
Start by washing the fabric with a mild detergent, then let it dry completely. Iron the fabric to eliminate wrinkles and create a smooth, even surface. Ascertain the fabric is securely hooped or taped flat to prevent shifting during printing.
Finally, test a small area to verify the fabric’s readiness and compatibility with your chosen ink.
- Wash fabric to remove contaminants
- Dry fabric fully before printing
- Iron fabric to smooth wrinkles
- Secure fabric tightly on frame
- Conduct a small-area test print
Applying Ink Evenly
Apply the ink with consistent pressure and smooth, even strokes to guarantee uniform coverage across your fabric or surface. Begin by checking the ink consistency; it should be neither too thick nor too runny to ascertain proper transfer through the screen.
Load the squeegee with ink, then position it at a 45-degree angle for maximum control. Use a firm, steady squeegee technique, pulling or pushing the ink evenly across the design area. Avoid lifting the squeegee mid-stroke to prevent gaps or uneven layers.
Maintain a consistent speed and pressure throughout each pass to achieve sharp, crisp prints. After one pass, you may repeat if necessary, but allow the ink to settle slightly before applying additional layers to avoid smudging or bleeding.
Cleaning and Reusing Your Screen
Thoroughly removing all ink and emulsion residue from your screen guarantees peak performance for future print runs. Proper screen cleaning guarantees your stencil remains intact and prevents color contamination.
Start by rinsing the screen with warm water to loosen excess ink. Apply a dedicated ink remover to break down stubborn ink deposits without damaging the mesh. Use a soft brush to scrub gently, focusing on clogged areas. After ink removal, apply emulsion remover to strip the stencil, preparing the screen for reuse.
Remember these key steps for effective cleaning:
- Rinse immediately after printing to prevent ink drying
- Use appropriate chemical removers for ink and emulsion
- Avoid abrasive scrubbing to maintain mesh integrity
- Dry screens completely before storage
- Inspect screens for damage before reuse
Following these procedures extends screen life and improves print quality.
Frequently Asked Questions
Can Screenprinting Be Done on Metal or Glass Surfaces?
Yes, you can screenprint on metal substrates and glass coatings by using specialized inks and pre-treating surfaces to guarantee adhesion.
You’ll need precise mesh screens and curing processes tailored for these non-porous materials.
How Do You Fix Mistakes Made During Screenprinting?
To fix mistakes during screenprinting, you’ll perform mistake correction by carefully removing wet ink with a damp cloth and making precise ink adjustments on your palette.
Always clean screens thoroughly before reprinting to guarantee sharp results.
What Is the Best Ink Type for Outdoor Durability?
You want water resistant inks for moisture defense, UV resistant inks for sunlight protection, and plastisol inks for durability.
Combine these qualities to guarantee your screenprints withstand outdoor elements, maintain vibrancy, and last through harsh conditions.
How Long Does a Screenprinted Design Typically Last?
Your screenprinted design lifespan typically ranges from 30 to 50 washes, depending on fabric compatibility and ink type. Proper curing and using high-quality inks enhance durability, ensuring your design stays vibrant and intact longer.
Can Screenprinting Be Automated for Large-Scale Production?
Yes, you can automate screenprinting using automated processes like rotary presses and robotic arms, which greatly boost production efficiency. These methods ensure consistent ink application, faster cycle times, and precise registration for large-scale manufacturing environments.
Conclusion
Now that you know the essentials of screenprinting, imagine customizing a batch of branded tote bags for your local fundraiser. By carefully preparing your design, coating and exposing your screen accurately, and printing with precision, you’ll produce sharp, professional results every time.
Remember, thorough cleaning guarantees your screen’s longevity for future projects. With practice and attention to detail, you’ll master screenprinting and bring your creative ideas vividly to life on any surface. Embracing these steps ensures your screenprinting projects are both enjoyable and successful.