To screenprint on PC, start by choosing vector-based software with precise layering and color separation tools.
Design your artwork at 300 dpi, limiting colors to simplify screens. Save files in AI or EPS format to maintain quality, then print the design in black ink onto high-res transparency film without scaling.
After coating and exposing your screen using that film, position your screen and use consistent ink application techniques.
Mastering these steps guarantees crisp prints and smooth curing processes. Explore further to optimize each stage for best results.
Key Takeaways
- Use vector-based design software on your PC for creating precise, scalable screenprint artwork with clear layers and color separations.
- Prepare digital files at 300 dpi resolution, save in AI or EPS format, and convert text to outlines for sharp, clean prints.
- Print your design in black ink on high-quality transparency film using your PC-connected printer, ensuring no scaling or resizing.
- Position the screen correctly and use consistent squeegee pressure to transfer ink accurately from your digital design onto the substrate.
- Cure prints properly using heat or UV curing equipment, following ink and substrate guidelines to ensure durability and print quality.
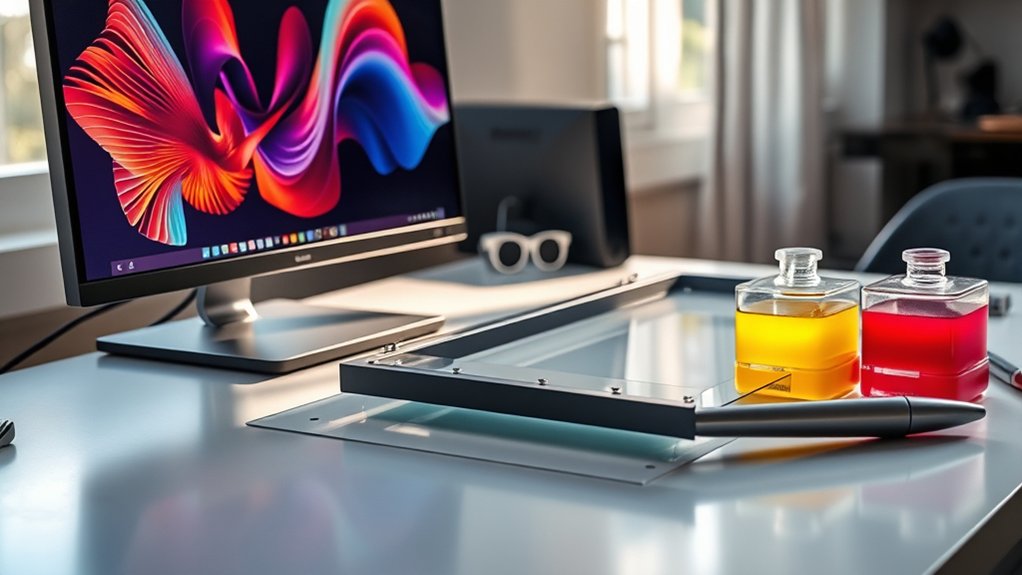
Choose the Best Software for Your Screenprint Designs
When selecting software for your screenprint designs, you’ll want a program that offers robust vector editing tools and supports high-resolution output. Focus on software features that allow precise layering, color separation, and export options compatible with screenprinting equipment.
Evaluate the software’s ability to handle complex paths and maintain crisp edges, essential for high-quality prints. User reviews provide valuable insights into real-world performance and usability, helping you avoid programs with steep learning curves or frequent bugs.
Prioritize software that integrates seamlessly with your workflow, offering customizable shortcuts and efficient file management. By analyzing both technical specifications and user feedback, you can choose a program that enhances your design process and guarantees consistent, professional screenprint results.
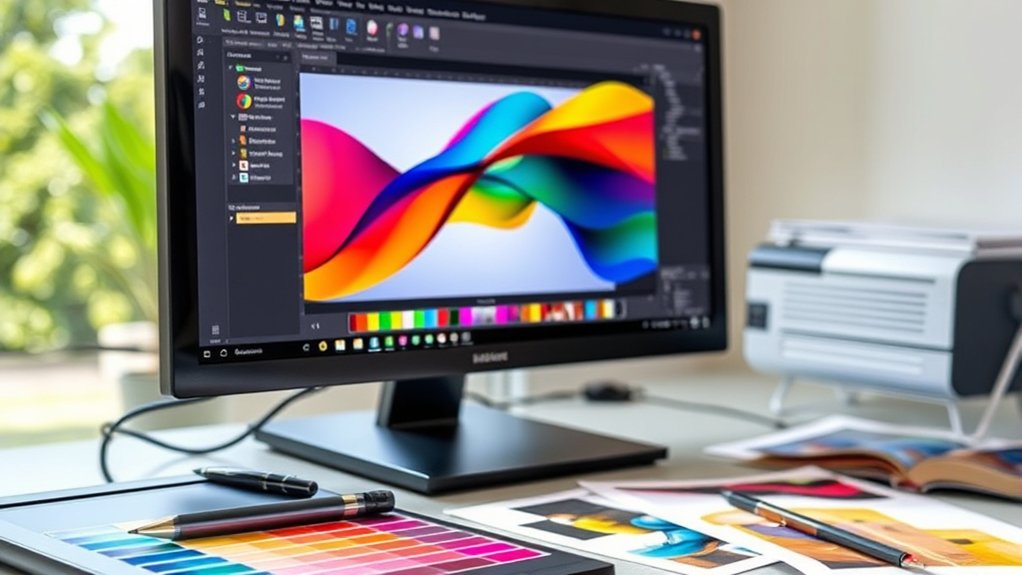
Design Screenprint Artwork on Your PC
After selecting the right software, focus on creating your screenprint artwork with attention to detail and accuracy. Begin by gathering design inspiration relevant to your project’s theme to guarantee originality.
Use vector-based tools for clean, scalable lines essential in screenprinting. Apply color theory strategically; limit your palette to a few colors since each adds a separate screen in the printing process.
Choose high-contrast colors for better visibility and consider ink opacity. Utilize layering techniques to separate colors clearly, preventing overlaps and misregistration.
Maintain a resolution of at least 300 dpi for sharp edges. Regularly zoom in and out to inspect details and overall composition.
Prepare Digital Files for Screenprinting
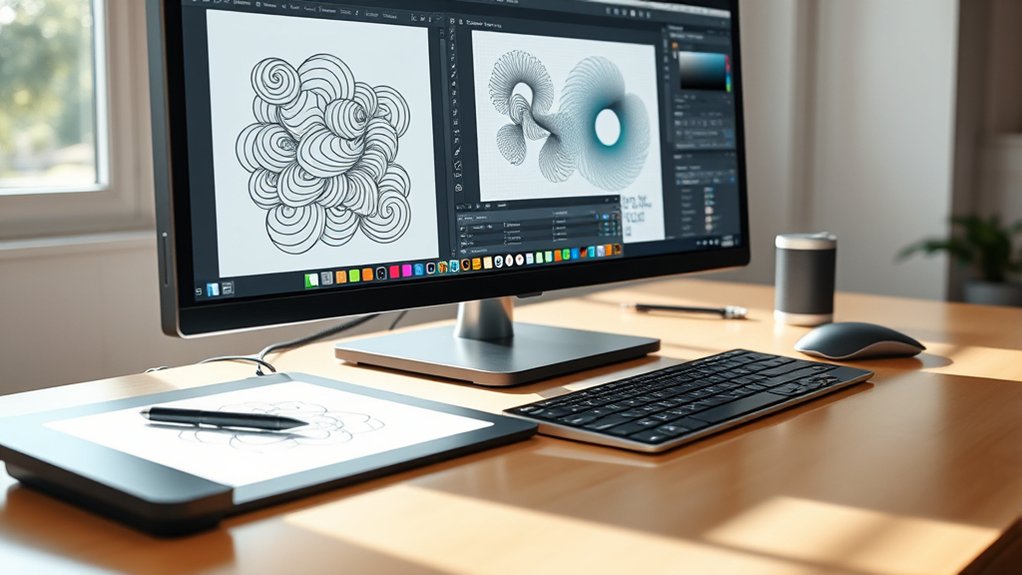
To guarantee your screenprint comes out sharp, save your artwork in vector formats like AI or EPS whenever possible. Set your image resolution to at least 300 DPI to maintain detail during printing.
These steps help you avoid pixelation and preserve design integrity on your final print.
File Format Selection
Although selecting the right file format might seem straightforward, choosing the appropriate one is essential for ensuring your design translates accurately onto the screen. You should prioritize vector graphics for screenprinting because they maintain crisp lines and scalability without pixelation.
Formats like AI, EPS, or SVG are ideal since they allow precise manipulation during stencil creation. Raster images, such as JPEG or PNG, can be used but only if they have high contrast and are at least 300 DPI; otherwise, they risk losing detail when enlarged.
Avoid compressed formats that degrade quality. Always convert text to outlines in vector files to prevent font issues. By selecting the correct file format, you guarantee clean separation of design elements, which streamlines screen preparation and results in a sharp, professional print.
Image Resolution Settings
When you prepare your digital files for screenprinting, setting the correct image resolution is essential to preserve detail and prevent pixelation. Aim for a minimum of 300 dpi settings at the final print size to guarantee peak image quality.
Lower dpi values reduce sharpness, causing blurry or jagged edges in your print. Use image editing software to verify and adjust resolution, avoiding resampling that could degrade quality.
Remember, increasing dpi artificially won’t add detail; start with a high-resolution original. Also, consider the halftone patterns used in screenprinting, as they require sufficient resolution for clean dot reproduction.
Print Screenprint Designs Onto Transparency Film
Start by selecting a high-quality transparency film compatible with your printer type, whether inkjet or laser. Load the transparency film into your printer, making certain it feeds correctly to prevent smudging.
Open your screenprint designs file and set the print options to the highest resolution available to preserve detail. Print the design in black ink only, as this will provide the necessary opacity for screen exposure.
Avoid any scaling or resizing during printing to maintain accurate dimensions. Once printed, inspect the transparency film for consistent ink coverage and sharp edges on the screenprint designs.
Allow the ink to dry completely before handling to prevent smearing. Properly printed transparency films guarantee precise stencil creation and ideal screenprint quality during exposure.
Set Up and Coat Your Screen for Printing
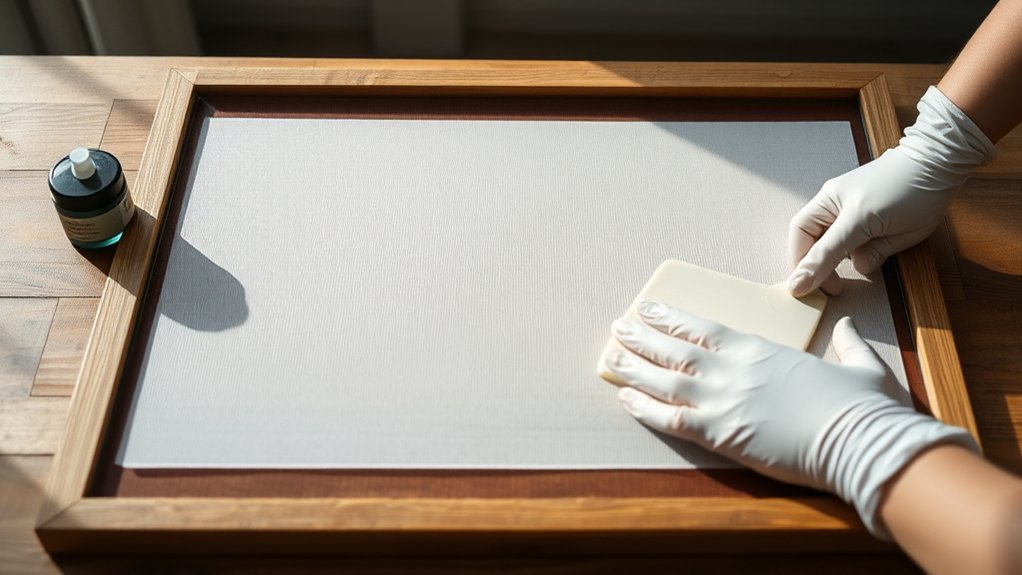
You’ll start by thoroughly cleaning and drying your screen to guarantee proper emulsion adhesion.
Next, use a scoop coater to apply an even, thin layer of emulsion on both sides of the screen. Consistent coating is essential to avoid imperfections in your print.
Preparing Your Screen
A properly prepared screen guarantees crisp, clean prints and reduces the risk of errors during the printing process. To begin, focus on screen preparation techniques that verify your mesh is free from contaminants. Follow these steps precisely:
- Clean the Screen Thoroughly: Use appropriate screen cleaning methods, such as a degreaser and pressure wash, to remove oils, dust, and old emulsion residues.
- Dry Completely: Allow the screen to dry in a dust-free environment to prevent particles from adhering to the mesh.
- Inspect the Screen: Check for holes or damage that could affect print quality, repairing or replacing the screen as needed.
Applying Emulsion Evenly
Once your screen is spotless and free from defects, the next step involves applying emulsion uniformly to guarantee sharp, consistent prints. Begin by mixing the emulsion thoroughly but gently to maintain consistency.
In a dimly lit area, position your screen flat on a clean surface. Use a scoop coater to apply emulsion to the print side of the screen, holding it at a 45-degree angle. Drag the coater smoothly from the bottom to the top of the screen, ensuring an even, thin layer covers the mesh.
Flip the screen and repeat on the squeegee side with a slightly thinner coat. Avoid over-application, as excess emulsion can clog details. Allow the screen coating to dry horizontally in a dark, dust-free environment to prevent imperfections during exposure.
Transfer Your Digital Design to Screen via Exposure
Although preparing your design digitally is essential, transferring it accurately to the screen via exposure guarantees sharp, clean prints. To do this, you’ll need to master exposure techniques using proper light sources and timing. Follow these steps for precise transfer:
- Position your transparency: Place your printed digital design film positive onto the coated screen, making certain it’s perfectly aligned and flat.
- Set up your light source: Use a UV exposure unit or a strong, consistent light source designed for screenprinting to evenly expose the screen.
- Control exposure time: Refer to your emulsion’s specifications to determine the exact exposure duration, preventing under or overexposure.
These steps guarantee the emulsion hardens everywhere except under your design, creating a crisp stencil ready for printing.
How to Print and Cure Your Screenprints
With your stencil properly exposed and developed, you can move on to printing and curing your screenprints. First, position your screen securely over the substrate, guaranteeing alignment with your design. Apply a consistent layer of ink at the top edge, then use a squeegee at a 45-degree angle to pull the ink evenly across the stencil.
After printing, select appropriate drying methods based on the ink type. Air drying works for water-based inks, while flash dryers or conveyor dryers suit plastisol inks. To finalize, apply curing techniques such as heat pressing or using a curing oven to solidify the ink and guarantee durability.
Monitor temperature and curing time precisely to prevent under- or over-curing, which can affect print quality and longevity.
Frequently Asked Questions
What Types of Ink Work Best With Screenprinting?
You’ll want to use water based inks for softer, eco-friendly prints, or plastisol inks for durability and vibrant colors. Both offer excellent adhesion, but plastisol requires curing, while water based inks dry naturally.
How Do I Clean and Store Screens After Printing?
Think of your screen as a canvas. Screen cleaning is essential. Rinse with water, apply screen cleaner, scrub gently, then dry thoroughly.
For screen storage, keep screens flat, away from dust and sunlight to preserve their integrity and lifespan.
Can I Screenprint on Fabrics Other Than Cotton?
Yes, you can screen print on various fabric types beyond cotton, including polyester, blends, and nylon. Adjust ink types and curing times to suit each fabric’s properties for ideal adhesion and durability in your screen printing process.
What Safety Precautions Are Needed During Screenprinting?
Safety gear is your armor. Always wear gloves, goggles, and a respirator to protect against fumes. Handle chemicals in well-ventilated areas, follow labels precisely, and keep a spill kit nearby to prevent accidents during screenprinting.
How Do I Troubleshoot Common Screenprinting Errors?
Check ink consistency first; thin ink causes bleeding, thick ink blocks details. Next, inspect screen tension. Loose screens lead to blurry prints. Adjust accordingly, clean screens thoroughly, and test prints frequently to identify and correct errors promptly.
Conclusion
Now that you’ve mastered turning your PC into a screenprinting powerhouse, it’s almost ironic how simple the process really is—considering you started thinking it was rocket science.
With your digital design prepped, screen coated, and exposure done, you’re just a few precise steps away from flawless prints.
So, instead of fearing the tech, embrace it: your perfect print is waiting, proving that screenprinting on a PC is less about magic and more about method.