To screenprint at home, start by gathering a screen frame with mesh, photo emulsion, ink, and a squeegee.
Screenprinting at home begins with creating a bold, black-and-white design on transparency film. This will be used to form your stencil.
Coat your screen with photo emulsion in a dark room and expose it with your design to harden the emulsion except where your design blocks the light.
Once exposed, rinse the screen to reveal the stencil.
Secure the screen on a flat surface. Apply ink evenly with the squeegee held at a 45-degree angle.
Lift the screen carefully to avoid smudges.
Clean your screen promptly after printing to keep it reusable.
Follow these steps and explore deeper techniques to achieve professional-quality prints.
Key Takeaways
- Gather essential screenprinting supplies including a screen frame, photo emulsion, squeegee, stencil material, and suitable ink for your substrate.
- Design your artwork using graphic software, convert it to black and white, and print it on transparency film for stencil creation.
- Set up a clean, flat workspace with good lighting, secure your screen firmly, and ensure consistent screen tension for quality prints.
- Apply ink evenly with a squeegee at a 45-degree angle using steady pressure and speed, then carefully lift the screen to avoid smudging.
- Clean screens immediately after use with appropriate cleaners, rinse thoroughly, and store them in a dry, dust-free place for reuse.
Essential Screenprinting Supplies for Your Home
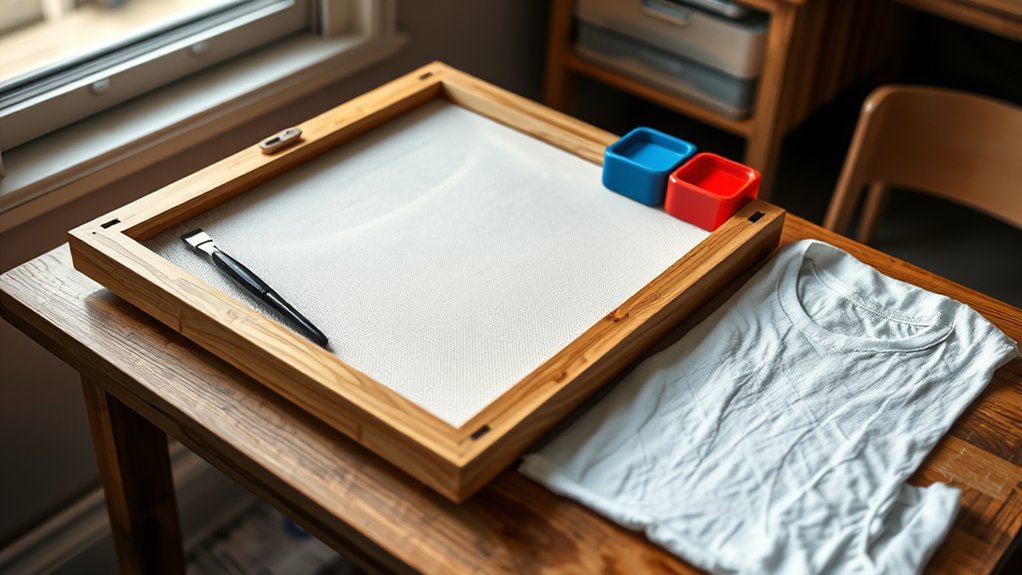
To start screenprinting at home, you’ll need five essential supplies: a screen frame with mesh, photo emulsion, a squeegee, stencil material, and ink. These screenprinting materials form the foundation for successful prints.
Choose a screen frame with a mesh count appropriate for your design detail. Higher mesh counts suit fine lines, while lower counts allow more ink flow. Photo emulsion acts as a light-sensitive coating to create your stencil.
Select a screen frame mesh count that matches your design’s detail for optimal ink flow and clarity.
A sturdy squeegee with a rubber blade guarantees even ink application. Select stencil material compatible with your design method, such as vinyl or transparency film. Finally, pick ink formulated for your substrate, whether fabric or paper.
These essential tools must be properly maintained to achieve crisp, consistent results in your home screenprinting projects.
Preparing Your Screenprinting Design
Creating a clear and high-contrast design is critical for effective screenprinting. Start by gathering your design inspiration, focusing on bold shapes and simple lines to guarantee sharp reproduction.
Use graphic software to create or refine your design; convert it to black and white for better contrast. Pay close attention to your color selection. Limit the palette to two or three colors to simplify screen preparation and registration.
Each color requires a separate screen, so plan accordingly. Once finalized, print your design on a transparency film at actual size to maintain accuracy. Confirm the black areas are fully opaque, as this blocks light during exposure.
Preparing your design carefully saves time and improves print quality, setting a solid foundation for your home screenprinting project.
Setting Up Your Home Screenprinting Station
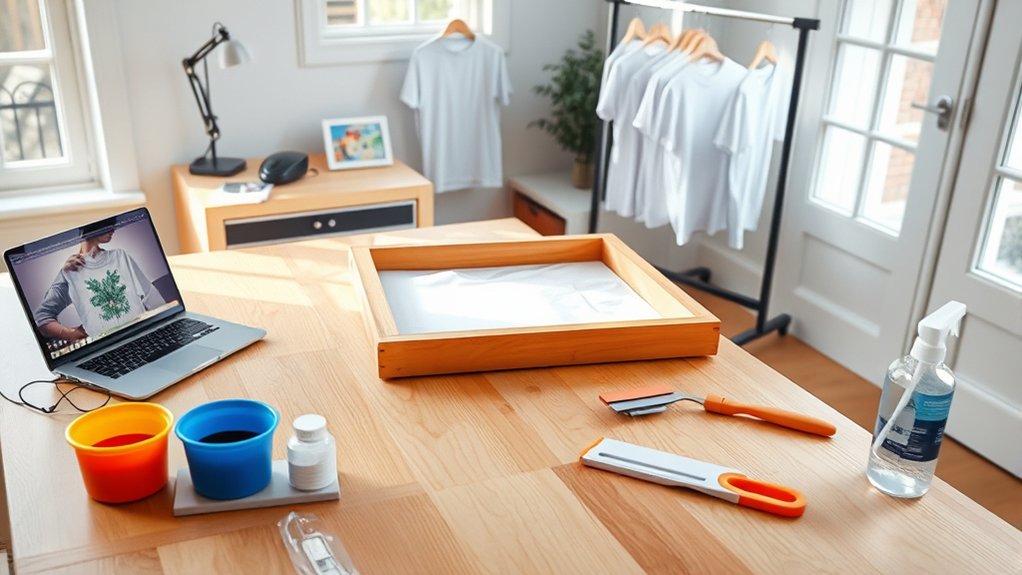
With your design finalized and printed on transparency film, you can move on to assembling your screenprinting station. Begin by selecting a flat, stable surface with ample lighting to guarantee precise screen alignment.
Organize your workspace by grouping tools: screens, squeegees, inks, and cleaning supplies within easy reach to optimize workflow. Use clamps or hinges to secure the screen, maintaining consistent positioning during printing.
| Component | Purpose | Tip |
|---|---|---|
| Screen Frame | Holds mesh and design | Check for tension consistency |
| Squeegee | Applies ink evenly | Select proper hardness |
| Work Surface | Base for printing | Keep level and clean |
| Light Source | Aids exposure process | Use bright, even lighting |
| Storage Area | Keeps supplies organized | Label containers clearly |
Proper screen alignment and workspace organization minimize errors and improve print quality.
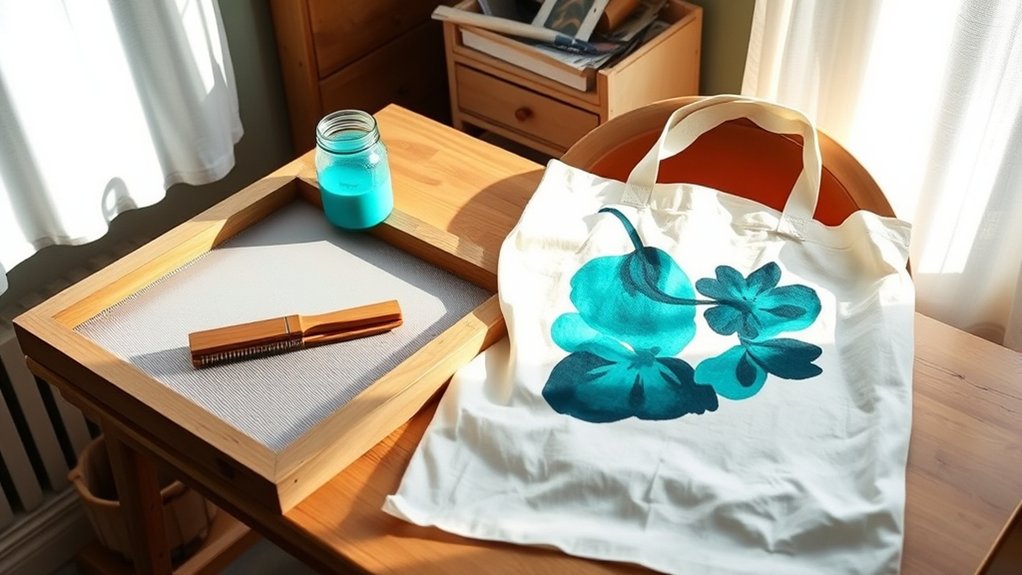
Printing Your Screenprinting Design: Ink, Screen & Press
A properly prepared screen and quality ink are essential for achieving sharp, consistent prints. Begin by verifying your screen has ideal screen tension; too loose, and your print will blur, too tight, and the screen could warp.
Select ink types appropriate for your substrate. Plastisol offers durability, while water-based inks provide a softer finish. Pour a small amount of ink at the screen’s top edge.
Choose inks wisely: plastisol for durability, water-based for softness, and always start with a small ink amount on your screen.
Using a squeegee at a 45-degree angle, apply firm, even pressure to pull the ink across the screen, forcing it through the mesh onto your material. Maintain consistent speed and pressure to avoid uneven ink distribution.
After printing, lift the screen carefully to prevent smudging. Proper alignment on the press ensures repeatability and precision in your prints.
Tips for Clean, Vibrant Screenprinting Prints

Although achieving clean, vibrant screenprints requires attention to multiple factors, controlling ink consistency and screen cleanliness plays a critical role. To get sharp edges and rich colors, focus on proper ink viscosity and accurate color mixing. Too thick or too thin ink can cause smudging or fading, so adjust viscosity with additives as needed. Maintain your screen’s mesh free of debris to prevent unwanted ink buildup.
Make certain your color mixing is precise to avoid muddy or dull prints.
Test ink viscosity by dragging a small amount with a squeegee; it should flow smoothly without running.
Use a clean, dry screen before each print to maintain crisp lines and vivid colors.
These steps help you produce consistently clean, vibrant screenprinted results.
Cleaning and Reusing Your Screenprinting Screens
Maintaining clean, vibrant prints depends not only on ink and screen preparation but also on how you handle your screens after printing. Begin by promptly removing excess ink using a plastic scraper to avoid drying, which complicates ink removal.
Next, apply an appropriate screen cleaner or solvent, ensuring it’s compatible with your ink type. Use a soft brush or sponge to gently scrub the mesh, focusing on areas with residual ink.
Rinse thoroughly with water, preferably with a pressure sprayer, to clear all cleaning agents and ink traces. For screen maintenance, store your screens in a dry, dust-free environment to prevent mesh damage.
Proper cleaning and reuse extend screen longevity, maintain print quality, and prevent clogging, ensuring consistent results in your home screenprinting projects.
Troubleshooting Common Screenprinting Issues
If you encounter issues like uneven ink coverage, smudging, or mesh clogging during screenprinting, identifying the root cause quickly is crucial to maintain print quality. Start by checking your ink consistency; too thick or too thin ink often causes patchy prints or smears.
Next, assess your screen exposure time. Underexposure can leave emulsion soft, causing ink bleed, while overexposure hardens it excessively, reducing ink flow. Finally, inspect your screen mesh for clogging, which restricts ink passage and distorts prints.
- Adjust ink viscosity using appropriate reducers or thickeners.
- Re-expose or remake screens if emulsion is improperly cured.
- Clean or replace clogged mesh to guarantee smooth ink transfer.
Frequently Asked Questions
Can I Screenprint on Materials Other Than Fabric?
Yes, you can screenprint on paper products and wood surfaces. Verify you select appropriate ink types and adjust mesh count for each material to achieve precise adhesion and durability, optimizing your print quality on various substrates effectively.
How Long Does Screenprinted Ink Typically Last on Clothing?
You’ll find ink longevity on clothing lasts 3-5 years with proper fabric care. Coincidentally, consistent washing methods and avoiding harsh detergents guarantee your prints stay vivid, preserving both the art and garment’s integrity longer.
Are There Eco-Friendly Inks Suitable for Home Screenprinting?
Yes, you can choose eco friendly options like water-based or soy-based inks for ink sustainability. They’re low in VOCs, biodegradable, and safe for home use, ensuring durable prints while minimizing environmental impact effectively.
What Are the Best Drying Methods for Screenprinted Items?
Why rush the drying process? Use drying racks for even air circulation, then heat set your prints at recommended temperatures to guarantee durability and colorfastness.
This method preserves your design’s quality effectively and efficiently.
Can Screenprinting Be Combined With Other Printing Techniques?
Yes, you can combine screenprinting with other printing techniques to create mixed media effects. You’ll achieve striking printing contrasts by layering inks and textures, enhancing your design’s depth and visual interest through precise alignment and curing.
Conclusion
Now that you’ve gathered your supplies, prepped your design, and set up your station, you’re just one step away from creating stunning prints at home.
Remember, mastering screenprinting takes patience and precision—each print teaches you something new. Stay sharp with your cleaning and troubleshooting to keep your screens ready for the next run.
Ready to see your first vibrant print come to life? The secret’s in your hands—don’t let it slip away.
With these tips, you’re well on your way to screenprint at home successfully.