To remove screenprint from a shirt, start by identifying the type of print. Check the texture and opacity to determine the best removal method. This initial step is crucial for effective results.
Next, protect the fabric by testing solvents like rubbing alcohol on a hidden area. This prevents damage during the removal process.
Using gentle heat can help soften plastisol inks, making them easier to remove.
After softening the print, apply safe solvents and gently scrub with a soft-bristle brush. Rinse the shirt thoroughly afterward, then wash it gently to avoid fabric damage.
Once the print is removed, consider fabric repair or redesign techniques to restore or personalize your shirt. You’ll find effective strategies to handle each step carefully.
Key Takeaways
- Test a small hidden area with a solvent like rubbing alcohol or citrus cleaner to ensure fabric safety before ink removal.
- Apply the chosen solvent gently with a soft cloth, carefully rubbing the screenprint to dissolve the ink without damaging fabric.
- Use a soft-bristle brush and mild detergent with warm water to scrub the ink area in circular motions, avoiding harsh abrasion.
- Rinse thoroughly under cold water to remove ink residues and prevent setting of any remaining ink.
- Avoid harsh chemicals like acetone that may weaken fabric fibers, and consider professional help for stubborn or complex prints.
How to Tell What Kind of Screenprint You Have
How can you identify the type of screenprint on your shirt? Start by examining the screenprint material differences. Plastisol prints feel slightly raised and rubbery, while water-based prints are thinner, softer, and blend into the fabric.
Discharge prints remove dye to create a softer, muted design. Use a magnifying glass to inspect the print’s texture closely. Check if the ink cracks or peels when flexed; plastisol tends to crack, whereas water-based won’t.
Also, consider the print’s opacity: plastisol is opaque, water-based is semi-transparent, and discharge is subtle. Conducting a simple solvent test, applying a small amount of acetone on a hidden area, can further help in identifying screenprint types by observing ink reaction. Accurately identifying screenprint types is essential for choosing the right removal method.
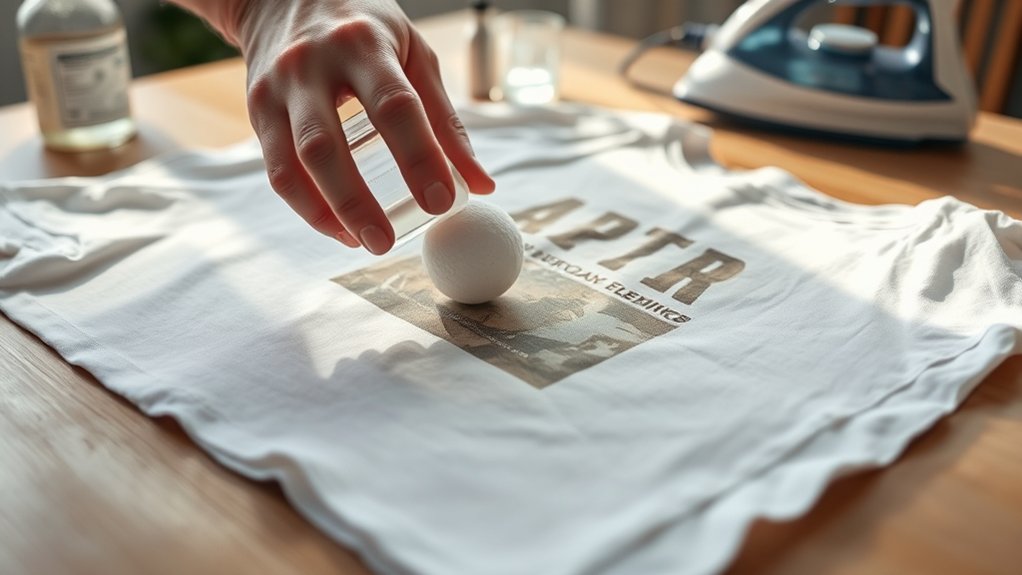
Protecting Fabric During Screenprint Removal
When removing screenprint from a shirt, you must prioritize protecting the fabric to prevent damage. Start by testing any removal solvent on a small, hidden fabric area to confirm it won’t weaken fibers or cause discoloration. Use gentle, controlled motions with a soft cloth or sponge to avoid abrasion.
Avoid harsh chemicals that compromise fabric protection. Employ minimal solvent amounts to limit fabric saturation. For ink preservation, work carefully to selectively dissolve screenprint ink without spreading or embedding residues deeper into the fabric.
Always rinse thoroughly with cold water after treatment to remove residual chemicals, maintaining the fabric’s integrity. By methodically balancing ink removal with fabric protection, you confirm the shirt remains wearable and undamaged throughout the process.
Using Heat to Soften and Remove Screenprint Ink
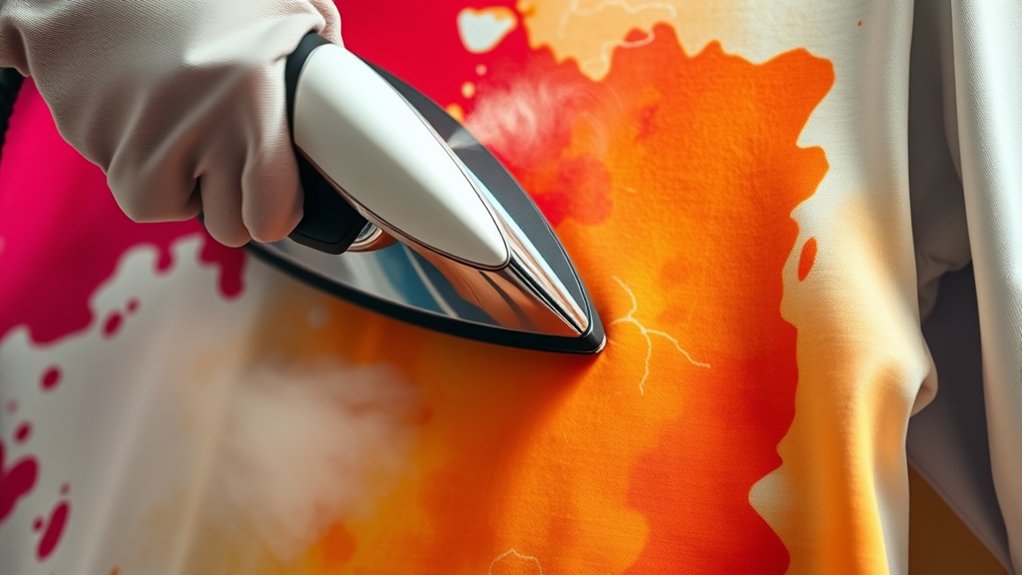
You’ll need to apply heat carefully to soften the screenprint ink without damaging the fabric. Use tools like a heat gun or iron, adjusting temperature settings based on the shirt’s material.
Monitor timing closely to avoid overheating, which can set the ink further or harm the fabric.
Applying Heat Properly
Although applying heat requires careful control, it effectively softens screenprint ink, making removal easier. Begin by selecting a moderate temperature to avoid fabric damage. Use heat application techniques such as evenly distributing heat over the printed area to prevent scorching.
Maintain consistent motion with your heat source to guarantee uniform softening. Always monitor the fabric’s reaction to avoid overheating. Adhering to heat safety precautions is essential: use protective gloves, work in a well-ventilated area, and avoid direct skin contact with hot surfaces.
Avoid excessive heat duration, as it can set the ink further into fibers. By applying heat methodically and safely, you prepare the screenprint ink for efficient removal without compromising the shirt’s material integrity.
Tools for Heat Removal
Mastering heat application depends heavily on selecting and utilizing the right tools designed to deliver controlled, consistent warmth to the screenprint area. Common heat sources for removal methods include heat guns, household irons, and specialized heat presses.
Heat guns offer adjustable temperature settings and focused airflow, enabling precise softening of ink without damaging fabric. Household irons provide consistent, even heat but require careful temperature control and protective layers to prevent scorching.
Heat presses guarantee uniform pressure and heat distribution, ideal for larger or thicker prints. When choosing your tool, consider temperature control capabilities, heat distribution uniformity, and ease of handling.
Accurate heat application is essential for effective screenprint softening, facilitating efficient ink removal while preserving garment integrity and minimizing fabric distortion or damage.
Timing and Temperature Tips
When applying heat to soften screenprint ink, controlling both timing and temperature is critical to avoid fabric damage and guarantee effective removal. Start by setting your heat source between 250°F and 300°F; this range softens ink without scorching the shirt’s fibers.
Timing considerations are equally important. Apply heat for 30 to 60 seconds, then check the ink’s pliability. Overheating beyond 60 seconds risks melting or warping the fabric, while underheating won’t adequately soften the ink. Use a timer to maintain consistency and avoid guesswork.
If the ink remains rigid, incrementally increase the temperature by 10°F and repeat the process. Always test a small, inconspicuous area first to verify ideal temperature settings and timing considerations, ensuring safe and efficient screenprint removal without compromising the shirt’s integrity.
Safe Chemicals for Removing Screenprint Ink
You’ll want to choose chemicals that effectively break down screenprint ink without damaging the fabric or posing health risks. Common safe solvents include rubbing alcohol and citrus-based cleaners, both of which can dissolve ink residues methodically.
Additionally, natural ink removers like vinegar or baking soda offer gentler alternatives that work through mild chemical reactions.
Common Safe Solvents
Several common solvents effectively break down screenprint ink without damaging fabric fibers. When removing screenprint, you should consider acetone alternatives like isopropyl alcohol or citrus-based solvents, which offer safer handling and reduced fabric risk.
Eco friendly solvents such as d-limonene provide a biodegradable option that minimizes environmental impact while maintaining efficacy. Always test the solvent on a hidden shirt area to verify no discoloration occurs. Apply the solvent with a cloth, gently rubbing to dissolve the ink.
Avoid harsh chemicals like traditional acetone that can weaken fibers or cause color loss. By selecting solvents that balance strength and safety, you can effectively remove screenprint ink while preserving your shirt’s integrity and supporting eco-conscious practices.
Natural Ink Removers
Three natural substances stand out as effective, safe chemicals for removing screenprint ink: lemon juice, white vinegar, and baking soda. These natural alternatives provide gentle yet efficient cleaning power without harsh chemicals.
To use lemon juice or white vinegar, apply directly onto the ink stain and let it sit for 10–15 minutes, then gently rub with a soft cloth. For baking soda, create a paste by mixing it with water, apply to the stain, and scrub lightly before rinsing.
These homemade solutions work by breaking down ink pigments through mild acidity (lemon juice, vinegar) or abrasion (baking soda). Remember to always test on a hidden fabric area first to guarantee no damage occurs. Using these natural ink removers offers a safe, eco-friendly method to tackle screenprint stains.
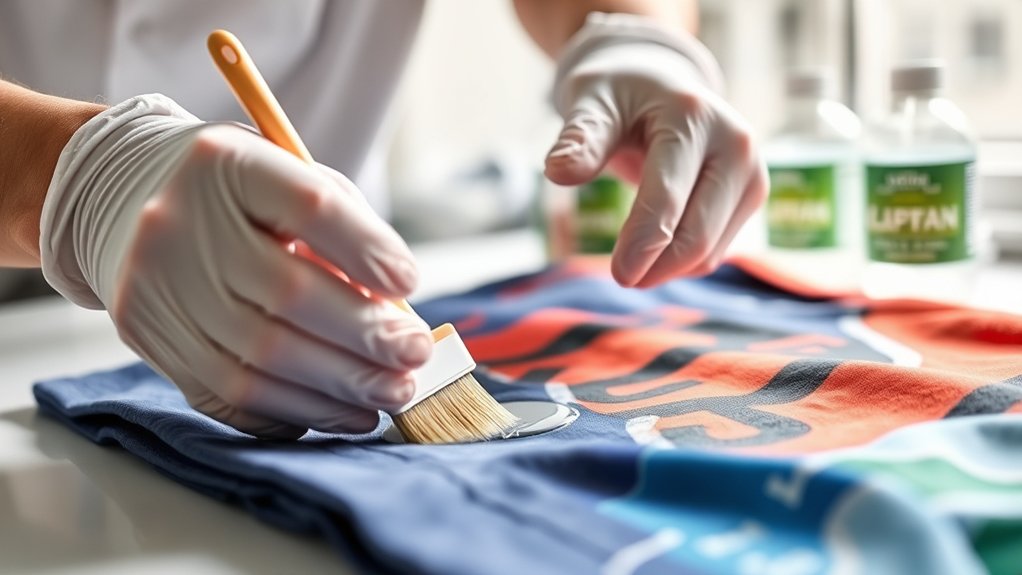
Effective Scrubbing and Washing for Screenprint
Begin by gently scrubbing the screenprint area using a soft-bristle brush dipped in a solution of warm water and mild detergent. Employ effective scrubbing techniques by applying consistent, circular motions to break down the ink without damaging the fabric. Avoid aggressive scrubbing, which can weaken fibers or spread the ink.
Once the area has been scrubbed thoroughly, rinse it under cold water to remove loosened ink and detergent residues. For washing methods, use a gentle cycle with cold water and a mild detergent to prevent setting any remaining ink. Avoid using bleach or harsh chemicals at this stage, as they can alter fabric color or texture.
Repeat the scrubbing and washing process if necessary, monitoring the fabric’s condition closely to preserve its integrity.
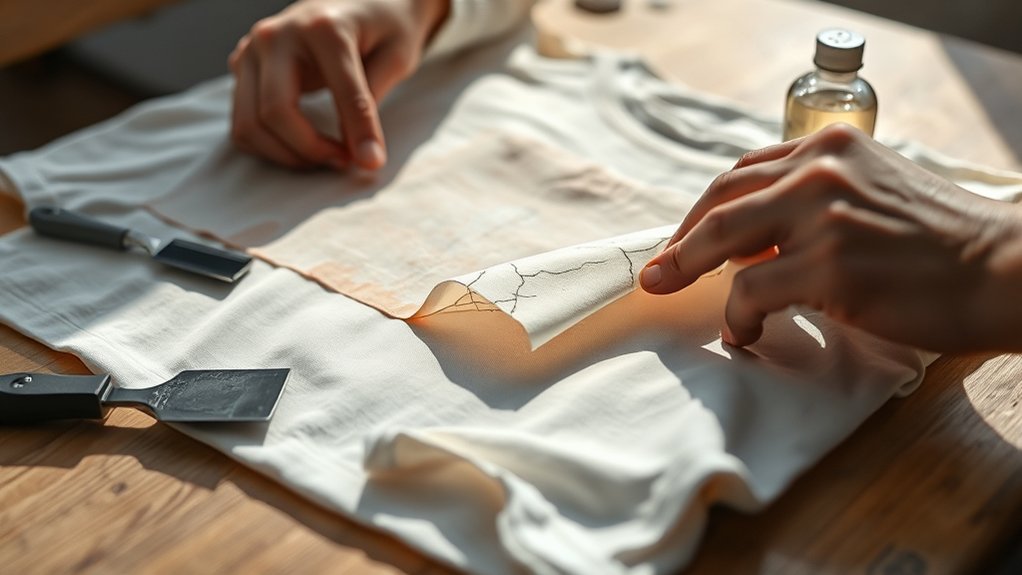
After Removing Screenprint: Repair and Redesign
Once you’ve successfully removed the screenprint, assess the fabric for any damage or discoloration that may require repair before proceeding. Use targeted repair techniques such as fabric patching or color restoration to address holes, thinning, or stains.
For minor abrasions, apply fabric glue or iron-on patches to reinforce integrity. Next, consider redesign ideas to transform the shirt’s appearance. You can add new screenprints, embroidery, or fabric paint to creatively cover imperfections.
Alternatively, sew on appliqués or cut and reassemble portions for a custom style. Always test repair materials on a hidden area to verify compatibility. By methodically combining repair techniques with innovative redesign ideas, you extend the shirt’s lifespan while achieving a refreshed, personalized look that compensates for any residual damage from the removal process.
Frequently Asked Questions
Can Screenprints Cause Allergic Skin Reactions?
Yes, you can experience screenprint allergies causing skin irritation if you’re sensitive to chemicals or inks used. Avoid prolonged contact, wash affected areas promptly, and consider hypoallergenic alternatives to minimize allergic skin reactions.
Is It Possible to Remove Screenprints From Synthetic Fabrics?
You won’t believe how tricky it is to remove screenprints from synthetic fabrics due to fabric compatibility and varied screenprint techniques. Carefully test solvents, considering synthetic fibers’ resistance and print adhesion to avoid damage or incomplete removal.
How Long Does It Take for Screenprint Removal to Work?
Removal techniques typically take between 15 to 45 minutes, depending on the screenprint’s thickness and fabric type. You’ll need to monitor progress carefully, ensuring fabric care guidelines are followed to avoid damage during the process.
Will Removing Screenprint Damage the Shirt’s Color?
About 30% of users report slight color fading when removing screenprints. You can minimize this by using gentle solvents and cool water, preserving your shirt’s fabric integrity and color while methodically targeting the print for shirt preservation.
Can Professional Services Remove Screenprints More Effectively?
Yes, professional services use advanced screenprint techniques and professional equipment, allowing them to remove prints more effectively while preserving fabric integrity. Their precise methods minimize damage, ensuring better results than typical DIY attempts.
Conclusion
Removing screenprint from your shirt is like peeling back layers of time, revealing the fabric’s original canvas beneath. By carefully identifying the print type, you protect the material and apply controlled heat. Using safe chemicals, you methodically strip away the old design without damaging the threads.
With precise scrubbing and thorough washing, you restore the shirt’s integrity. This process prepares the fabric to be reinvented—a blank slate symbolizing both renewal and meticulous craftsmanship. Mastering how to remove screenprint from your shirt gives you the power to refresh and reuse your favorite garments.