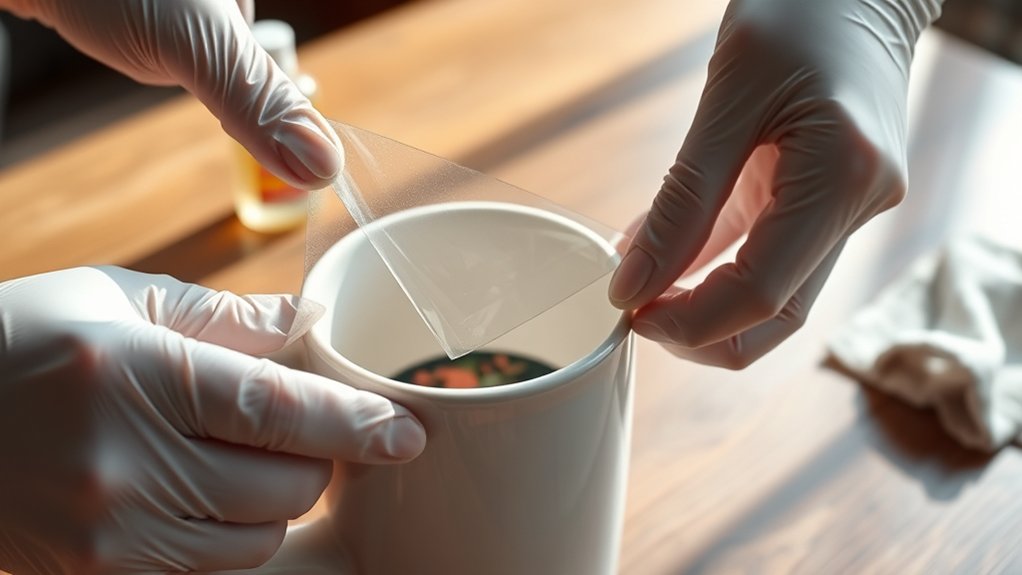
To remove a screenprint, first identify your item’s material and test removal methods on a small, hidden area to avoid damage.
Apply a compatible solvent or gently use heat to break down the print, then agitate with a soft cloth or brush.
Avoid harsh abrasion to preserve the base surface.
After removal, clean residue thoroughly with mild detergent and dry.
If complications arise, professional help may be necessary.
You can explore detailed techniques and precautions to guarantee effective and safe removal.
Key Takeaways
- Clean and dry the item, then identify the screenprint material to choose a safe removal method.
- Apply a compatible solvent, let it soak briefly, and gently agitate with a soft cloth or brush.
- Test removal techniques on a small, inconspicuous area to prevent damage to the main surface.
- Use gentle heat sources cautiously on heat-sensitive materials, always testing first on a small spot.
- If prints resist removal or the material is delicate, seek professional help to avoid permanent damage.
How to Remove Screenprints From Different Materials
Removing screenprints requires different techniques depending on the material involved. You need to carefully assess the substrate to select the appropriate screenprint techniques for removal.
For fabrics, you’ll typically use chemical solvents compatible with the textile fibers, guaranteeing they won’t cause damage or discoloration. Plastics demand gentler methods; abrasive techniques may scratch the surface, so solvent-based removal agents designed for polymers work better.
Metal surfaces tolerate stronger solvents and occasional light abrasion, but you must verify material compatibility to prevent corrosion. Glass requires non-abrasive solvents and soft tools to avoid scratches.
Each material’s porosity, sensitivity, and finish dictate the method’s effectiveness. By understanding these variables and selecting removal methods tailored to screenprint techniques and substrate compatibility, you secure efficient removal without compromising the item’s integrity.
How to Safely Test Removal Methods on Your Item
Before applying any removal method to the entire surface, you should conduct a controlled test on a small, inconspicuous area of your item. Select a portion of the test fabric that mimics the main material’s texture and color.
Apply the chosen removal technique to this spot, observing how the test print reacts. Monitor for any fabric damage, discoloration, or print smearing. Record the duration and intensity required for effective removal without compromising the fabric integrity.
Test the removal method on a small area, checking for fabric damage and print changes before full application.
If the test fabric responds well, proceed cautiously with the full removal. If not, adjust the method or try an alternative approach. Conducting this preliminary test minimizes risk, ensuring you preserve the item’s quality while effectively removing the screenprint.
This methodical step is essential for safe and successful screenprint removal.
How to Use Heat for Screenprint Removal
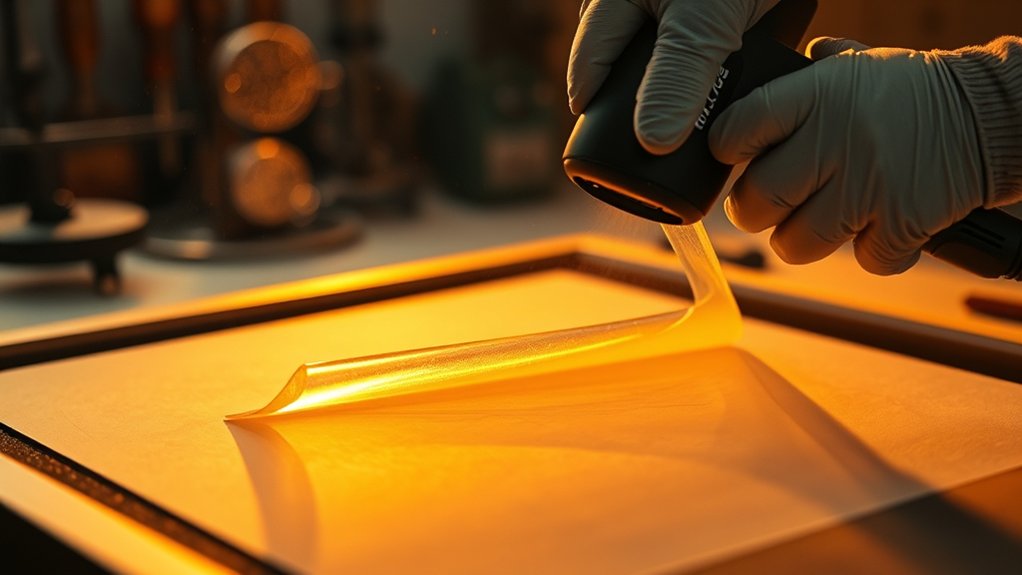
You’ll need to select a heat source that provides controlled, even warmth, such as a heat gun or an iron set to a moderate temperature. Always wear heat-resistant gloves and work in a well-ventilated area to prevent burns and inhalation of fumes.
Before proceeding, test the heat on a small, inconspicuous area to avoid damaging the material.
Choosing Appropriate Heat Sources
Although heat is an effective method for loosening screenprint ink, selecting the right heat source is essential to avoid damaging the substrate. Different heat types, such as infrared, hot air, and contact heat, offer varying control levels and temperature ranges. You need to match the heat source to the material’s heat tolerance and ink composition.
| Heat Source | Emotional Impact |
|---|---|
| Infrared | Precise, consistent heat |
| Hot Air Gun | Versatile, user-friendly |
| Heat Press | Uniform, efficient |
Safety Tips For Heating
When applying heat to remove screenprint, always wear heat-resistant gloves and guarantee adequate ventilation to prevent inhaling fumes. Prioritize heat safety by selecting protective gear designed for high temperatures, including safety goggles and long sleeves to shield your skin from accidental burns.
Use a calibrated heat source to maintain consistent temperatures, avoiding overheating that can damage the substrate or release toxic vapors. Position yourself to minimize exposure to steam or smoke, and keep a fire extinguisher nearby in case of emergencies.
Never leave the heat source unattended during use. Follow manufacturer guidelines for your specific heat tool, and allow the item to cool completely before handling post-treatment. By methodically implementing these precautions, you assure a safe and efficient screenprint removal process.
How to Use Chemical Solvents to Remove Screenprints
You’ll need to select a solvent compatible with the ink type to avoid damaging the surface beneath the screenprint. Apply the solvent evenly using a brush or cloth, allowing it to penetrate the print for the recommended time.
Then, use a scraper or cloth to remove the softened ink carefully without spreading it.
Choosing Appropriate Solvents
Selecting the right solvent is essential for effectively removing screenprints without damaging the underlying material. Begin by identifying solvent types suitable for your substrate. Common options include acetone, alcohols, and specialized screenprint removers.
Each solvent interacts differently with various inks and materials, so test on a small, inconspicuous area first. Prioritize solvent safety; always work in a well-ventilated area and wear appropriate protective gear such as gloves and goggles.
Review the solvent’s Material Safety Data Sheet (MSDS) to understand hazards and proper handling. Avoid solvents that can cause discoloration or surface degradation. By systematically choosing the appropriate solvent based on ink composition and substrate sensitivity, you’ll guarantee efficient removal while maintaining material integrity and minimizing health risks.
Application Techniques
Although choosing the right solvent is crucial, proper application techniques determine the effectiveness of screenprint removal. To maximize results, follow these effective methods precisely:
- Surface Preparation: Clean the printed area thoroughly to remove dirt and oils. This allows the solvent to penetrate the screenprint evenly without obstruction.
- Controlled Application: Apply the solvent using a brush or spray, maintaining consistent coverage. Avoid over-saturation, which can damage the substrate or cause solvent runoff.
- Dwell Time and Agitation: Allow the solvent to sit for the manufacturer-recommended duration to soften the ink. Then, gently agitate with a non-abrasive tool to lift the screenprint without harming the underlying surface.
Adhering to these application techniques guarantees efficient and safe removal, preserving substrate integrity while eliminating unwanted screenprints.
How to Use Mechanical Methods to Remove Screenprints
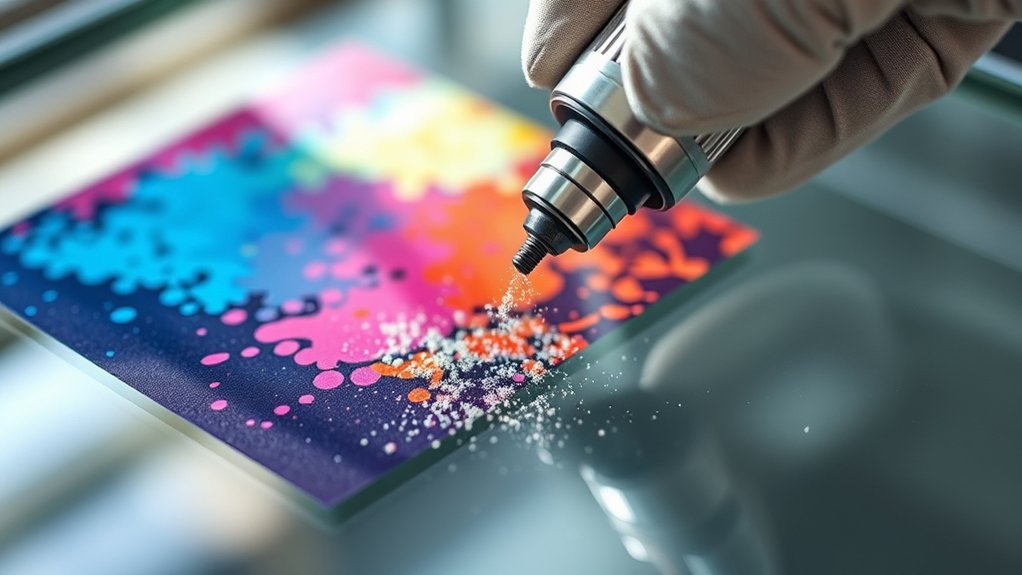
Start by preparing your workspace and gathering the necessary tools such as scrapers, sanding blocks, or abrasive pads. Mechanical abrasion effectively removes screenprints by physically breaking down ink layers. Use consistent pressure and controlled motions to avoid damaging the substrate.
Choose screenprint tools based on the surface and screenprint thickness.
| Tool Type | Application Detail |
|---|---|
| Scraper | Removes ink in thin layers, ideal for flat surfaces |
| Sanding Block | Smooths residual ink, useful for uneven textures |
| Abrasive Pad | Provides uniform abrasion on delicate substrates |
Work systematically, inspecting progress frequently. Mechanical methods require patience and precision to guarantee full ink removal without surface harm.
How to Protect Your Items During Screenprint Removal
When removing screenprints, you’ll need to shield your items from potential damage caused by abrasion or chemical exposure. Proper item preparation and the use of protective coverings are essential to maintain the integrity of your materials.
Shield your items carefully during screenprint removal to prevent damage from abrasion or chemicals.
Follow these steps to protect your items effectively:
- Apply Protective Coverings: Use masking tape or plastic wraps to shield areas not targeted for screenprint removal. This prevents accidental chemical contact or mechanical wear.
- Conduct Item Preparation: Clean the surface gently with a mild solvent to remove dirt and oils, ensuring the protective coverings adhere properly and the removal process targets only the screenprint.
- Test on a Small Area: Before full removal, test your method on a discrete section to confirm no damage occurs to the item’s base material or finish.
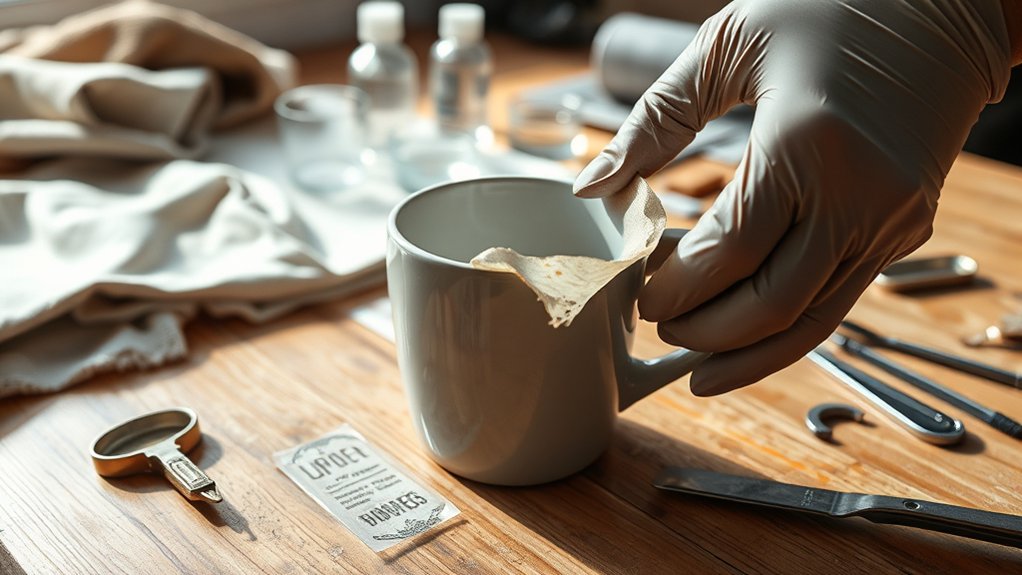
How to Clean Up Residue After Removing Screenprints
Once you’ve removed the main screenprint layer, you’ll need to address any remaining residue to restore the surface fully. Start by selecting an appropriate solvent compatible with the substrate, commonly isopropyl alcohol or a specialized screenprint remover. Apply the solvent sparingly to avoid damage.
Use a soft cloth or a non-abrasive brush to gently agitate the residue, making sure you don’t scratch or degrade the material. For stubborn patches, repeat the application and allow the solvent to penetrate for a few minutes before wiping.
After residue removal, clean the area with warm water and mild detergent to eliminate solvent traces. Finally, dry the surface thoroughly to prevent moisture damage. Following these cleaning techniques guarantees a clean finish, preserving the item’s integrity and appearance.
When to Get Professional Help With Screenprint Removal
If you encounter screenprints that resist removal despite repeated efforts or involve delicate materials, it’s wise to seek professional assistance. Knowing when to DIY versus when to call in experts can save you time and prevent damage.
Here are three clear signs requiring professionals:
- Material Sensitivity: If the substrate is fragile or porous, improper removal risks permanent damage.
- Chemical Resistance: When standard solvents fail, professionals have specialized agents and techniques.
- Complex Patterns: Intricate or multi-layered screenprints require precision tools and expertise to avoid incomplete removal or surface harm.
Recognizing these signs requiring professionals guarantees you avoid costly mistakes. Use DIY methods only when the screenprint is simple, the material durable, and removal products are effective. Otherwise, professional help is the safest and most efficient choice.
Frequently Asked Questions
What Is Screenprinting and How Does It Work?
Screenprinting techniques use a mesh screen, ink, and stencil to transfer designs onto surfaces. You’ll select precise screenprinting materials like emulsion and squeegees, then methodically apply ink through the screen to create your print.
Are There Eco-Friendly Alternatives to Traditional Screenprinting?
Yes, you can use eco-friendly inks like water-based or soy-based options and adopt sustainable practices such as recycling screens and reducing waste to minimize environmental impact while maintaining quality in your screenprinting process.
Can Screenprints Be Reapplied After Removal?
Screenprint reapplication rarely retains original detail after removal techniques, since solvents or abrasion often damage fibers. You’ll need fresh materials and meticulous methodical steps for successful, seamless screenprint reapplication on your substrate.
How Long Does Screenprinting Typically Last on Various Surfaces?
Screenprinting typically lasts 3-5 years, depending on durability factors like ink type and curing process. Surface variations such as fabric, metal, or plastic also influence longevity.
Smoother surfaces extend print life through better adhesion.
What Are the Common Uses of Screenprinting in Everyday Products?
You’ll find screenprinting widely used in t shirt designs and promotional materials, much like a Renaissance craftsman applying pigments. It’s perfect for durable, vivid prints on textiles, posters, and product labels, ensuring lasting visibility.
Conclusion
Removing screenprints requires patience and the right approach tailored to your item’s material. You’ve learned how to test methods safely, apply heat, use solvents, and employ mechanical techniques while protecting your item from damage.
After cleaning up residue, you’ll know when it’s best to seek professional help. So, why risk ruining your prized possession when you can follow these precise steps to remove screenprints effectively and safely? By following these guidelines, you can confidently remove screenprints without compromising your item’s integrity.