
To register a design on fabric screenprinting, you’ll need to prepare your artwork with separate color layers and include clear registration marks. This is essential to ensure each color aligns perfectly during the printing process.
Use vector software to set precise dimensions and resolution. Then, transfer each color onto individual screens for accurate application.
Align each screen carefully using registration points. To maintain stability, use a jig or press.
Check alignment with test prints and adjust as necessary to avoid blurring or misplacement.
Mastering these steps will help you achieve sharp, consistent prints and avoid common issues in fabric screenprinting.
Key Takeaways
- Create separate color layers in design software and add clear registration marks for precise alignment during printing.
- Use a sturdy printing press or jig to hold fabric and screens securely in place for consistent registration.
- Align the first screen carefully to set the base color, then position subsequent screens using registration marks.
- Conduct test prints to verify alignment accuracy and adjust screens if colors do not overlap correctly.
- Inspect screens for damage and recalibrate registration marks to correct any misalignment issues.
The Importance of Proper Registration in Fabric Screenprinting
Although it might seem like a minor step, proper registration in fabric screenprinting is crucial to achieving accurate and consistent prints. You must prioritize registration accuracy to guarantee that each color layer aligns perfectly with the design, preventing blurring or misplacement.
Without precise design alignment, the final print can appear distorted or unprofessional, compromising the overall quality. Accurate registration reduces waste by minimizing misprints and rework, saving both time and materials.
Preparing Your Design for Accurate Screenprinting Registration
Mastering registration starts well before printing; it begins with how you prepare your design. You must utilize design software capable of handling vector graphics to guarantee scalability and precision. Set your artboard dimensions to match the fabric size accurately.
Pay close attention to print resolution; maintaining at least 300 dpi guarantees crisp lines and prevents pixelation during screen exposure. Organize each color layer separately within the software, as this facilitates precise alignment later.
Incorporate registration marks, small distinct shapes placed consistently on each layer, to guide accurate overlay during printing. Finally, double-check your file for any misalignments or spacing issues that might disrupt registration.
Essential Tools and Materials for Fabric Registration
Successful fabric registration relies on having the right tools and materials at your disposal. Begin with reliable design software that allows precise layout adjustments and alignment guides, guaranteeing your artwork is ready for accurate screenprinting registration.
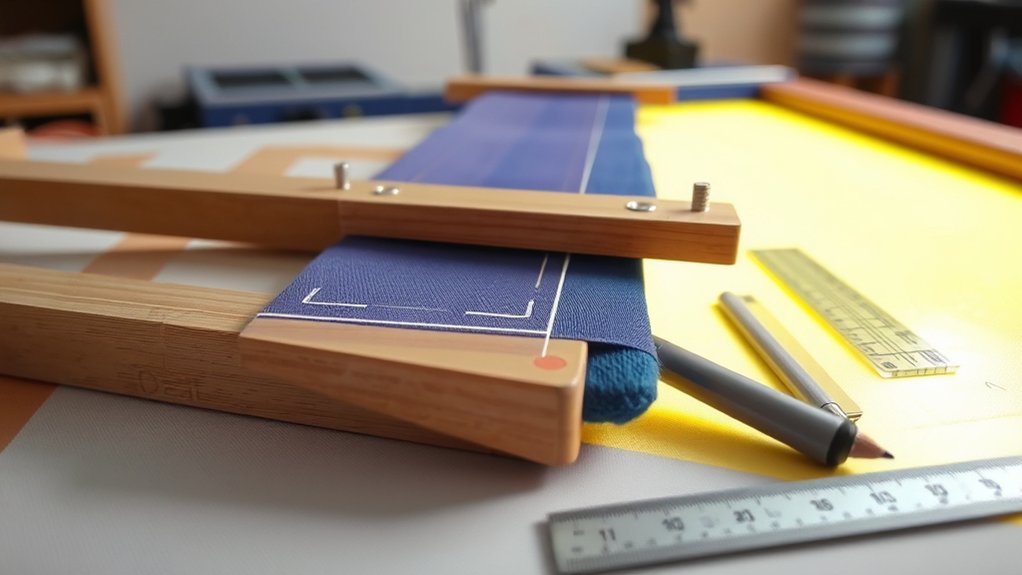
Next, invest in quality registration tools such as registration marks, transparent overlays, and alignment frames. These tools enable you to position your screens consistently and prevent misalignment during printing.
Additionally, use a sturdy printing press or jig designed for fabric to maintain stability. Include high-contrast tapes or markers to enhance visibility of registration points on fabric surfaces.
Finally, confirm your screens are properly tensioned and cleaned, as this directly affects registration accuracy. By equipping yourself with these essential tools and materials, you’ll streamline the registration process and achieve precise, repeatable fabric prints.
Aligning Multi-Color Screens Step-by-Step
With your tools and materials prepared, you can now focus on aligning multi-color screens to guarantee each hue registers perfectly on the fabric. Begin by applying precise screen alignment techniques to position each screen accurately. Use color separation methods to isolate each color layer before printing.
Follow this step-by-step approach:
| Step | Action | Purpose |
|---|---|---|
| 1 | Place first screen | Establish base color layer |
| 2 | Align subsequent screen | Match registration points |
| 3 | Adjust screen position | Correct minor misalignments |
| 4 | Secure screens in place | Prevent movement during print |
| 5 | Test print to verify alignment | Confirm color overlap accuracy |
Tips for Placing and Using Registration Marks
A well-placed registration mark guarantees consistent alignment across multiple screens, which is essential for accurate color layering in fabric screenprinting. To optimize registration mark placement, you must understand the registration mark types and their functions.
Here are key tips to follow:
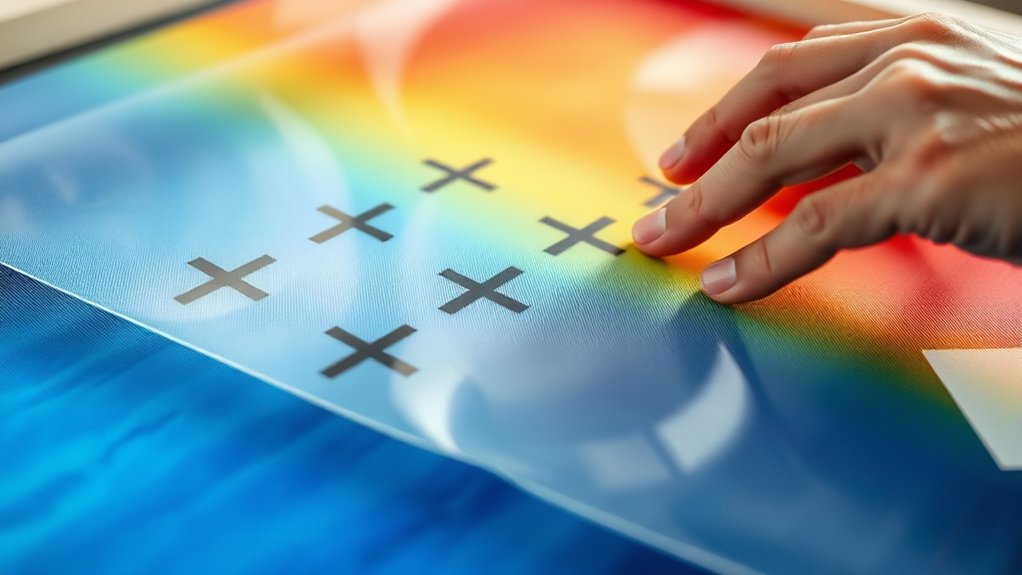
- Position registration marks at consistent corners or edges of your print area, ensuring visibility across all screens without obstructing the design.
- Use standard registration mark types, such as crosshairs, targets, or corner boxes, to facilitate precise alignment and easy identification.
- Maintain equal spacing between marks on each screen to prevent skewing and maintain uniformity throughout the print run.
Troubleshooting and Fixing Common Registration Issues
Even the most carefully placed registration marks can sometimes lead to alignment issues during fabric screenprinting. When troubleshooting common registration issues, first verify the accuracy of your registration techniques. Misaligned prints often result from inconsistent mark placement or uneven tension on the screen.
Avoid common mistakes such as relying solely on visual estimation or neglecting to secure the fabric firmly. If you notice slight shifts, recalibrate your marks or use a registration jig to enhance precision. Additionally, inspect the screen for warping or damage, as these can distort alignment.
Addressing these factors systematically guarantees better registration accuracy. By refining your process and correcting these frequent errors, you’ll minimize misregistration, improving print quality and consistency in your fabric screenprinting projects.
How to Check and Adjust Registration During Printing
While printing, you must continuously monitor registration to guarantee each color layer aligns perfectly. Employing effective registration techniques and alignment strategies is essential to maintain print quality and consistency.
To check and adjust registration during printing, follow these steps:
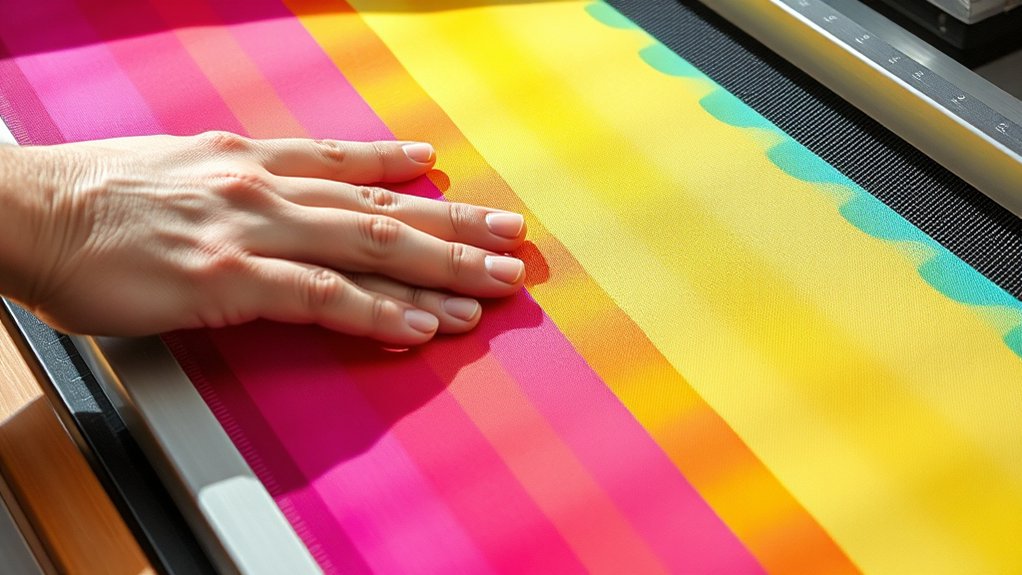
- Inspect print samples frequently under consistent lighting to identify any misalignment or color overlap.
- Use registration marks on the fabric as reference points to assess the accuracy of each color layer’s placement.
- Adjust the screen position incrementally by loosening the clamps and shifting the frame, then retighten and test print again.
Frequently Asked Questions
Can I Register Designs on Different Fabric Types Without Adjusting Screens?
You can’t effectively register designs on different fabric types without screen adjustments. Variations in texture, stretch, and thickness require precise screen calibrations to maintain alignment and print quality across diverse fabrics during screenprinting.
How Does Humidity Affect Fabric Screenprinting Registration?
Like a Victorian clock, fabric expands with humidity fluctuations. You must maintain strict humidity control to prevent fabric expansion, ensuring precise screen registration.
Neglecting this leads to misalignment, compromising print accuracy and overall design quality.
What Software Is Best for Creating Registration Marks Digitally?
You should use design software like Adobe Illustrator or CorelDRAW, as these digital tools offer precise control for creating registration marks. This ensures accurate alignment and consistency in your fabric screenprinting projects.
Can Registration Techniques Differ for Hand-Pulled Versus Automatic Presses?
Yes, registration techniques differ; with hand-pulled precision, you manually align marks for accuracy. Automatic press techniques rely on mechanical registration systems to guarantee consistent positioning, enhancing efficiency and repeatability in high-volume production.
How Do I Store Screens to Maintain Registration Accuracy Over Time?
Think of your screens as delicate manuscripts; store them vertically in a dry, dust-free space. Use screen storage racks with protective covers to prevent damage and distortion. Ensuring screen protection preserves registration accuracy over time.
Conclusion
Proper registration is essential to achieving sharp, professional fabric screenprints. By carefully preparing your design and using precise registration marks, you set the foundation for success. Methodically aligning multi-color screens ensures consistent, accurate results.
Always double-check alignment throughout the printing process to catch and correct errors early. This disciplined approach transforms theoretical alignment concepts into practical success.
Visually confirming that meticulous registration directly impacts the quality and clarity of your final printed fabric designs is key. Mastering how to register a design on fabric screenprinting will greatly enhance your production quality.