To screenprint on long sleeves, start by choosing 100% cotton or cotton-poly blends with a tight weave for ideal ink adhesion.
Preparing your artwork at 300 dpi, scaled precisely for the sleeve’s printable area, is essential for a clean print.
Set up your workspace with adjustable platen attachments to keep the sleeve flat and aligned using registration marks and heat-resistant tape. This ensures accuracy throughout the printing process.
Select the right ink—water-based or plastisol—and cure it between 320°F and 330°F for durability.
Following these steps guarantees a sharp, lasting print, with more techniques available to master the process fully.
Key Takeaways
- Choose 100% cotton or cotton-poly blend long sleeves with a tight weave for optimal ink adhesion and durability.
- Scale and position artwork precisely on the sleeve area, maintaining resolution above 300 dpi for sharp prints.
- Set up a clean workspace with adjustable sleeve boards or platen attachments to hold shirts flat and stable.
- Lay shirts flat without wrinkles, use registration marks, and secure sleeves with heat-resistant tape or adhesive spray.
- Use appropriate inks like water-based or plastisol and cure at 320°F to 330°F to ensure vibrant, long-lasting prints.
Pick the Best Longsleeve Shirts for Screenprinting
When selecting long sleeve shirts for screenprinting, you need to prioritize fabric composition, weight, and weave tightness to ascertain ideal ink adhesion and print clarity. Choose fabric types like 100% cotton or cotton-poly blends with a minimum weight of 4.5 ounces per square yard, as these provide a smooth surface and absorb ink well.
Avoid synthetic fabrics like polyester that can repel ink or cause smudging. Focus on shirt styles with a tight, uniform weave; jersey knit is a common choice since looser weaves can cause ink bleed or uneven prints.
Additionally, verify the fabric has been pre-shrunk to maintain print integrity post-wash. By selecting the appropriate fabric types and shirt styles, you’ll optimize your screenprinting results on long sleeves effectively and consistently.
Prepare Your Screen and Artwork for Longsleeve Printing
You’ll need to adjust your artwork size to fit the contours of the longsleeve without distortion. Select a screen mesh that balances detail and ink deposit for fabric thickness. These steps guarantee clean, sharp prints on extended garment surfaces.
Artwork Size Adjustment
Three key adjustments confirm your artwork fits perfectly on long sleeves: resizing, positioning, and resolution optimization. Begin by verifying your artwork dimensions match the printable sleeve area. Use precise scaling techniques to resize without distortion, maintaining aspect ratio.
Position the design to accommodate sleeve curvature and seam placement. Optimize resolution to at least 300 dpi for sharp prints.
| Adjustment | Recommendation |
|---|---|
| Artwork Dimensions | Measure printable sleeve area |
| Scaling Techniques | Use vector scaling or high-res raster |
| Positioning | Offset from seams, centered on sleeve |
| Resolution | Minimum 300 dpi for clarity |
Apply these adjustments to confirm your screen and artwork align perfectly for smooth, professional long sleeve prints.
Screen Mesh Selection
Although selecting the correct screen mesh may seem straightforward, it critically impacts print quality and detail on long sleeves. You need to choose a mesh count that balances ink deposit and image sharpness.
For thicker inks, opt for a lower mesh count (e.g., 110-160) to allow adequate ink flow without clogging. If your design requires fine detail, use a higher mesh count (230-305) to guarantee crisp lines, but be mindful that thicker ink may struggle to pass through.
Always match your mesh count with the ink thickness to prevent smudging or incomplete coverage. Test your screen with sample prints, adjusting tension and coating as necessary. Proper mesh selection assures durable, high-quality prints tailored to the unique fabric and print area of long sleeves.
Set Up Your Printing Station for Longsleeves
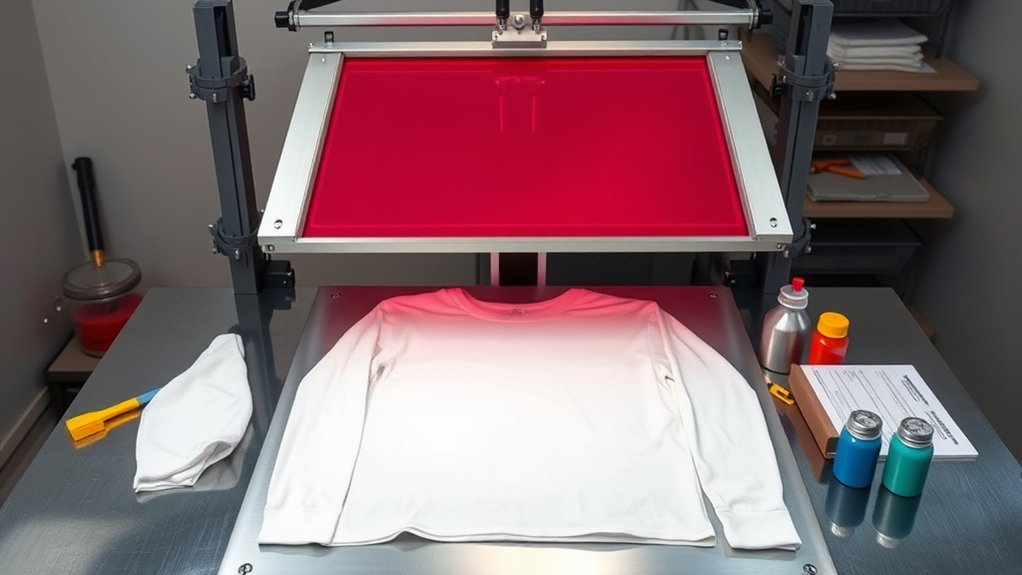
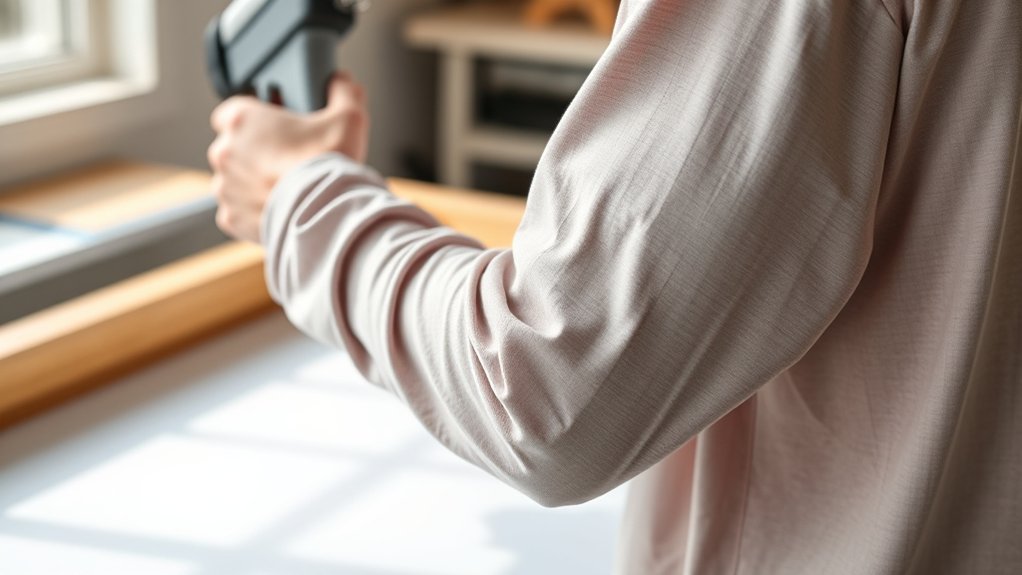
Preparing your printing station for longsleeves requires arranging specialized equipment and materials to accommodate their extended length and flexible fabric. Start by designating a clean, flat printing workspace that can support the shirt’s full length without causing wrinkles or stretching.
Organize your equipment, including screens, squeegees, inks, and tape, in a logical layout to streamline your workflow and prevent cross-contamination. Use adjustable platen attachments or sleeve boards specifically designed for longsleeve garments to guarantee stability during printing.
Keep tools within reach but off the main printing area to maintain an uncluttered environment. Proper equipment organization in your printing workspace reduces errors and accelerates the printing process, assuring consistent, high-quality results on every longsleeve you print.
Align and Secure Your Longsleeve Shirt for Accurate Prints
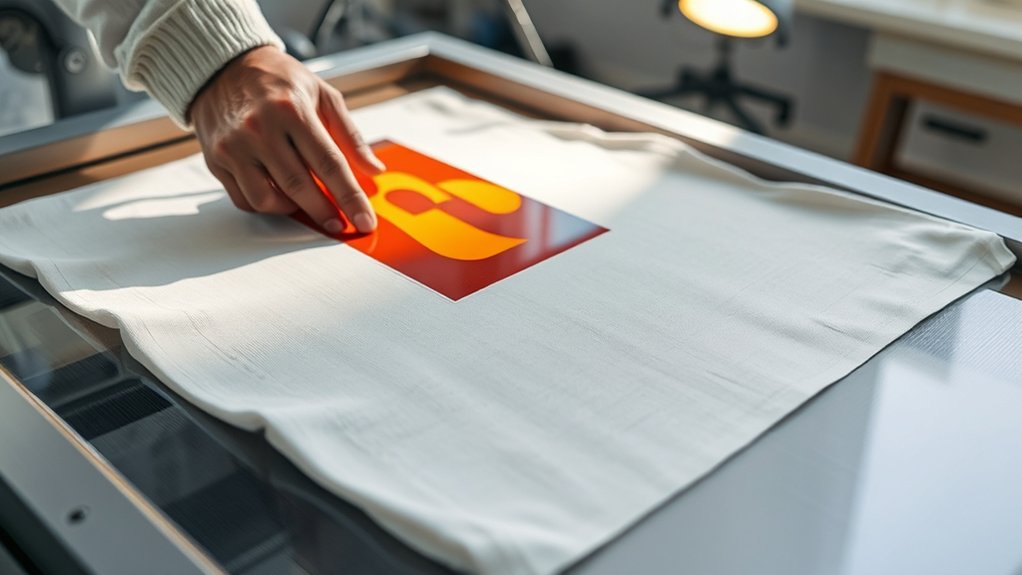
Before you start printing, you need to align and secure your longsleeve shirt precisely to confirm the design lands exactly where intended. Begin by laying the shirt flat on the platen, ensuring no wrinkles or folds disrupt the surface.
Use registration marks to position the design accurately, focusing on consistent shirt alignment relative to the collar and sleeves. Employ heat-resistant tape or adhesive spray to fix the shirt firmly, enhancing printing stability during the screenprint process.
Confirm the sleeves and body remain taut but not stretched, preventing distortion. Double-check alignment by lowering the screen frame without printing to verify placement.
Proper shirt alignment and secure attachment minimize shifts, reduce misprints, and confirm each print matches your design specs with professional precision.
Print and Cure Ink on Longsleeves
You’ll need to select ink types specifically formulated for long sleeves, such as water-based or plastisol inks, to guarantee proper adhesion and flexibility. Set your curing equipment to the ideal temperature, typically between 320°F and 330°F, to fully cure the ink without damaging the fabric. Follow precise curing times and temperatures to achieve durable, high-quality prints.
Ink Types For Longsleeves
Several ink types work effectively for printing on longsleeves, but choosing the right one depends on fabric composition and desired durability. Water based inks penetrate fabric fibers, offering a soft hand feel and are ideal for 100% cotton or blends.
They’re eco-friendly but require precise curing to prevent washout. Plastisol inks sit atop the fabric, providing vibrant colors and excellent opacity, especially on dark or synthetic materials. They resist cracking and fading, making them suitable for long-lasting prints.
When selecting ink, consider the garment’s fiber content and the print’s intended use. You’ll also need to adjust your screen mesh and squeegee pressure accordingly to guarantee ink lays evenly. Proper ink choice directly influences print quality, durability, and wearer comfort on longsleeves.
Optimal Curing Temperatures
Although proper ink selection is essential, achieving ideal curing temperatures is equally important to guarantee print durability and fabric integrity on longsleeves. To maintain optimal ink viscosity during curing, keep temperatures between 320°F and 330°F (160°C to 165°C) for plastisol inks.
Use a calibrated conveyor dryer or heat press to apply consistent heat. Avoid overheating, which can degrade fabric fibers and distort ink. For heat transfer methods, follow manufacturer-specific curing settings, typically around 305°F (150°C) for 15-20 seconds, adjusting based on fabric type.
Monitor curing times precisely to prevent undercuring, which leads to poor wash fastness. Using a temperature gun or data logger helps verify uniform heat distribution. Adhering to these parameters guarantees your prints on longsleeves remain vibrant, flexible, and long-lasting without compromising fabric quality.
Troubleshoot Common Screenprinting Issues on Longsleeves
When printing on longsleeves, you might encounter issues like ink smudging, misalignment, or uneven coverage that can compromise the final product. To prevent ink bleeding, guarantee the ink viscosity is appropriate and avoid excessive flooding during print strokes. Use a screen mesh count suited for the ink type and fabric to control ink deposit.
Registration issues often stem from sleeve movement or improper alignment; secure the garment firmly using a well-adjusted platen and double-check registration marks before printing. Uneven coverage can occur from inconsistent squeegee pressure or angle. Maintain a steady, even stroke.
If ink dries too slowly, adjust curing temperature or ink formulation to prevent smudging. Regularly clean screens and inspect equipment to maintain print quality throughout the run.
Frequently Asked Questions
Can I Screenprint on Dark-Colored Longsleeves Without a White Base?
You can’t effectively screenprint on dark-colored longsleeves without a white base because dark fabric considerations require an opaque layer for color vibrancy. Use a white underbase in screenprint techniques to guarantee sharp, vivid prints.
How Do I Wash Screenprinted Longsleeve Shirts to Preserve the Print?
Treat your screenprinted longsleeve like a delicate flower. Always wash inside out in cold water using gentle washing techniques. Avoid harsh detergents and high heat drying to maximize print longevity and maintain vibrant, crisp designs.
What Ink Types Are Best for Printing on Cotton vs. Polyester?
For cotton, choose plastisol or water-based inks for strong ink adhesion and fabric compatibility.
For polyester, use discharge or sublimation inks to guarantee proper bonding without damaging fabric, maintaining vibrant, durable prints.
Can Screenprinting Be Done on Textured or Ribbed Longsleeve Fabric?
Yes, you can screenprint on textured or ribbed fabric, but you’ll need to adjust mesh count and squeegee pressure to guarantee ink penetrates grooves evenly.
Use thicker ink for better coverage on ribbed fabric surfaces.
How Many Colors Can I Print on a Longsleeve in One Session?
You can print up to six colors in one session, but color limitations depend on your printing techniques and equipment.
Multi-color prints require precise registration and may increase setup time, so plan accordingly for complex designs.
Conclusion
Now that you’ve mastered selecting shirts, prepping screens, and aligning sleeves, printing on longsleeves becomes second nature. With each careful step—choose, prepare, set, align, print, cure—you’ll turn fabric into art with precision and ease.
Remember, patience and practice perfect the process. So, don’t rush; let your hands guide the ink, and watch your longsleeve prints come alive, one stroke at a time.
Your craft, your control, your creation. Printing on longsleeves screenprint is a skill that grows with every project you undertake.