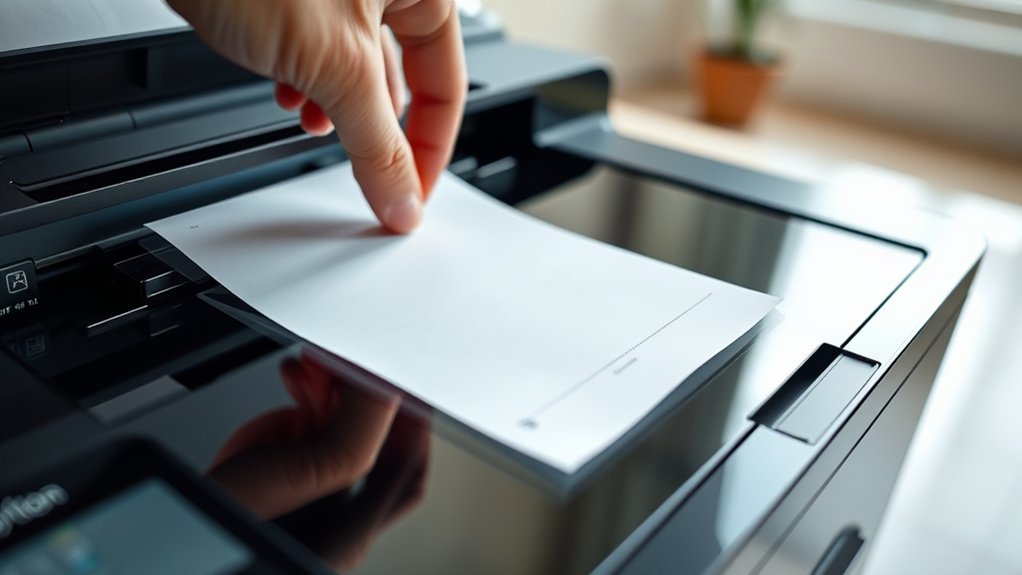
To scan documents from your printer, first remove any staples and flatten the papers.
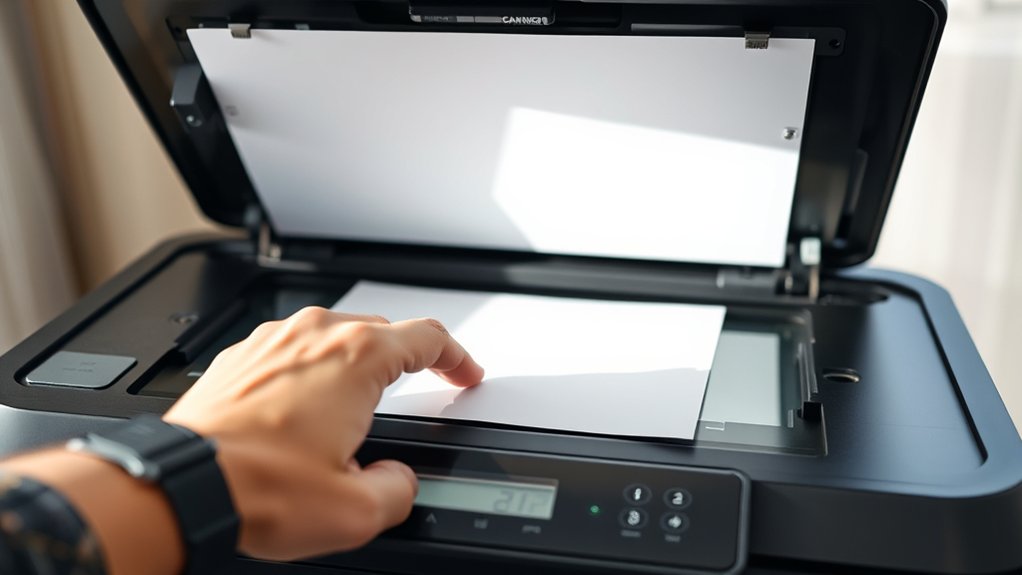
Place the document face-down on the scanner glass or load it into the feeder.
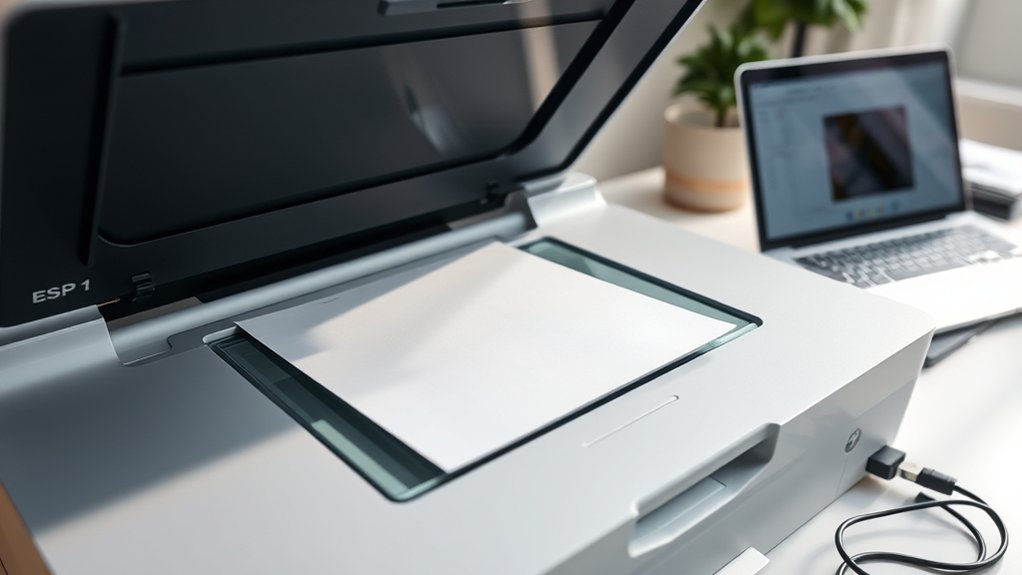
Power on your printer and open the scanning software on your computer or use the printer’s interface.
Choose appropriate settings like resolution and color mode to suit your needs.
Preview the scan and then start the scanning process.
Save the scanned files to an organized folder for easy access.
If you want to improve your scans or troubleshoot issues, there’s more helpful guidance ahead.
Key Takeaways
- Power on the printer and open the scanning software on your computer or printer interface.
- Place the document face-down on the scanner glass or face-up in the automatic feeder.
- Use the scanning software to preview and adjust alignment, resolution, and color settings.
- Start the scan and save the file in a designated folder for easy access and organization.
- Troubleshoot by checking connections, restarting devices, and cleaning scanner glass if needed.
What You Need to Scan Documents
To scan documents effectively, you’ll need a few essential items. First, choose the right scanner type for your needs. Flatbed scanners work well for delicate or thick documents, while sheet-fed scanners handle multiple pages quickly.
Some all-in-one printers come with built-in scanners, offering convenience if you already own one. Next, verify your document quality is suitable; clean, flat, and uncreased papers yield the best results. Poor document quality can lead to blurry or incomplete scans, so avoid folded or damaged pages.
You’ll also need compatible scanning software installed on your computer or printer interface. Finally, a stable connection between your scanner and device is vital, whether USB, Wi-Fi, or Ethernet, to guarantee smooth operation during the scanning process.
How to Prepare Your Document for Scanning
Before scanning, make certain your document is clean and free of wrinkles or folds that could interfere with the image quality. Smooth out any creases and remove staples or paper clips to prevent jams.
Next, focus on proper document alignment. Place the paper straight on the scanner bed or feeder, aligning it with the guides to avoid skewed scans.
Ensure your document is perfectly aligned with scanner guides to prevent crooked or skewed scans.
If you’re scanning multiple pages, organize them in the correct order beforehand. This page organization saves time later and guarantees your digital files match the original sequence.
Also, double-check that each page is facing the right direction to prevent upside-down scans. Taking these simple steps helps you produce clear, professional-looking scanned documents without needing to redo the process.
How to Scan Documents Step-by-Step
Once you’ve prepared your document, start by powering on your printer and opening the scanning software on your computer or device. This software controls the scanner and lets you customize your scan.
Follow these steps to complete your scan efficiently:
- Place your document face-down on the scanner glass or into the automatic document feeder.
- Use the scanner software to preview the scan, ensuring everything is aligned and clear.
- Save your scanned file in an organized folder on your computer to keep track of your documents easily.
Picking the Best Scan Settings for Your Document
To get the best scan quality, you’ll need to adjust the resolution settings based on your document type. Higher resolution captures more detail but creates larger files, while lower resolution saves space.
You’ll also want to choose the right color mode: black and white, grayscale, or color, depending on what your document requires.
Resolution Settings Explained
Resolution plays an essential role in determining the quality and file size of your scanned document. Understanding resolution types helps you pick the best settings for your needs. Higher resolution means better image quality but larger files, while lower resolution saves space with less detail.
Here’s what to evaluate:
- Low Resolution (150 dpi): Suitable for simple text documents; smaller file size.
- Medium Resolution (300 dpi): Ideal for most documents, balancing clarity and file size.
- High Resolution (600 dpi or more): Best for detailed images or graphics, but results in large files.
Choose the resolution type based on whether you prioritize image quality or file size. This way, you’ll get the best scan results without wasting storage.
Choosing Color Modes
Selecting the right color mode impacts both the appearance and size of your scanned document. Most scanners offer color mode options like Color, Grayscale, and Black & White.
Choose Color if you want to preserve color accuracy for photos or detailed graphics. It captures all hues but results in larger file sizes. Grayscale is ideal for documents with shades of gray, balancing quality and file size.
Black & White works best for text-only pages, producing smaller files with sharp contrast but no color. Consider your document’s purpose: use Color mode for vibrant images, Grayscale for nuanced shading, and Black & White for simple text.
Adjusting these settings guarantees your scanned document looks right while keeping file size manageable.
Where to Save and How to Share Your Scanned Documents
Deciding where to save your scanned documents is essential for easy access and organization. You want to choose the right location and file formats to keep your files safe and easy to find. Here’s what you should consider:
- Cloud Storage: Save scans to services like Google Drive or Dropbox for easy access from any device and automatic backups.
- Local Folders: Organize files in clearly named folders on your computer or external drives for quick offline access.
- File Formats: Choose formats like PDF for documents or JPEG for images to guarantee compatibility and quality.
Once saved, share your scanned documents via email or cloud links for fast, secure distribution. This approach keeps your files organized and readily available whenever you need them.
Troubleshooting Common Printer Scanning Issues
If your printer isn’t scanning properly, don’t worry. You can usually fix common issues quickly. First, check for scanner errors displayed on the printer screen or your computer.
Restart both devices to clear temporary glitches. Next, verify your printer’s connection. Connectivity issues often cause scanning failures, so make certain your printer is properly connected via USB or Wi-Fi.
Reconnecting or switching cables can help. Also, update or reinstall your printer’s drivers to resolve compatibility problems. If your scans are blurry or incomplete, clean the scanner glass gently.
Finally, confirm that the scanning software settings match your document type and resolution needs. Following these steps should solve most scanning problems without needing professional help.
Maintaining Your Printer’s Scanner for Better Scanning
Regular maintenance keeps your printer’s scanner working smoothly and guarantees sharp, clear scans every time. To guarantee peak performance, follow these essential scanner maintenance steps:
Consistent upkeep ensures your printer’s scanner delivers crisp, clear scans and operates flawlessly every time.
- Clean the glass surface regularly: Use a soft, lint-free cloth with a mild glass cleaner. Avoid sprays directly on the glass to prevent damage.
- Check and clear the scanner lid: Dust or debris here can affect scan quality. Wipe it down gently with a dry cloth.
- Perform software updates: Keep your scanner’s drivers and firmware up to date for improved functionality and bug fixes.
Frequently Asked Questions
Can I Scan Multiple Pages Into One PDF File?
Yes, you can scan multiple pages into one PDF file by using multi page scanning. Just select the multi page scan option on your printer software, then save or create the PDF to combine all pages seamlessly.
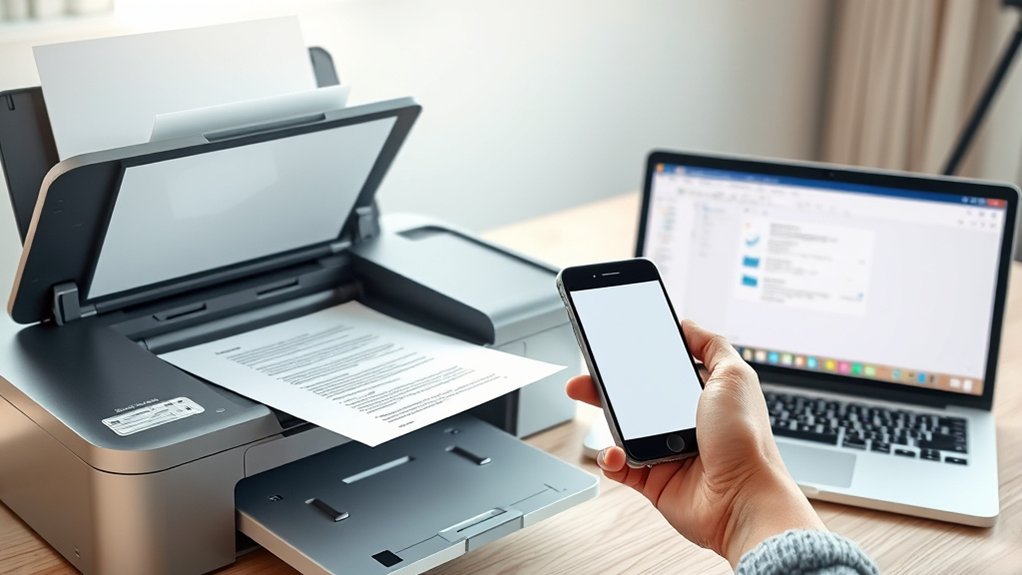
Is It Possible to Scan Directly to My Smartphone?
Absolutely, you can channel your inner tech wizard! With smartphone scanning and mobile apps like HP Smart or Epson iPrint, you’ll scan documents directly to your phone, making the process quick, easy, and completely wireless.
How Do I Scan Documents Without a Printer?
You can scan documents without a printer by using mobile scanning. Just download document apps like Adobe Scan or Microsoft Lens, then capture your document with your phone’s camera for a quick, easy digital copy.
What File Formats Are Best for Scanned Images?
You’ll usually choose JPEG vs PNG depending on quality and compression needs; PNG keeps transparency, while JPEG compresses more.
For high-quality, editable scans, TIFF advantages include lossless storage, ideal for archiving important documents.
Can Scanning Damage My Original Documents?
You won’t damage originals; studies show less than 1% face harm during scanning. For scanned document preservation, handle pages gently and follow scanner maintenance tips to keep equipment clean and avoid scratches or tears on your documents.
Conclusion
You’ve just mastered the ancient art of scanning documents—a task that once felt like defusing a bomb. Now, instead of wrestling with your printer, you’ll breeze through scans like a pro.
Remember, a little prep and the right settings go a long way. If your printer throws a tantrum, don’t panic—it’s just testing your patience.
Keep it clean, keep it happy, and soon you’ll scan documents faster than you can say “printer jam.” With these tips, scanning documents from printer will become second nature.