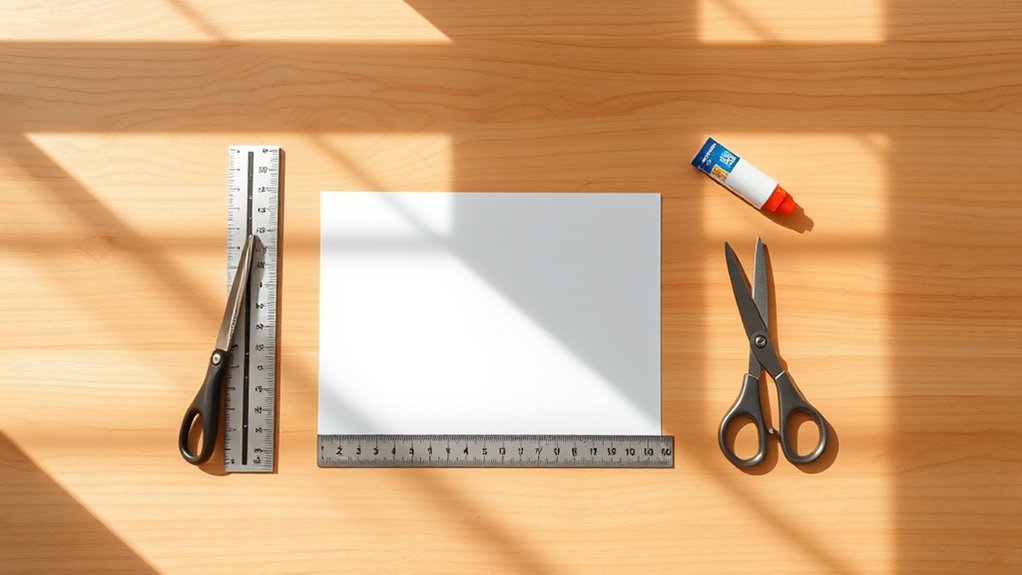
To make an envelope out of printer paper, start by gathering scissors, a ruler, and tape or glue.
Fold the paper into your desired envelope shape—try a classic rectangle or a triangle—then crease sharply for a neat look.
Seal the edges by tucking the flap or using double-sided tape, avoiding glue if you want a quick fix.
Customize with doodles or stickers for a personal touch.
If you want tips on sizes, sealing tricks, or mailing advice, there’s plenty more to explore.
Key Takeaways
- Gather standard printer paper, scissors, glue or tape, and a ruler to prepare materials for making an envelope.
- Measure and mark the paper lightly, then fold sharply into desired envelope shape, such as rectangular or triangular.
- Secure flaps with glue or double-sided tape to keep the envelope closed without messy edges.
- Customize by decorating with stickers, washi tape, or drawings before sealing the envelope flap.
- Seal all edges firmly and label the envelope clearly for mailing or gifting purposes.
Gather Materials and Prepare Your Printer Paper
Before you begin folding, make certain you have all the materials ready to guarantee a smooth process. Start by selecting the right paper type; standard printer paper works well, but you might also try lightweight cardstock for a sturdier envelope.
Consider the purpose of your envelope when choosing paper. Textured or colored paper can add a personal touch. Next, think about envelope colors. While white is classic, using colored paper can make your envelope stand out, especially for invitations or special occasions.
Choose paper that suits your envelope’s purpose; textured or colored options add flair for special occasions.
Gather scissors, glue or double-sided tape, and a ruler to ascertain precise measurements. Having everything organized before you start helps you focus on crafting a neat, functional envelope without interruptions.
Taking these preparation steps will set you up for success in your envelope-making project.
Fold the Printer Paper to Create Your Envelope
Now it’s time to fold your printer paper into an envelope shape, choosing a fold technique that fits your needs, whether a classic rectangle or a more creative style. Make sure to crease each fold sharply for a neat finish, and secure the flaps with glue or tape so your envelope stays closed.
With a little care, you’ll have a sturdy, personalized envelope ready to use.
Choosing Fold Techniques
Choosing the right fold technique is key to turning your printer paper into a neat, functional envelope. Start by exploring different folding styles. Triangular folds offer a classic look, while rectangular folds create a simple, clean finish.
You can experiment with diagonal or origami-inspired folds for more creative designs that stand out. Keep your folds sharp by pressing down firmly along each crease to guarantee the envelope holds its shape.
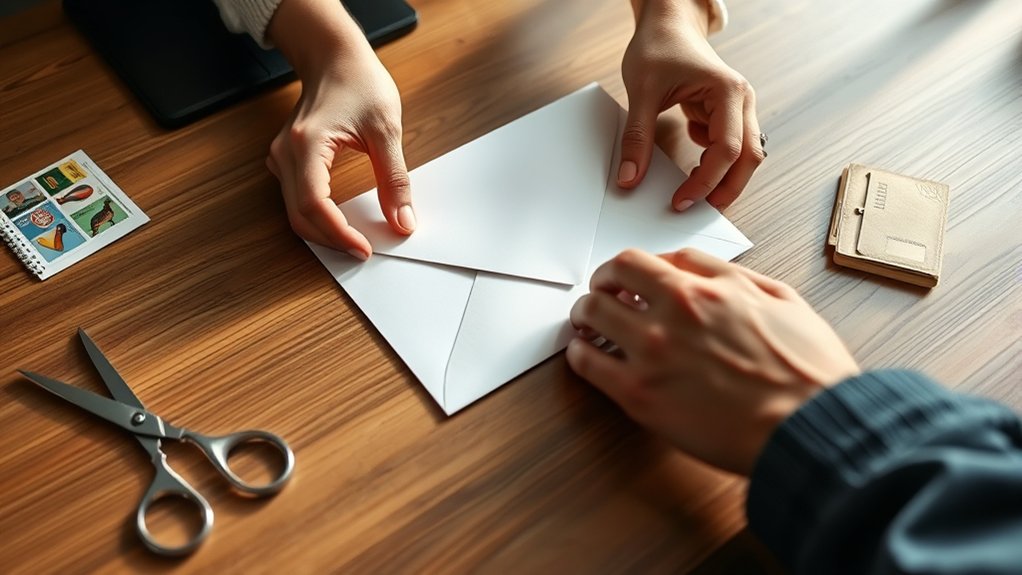
Securing Envelope Flaps
Secure the flaps of your folded printer paper carefully to guarantee your envelope stays closed and looks tidy. Begin by aligning the flaps neatly, making certain no edges overlap awkwardly.
For reliable flap security, choose the right envelope adhesives: double-sided tape, glue sticks, or even a small dab of craft glue work well. Apply a thin, even layer of adhesive to the inner edges of the flap to avoid messiness and assure a strong seal.
Press the flap down firmly for a few seconds, allowing the adhesive to bond securely. Avoid using too much glue, as it can cause wrinkling or seep through the paper. Taking these steps assures your handmade envelope remains both functional and visually appealing.
Seal Your Printer Paper Envelope Without Glue
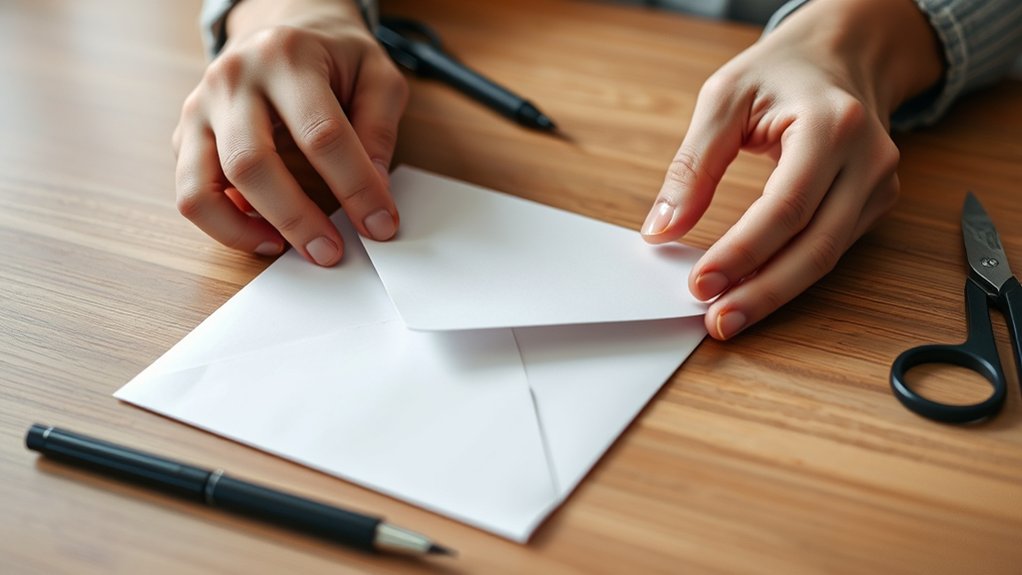
Although you don’t have glue on hand, you can still seal your printer paper envelope effectively using simple folding techniques or adhesive alternatives like double-sided tape or a small piece of clear tape. Start by folding the flap down firmly, then tuck it under the bottom edge for a snug closure. This is one of the easiest alternative sealing methods.
If you prefer tape, place a small strip where the flap meets the envelope body to keep it secure without bulk. You can even combine these methods with envelope decoration ideas like washi tape patterns or small stickers to add charm and reinforce the seal.
Experiment with these options to find what works best for your needs, ensuring your envelope stays closed and looks great without any glue.
Make Different Sizes of Printer Paper Envelopes
You can create envelopes in various sizes by carefully measuring your paper and adjusting the dimensions to fit your needs. Experiment with different folding techniques to accommodate both small and large contents while keeping your envelope neat.
Don’t forget to tweak the flap sizes to guarantee a secure closure no matter what size you choose.
Measuring Paper Dimensions
Choosing the right paper dimensions is key to making envelopes that fit your needs perfectly. Start by measuring width and length carefully before cutting. Use a ruler or measuring tape to measure width across the shorter side of your paper, ensuring enough space for the contents plus extra for folding.
Next, measure length along the longer side, keeping in mind the envelope’s flap and seams. If you want a smaller envelope, reduce both measurements proportionally. For larger envelopes, increase measurements but maintain proper proportions so the paper folds neatly.
Remember to mark your measurements lightly with a pencil for accuracy. Taking time to measure width and length precisely helps you create envelopes that look clean and hold your items securely. You’ll feel confident crafting envelopes tailored to any size need.
Folding Techniques Variation
Mastering three folding techniques lets you create various envelope sizes from standard printer paper. First, try the classic diagonal fold for a square envelope. Fold one corner to the opposite edge, then secure the sides.
Next, the rectangular fold involves folding the paper lengthwise in thirds, perfect for standard letter-sized envelopes. Finally, experiment with the triangular fold, folding corners inward to form a unique, compact design.
Each method uses creative folding to adjust dimensions without cutting. By mixing these techniques, you’ll craft envelope designs suitable for notes, cards, or small gifts.
Practice these folds to find which size and style suits your needs. With just a bit of patience, you’ll confidently make custom envelopes that add a personal touch to every message.
Adjusting Flap Sizes
Although the basic folds set the envelope’s shape, adjusting the flap sizes lets you customize its functionality and appearance. Start by experimenting with flap dimensions to fit the contents you plan to enclose. Larger flaps offer more surface for sealing, while smaller ones create a sleeker look.
You can also vary flap designs—triangular, square, or rounded—to add personality or match the envelope’s purpose. Measure and mark flap edges before folding to keep everything symmetrical and neat. Remember, precise flap dimensions help the envelope close securely without bulk.
Don’t hesitate to try different sizes on scrap paper first; this practice helps you find the perfect balance between style and practicality. With these adjustments, your homemade envelopes will look polished and fit your needs perfectly.
Customize Your Printer Paper Envelope
Since your envelope is ready, you can make it uniquely yours by adding personal touches. Start by choosing envelope designs that reflect your style, whether playful, elegant, or minimalist. You might draw simple doodles, use stamps, or add stickers to spruce it up.
Consider experimenting with paper patterns by lightly brushing watercolor or using patterned washi tape for subtle flair. If you want a bolder look, try printing a custom design directly onto the paper before folding. Don’t forget to personalize the flap with a small motif or your initials.
These small details enhance your envelope’s charm and make it stand out. Remember, customizing your envelope is about expressing yourself, so have fun with it and let your creativity shine through every fold and decoration.
Mail Your DIY Envelope Safely
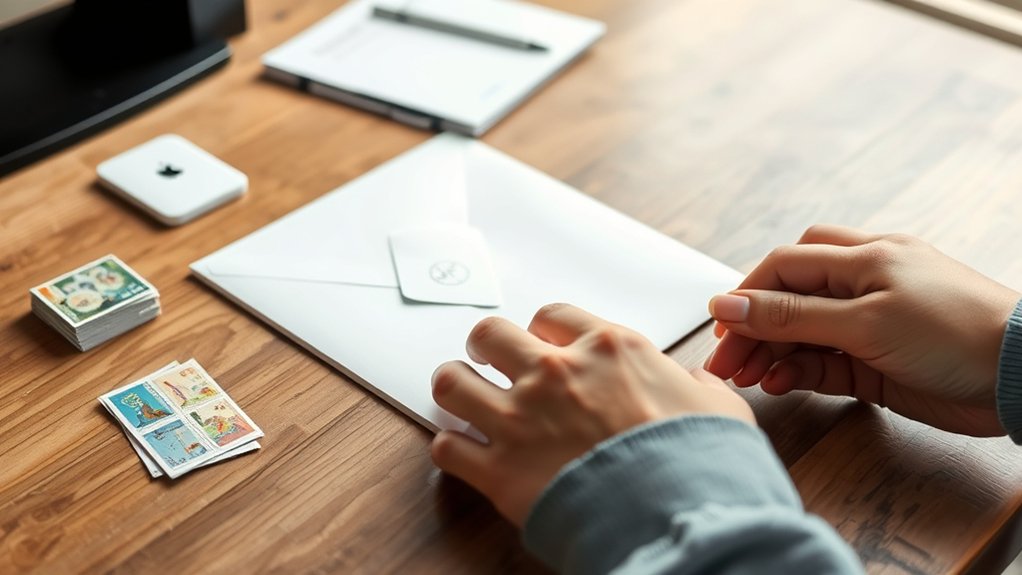
When you’re ready to send your DIY envelope, take a moment to guarantee it will arrive safely and intact. Start by sealing all edges securely with strong adhesive or tape to prevent openings during transit.
Use quality glue or double-sided tape for a clean finish that won’t peel. For extra envelope safety, consider reinforcing corners with small pieces of tape.
Opt for quality glue or double-sided tape, and reinforce corners with tape for added durability.
Label your envelope clearly with the recipient’s address and your return address, using waterproof ink if possible. To protect your handmade envelope further, place it inside a larger, sturdy mailing envelope or padded mailer.
These mailing tips help avoid tears and damage, ensuring your effort reaches its destination intact. Following these steps makes mailing your DIY creation worry-free and professional.
Frequently Asked Questions
Can I Use Colored Printer Paper for Envelopes?
Yes, you can use colored paper for envelopes! Colored paper benefits include adding personality and enhancing your envelope design.
It makes your mail stand out, and you’ll enjoy customizing vibrant, eye-catching envelopes that impress every time.
Is Printer Paper Envelope Durable for Mailing?
Printer paper envelopes aren’t as durable compared to traditional ones, so you’ll want to reinforce seams and avoid heavy contents. For mailing tips, consider adding extra tape and using a protective outer envelope to guarantee safe delivery.
How Do I Address My DIY Envelope Professionally?
Don’t just scribble like it’s a ransom note! Use professional addressing by neatly writing the recipient’s name, title, and address.
Follow envelope etiquette: align text left, use clear fonts, and add your return address for credibility.
Can I Recycle These Homemade Printer Paper Envelopes?
Yes, you can recycle your homemade printer paper envelopes! Just remove any non-paper elements like tape or staples before disposal.
Proper envelope disposal helps with homemade recycling efforts and supports eco-friendly habits you’ll feel great about.
What Types of Ink Work Best on Printer Paper Envelopes?
You don’t want your ink to throw a tantrum on printer paper envelopes! Stick with pigment-based or laser inks. They dry fast, resist smudging, and keep your message sharp. Your envelopes deserve the best ink types!
Conclusion
Now that you’ve crafted your own envelope from simple printer paper, you hold more than just a folded sheet—you hold creativity in your hands. Like a magic trick, turning ordinary into extraordinary is easier than you think.
So go ahead, customize, seal, and send your unique envelope with pride. Remember, every great message deserves a great package, and you’ve just mastered making one yourself.
Keep folding, creating, and sharing! With your new skills in how to make an envelope out of printer paper, you’re ready to impress with personalized, handmade envelopes every time.