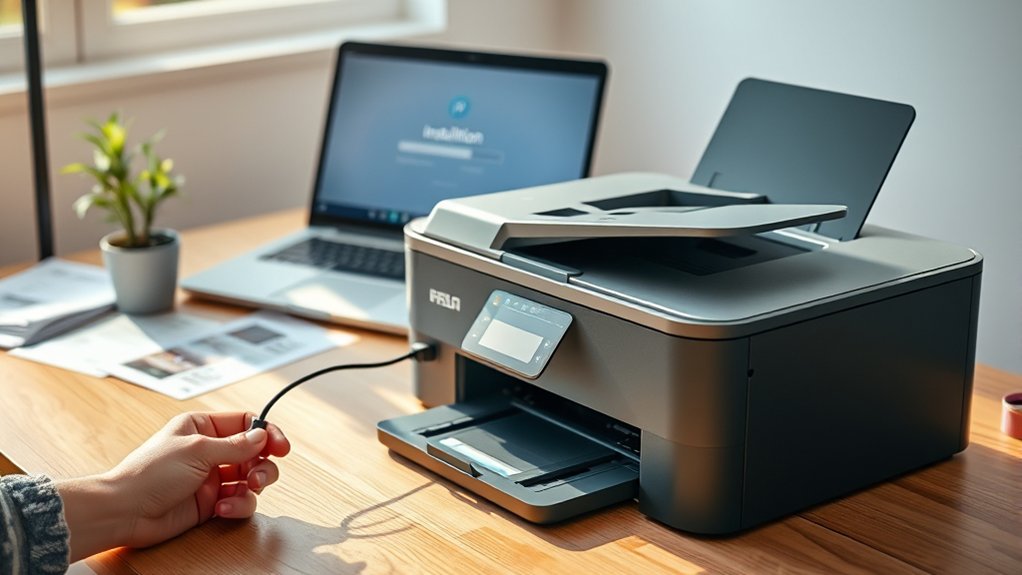
To install your printer, start by unboxing it and connecting all cables securely.
Decide whether you want a wired or wireless setup based on your preferences, then connect the printer accordingly.
Next, download and install the latest drivers from the manufacturer’s website to ensure full functionality.
Configure your print settings, such as paper size and print quality, for the best results.
If you encounter any issues, check all connections or run the printer’s troubleshooting tools.
Keep following for more helpful tips to maintain and optimize your printer.
Key Takeaways
- Unbox the printer, remove all packaging, and connect power and data cables securely to the printer and your device.
- Choose a wired (USB/Ethernet) or wireless connection, ensuring the printer and device are on the same network.
- Download and install the latest printer drivers and software from the manufacturer’s website for full compatibility.
- Configure printer settings such as paper size, print quality, and default tray through your computer’s control panel.
- Troubleshoot by checking connections, verifying network settings, and using built-in tools if the printer is not recognized.
Unbox and Connect Your Printer
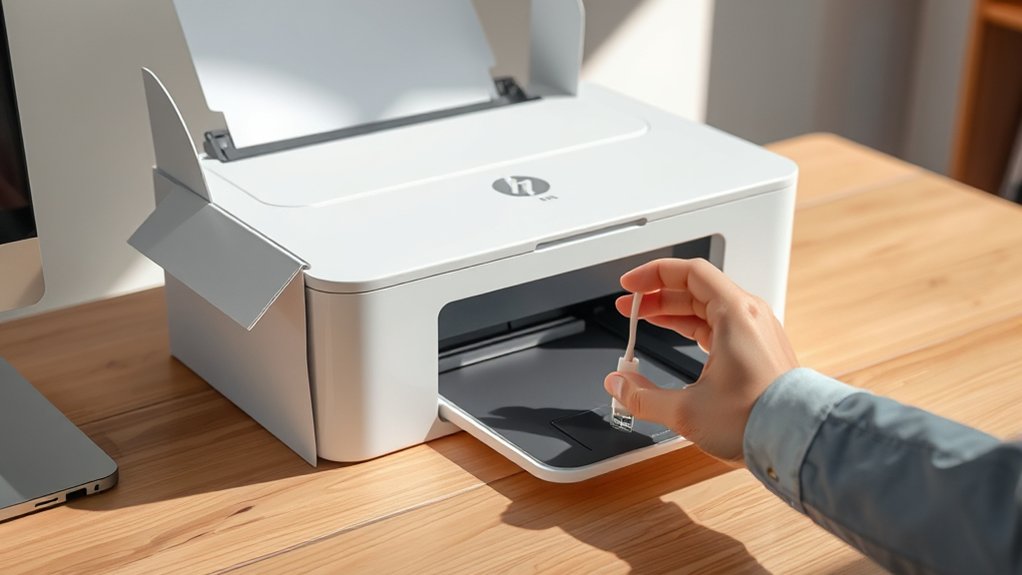
Before you start setting up your printer, carefully unbox all the components and remove any protective packaging. Check the printer packaging for included items like power cords, ink cartridges, and connection cables.
Begin by unboxing all printer components and verifying included accessories like power cords and ink cartridges.
Lay everything out on a clean surface to make sure you have all necessary parts. Next, connect the power cable securely to your printer and plug it into a power outlet.
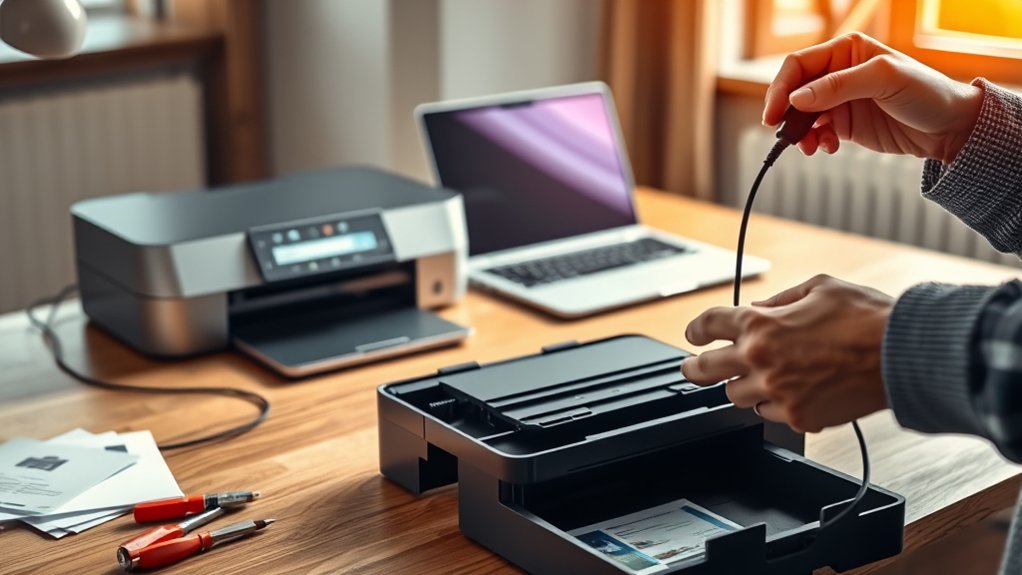
If your printer uses connection cables, such as USB or Ethernet, locate the appropriate cable from the packaging and attach it to both the printer and your computer or network device. Avoid forcing cables into ports to prevent damage.
Once everything is connected properly, you’re ready to move on to configuring your printer settings and installing drivers.
Choose and Set Up Wired or Wireless Connection
How do you decide between a wired or wireless connection for your printer? Wired connections offer reliable, stable communication and typically faster data transfer, making them ideal if your printer stays near your computer.
Simply plug an Ethernet or USB cable from your printer directly to your device. Wireless connections provide flexibility and convenience, letting you place the printer anywhere within your Wi-Fi range.
To set up wireless connections, connect your printer to your home network via its control panel or WPS button. Ascertain your device is on the same Wi-Fi network for seamless printing.
Choose wired connections for consistent speed and fewer interruptions, or opt for wireless connections if you need mobility and a clutter-free setup. Both methods require proper configuration before moving on to driver installation.
Install Printer Drivers and Software
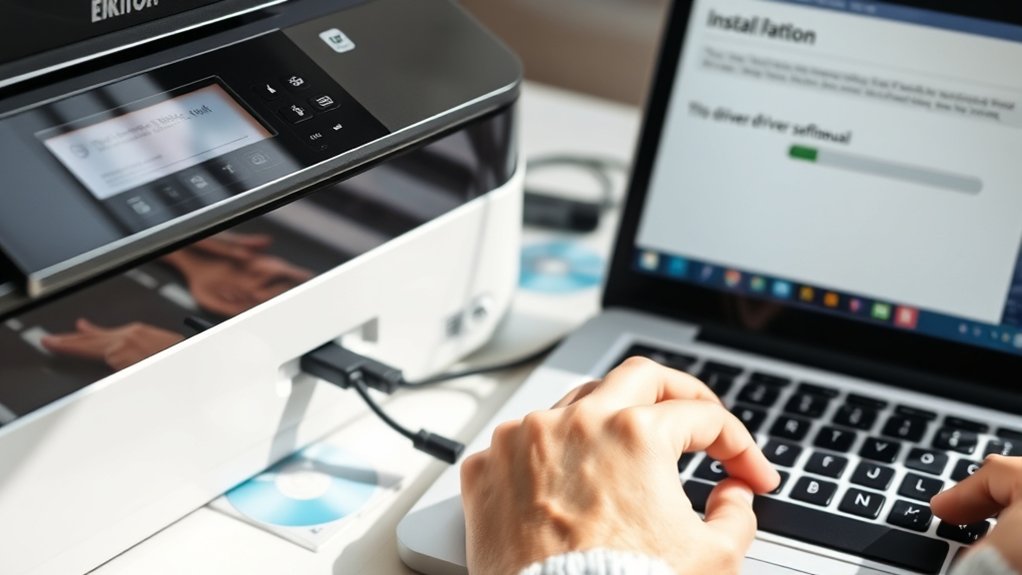
Installing the correct printer drivers and software is essential to guarantee your device communicates properly with your computer. First, check printer compatibility with your operating system to avoid installation issues.
Visit the printer manufacturer’s website to download the latest drivers and software, making sure you get the most recent driver updates for ideal performance and security. Avoid using generic drivers, as they might limit functionality.
Once downloaded, run the installer and follow on-screen instructions carefully. If prompted, connect your printer via USB or confirm your wireless connection.
After installation, restart your computer if necessary. Keeping drivers updated regularly helps maintain printer efficiency and compatibility with system updates. This process guarantees smooth printing and access to all printer features.
Configure Printer Settings and Preferences
Start by accessing your printer’s settings through your computer’s control panel or system preferences. This is where you’ll manage your printer preferences and fine-tune settings customization for peak performance. Focus on key areas like:
Paper size and type selection to match your printing needs
Print quality options, such as draft or high resolution
Default tray and duplex printing setup to save time and resources
Adjusting these settings guarantees your printer operates efficiently and meets your specific requirements. Don’t forget to save your changes before exiting. By customizing printer preferences, you’ll reduce errors and improve print output. This step completes your installation process, making your printer ready for everyday use.
Troubleshoot Common Printer Installation Issues
Encountering one or two common issues during printer installation is normal, but you can quickly resolve them with the right approach. First, check for printer compatibility issues by verifying that your printer works with your operating system and hardware.
If the printer isn’t recognized, disconnect and reconnect it, ensuring cables are secure. Use built-in troubleshooting techniques like running the printer troubleshooter on your computer to detect and fix errors automatically.
If drivers won’t install, download the latest version from the manufacturer’s website instead of relying on default software. Also, confirm your network printer is connected to the same Wi-Fi network.
Tips for Maintaining Your Printer After Installation
Once your printer is set up, regular maintenance becomes key to ensuring consistent performance and longevity. Taking care of your device not only prevents issues but also extends its lifespan. Focus on ink cartridge maintenance by replacing cartridges before they run completely dry to avoid clogs.
Regular maintenance and timely ink cartridge replacement are essential for consistent printer performance and longevity.
Perform regular cleaning to keep the printhead and rollers free from dust and ink buildup. Additionally, keeping your printer in a dust-free environment helps maintain its internal components.
Here are essential tips to maintain your printer effectively:
- Clean the printhead and rollers monthly to prevent jams and smudges
- Replace ink cartridges timely and store spares properly
- Use the printer regularly to avoid ink drying inside cartridges
Following these steps will help you get the best output consistently.
Frequently Asked Questions
Can I Install Multiple Printers on One Computer?
Yes, you can install multiple printers on one computer. You’ll manage printer settings easily through your system’s printer management tools, allowing multiple connections and smooth switching between devices whenever you need to print.
How Do I Print From a Mobile Device?
You can print from a mobile device by enabling mobile printing through your printer’s app or settings. Confirm wireless connectivity is active, then select your printer from your phone or tablet’s print menu to send your document.
What Types of Ink Cartridges Are Compatible?
Ink cartridge types dance in harmony with your printer’s heart. Ensure printer compatibility by choosing original, remanufactured, or compatible cartridges. Check your model’s specs to keep colors vivid and printing smooth, avoiding costly mismatches.
Can I Install a Printer on a Chromebook?
Yes, you can install a printer on a Chromebook. Confirm Chromebook compatibility with your printer, then follow the printer setup by adding it via Settings > Printers.
Alternatively, you can use Google Cloud Print for seamless wireless printing.
How Do I Recycle Old Printer Cartridges?
You can recycle old printer cartridges by dropping them off at designated recycling centers or participating retailers. Cartridge recycling reduces environmental impact by preventing toxic waste and conserving materials, so always choose responsible disposal options.
Conclusion
Now that you’ve tackled the printer setup without turning your desk into a tech disaster zone, you’re basically a pro. Who knew installing a printer could be this straightforward? Just remember, printers love to act up right after you set them up—so keep those troubleshooting tips handy.
With a little patience and the right care, your printer will be your best office buddy instead of your biggest headache. Happy printing! Installing a printer is easier than ever when you follow these simple steps, ensuring smooth operation and reliable performance.