To connect to your Canon printer, start by installing the latest drivers from Canon’s website to guarantee compatibility and functionality.
For USB connections, power on the printer, plug it into your computer using a certified cable, and confirm the driver installation.
For wireless setup, use the printer’s network menu to join your Wi-Fi, then select the printer during driver installation.
Mobile users can connect through the Canon PRINT app on the same network.
Keep these basics in mind as you explore additional tips and troubleshooting.
Key Takeaways
- Install the latest Canon printer drivers from the official website to ensure compatibility and access to full printer features.
- Connect your Canon printer to the computer using a USB cable, ensuring both devices are powered on and compatible.
- Set up a wireless connection by navigating the printer’s network settings and entering your Wi-Fi credentials via the setup wizard.
- Use the Canon PRINT Inkjet/SELPHY app on mobile devices to connect and print wirelessly on the same Wi-Fi network.
- Troubleshoot connection issues by verifying network settings, updating drivers, restarting devices, and using the Canon app’s tools.
Install Canon Printer Drivers and Software
Before you can start printing, you need to install the Canon printer drivers and software on your computer. Begin by visiting Canon’s official website to download the latest driver installation package tailored for your printer model.
Ensuring software compatibility with your operating system is vital, so double-check system requirements before downloading. Once downloaded, run the installer and follow on-screen prompts to complete the setup.
Verify system compatibility before downloading, then run the installer and follow prompts to complete setup.
This process installs essential drivers that allow your computer to communicate effectively with the printer. Skipping this step can result in connection failures or poor printing performance.
After installation, restart your computer to apply changes. Proper driver installation guarantees smooth functionality and enables advanced printer features, making your printing experience hassle-free and efficient.
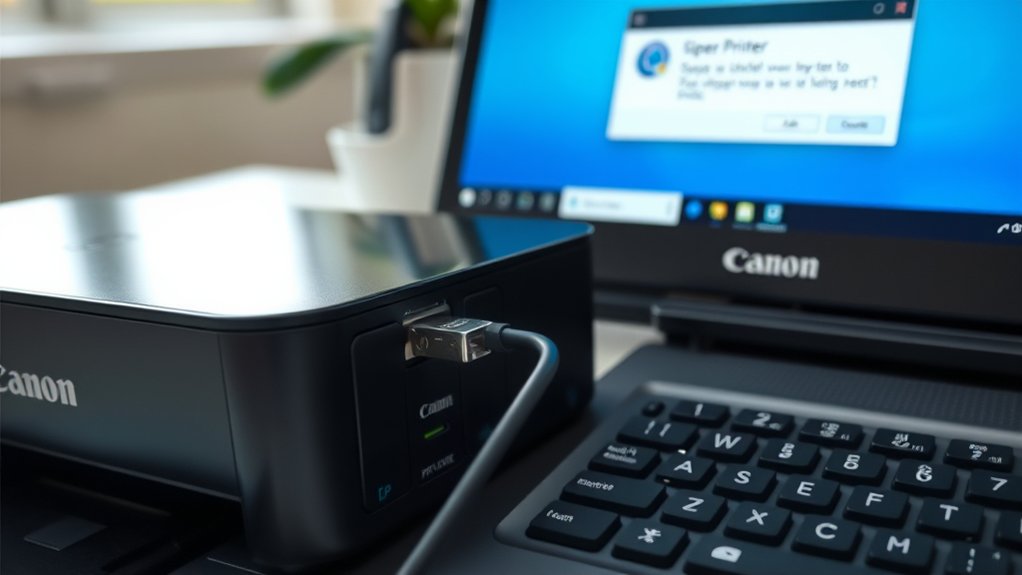
Connect Your Canon Printer via USB Cable
First, make sure your Canon printer is powered on and ready. Then, connect one end of the USB cable to your printer and the other to your computer.
Once connected, your system should recognize the printer and prepare for installation.
Preparing Your Printer
Connect your Canon printer to your computer using a USB cable to secure a stable and straightforward setup. Before connecting, verify your device compatibility by checking the printer’s specifications against your computer’s operating system.
Proper printer setup includes installing necessary drivers and confirming the USB port is functional.
| Step | Action | Tip |
|---|---|---|
| 1 | Verify device compatibility | Check OS and Canon model |
| 2 | Power on the printer | Confirm it’s fully charged or plugged in |
| 3 | Connect USB cable to printer | Use original or certified cable |
| 4 | Prepare your computer | Install latest drivers |
Following these steps prepares your printer for a successful USB connection without errors.
Establishing USB Connection
To establish a USB connection with your Canon printer, start by plugging the USB cable securely into both your printer and computer. Make certain you use the correct USB cable type; most Canon printers require a USB Type-B to Type-A cable.
Verify printer compatibility with your computer’s operating system to guarantee smooth communication. After connecting, power on your printer. Your computer should detect the device automatically and may prompt you to install necessary drivers.
If it doesn’t, visit Canon’s official website to download the latest drivers for your specific model. Once installed, your printer will be ready to use via the USB connection. This direct link offers reliable, fast printing without needing a network, making it ideal for straightforward, personal printing tasks.
Set Up a Wireless Connection for Your Canon Printer

Setting up a wireless connection for your Canon printer involves a few straightforward steps that let you print from any device on your network. First, turn on your printer and access the printer settings menu. Navigate to the wireless setup option, usually found under network settings.
Select the wireless setup wizard to scan for available Wi-Fi networks. Choose your network from the list and enter your Wi-Fi password when prompted. Once connected, the printer will confirm the successful connection.
To finalize, install the necessary drivers and software on your computer, selecting the wireless printer during installation. This wireless setup allows you to print effortlessly without cables, enhancing flexibility and convenience across your devices.
If needed, you can always revisit printer settings to update your connection or troubleshoot.
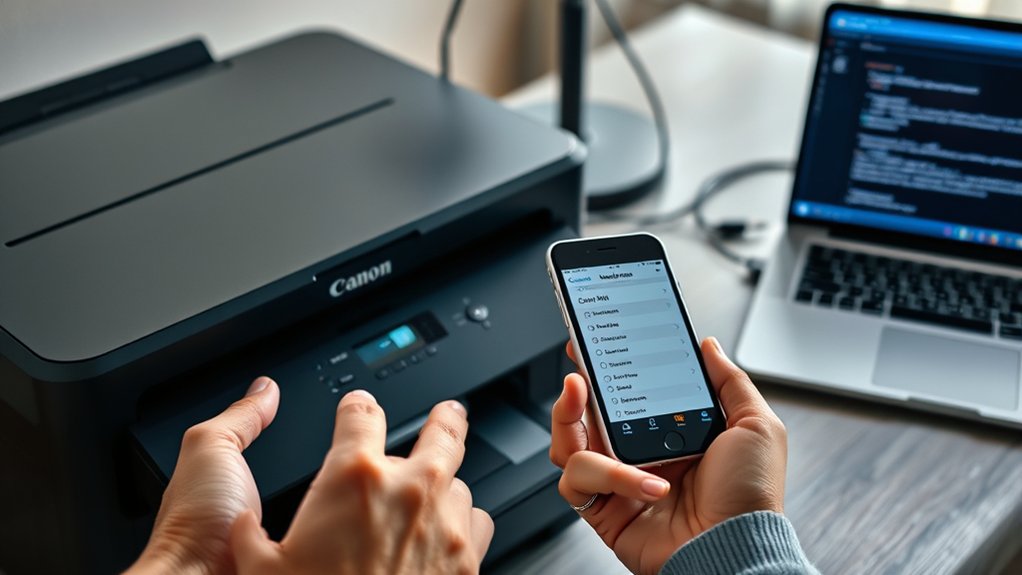
Connect Your Canon Printer to Mobile Devices
Once your Canon printer is linked to your Wi-Fi network, you can easily print directly from your mobile devices. First, download the Canon PRINT Inkjet/SELPHY mobile app from your device’s app store. Open the app and follow the prompts to detect and connect to your printer.
This app simplifies wireless printing, letting you print photos, documents, and more without needing a computer. Make certain your mobile device is connected to the same Wi-Fi network as your printer for seamless communication.
With the app installed, you can access advanced settings, scan, and manage print jobs remotely. This setup guarantees you enjoy the convenience of wireless printing anytime, anywhere, straight from your smartphone or tablet.
Troubleshoot Common Canon Printer Connection Issues
Connecting your Canon printer to mobile devices is convenient, but occasional connection hiccups can disrupt your printing experience. When you face issues, effective connection troubleshooting helps you get back on track quickly.
Start by verifying your device and printer are on the same printer network. Next, check these common problem areas:
Ensure your device and printer share the same network before troubleshooting common connection issues.
- Verify your Wi-Fi signal strength; weak signals often cause drops.
- Restart your printer and router to refresh network settings.
- Confirm the printer drivers and firmware are up to date.
If these steps don’t resolve the issue, use the Canon PRINT Inkjet/SELPHY app’s built-in troubleshooting tools. Staying proactive with connection troubleshooting guarantees smoother printing and less downtime, keeping your workflow efficient and hassle-free.
Simple Tips to Improve Canon Printer Performance
Although your Canon printer may work well initially, regular maintenance and smart usage can greatly boost its performance. Start by following essential printer maintenance tips, such as cleaning the print heads regularly to avoid clogs and ensuring you use genuine ink cartridges.
Keep the printer firmware updated to benefit from the latest features and bug fixes. Also, avoid overloading the paper tray to prevent jams.
For print quality enhancements, adjust the print settings to match your document type, and use high-quality paper suited for your printer model. Regularly calibrate your printer to maintain color accuracy and sharpness.
Frequently Asked Questions
How Do I Update My Canon Printer Firmware?
You’ll find firmware updates in your Canon printer settings. Connect your printer to the internet, access the settings menu, look for firmware updates, and follow the prompts to download and install the latest version easily and securely.
Can I Use Third-Party Ink Cartridges With My Canon Printer?
You can use third-party cartridges, but third-party compatibility varies by model. While ink quality may differ, some offer good results.
Be cautious, as using non-Canon ink might affect print performance or warranty coverage.
What Is the Warranty Period for Canon Printers?
Canon printers typically come with a one-year warranty. You should check specific warranty details for your model, as this coverage supports printer longevity by addressing defects and malfunctions during that period.
This warranty ensures reliable performance throughout its duration.
How Do I Print Double-Sided Documents on My Canon Printer?
Before the steam engine, double sided printing saves paper! You just open your printer settings, select double sided printing or duplex mode, then hit print.
Your Canon printer will handle the rest efficiently and neatly.
Is It Possible to Scan Documents Using My Canon Printer?
Yes, you can scan documents using your Canon printer. You’ll find multiple scanning options in the printer software, allowing you to adjust settings for ideal document quality.
This ensures your scans are clear and detailed every time.
Conclusion
Connecting your Canon printer doesn’t have to be tricky, even if you’re not tech-savvy. By installing the right drivers, choosing either USB or wireless setup, and following simple troubleshooting steps, you’ll have your printer ready in no time.
Don’t worry if it seems complicated at first—just take it step-by-step. With a little patience, you’ll enjoy smooth printing from your computer or mobile device without any hassle.
In conclusion, following these easy steps will ensure a successful connection to your Canon printer, making printing convenient and straightforward.