To connect your Brother printer to your computer, first verify it’s set up, powered on, and compatible with your system.
Download and install the latest printer drivers from Brother’s website, following the installation wizard prompts.
You can connect via USB by plugging the correct cable between printer and computer, or wirelessly by entering your Wi-Fi credentials through the printer’s network settings.
If issues arise, restart devices and check connections.
Keep going to explore detailed setup and troubleshooting tips.
Key Takeaways
- Ensure the Brother printer is powered on and properly set up with paper and ink or toner installed.
- Download and install the latest Brother printer drivers from the official website for your computer’s operating system.
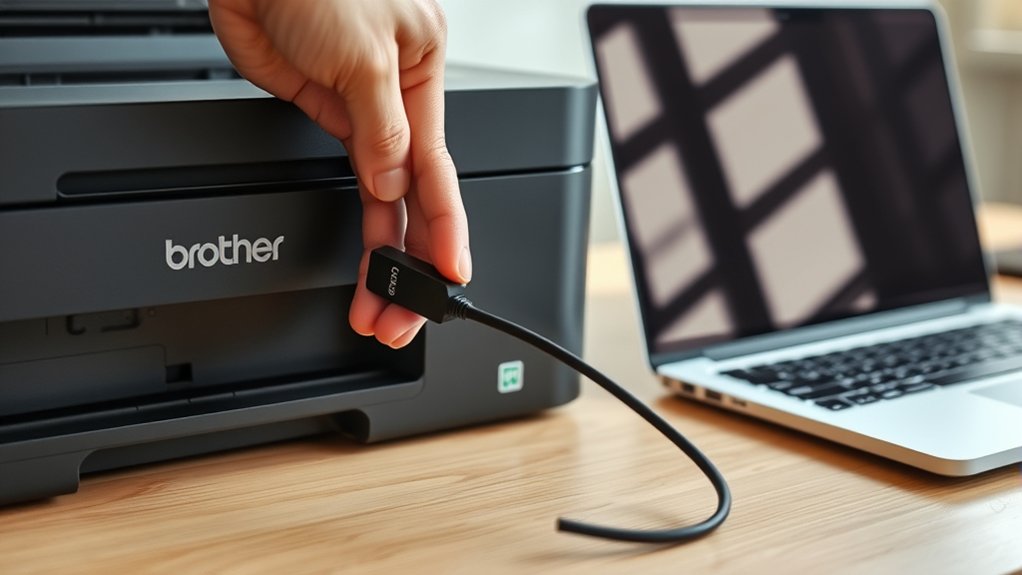
- For USB connection, use a USB Type-B to Type-A cable to connect the printer directly to your computer’s USB port.
- For wireless connection, access the printer’s control panel to enter your Wi-Fi credentials and connect the printer to your network.
- After installation, print a test page to confirm the printer is successfully connected and functioning with your computer.
Get Your Brother Printer Ready to Connect
Before connecting your Brother printer to your computer, make certain it’s properly set up and powered on. Begin by checking printer compatibility with your computer’s operating system to avoid connection issues. Refer to your printer’s manual or the Brother website to confirm compatibility.
Next, complete the initial setup process, including loading paper and installing ink or toner cartridges. Ascertain all cables are securely connected if you’re using a wired connection. For wireless models, verify that your printer is connected to the same Wi-Fi network as your computer.
Power on the printer and wait until it’s ready, indicated by a stable display or light. Following these steps guarantees your Brother printer is prepared for a smooth connection to your computer.
Install Brother Printer Drivers and Software
First, download the official drivers from Brother’s website to guarantee compatibility. Once downloaded, run the installation wizard and follow the on-screen instructions.
This will set up your printer software properly for seamless communication with your computer.
Download Official Drivers
While connecting your Brother printer to your computer might seem straightforward, downloading and installing the official drivers guarantees top performance and compatibility. These drivers guarantee smooth communication between your devices, preventing errors linked to driver compatibility.
To get started, visit Brother’s official support website, select your printer model, and download the appropriate driver for your operating system.
| Step | Description |
|---|---|
| 1. Visit Website | Go to Brother’s official support page |
| 2. Select Model | Choose your specific printer model |
| 3. Choose OS | Pick your computer’s operating system |
| 4. Download Driver | Click to download the correct driver |
| 5. Save File | Store the file in an easy-to-find location |
Following this guarantees a hassle-free installation process and superior printer function.
Run Installation Wizard
Launch the installation wizard you downloaded to begin setting up your Brother printer drivers and software. The installation process will guide you step-by-step through configuring your printer on your computer.
Follow the on-screen setup guide carefully, agreeing to any license terms and selecting your preferred connection type, USB or wireless. During the setup, the wizard may prompt you to connect your printer if you haven’t already.
Make sure your printer is powered on and ready. The installation process installs necessary drivers and software to guarantee smooth communication between your devices.
Once completed, the wizard will confirm the successful installation. After that, you can print a test page to verify everything works correctly.
Running the installation wizard simplifies setup and assures your Brother printer functions efficiently.
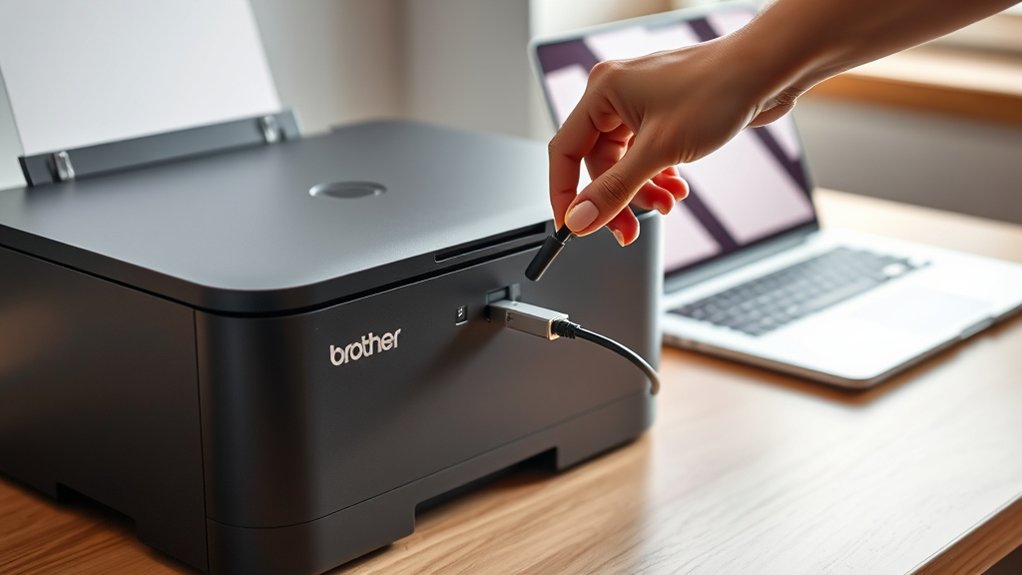
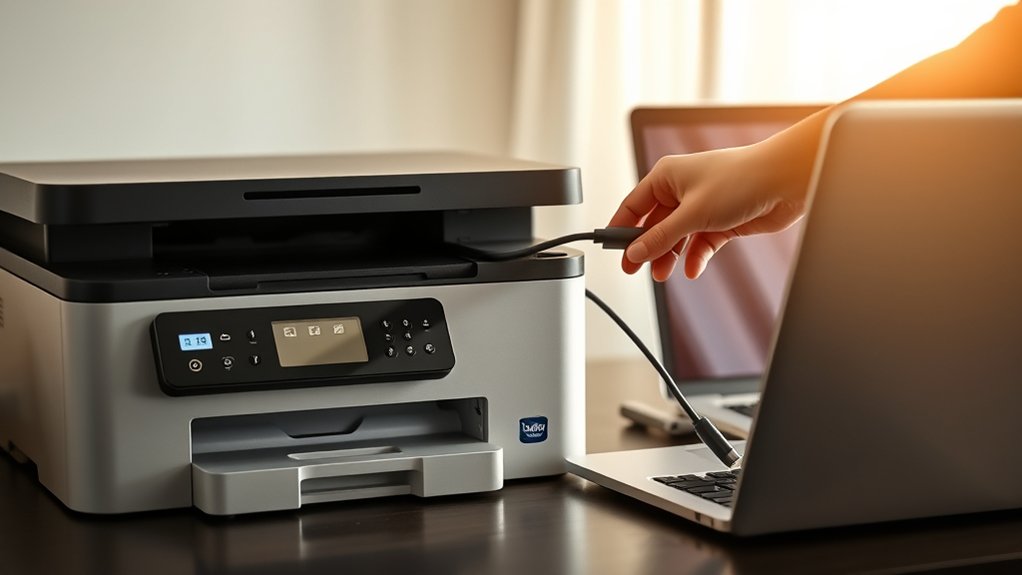
Connect Your Brother Printer via USB Cable
Connecting your Brother printer to your computer using a USB cable is one of the simplest and most reliable methods. USB connection methods guarantee a direct, stable link between your devices with minimal setup.
To connect via USB, follow these steps:
- Identify the correct printer cable type, usually a USB Type-B to Type-A cable.
- Plug the Type-B end into your Brother printer’s USB port.
- Connect the Type-A end to your computer’s USB port.
- Power on your printer and wait for your computer to recognize it.
This approach avoids network issues and provides consistent performance. Using the proper printer cable types assures smooth communication, making USB connection methods perfect for quick, hassle-free printing.
Connect Your Brother Printer to Wi-Fi Network
To connect your Brother printer to a Wi-Fi network, start by locating the printer’s network settings menu. From there, enter your Wi-Fi credentials carefully to guarantee a successful connection.
This setup lets your printer communicate wirelessly with your computer.
Locate Printer Network Settings
Finding your Brother printer’s network settings is essential for connecting it to your Wi-Fi. These settings allow your printer to communicate with your computer and other devices on the printer network. To locate them, follow these steps:
- Power on your Brother printer and access the control panel.
- Navigate to the “Settings” or “Menu” option using the arrow keys.
- Select “Network” or “Printer Network” settings from the menu.
- Choose “Wireless” or “WLAN” to view current network details.
Enter Wi-Fi Credentials
Once you have your printer’s network settings in hand, enter your Wi-Fi credentials to link the Brother printer to your wireless network. Access the printer’s control panel, navigate to the wireless setup wizard, and select your Wi-Fi network from the list.
When prompted, type your Wi-Fi password carefully, ensuring it matches exactly. Pay attention to Wi Fi security protocols; your printer supports WPA2, which offers strong protection. Confirm the password strength by using a mix of letters, numbers, and symbols to prevent unauthorized access.
After entering the credentials, your printer will attempt to connect. If it fails, double-check the password and try again. Successful connection means your Brother printer is now ready to print wirelessly from your computer or other devices.
Troubleshoot Brother Printer Connection Issues

Although Brother printers usually connect smoothly, connection issues can still arise. When you face printer troubleshooting challenges, don’t panic. Follow these steps to resolve common connectivity issues quickly:
Brother printers generally connect easily, but if issues arise, stay calm and follow simple troubleshooting steps.
- Restart your printer and computer to clear temporary glitches.
- Check all cables and wireless connections to verify they’re secure and active.
- Update your printer drivers by visiting Brother’s official website for the latest software.
- Disable any firewall or antivirus temporarily to see if they’re blocking the connection.
These steps often fix the root causes of connectivity issues. If problems persist, you can explore advanced settings or contact Brother support for assistance. Staying calm and methodical during printer troubleshooting helps you get back to printing without frustration.
Verify Your Brother Printer Connection
After addressing potential connection issues, you’ll want to confirm that your Brother printer is properly connected to your computer. Start by checking the printer status on your computer. Open the Control Panel or Settings, navigate to Devices and Printers, and look for your Brother printer.
Ascertain it shows as “Ready” or “Online.” If it’s offline, double-check the connection type you’re using. For USB connections, verify the cable is securely plugged in. For wireless or network setups, confirm your printer is connected to the correct Wi-Fi network.
You can print a network configuration page directly from the printer to review connection details. Verifying these steps helps guarantee your Brother printer communicates with your computer effectively, preventing future printing interruptions.
Frequently Asked Questions
Can I Connect My Brother Printer to Multiple Computers Simultaneously?
Yes, you can connect your Brother printer to multiple computers simultaneously using a network setup. Enable printer sharing on one computer or connect the printer to a router, allowing all devices on the network to print easily.
How Do I Update My Brother Printer Firmware?
Don’t worry. Updating your Brother printer’s firmware is simple. Just visit Brother’s official website, download the latest firmware update, and run the installer.
Regular firmware updates are essential for efficient printer maintenance and performance.
Is Brother Printer Compatible With Mac and Windows Both?
Yes, Brother printers generally support both Mac and Windows. You might face printer compatibility issues due to Mac and Windows differences, but installing the correct drivers from Brother’s site usually resolves these, ensuring smooth functionality on both systems.
Can I Print From My Smartphone Using Brother Printer?
You can easily release smartphone printing magic with your Brother printer. Just download the Brother app, connect both devices to Wi-Fi, and print documents or photos directly from your phone. Effortless and fast.
How Do I Reset My Brother Printer to Factory Settings?
You can reset your Brother printer to factory settings by accessing the menu, selecting “Initial Setup,” then “Reset,” and choosing “Factory Reset.”
Confirm your choice, and your printer reset will restore default settings quickly and easily.
Conclusion
Now that you’ve connected your Brother printer, you’re part of the 62% of people who prefer wireless printing for its convenience. Remember, keeping your drivers updated and verifying your connection guarantees smooth printing every time.
If issues arise, troubleshooting steps can quickly get you back on track. With these simple steps, you’ll enjoy hassle-free printing, whether you’re using a USB cable or Wi-Fi.
Stay connected and print with ease! Following these tips will ensure your Brother printer to computer connection works flawlessly.