To clean your 3D printer bed, start by heating it to the printing temperature to soften any filament residue.
Then, gently use a plastic scraper to remove debris without damaging the surface.
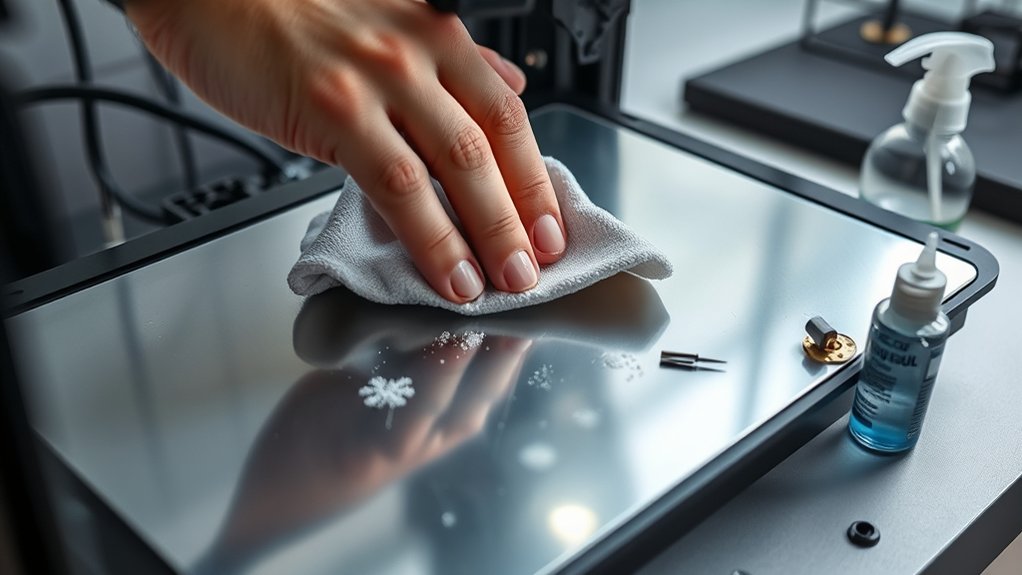
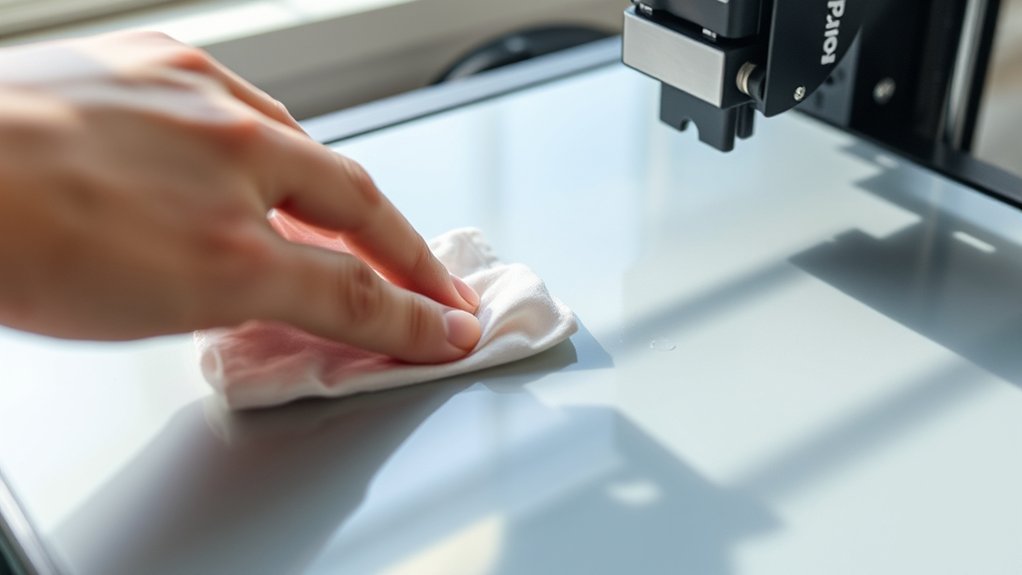
After the bed cools down, wipe it with isopropyl alcohol and a lint-free cloth to eliminate oils and any leftover residue.
For glass, PEI, or BuildTak beds, avoid harsh chemicals and abrasive tools to maintain proper adhesion.
Establish a regular cleaning routine based on your printing frequency to keep prints reliable and extend the bed’s longevity.
Next, learn precise methods for different bed types and residue removal to ensure optimal results.
Key Takeaways
- Heat the printer bed to soften filament residue, then gently scrape it off with a plastic scraper before cleaning with isopropyl alcohol.
- Use isopropyl alcohol and a lint-free cloth to clean glass, PEI, or BuildTak beds, avoiding harsh chemicals and abrasive tools.
- Clean the bed regularly, especially after 5-10 prints or when adhesion issues arise, to maintain optimal print quality and bed lifespan.
- For stubborn adhesive on glass beds, carefully apply acetone only on glass surfaces and test on a small area first.
- Inspect the bed for damage or warping after cleaning and recalibrate bed leveling to ensure proper adhesion and print accuracy.
How to Clean Your 3D Printer Bed: A Quick Guide
To clean your 3D printer bed effectively, start by heating it to the printing temperature to soften any residual filament. Once heated, use a plastic scraper to gently remove softened debris without damaging the surface.
Afterward, cool the bed and apply isopropyl alcohol with a lint-free cloth to remove oils and fine particles. Verify you avoid aggressive chemicals that might degrade the bed material.
Maintaining a clean bed directly impacts print adhesion, so regular cleaning is essential. After cleaning, perform precise bed leveling to guarantee the nozzle maintains the correct distance from the bed, optimizing adhesion for subsequent prints.
Following this methodical approach helps you maintain consistent print quality and prolongs the life of your 3D printer bed.
How to Clean Glass 3D Printer Beds Safely
To clean your glass 3D printer bed safely, start by gathering recommended materials like isopropyl alcohol, a soft cloth, and a plastic scraper. Follow a step-by-step process: remove debris gently, apply alcohol to dissolve residue, and wipe the surface thoroughly without scratching.
This method guarantees effective cleaning while preserving the bed’s integrity.
Recommended Cleaning Materials
Three essential cleaning materials guarantee safe and effective maintenance of glass 3D printer beds: isopropyl alcohol, microfiber cloths, and plastic scrapers. Isopropyl alcohol at 70% or higher concentration serves as the primary cleaning solution, efficiently dissolving oils, adhesives, and contaminants without damaging the glass surface.
Use microfiber cloths to apply the cleaning solutions and wipe the bed; their non-abrasive texture prevents scratches and guarantees thorough residue removal. Plastic scrapers act as recommended tools for gently removing stubborn filament residues or adhesive buildup without risking glass damage.
Avoid metal scrapers or harsh chemicals, as they compromise bed integrity. Selecting these recommended tools and cleaning solutions guarantees you maintain ideal print adhesion and prolong your glass bed’s lifespan with minimal risk.
Step-by-Step Cleaning Process
Maintaining a clean glass 3D printer bed starts with selecting the right materials, but executing the cleaning process methodically guarantees ideal results. Begin by powering off your printer and allowing the bed to cool completely to prevent damage.
Use isopropyl alcohol on a lint-free cloth to remove oils and residues; this surface preparation guarantees proper adhesion during printing. For stubborn debris, gently apply a plastic scraper to avoid scratching.
Avoid harsh chemicals or abrasive tools that compromise the glass integrity. After cleaning, wipe the bed with a dry cloth to eliminate moisture.
Finally, inspect the surface for any remaining contaminants. Adhering to these cleaning techniques regularly preserves bed flatness and print quality, providing a reliable foundation for every print job.
How to Clean PEI and BuildTak 3D Printer Beds
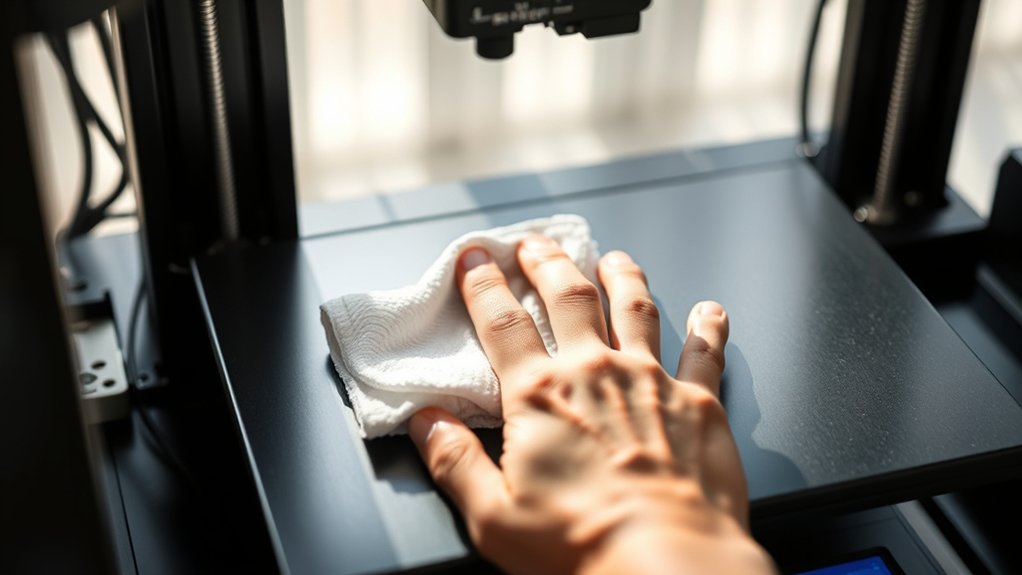
To clean your PEI or BuildTak bed effectively, gather isopropyl alcohol, a soft cloth, and a plastic scraper. Follow a systematic process: gently scrape off residue, wipe with alcohol to remove oils, and let it dry completely before printing.
Regular maintenance, like avoiding harsh chemicals and frequent cleaning, will extend your bed’s lifespan and guarantee consistent adhesion.
Cleaning Materials Needed
A selection of specific cleaning materials guarantees effective maintenance of PEI and BuildTak 3D printer beds. You’ll need isopropyl alcohol (70% or higher) for removing oils and residues without damaging bed materials.
Use lint-free microfiber cloths to avoid scratching surfaces during cleaning. For more stubborn contaminants, a plastic scraper helps carefully lift debris without harming the bed.
Avoid abrasive pads or harsh chemicals, as they degrade the bed’s adhesion properties. Additionally, distilled water can dilute cleaning solutions if necessary, ensuring no mineral deposits remain.
These materials, combined with proper cleaning techniques, maintain the integrity and performance of your PEI or BuildTak bed. Preparing these tools before you begin streamlines the cleaning process and protects your bed materials from unnecessary wear.
Step-by-Step Cleaning Process
Follow five clear steps to clean PEI and BuildTak 3D printer beds effectively. First, establish your cleaning frequency, ideally after every 5-10 prints, to maintain ideal adhesion.
Second, power off the printer and allow the bed to cool to room temperature. Third, moisten a lint-free cloth with isopropyl alcohol (70% or higher) and gently wipe the entire surface, guaranteeing thorough surface preparation by removing oils and residual filament.
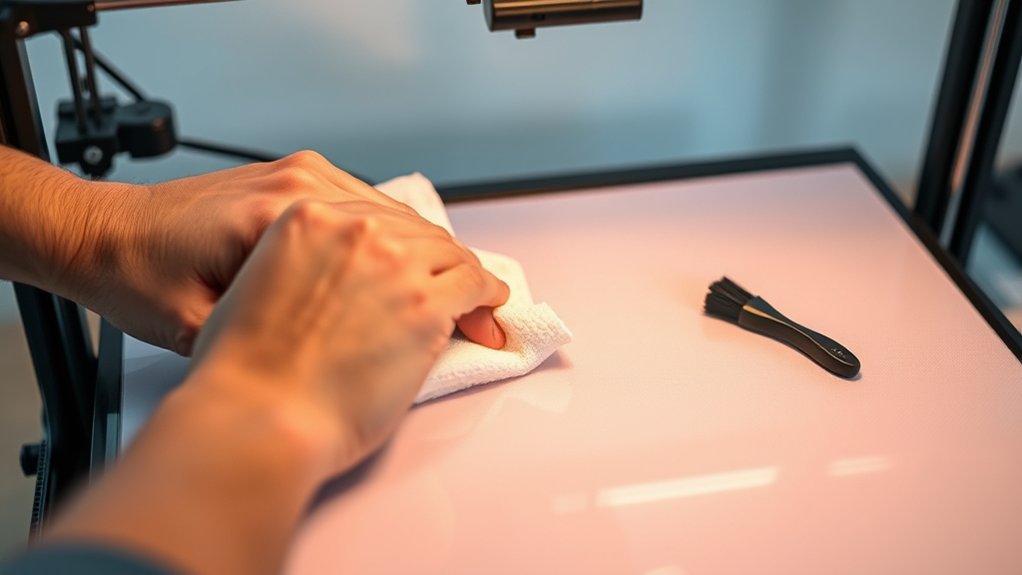
Fourth, for stubborn residue, apply a small amount of warm, soapy water with a soft sponge, then rinse with isopropyl alcohol. Finally, dry the bed completely with a clean, dry cloth before resuming printing.
Following this methodical process guarantees consistent print quality and prolongs the bed’s usability without damaging the PEI or BuildTak surfaces.
Maintenance Tips For Longevity
While regular cleaning is crucial, maintaining your PEI and BuildTak 3D printer beds requires specific practices to assure longevity and consistent adhesion. First, always perform precise bed leveling before each print to confirm uniform contact between the nozzle and bed surface, preventing damage and uneven wear.
Next, apply consistent surface preparation by wiping the bed with isopropyl alcohol to remove oils and residues, preserving ideal adhesion. Avoid using abrasive tools that can scratch or degrade the surface.
Additionally, inspect the bed regularly for micro scratches or delamination, addressing issues promptly to prevent print failures. Store your printer in a dust-free environment and avoid prolonged exposure to UV light, which can degrade PEI and BuildTak materials.
Following these maintenance steps will extend your bed’s lifespan and maintain print quality.
How to Remove Filament and Adhesive Residue Without Damage
Two effective solvents, isopropyl alcohol and acetone, can help you remove filament and adhesive residue without damaging your 3D printer bed. Begin by warming the bed slightly; this softens the filament, making filament removal techniques more efficient.
Apply isopropyl alcohol with a lint-free cloth to dissolve PLA or ABS remains gently. For stubborn adhesive residue, acetone works well on glass beds but avoid it on plastic surfaces to prevent damage.
Use a plastic scraper to lift softened material carefully, minimizing surface abrasion. Evaluate adhesive solvent options based on your bed type: avoid harsh chemicals on PEI or BuildTak sheets.
Always test solvents on a small area first. This methodical approach guarantees residue removal while preserving bed integrity, maintaining the best print adhesion and prolonging your printer bed’s lifespan.
How Often Should You Clean Your 3D Printer Bed?
Although the perfect cleaning frequency depends on your printing volume and material types, you should clean your 3D printer bed regularly to guarantee peak adhesion and surface quality. Frequency considerations hinge on how often you print and the materials used; for example, frequent ABS or PETG printing may require more frequent cleaning than PLA.
Establish cleaning routines based on visual inspection and print performance. Clean after every few prints or when you notice adhesion issues or residue buildup. Consistent cleaning routines prevent contamination that impairs print accuracy and surface finish.
Additionally, if you use adhesives or tapes, remove and replace them as needed to maintain an ideal printing surface. By methodically adapting your cleaning schedule to your specific usage, you ensure reliable print results and prolong your printer bed’s lifespan.
Tips to Maintain Bed Adhesion Through Proper Cleaning
Regular cleaning sets the foundation for ideal bed adhesion, but maintaining it requires specific techniques during the cleaning process. You’ll want to follow these steps to enhance adhesion techniques and guarantee consistent print quality:
- Use isopropyl alcohol to remove oils and residue without damaging the surface, preserving bed leveling accuracy.
- Avoid harsh abrasives that can create uneven surfaces, compromising bed leveling and adhesion.
- Clean immediately after prints cool to prevent residue buildup that reduces adhesion effectiveness.
- Inspect the bed for microscopic damage or warping that might require recalibrating bed leveling for peak contact.
Frequently Asked Questions
Can I Use Alcohol to Clean My 3D Printer Bed?
Yes, you can use alcohol to clean your 3D printer bed; its alcohol effectiveness removes oils and residues efficiently. Regular cleaning frequency, ideally before each print, guarantees maximum adhesion and consistent print quality over time.
What Cleaning Tools Are Safe for 3D Printer Beds?
You should use soft cloths, isopropyl alcohol, and plastic scrapers for safe cleaning. Follow safety precautions like wearing gloves and guarantee cleaning frequency matches print volume to maintain ideal adhesion without damaging the bed surface.
How Does Bed Temperature Affect Cleaning Effectiveness?
You’d think bed temperature could melt away surface residue instantly! In reality, warmer beds soften residue, enhancing cleaning efficiency and improving bed adhesion.
Cooler beds harden residue, making removal tougher and reducing cleaning effectiveness systematically.
Can Cleaning Affect Bed Leveling or Calibration?
Yes, cleaning can affect leveling accuracy. Residue removal improves bed adhesion, but improper cleaning may alter surface texture or leave debris, impacting bed calibration.
Always clean gently and re-level to maintain precise printing conditions.
Is It Necessary to Clean the Bed After Every Print?
You don’t have to clean the bed after every print, but regular bed maintenance improves print adhesion and prevents residue buildup.
Cleaning after several prints keeps consistent surface quality, ensuring reliable calibration and ideal print results.
Conclusion
Keeping your 3D printer bed clean is like tuning a finely crafted instrument—precision matters. By regularly removing filament residue and adhesive buildup, you guarantee every print starts on a flawless surface. This helps prevent warps and misalignments that can ruin your projects.
Treat your bed with care, using the right methods for glass, PEI, or BuildTak surfaces. Proper cleaning ensures you maintain ideal adhesion and excellent print quality.
Consistent maintenance transforms your printer bed into a reliable foundation for success. Remember, how to clean 3d printer bed effectively is key to achieving the best results every time.