To add a printer to your computer, first verify your device and printer are powered on and connected via USB or the same Wi-Fi network.
Installing the specific printer drivers from the manufacturer’s site or using your system’s automatic setup tool is essential for proper functionality.
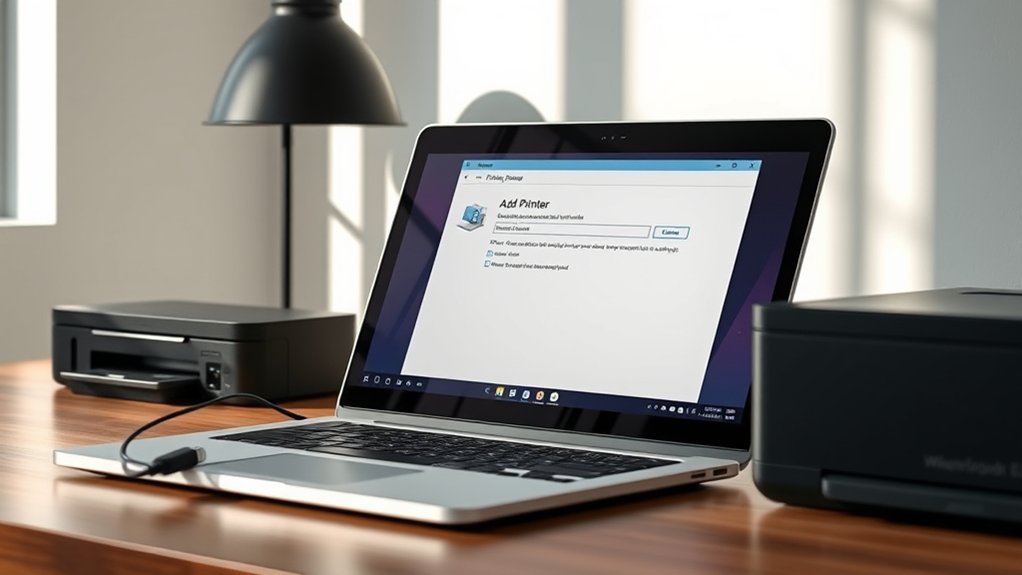
On Windows or Mac, open “Printers & Scanners,” then add your printer manually or let it detect your device automatically.
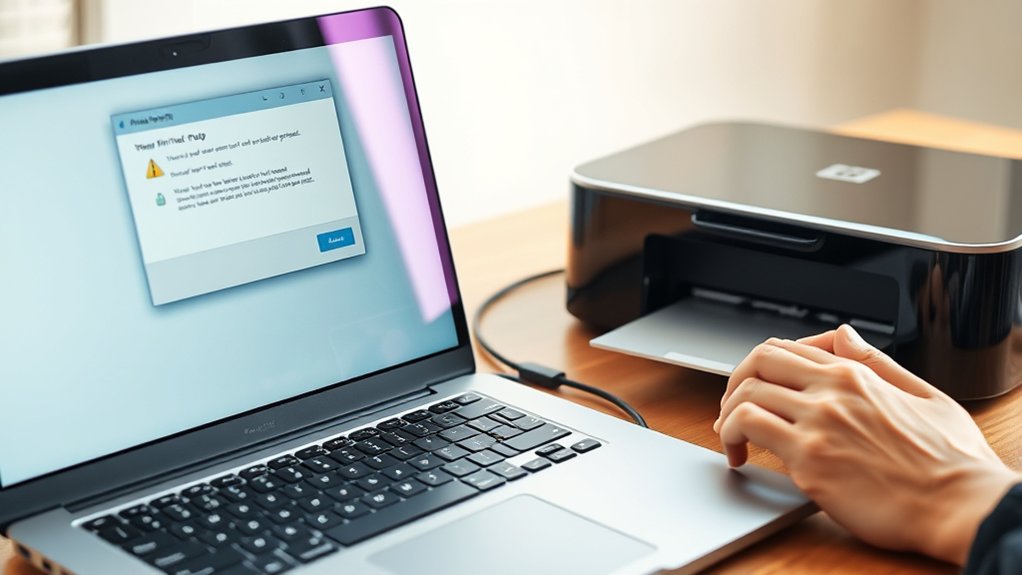
Confirm the connection by printing a test page to ensure everything is working correctly.
Keep following these steps to explore advanced setup and troubleshooting tips, which can help resolve common issues and optimize your printer’s performance.
Key Takeaways
- Connect the printer to your computer using USB or ensure both are on the same Wi-Fi network for wireless setup.
- Download and install the specific printer driver from the manufacturer’s website for optimal functionality.
- Use the computer’s “Printers & Scanners” settings to add a new printer and follow on-screen prompts for installation.
- Confirm the printer is recognized, set it as default if needed, and perform a test print to verify connection.
- Restart devices and disable firewall temporarily if the printer is not detected or connection issues occur.
Getting Your Computer Ready to Add a Printer
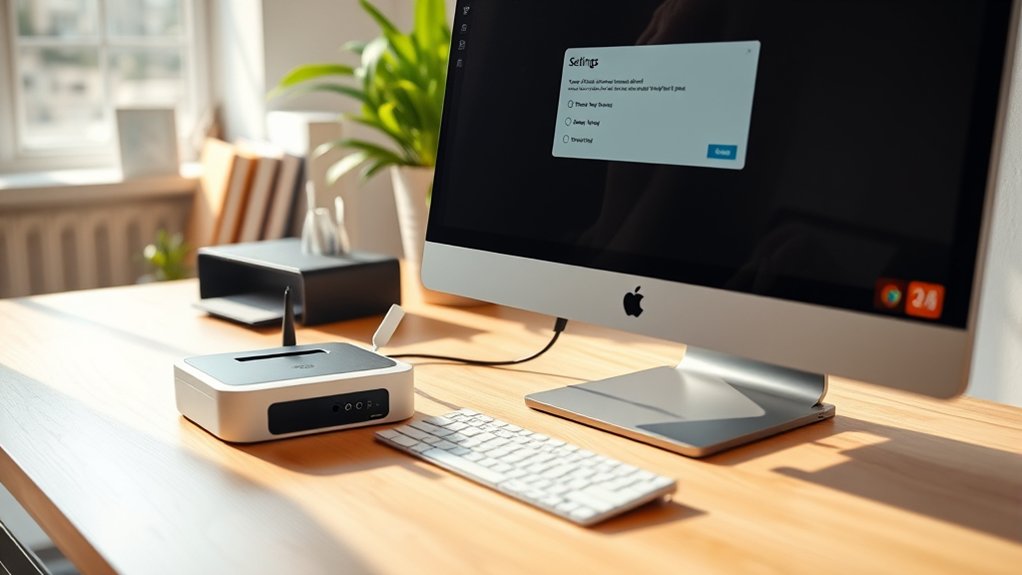
Before you add a printer, make certain your computer is updated and connected to the network or USB port. Start by checking for the latest system updates to guarantee compatibility with your printer.
Access your device preferences to verify that the system recognizes connected peripherals. Navigate to the printer settings to review any existing configurations that might interfere with new installations.
Check device preferences and printer settings for existing configurations before adding a new printer.
Disable any conflicting printer drivers temporarily to prevent setup errors. Confirm that your network connection is stable if you’re using a wireless printer, as this impacts detection and communication.
Confirming these steps are complete streamlines the printer addition process and avoids common connectivity issues. With your device preferences and printer settings properly adjusted, you’re ready to proceed to adding the printer without technical setbacks.
How to Connect a Printer via USB
First, verify your printer is compatible with your computer’s operating system. Then, securely connect the printer to your computer using a USB cable.
Finally, install the required printer drivers to enable communication between your devices.
Check Printer Compatibility
Although many printers support USB connections, you’ll need to verify that your computer’s operating system and USB ports are compatible with the printer model you plan to use. Start by reviewing the printer specifications for USB version and supported OS versions.
Conduct compatibility checks to avoid connection issues.
| Component | Compatibility Detail |
|---|---|
| USB Port | USB 2.0 or higher required |
| Operating System | Windows 10/11, macOS 10.15+ |
| Printer Drivers | Available for your OS |
| Printer Model | Supports USB connection |
Confirm your system meets these criteria before proceeding. If your computer lacks the required USB version or driver support, the printer won’t function properly despite a physical connection. Always prioritize compatibility checks in your setup process.
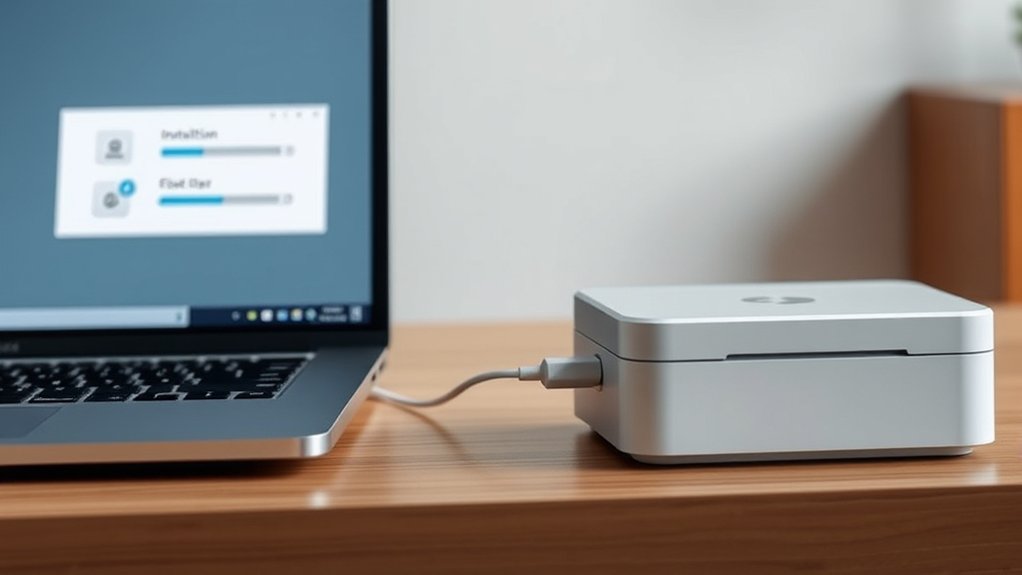
Connect USB Cable Properly
With compatibility confirmed, you can move on to connecting the USB cable correctly. First, identify the USB port on both your printer and computer. Verify the USB cable matches the printer’s port type—usually a USB Type-B on the printer end and Type-A on the computer end.
Hold the cable firmly and align the connector properly; forcing it can damage ports. Insert the USB Type-B connector into the printer’s port until it fits snugly. Next, plug the USB Type-A connector into an available USB port on your computer.
Confirm the connection’s stability by gently tugging the cable. There should be no looseness. This proper connection establishes a reliable data link, enabling your computer to communicate with the printer effectively. Avoid using damaged cables to prevent connection issues.
Install Necessary Printer Drivers
Two key steps assure your printer works correctly after connecting it via USB: installing the necessary drivers and verifying their functionality. First, confirm printer compatibility with your operating system.
Visit the manufacturer’s website to download the latest driver updates specific to your printer model. Avoid generic drivers, as they may cause functionality issues.
Once downloaded, run the installer and follow on-screen prompts to complete installation. After installation, access your computer’s printer settings to confirm the printer is recognized and set as default if desired.
Perform a test print to verify the driver works correctly. Regularly check for driver updates to maintain compatibility and peak performance.
Proper driver installation is essential for smooth communication between your printer and computer, preventing errors and enhancing print quality.
How to Set Up a Wireless Printer
Setting up a wireless printer involves connecting the device to your Wi-Fi network and configuring your computer to recognize it. Begin by powering on the printer and accessing its control panel to initiate wireless setup.
Use the built-in menu to select your Wi-Fi network and enter the password accurately. Once connected, confirm the printer displays a successful network connection.
Select your Wi-Fi network via the printer’s menu and enter the password carefully to establish a successful connection.
Next, on your computer, open the “Printers & Scanners” settings, and choose to add a new printer. Your system should detect the wireless printer automatically.
Select it and follow on-screen prompts to complete printer configuration. Verify both devices remain on the same network to maintain communication.
This method enables seamless wireless printing without physical cables, streamlining your workflow efficiently.
How to Install Printer Drivers on Windows and Mac
First, download the correct printer drivers from the manufacturer’s website to guarantee compatibility with your system.
On Windows, run the installer and follow the prompts to complete the setup. For Mac, open the downloaded file and allow the system to install the drivers automatically.
Downloading Printer Drivers
Printer drivers serve as the essential link between your computer and the printer, enabling smooth communication and functionality. When downloading printer drivers, identify the correct printer driver types, such as universal, manufacturer-specific, or basic drivers. Choose the appropriate downloading method to guarantee compatibility.
| Printer Driver Type | Description | Downloading Method |
|---|---|---|
| Universal | Supports multiple printers | Manufacturer’s website |
| Manufacturer-specific | Tailored for exact model | Printer setup CD/DVD |
| Basic | Minimal features | OS automatic update |
Always download drivers from official sources to avoid malware. Check your operating system version before downloading. Once acquired, you’re ready to proceed with driver installation on Windows or Mac.
Installing Drivers on Systems
Once you’ve downloaded the correct drivers, you can install them on your Windows or Mac system by following a few straightforward steps tailored to each operating system. On Windows, run the executable file and follow the installation wizard, selecting the appropriate printer driver types, such as USB, network, or wireless drivers.
For Mac, open the .dmg file, double-click the installer package, and complete the prompts. After installation, connect your printer and verify functionality through the system’s printer settings.
If you encounter issues, troubleshoot installation by checking compatibility, restarting your device, or reinstalling drivers. Confirming you have the latest driver versions and matching them to your printer model minimizes installation errors and maximizes performance. This process guarantees your printer integrates seamlessly with your computer.
Adding a Network Printer on Windows and Mac
Adding a network printer to your Windows or Mac device involves connecting to a shared printer over your local network. This enables multiple users to print without physical connections.
First, verify your device’s network settings are configured correctly. Then, use printer detection tools: Windows’ “Add a printer” wizard or Mac’s “Printers & Scanners” to locate available printers. Select the desired network printer and install its drivers if prompted.
| Step | Windows | Mac |
|---|---|---|
| 1. Network Settings | Verify Wi-Fi or Ethernet active | Confirm network connection |
| 2. Printer Detection | Control Panel > Devices & Printers | System Preferences > Printers |
| 3. Add Printer | Click “Add a printer” | Click “+” to add a printer |
| 4. Install Drivers | Automatic or manual install | Auto-detected or manual install |
Troubleshooting Printer Connection Issues
Connecting to a network printer usually goes smoothly, but occasional issues can disrupt your workflow. If your printer is not detected, start by verifying the printer’s power and network connection. Ascertain your computer and printer are on the same network.
Use the built-in troubleshooter on Windows or the Print & Scan diagnostic tool on Mac. Check that the correct printer drivers are installed and updated. Disable any firewall or antivirus temporarily to rule out connectivity blocks.
Restart your router, printer, and computer to refresh network settings. If the printer remains undetected, manually add it using its IP address. These troubleshooting tips address common causes of connection failures and help restore printer functionality efficiently.
If problems persist, consult the printer’s user manual or manufacturer support.
How to Manage Multiple Printers on Your Computer
While managing a single printer is straightforward, handling multiple printers on your computer requires organized configuration. To optimize printer management strategies and guarantee efficient printer access control, follow these steps:
Assign clear, distinguishable names to each printer for easy identification. Set default printers based on your frequent tasks or locations. Use the operating system’s printer queue to monitor and prioritize print jobs.
Configure user permissions to restrict or grant printer access control. Regularly update printer drivers to maintain compatibility and performance.
Frequently Asked Questions
Can I Print From My Smartphone Without Adding the Printer to My Computer?
Yes, you can print from your smartphone using mobile printing. Just connect both devices via wireless connections like Wi-Fi Direct or Bluetooth, then select your printer in the app without adding it to your computer.
How Do I Recycle or Dispose of Old Printer Cartridges?
Why let printer cartridges harm the environment? You can participate in printer recycling by returning cartridges to manufacturers or local e-waste centers.
Proper cartridge disposal prevents pollution and conserves resources. Always follow local guidelines for safe handling and drop-off.
What Are the Differences Between Inkjet and Laser Printers?
Inkjet printers offer inkjet advantages like superior color accuracy and better photo printing. Laser printers provide laser speed for high-volume, fast printing.
Choose inkjet for detailed images; select laser for efficiency and sharp text output.
How Do I Print Double-Sided Documents Automatically?
You can enable double-sided printing by accessing your printer settings. Select “Print,” then “Preferences” or “Properties,” and choose “Duplex” or “Double-sided printing.”
Confirm the settings to automatically print on both sides.
Can I Share a Printer With Multiple Users Remotely?
Absolutely, you can enable printer sharing for remote access. By configuring your printer’s network settings and permissions, you’ll allow multiple users to connect remotely.
This setup streamlines printing tasks across devices without physical connections or hassle.
Conclusion
Now that you’ve prepared your computer and connected your printer—whether by USB, wirelessly, or over a network—you’re ready to install drivers and start printing. It’s no coincidence that following these steps in order prevents most connection issues. By managing your printers efficiently, you’ll save time and avoid frustration.
Remember, a well-set printer isn’t just hardware connected; it’s a seamless extension of your workflow, ready whenever you need it. Properly learning how to add printer to computer ensures smooth operation and maximizes productivity.