You should remove the film from your resin 3D printer bed once you notice scratches, cloudiness, or adhesion issues that affect your print quality.
The protective film is important initially but can wear down over time, causing curing problems and poor resin bonding.
Carefully peel off the film using non-metal tools to avoid damaging the bed surface.
After removal, clean the bed thoroughly with isopropyl alcohol and dry it completely before re-leveling.
Proper maintenance and preparation of your resin 3D printer bed will help you achieve consistent, high-quality prints every time.
Key Takeaways
- Remove the resin printer bed film when it shows wear like scratches, cloudiness, or adhesion problems to ensure print quality.
- The film protects the bed from resin bonding, scratches, and chemical damage, extending the bed’s lifespan and maintaining flatness.
- Not removing worn film can cause curing issues, print adhesion failures, and surface damage, leading to unsuccessful prints.
- Use gentle tools like plastic scrapers and isopropyl alcohol to carefully remove the film without damaging the bed surface.
- After removal, clean with isopropyl alcohol, lightly sand, re-level the bed, and apply adhesion promoter if needed before printing.
When to Remove the Film From Your Resin Printer Bed

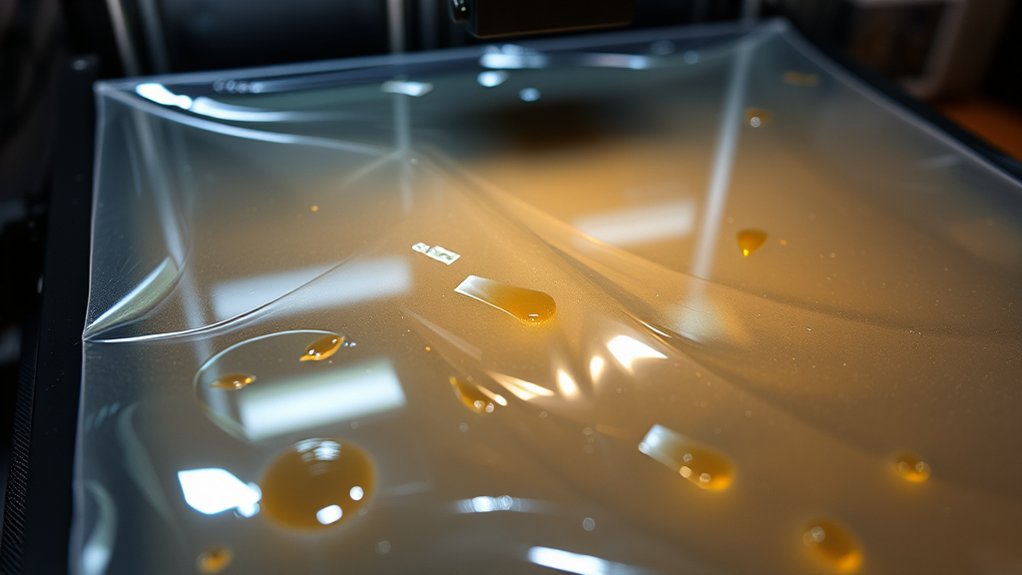
Although the protective film on your resin 3D printer bed is designed to endure multiple prints, you should remove and replace it once you notice signs of wear, such as scratches, cloudiness, or adhesion issues. Proper removal timing is essential to maintaining print quality and preventing damage to the bed surface.
Film longevity varies depending on resin type, print frequency, and curing conditions, but typically ranges between several weeks to a few months. Monitor the film regularly for visual defects and print failures indicating compromised adhesion.
When these symptoms appear, carefully peel off the old film, clean the bed thoroughly, and apply a new protective layer. Adhering to precise removal timing optimizes film longevity and guarantees consistent, reliable resin printing results without compromising the printer bed’s integrity.
Why Is There a Protective Film on Resin Printer Beds?
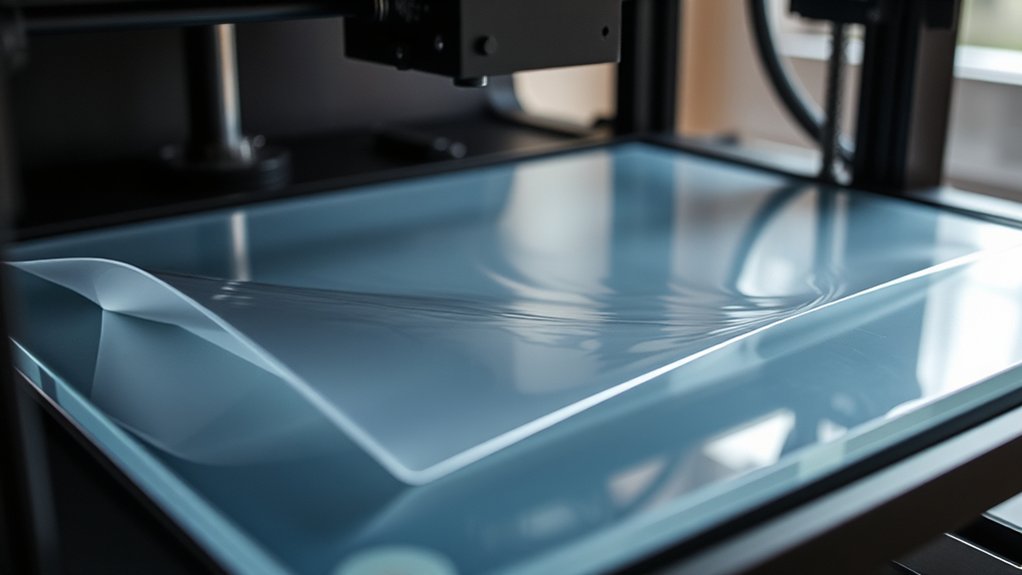
Because resin printing involves strong adhesives and chemical exposure, the protective film on your printer bed acts as an essential barrier that prevents direct contact between the resin and the metal surface. This film provides significant protective benefits by enhancing surface durability and minimizing corrosion or damage.
It also facilitates easier cleaning and prolongs the bed’s lifespan.
| Protective Benefits | Surface Durability | Maintenance Impact |
|---|---|---|
| Prevents resin bonding | Shields from scratches | Simplifies resin removal |
| Resists chemical wear | Maintains flatness | Reduces cleaning effort |
| Extends bed life | Protects metal integrity | Decreases replacement frequency |
What Happens If You Don’t Remove the Film?
If you don’t remove the protective film from the resin printer bed, you’ll likely encounter curing issues that affect print quality. Adhesion problems can arise because the film alters the bed’s surface characteristics, preventing proper resin bonding.
Additionally, leaving the film on may cause damage to the bed surface over time, reducing its durability and performance.
Resin Curing Issues
When you leave the film on the resin 3D printer bed, it interferes with the curing process by blocking UV light from properly reaching the resin. This obstruction disrupts resin curing, leading to incomplete polymerization.
As a result, the print quality suffers, manifesting in tacky surfaces, weak structural integrity, and potential deformation. The film’s presence alters light intensity and distribution, causing uneven curing layers.
Over time, these inconsistencies accumulate, producing prints that may fail post-processing or exhibit dimensional inaccuracies. To maintain ideal resin curing and guarantee consistent print quality, removing the film is essential.
It allows unobstructed UV exposure, enabling precise layer solidification and predictable mechanical properties. Consequently, neglecting film removal compromises the fundamental chemical reaction that defines successful resin 3D printing outcomes.
Print Adhesion Problems
Neglecting to remove the film from the resin 3D printer bed not only impairs curing but also directly impacts print adhesion. The film alters the print surface characteristics, disrupting established adhesion techniques and leading to print failures.
When the film remains, you’ll likely encounter:
- Reduced resin contact with the print surface, weakening bond strength
- Uneven surface texture that compromises layer consistency
- Increased risk of print detachment during peeling or layer separation
- Variability in adhesion forces requiring frequent calibration adjustments
To maintain ideal adhesion, verify the print surface is clean and film-free before each print. Doing so preserves consistent resin interaction and reliable mechanical grip, critical for successful layer-by-layer curing and overall print integrity.
Bed Surface Damage
Although leaving the protective film on the resin 3D printer bed might seem harmless, it can cause significant surface damage over time. The film’s durability degrades with repeated exposure to UV light and resin chemicals, leading to microabrasions and uneven wear patterns.
If you don’t remove the film promptly after printing, these imperfections transfer to the bed’s surface, compromising its flatness and smoothness. This deterioration hinders proper print adhesion and increases the risk of print failures.
Regular surface maintenance requires removing the protective film to inspect and clean the bed accurately. Neglecting this step results in accumulated residue and scratches, reducing the bed’s lifespan.
To preserve peak performance, you should replace or remove the film as recommended, ensuring the resin 3D printer bed remains in peak condition.
How to Remove the Film Without Damaging the Bed
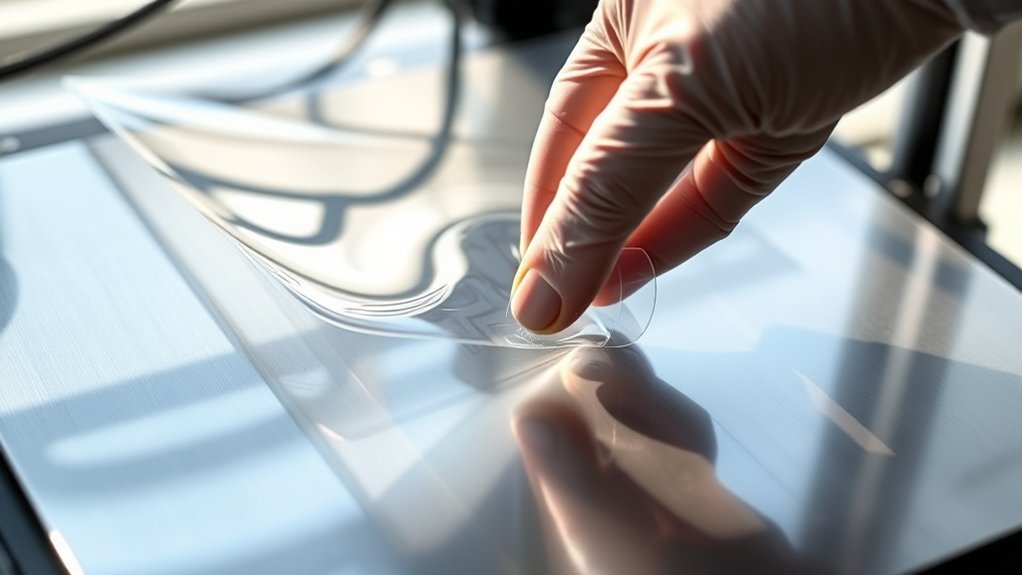
Start by carefully evaluating how firmly the film adheres to the resin bed to determine the best removal approach. Use gentle tools like plastic scrapers or soft brushes to lift the film without scratching the surface.
After removal, thoroughly clean the bed to eliminate any residue that could affect print quality.
Assess Film Adhesion Level
Before removing the film, you need to carefully assess how strongly it adheres to the resin 3D printer bed. Different film types exhibit varying adhesion characteristics, so identifying the film material is vital. Conducting adhesion tests will help determine the force required for removal and prevent bed damage.
Follow these steps:
Inspect the film type (e.g., FEP, PDMS) to understand its typical adhesion properties. Perform a small peel test at a corner to gauge resistance without stressing the entire surface. Note any areas with irregular adhesion or lifting, indicating potential weak spots. Measure the adhesion force, if possible, using a standardized testing method or gentle manual pressure.
This methodical assessment informs your removal strategy, minimizing risk to the resin 3D printer bed.
Use Gentle Removal Tools
After evaluating the film’s adhesion level, you can select appropriate tools that minimize stress on the resin 3D printer bed during removal. Begin with gentle scraping instruments like plastic spatulas or nylon scrapers, which reduce the risk of scratching the bed surface.
Avoid metal tools unless absolutely necessary, as they can damage sensitive coatings. Consider the film types present. Some may be more brittle or flexible, requiring different removal techniques.
For flexible films, gently peeling with a consistent angle helps prevent tearing or residue buildup. If the film adheres strongly, apply slow, controlled force rather than quick, harsh movements to avoid delamination of the bed.
Always maintain steady pressure and inspect the bed as you proceed to guarantee no unintended surface damage occurs during removal.
Clean Bed After Removal
Three essential steps help you clean the resin 3D printer bed effectively after film removal. Proper bed maintenance guarantees longevity and print quality. First, identify the film types used on your bed to select the appropriate cleaning method.
Next, use a soft, lint-free cloth dampened with isopropyl alcohol to gently wipe away residual resin without scratching the surface. Finally, inspect the bed for any remaining film fragments or resin spots and repeat cleaning if necessary.
Confirm film compatibility before removal to prevent damage
Use isopropyl alcohol for effective resin residue dissolution
Avoid abrasive tools that compromise bed surface integrity
Dry the bed completely before the next print to guarantee adhesion
Following this methodical approach keeps your resin 3D printer bed pristine and functional.
How to Clean and Prepare the Bed After Removing the Film
Start by thoroughly inspecting the resin printer bed for any residual adhesive or debris left from the removed film. Use precise cleaning techniques such as isopropyl alcohol wipes or a soft cloth to remove stubborn residues. Avoid abrasive tools to prevent surface damage.
After cleaning, verify the bed is completely dry before proceeding. Proper surface maintenance preserves print quality and bed longevity.
| Step | Tool/Material | Purpose |
|---|---|---|
| 1. Inspection | Visual inspection | Identify residue and debris |
| 2. Cleaning | Isopropyl alcohol | Remove adhesive residues |
| 3. Drying | Lint-free cloth | Eliminate moisture |
| 4. Final Check | Visual inspection | Confirm surface readiness |
Following this methodical process guarantees superior bed preparation for your next print.
Tips to Keep Your Resin Prints Sticking Properly After Film Removal
When you remove the protective film from your resin printer bed, ensuring consistent adhesion requires recalibrating your approach to surface preparation. Without the film, the bed’s texture and chemical properties change, affecting resin adhesion and print quality.
To maintain ideal sticking, you should:
- Thoroughly clean the bed with isopropyl alcohol to remove any residues that impair adhesion.
- Lightly sand the surface with fine-grit sandpaper to restore micro-texture for better resin grip.
- Re-level the bed to compensate for any slight thickness variations after film removal.
- Apply a thin, even layer of resin primer or adhesion promoter designed for resin 3D printing.
Frequently Asked Questions
Can I Reuse the Protective Film After Removing It?
You can’t reliably reuse the protective film after removal due to contamination and damage. For proper protective film maintenance, follow film replacement techniques by applying a fresh film.
This guarantees print quality and helps avoid resin adhesion issues.
Does the Film Affect Print Resolution or Quality?
You’ll find that 78% of print clarity depends on ideal film maintenance. Properly maintained film guarantees consistent light transmission, directly impacting resolution and quality.
Neglecting this reduces precision, so keep your film clean and intact for best results.
Are There Different Types of Films for Various Resin Printers?
Yes, different film types exist, each designed for specific printer compatibility. You’ll want to select films based on your resin printer model to guarantee ideal adhesion, durability, and print quality. This helps avoid compatibility issues or print failures.
How Long Does the Protective Film Typically Last?
Protective film lifespan usually spans 3-6 months, depending on resin type and print frequency. You should perform regular maintenance, like cleaning and inspecting for damage, to guarantee peak performance and extend the film’s durability effectively.
Can Damaged Film Cause Resin Printing Errors?
Yes, damaged film can cause resin printing errors. You’ll compromise resin adhesion and risk print failures.
Proper film maintenance guarantees consistent surface integrity, preventing defects and maintaining reliable print quality throughout your resin 3D printing process.
Conclusion
Now that you know when and how to remove the protective film from your resin printer bed, you’re ready to keep your prints sticking like glue. Don’t let the film become a thorn in your side—removing it carefully and cleaning the bed thoroughly guarantees ideal adhesion and print quality.
Follow these steps methodically, and you’ll avoid common pitfalls. This approach helps maintain your printer’s performance and extends its lifespan with precision.
In conclusion, knowing when and how to take film off of resin 3D printer bed is essential for achieving the best print results. Proper removal ensures your prints adhere properly and keeps your printer in top condition.