To work a heat press effectively, first place the machine on a stable surface and power it on.
Adjust the temperature, pressure, and time settings according to your fabric and transfer type—cotton requires higher temperatures, while synthetics need lower ones.
Next, position your clean, wrinkle-free material and design correctly on the platen.
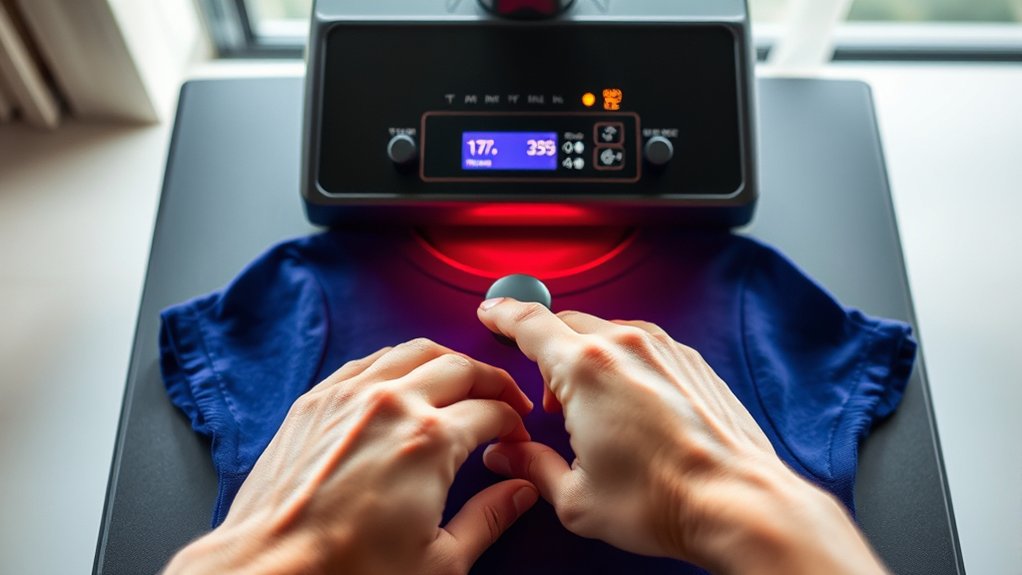
Always wear heat-resistant gloves to protect your hands and avoid direct contact with hot surfaces.
Press firmly for the recommended time, then peel the transfer at the appropriate moment, whether hot or cold.
Mastering these basics sets the stage for flawless transfers and prolongs the life of your equipment.
Key Takeaways
- Set up the heat press on a stable, heat-resistant surface near a power source with proper ventilation and clearance.
- Prepare your design and fabric, ensuring compatibility and proper alignment for optimal heat transfer results.
- Adjust temperature, pressure, and time settings according to the material and transfer type following manufacturer guidelines.
- Wear heat-resistant gloves, preheat the machine, and apply consistent pressure while timing the pressing duration accurately.
- Allow proper peel timing (hot or cold) based on instructions, and maintain the heat press regularly for best performance.
How to Set Up Your Heat Press

To set up your heat press correctly, start by placing it on a stable, heat-resistant surface near a power outlet. Guarantee there’s enough clearance around the machine for safe operation and airflow.
Organize your workspace by arranging essential tools, such as heat-resistant gloves and a timer, within easy reach to streamline your process. When choosing materials, verify compatibility with your heat press’s temperature and pressure settings to avoid damage.
Keep tools like heat-resistant gloves and a timer handy, and ensure material compatibility with your heat press settings.
Check that your heat platen is clean and free of debris to guarantee even heat distribution. Plug in the machine and power it on, then adjust the temperature and pressure controls according to your specific material requirements.
Proper setup minimizes errors and enhances transfer quality, so take your time to confirm each step before proceeding.
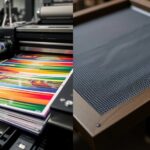
Preparing Your Design Files and Materials for Heat Transfer
Once your heat press is properly set up and calibrated, focus on preparing your design files and materials to guarantee ideal transfer results. Confirm your design file formats support high-resolution output, such as PNG, SVG, or EPS, to maintain crisp edges.
Verify material compatibility; for example, cotton works well with heat transfer vinyl (HTV), while polyester suits sublimation transfers.
| Design Aspect | Recommendation |
|---|---|
| File Formats | PNG, SVG, EPS |
| Resolution | Minimum 300 DPI |
| Material Compatibility | Cotton, polyester, blends |
| Pre-Press Preparation | Clean, wrinkle-free fabric |
Proper alignment and cleaning of materials prevent defects, assuring durable and vibrant transfers.
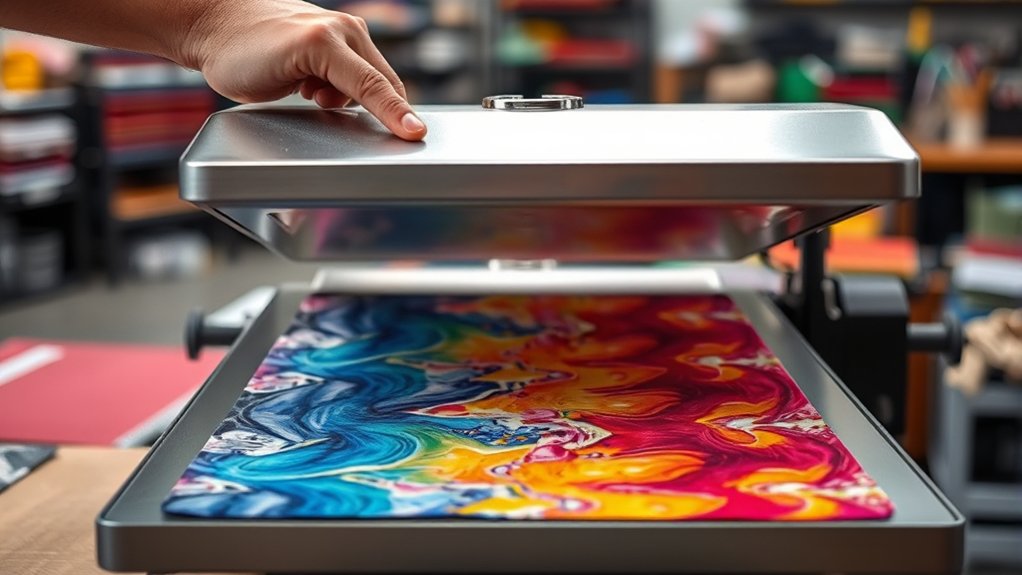
Choosing the Right Temperature, Pressure, and Time Settings
You’ll need to set your heat press to the ideal temperature based on your material and transfer type to guarantee proper adhesion. Adjust the pressure carefully, as too much or too little can affect the final result.
Finally, follow the recommended time durations precisely to prevent under- or over-processing your design.
Optimal Temperature Guidelines
Although selecting the correct temperature is critical, you must also balance pressure and time to achieve exemplary results with your heat press. Start by identifying the ideal fabric compatibility; natural fibers like cotton typically require temperatures between 350°F and 375°F, while synthetic fabrics need lower ranges to prevent damage.
Next, consider your transfer material selection. Vinyl, sublimation, or plastisol each demands specific temperature settings to guarantee proper adhesion without scorching. Use manufacturer guidelines as your baseline and adjust within a 5-10°F range if results are inconsistent.
Maintain consistent temperature throughout the platen to avoid uneven transfers. Remember, precise temperature control directly impacts durability and vibrancy of your design, so calibrate your heat press regularly and verify temperature accuracy with an infrared thermometer before each session.
Adjusting Pressure Levels
Three key factors, temperature, pressure, and time, work together to guarantee a successful heat press transfer. For pressure adjustment, start by consulting your heat press manual to identify the recommended pressure range for your material.
Perform pressure calibration regularly to ascertain consistent application; this involves using a pressure test strip or gauge to measure force accurately. Adjust the pressure knob or lever on your machine incrementally, applying just enough force to guarantee the transfer material bonds without damaging the substrate.
Keep in mind that thicker materials require higher pressure, while delicate fabrics need less. Avoid over-tightening, which can cause distortion or incomplete transfers.
Recommended Time Durations
After setting the correct pressure, focus on selecting the appropriate time duration to guarantee excellent transfer quality. Each recommended material requires specific timing to avoid under- or over-pressing, which affects durability and appearance. Follow these pressing techniques for best results:
- Cotton and polyester blends typically need 15-20 seconds at medium pressure.
- Heat transfer vinyl (HTV) demands 10-15 seconds with firm pressure.
- Sublimation on polyester requires 45-60 seconds under medium pressure.
- Delicate fabrics call for reduced time and lighter pressure to prevent damage.
Always consult the manufacturer’s guidelines for your recommended materials. Adjust time settings based on fabric thickness and design complexity. Proper timing assures the adhesive bonds correctly, producing sharp, lasting transfers every time.
How to Use Your Heat Press Safely, Step by Step
Before you start operating your heat press, you need to understand the essential safety steps that protect both you and your equipment.
Follow strict safety precautions, always wearing protective gear like heat-resistant gloves and safety glasses. Verify your workspace is clear of flammable materials and well-ventilated.
| Step | Action |
|---|---|
| 1. Prepare workspace | Clear area, check ventilation |
| 2. Wear protective gear | Gloves, glasses |
| 3. Inspect heat press | Check cords, plates, and controls |
| 4. Preheat properly | Set correct temperature and time |
| 5. Operate carefully | Avoid touching hot surfaces directly |
Adhering to these steps minimizes risk and verifies efficient, safe heat press operation every time.
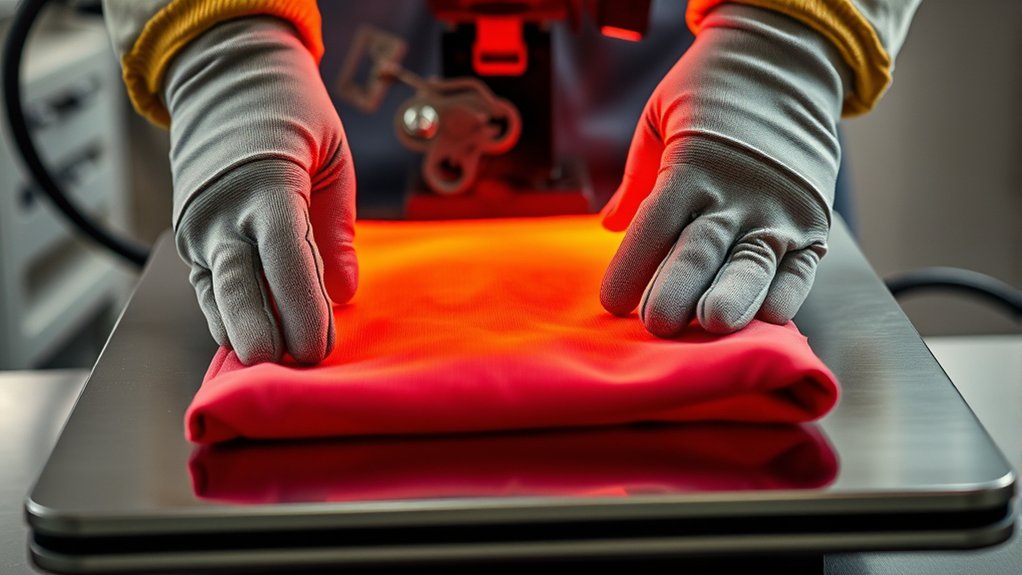
How Long to Press and When to Peel Your Transfer
You need to press your transfer for the exact time specified by the material’s instructions to guarantee proper adhesion.
Pay close attention to whether the transfer requires a hot peel or cold peel, as timing affects the final result. Follow the recommended peel technique precisely to avoid damaging your design.
Ideal Pressing Duration
Although pressing time varies depending on the material and transfer type, you should generally apply heat for the manufacturer-recommended duration to guarantee proper adhesion. Precise pressing techniques and fabric compatibility dictate the exact timing you’ll need.
To determine the ideal pressing duration, follow these steps:
- Identify your fabric type and its heat tolerance to prevent damage.
- Consult the transfer’s instructions for the exact recommended pressing time.
- Set your heat press to the specified temperature and pressure settings.
- Apply consistent pressure for the full duration without lifting or shifting.
Adhering to these guidelines assures your design bonds correctly without scorching or peeling. Avoid guessing or rushing; the correct pressing duration is essential for durability and professional-quality results every time.
Timing Your Peel
Proper pressing time guarantees your design adheres securely, but knowing when to peel the transfer can make all the difference in the final outcome. Transfer timing is essential: you must follow manufacturer guidelines precisely to determine if your transfer requires a hot peel or a cold peel.
Hot peel means you remove the transfer immediately after pressing, while cold peel requires waiting until the material cools down. Selecting the correct peel type prevents damage like cracking or incomplete adhesion. Use a timer to track pressing duration accurately, then peel according to the specified type.
Deviating from recommended transfer timing can result in poor durability or visual defects. Always test on a sample to confirm ideal peel timing for your specific materials and transfers.
Peel Techniques Explained
Three key factors determine the success of your peel technique: pressing duration, peel timing, and transfer type. Understanding peel types and peeling methods is essential to guarantee a flawless finish.
Follow these steps to master your peel technique:
- Identify your transfer’s peel type, hot peel or cold peel, by consulting the manufacturer’s instructions.
- Set your heat press to the recommended temperature and press for the exact duration specified.
- For hot peel transfers, remove the carrier sheet immediately while the material is still hot.
- For cold peel transfers, wait until the transfer cools completely before peeling to avoid lifting or smudging.
Tips for Best Results and Troubleshooting Common Problems
When you want consistent, high-quality results from your heat press, understanding key operational tips and common troubleshooting techniques is crucial. Mastering heat transfer techniques involves precise temperature, pressure, and timing adjustments.
If you encounter issues like incomplete transfers or scorching, use troubleshooting tips to quickly identify root causes and correct settings.
| Problem | Cause |
|---|---|
| Incomplete transfer | Insufficient pressure |
| Scorch marks | Excessive heat/time |
| Peeling edges | Improper peel timing |
| Blurred image | Movement during pressing |
| Uneven pressure | Misaligned platen or platen wear |
Adjust your parameters based on material specifications, maintain even pressure, and guarantee stable platen alignment. These practices optimize your workflow and minimize errors.
How to Maintain Your Heat Press for Longevity
To guarantee your heat press operates efficiently over time, regular maintenance is essential. Establish a strict cleaning schedule to remove adhesive residue and dust from the platen and heating element. Neglecting this can cause uneven heat distribution and damage your projects.
Monitor mechanical components closely; worn parts reduce pressure accuracy and risk failure. Implement timely part replacement when you notice wear or malfunction to maintain peak performance.
Lubricate moving joints as specified in your model’s manual to prevent stiffness and prolong lifespan. Finally, calibrate temperature and pressure settings regularly to ascertain consistency and prevent overheating.
Following these four precise steps guarantees your heat press remains reliable, producing high-quality results while extending its operational life. Consistent care will save you costly repairs and downtime.
Frequently Asked Questions
Can I Use a Heat Press for Sublimation Printing?
Yes, you can use a heat press for sublimation printing. It applies precise heat and pressure, essential for sublimation techniques.
Adjust temperature and time settings carefully to guarantee proper heat transfer and vibrant, lasting results.
What Types of Fabrics Are Heat Press Compatible?
Think of your heat press as a painter’s brush; it works best on cotton blends and polyester fabrics, which absorb heat evenly. Avoid delicate or heat-sensitive materials to guarantee precise, durable transfers and vibrant, lasting prints.
How Do Heat Presses Compare to Screen Printing?
You’ll find heat press efficiency excels in small batches and quick changes, while screen printing advantages include durability and cost-effectiveness for large runs.
Choose based on your project scale and fabric requirements for best results.
Can I Heat Press on Ceramic or Wood Surfaces?
You won’t believe it, but you can heat press on ceramic compatibility with special coatings!
For wood surfaces, you need heat-resistant tape and lower temperatures to avoid scorching. Always test materials for best results and durability.
Is a Heat Press Suitable for Commercial or Home Use?
You can use a heat press for both commercial and home business purposes. Its advantages include consistent heat application, precise temperature control, and efficient production.
These features make it ideal for professional-quality results in any setting.
Conclusion
By mastering your heat press setup, adjusting temperature, pressure, and timing precisely, and following safety steps, you’ll create flawless transfers every time.
Coincidentally, the same care you take maintaining your press guarantees long-lasting performance, just like the durability of your finished designs.
Stick to these guidelines, troubleshoot promptly, and you’ll work efficiently and safely—turning heat pressing into a reliable, repeatable process that delivers professional results with every use.
With these best practices in place, you’ll truly know how to work a heat press to achieve outstanding and consistent transfers.