To use your Vevor heat press machine, start by unboxing it and setting it up on a stable surface.
Follow the checklist provided in the manual to ensure everything is in place.
Set the temperature and timer according to your material—for example, 320°F for cotton with a 15-second press time.
Position your design precisely on pre-pressed fabric to achieve the best results.
Lower the heat platen with consistent pressure during pressing.
After the cycle, peel the carrier sheet as instructed for your specific transfer type.
Proper maintenance and adjusting the pressure correctly will guarantee great results.
Keep reading to uncover tips on using heat transfer vinyl and troubleshooting common issues.
Key Takeaways
- Unbox and assemble the Vevor heat press on a stable surface, securing all parts according to the manual’s checklist.
- Set the temperature and timer based on your material, using the “Temp” and “Time” buttons and adjusting with arrows.
- Prepare your fabric by pre-pressing to remove moisture and wrinkles, then align and position your design precisely.
- Place the design on the fabric, lower the heat platen firmly, apply consistent pressure, and follow peeling instructions for transfer.
- Regularly clean the heating platen, calibrate temperature and pressure, and troubleshoot timer or transfer issues as needed.
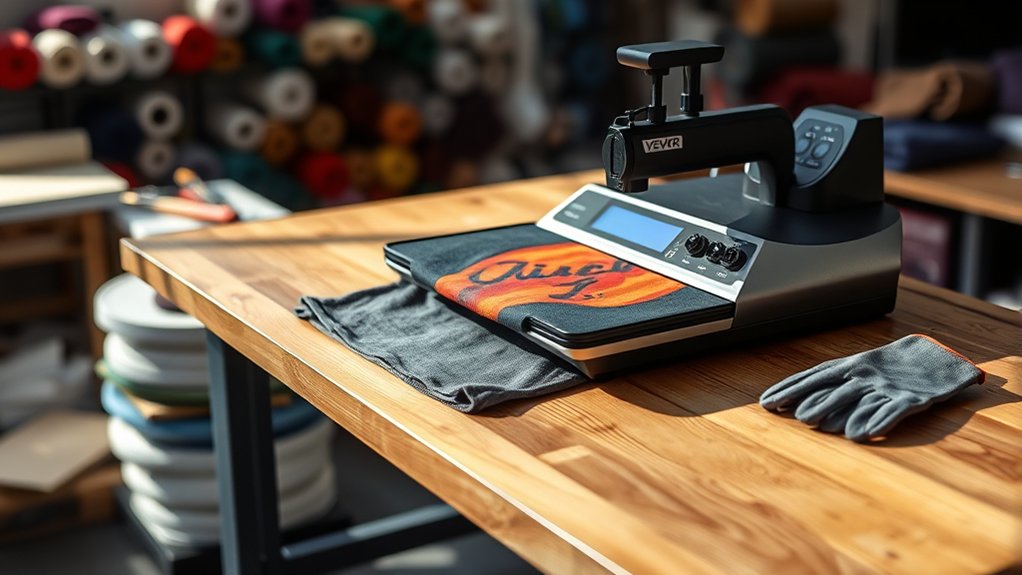
How to Unbox and Set Up Your Vevor Heat Press
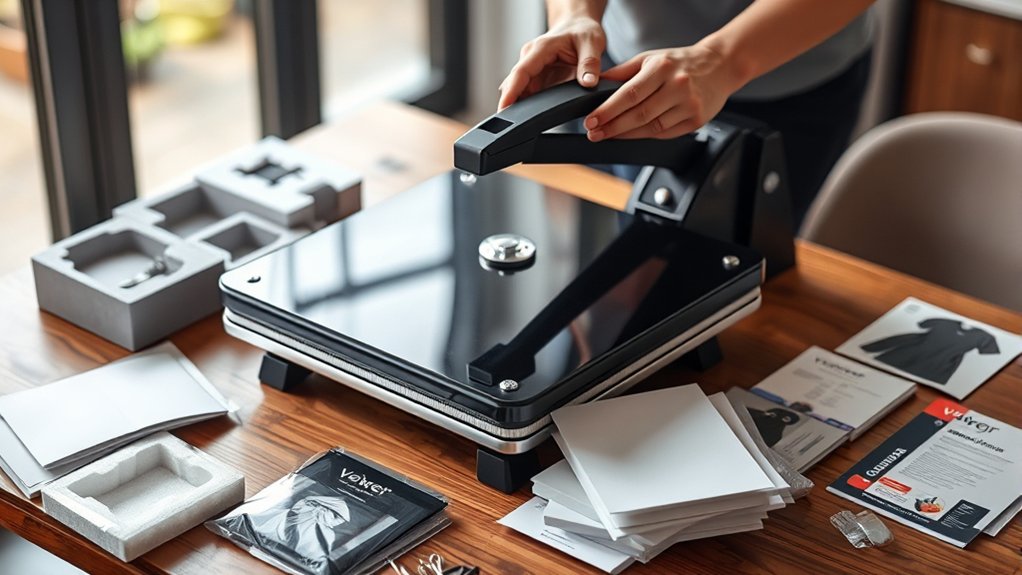
When you first receive your Vevor heat press, start by carefully unboxing all the components to confirm nothing is missing or damaged. Use proper unboxing techniques: cut tape gently and remove packing materials systematically.
Lay out all parts on a clean surface and compare them against the setup checklist included in the manual. This checklist confirms you have the heat press, power cord, pressure adjustment knob, and user guide.
Once verified, position the heat press on a stable, flat surface near a power outlet. Attach any removable parts following the manual’s instructions, making sure all screws and fittings are secure.
Double-check the setup checklist to avoid missing steps. Completing these steps prepares your machine for safe, efficient operation.
Adjust Temperature and Timer Settings on Your Vevor Heat Press
Before pressing any materials, you’ll need to set the temperature and timer to match your project’s requirements. Begin with temperature calibration by pressing the “Temp” button; adjust using the up/down arrows until you reach the desired heat level.
Next, set the timer using the “Time” button and adjust the timer settings similarly. Proper calibration guarantees your materials transfer correctly without damage.
Here’s a quick reference for common settings:
| Material | Temperature (°F) | Time (seconds) |
|---|---|---|
| Cotton T-shirt | 320 | 15 |
| Polyester | 300 | 20 |
| Sublimation | 400 | 45 |
| Leather | 320 | 30 |
Always double-check your machine’s display to confirm your temperature calibration and timer settings before starting.
Prepare Your Design and Materials for Heat Pressing
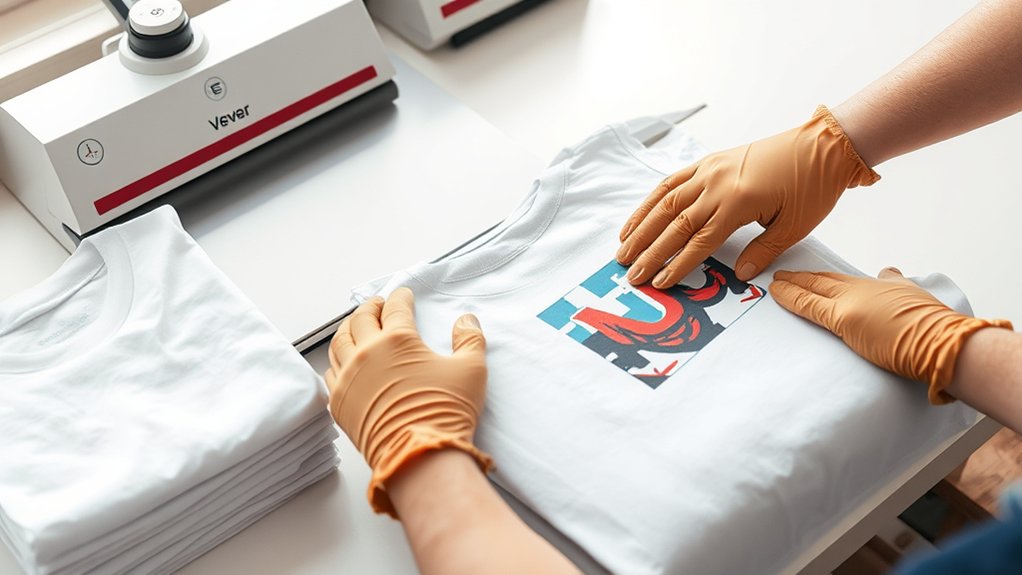
Although setting your machine correctly is essential, preparing your design and materials carefully guarantees a successful transfer. Start with thoughtful design selection. Choose a graphic that fits your project and looks great when heat pressed. Check material compatibility to avoid damage; cotton and polyester blends usually work best. Pre-press your fabric to remove moisture and wrinkles, ensuring a smooth surface. Finally, position your design precisely on the material for an even transfer.
- Select a vibrant, heat-friendly design
- Confirm the fabric supports heat pressing
- Pre-press garments to eliminate creases
- Align your design centrally and smoothly
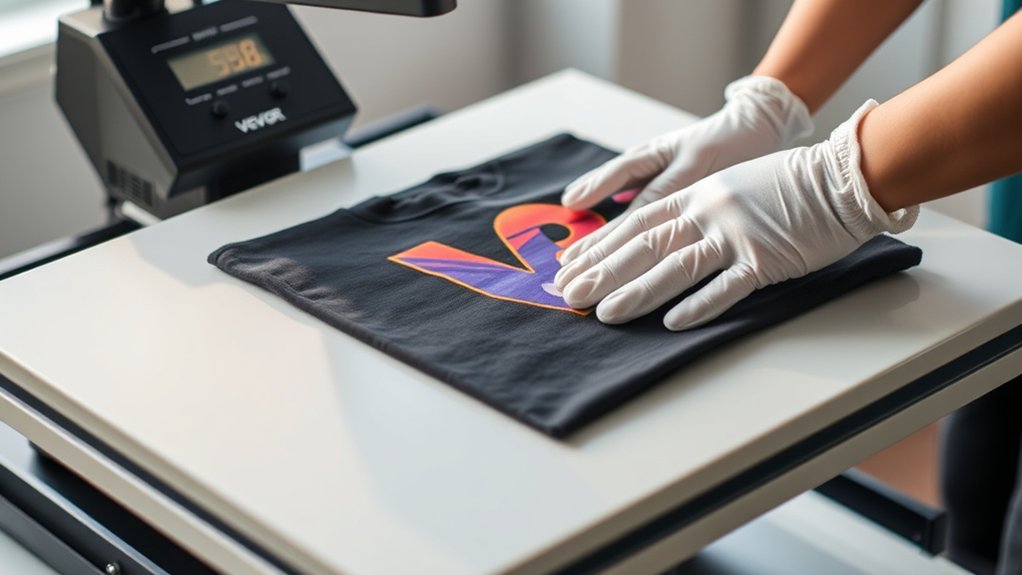
How to Transfer Your Design With Your Vevor Heat Press
With your design ready and your fabric prepped, you can move on to transferring the image using your Vevor heat press machine. Start by positioning your design carefully on the fabric, guaranteeing accurate design placement to avoid misalignment.
Use a ruler or heat-resistant tape if needed to keep it steady. Next, set the heat press to the recommended temperature and time based on your transfer material. Lower the heat platen firmly onto the fabric and apply consistent pressure during the transfer process.
Follow specific transfer techniques, such as peeling the carrier sheet while warm or cold, depending on your design instructions. Once done, lift the platen and remove the transfer backing carefully. This method guarantees a clean, vibrant transfer with your Vevor heat press.
Best Practices for Applying Heat Transfer Vinyl
When applying heat transfer vinyl (HTV), you’ll want to confirm your fabric is clean and wrinkle-free to achieve the best adhesion. Selecting the best vinyl brands assures durability and vibrant colors. Mastering vinyl application techniques helps you avoid peeling or bubbling.
Before pressing, preheat your fabric for a few seconds to remove moisture. Position your design carefully, confirming it’s aligned and facing the right way.
Keep in mind these tips:
- Use a teflon sheet or parchment paper to protect your design.
- Apply firm, even pressure with your Vevor heat press.
- Follow the recommended temperature and time settings for your vinyl.
- Let the vinyl cool slightly before peeling the carrier sheet for a smooth finish.
These practices assure a professional, long-lasting transfer every time.
Maintain Even Pressure and Avoid Heat Pressing Mistakes
To get the best results, you need to apply consistent pressure across the entire heat press surface. Uneven pressure can cause incomplete transfers or damage your materials.
Avoid common mistakes like rushing the process or overheating by following the recommended settings and techniques.
Consistent Pressure Techniques
Although applying consistent pressure might seem straightforward, it’s crucial to evenly distribute force across the heat press to guarantee a flawless transfer. Start by performing pressure calibration to set the ideal force for your material.
Uneven pressure distribution can cause incomplete or uneven transfers, so adjust the pressure knob or lever carefully. When positioning your item, verify the platen is fully lowered and locked to maintain steady pressure throughout the pressing process.
Here are key techniques to keep pressure consistent:
- Use pressure calibration tools or test prints
- Adjust the pressure knob incrementally for uniform force
- Check platen alignment before each press
- Avoid pressing with uneven surfaces or wrinkles
Following these steps helps prevent common issues and guarantees your designs transfer perfectly every time.
Common Heat Press Errors
Since uneven pressure is a common culprit behind transfer issues, you need to maintain consistent force throughout the heat pressing process. Uneven pressure can cause incomplete heat transfer, leading to vinyl peeling or areas that don’t adhere properly.
Avoid rushing. Always follow the recommended time and temperature settings for your specific material. Pressing too hot or too long can scorch fabrics, while too little heat results in weak transfers.
Another common error is misalignment; double-check your design placement before pressing. Finally, don’t lift the press too quickly, as this can cause the vinyl to peel before it cools and sets.
Clean and Care for Your Vevor Heat Press Machine
When you regularly clean and maintain your Vevor heat press machine, it stays efficient and lasts longer. Use proper cleaning techniques and maintenance tips to keep it in top condition. Start by unplugging the machine and allowing it to cool completely. Then, gently wipe the heat platen with a soft cloth and a non-abrasive cleaner to remove residue.
Check and tighten any loose screws or bolts to guarantee stability. Lubricate moving parts as recommended in the manual to prevent wear.
Wipe heat platen after each use
Remove adhesive buildup with a mild solvent
Inspect electrical cords for damage
Store the machine in a dry, dust-free area
Following these steps helps maintain performance and extends your heat press’s lifespan.
Troubleshoot Common Issues With Your Vevor Heat Press
If your Vevor heat press isn’t heating evenly, start by checking the temperature settings and recalibrating if needed. Adjust the pressure by turning the knob until you get firm, even contact with your materials.
For timer issues, reset the machine or replace the timer module to keep your projects on track.
Temperature Inconsistency Solutions
Although temperature fluctuations can disrupt your heat press projects, you can quickly identify and fix common causes of inconsistency with your Vevor heat press. Start by applying proper temperature calibration methods to guarantee the machine reads and maintains your desired heat accurately.
Next, use heat distribution techniques like placing a heat-resistant pad beneath your material to promote even temperature spread. Also, check the heating element for damage or dirt that might cause cold spots.
Finally, avoid opening the press too often during heating, which can lead to uneven temperature.
Calibrate temperature settings using a reliable digital thermometer
Use a Teflon sheet or heat-resistant pad for even heat
Inspect and clean the heating platen regularly
Minimize opening the press mid-cycle to keep heat stable
Pressure Adjustment Tips
Since proper pressure guarantees your designs transfer cleanly and without damage, adjusting it correctly on your Vevor heat press is essential. Start by performing pressure calibration. Turn the pressure knob clockwise to increase pressure or counterclockwise to decrease it. Aim for firm contact without crushing your material.
Check the pressure distribution by placing a sheet of carbon paper between the platen and substrate. Uneven marks indicate the need for adjustment. Adjust the knobs or screws to guarantee even pressure across the entire platen.
Avoid excessive pressure, which can damage designs, or too little pressure, which leads to incomplete transfers. Regularly recalibrate pressure settings, especially when switching materials or thicknesses, to maintain consistent, high-quality results. This keeps your heat press working efficiently and your designs flawless.
Timer Malfunction Fixes
After ensuring the correct pressure settings, you might encounter issues with your Vevor heat press timer not working properly. Start by checking the power supply and connections for any loose wires. Use timer calibration tips by resetting the timer to factory settings to correct any miscounts.
If the timer still malfunctions, inspect it for visible damage or wear. In case of persistent problems, consider timer replacement options available through Vevor or authorized dealers.
Verify power source and cable integrity
Reset timer to default settings
Examine timer for physical damage
Explore authorized timer replacement options
Frequently Asked Questions
What Types of Materials Are Compatible With Vevor Heat Press Machines?
You’ll find Vevor heat press machines compatible with cotton, polyester, blends, and heat transfer vinyl. Always check material compatibility since heat transfer works best on fabrics that tolerate temperature without damage or distortion.
Can I Use Vevor Heat Press for Sublimation Printing?
Yes, you can use Vevor for sublimation techniques, for heat press usage, and for transferring vibrant designs onto polyester fabrics.
Just set temperature, time, and pressure correctly to achieve professional, long-lasting results every time.
Is It Safe to Leave the Heat Press Machine on Unattended?
You shouldn’t leave the heat press machine on unattended. Always follow safety precautions and adjust heat settings carefully to prevent accidents.
Turning it off when not in use guarantees your workspace stays safe and avoids overheating risks.
How Long Is the Warranty Period for Vevor Heat Press Machines?
You get a 12-month warranty coverage ensuring machine durability, protecting your investment. You can count on Vevor’s support for repairs or replacements during this period.
Always register your machine to activate the warranty.
Are Replacement Parts for Vevor Heat Press Machines Readily Available?
Yes, replacement parts for Vevor heat press machines are readily available. You should regularly check components and follow maintenance tips to guarantee smooth operation and extend your machine’s lifespan effectively.
Conclusion
Now that you’ve mastered setting up, adjusting, and using your Vevor heat press, you’re basically a pro—who knew pressing fabric could feel like rocket science? Just remember, even the best heat press won’t save you from forgetting to remove that pesky carrier sheet or applying uneven pressure.
Stick to the steps, keep it clean, and avoid shortcuts. That way, your designs will look as flawless as you imagined—no smoke, no stress, just perfect prints every time.
By following these tips, you’ll get the most out of your Vevor heat press machine and achieve professional-quality results every time.