To use your Vevor heat press, start by placing it on a stable, heat-resistant surface with adequate ventilation.
Adjust the pressure based on the thickness of your material, then set the temperature and timer according to the fabric and design requirements.
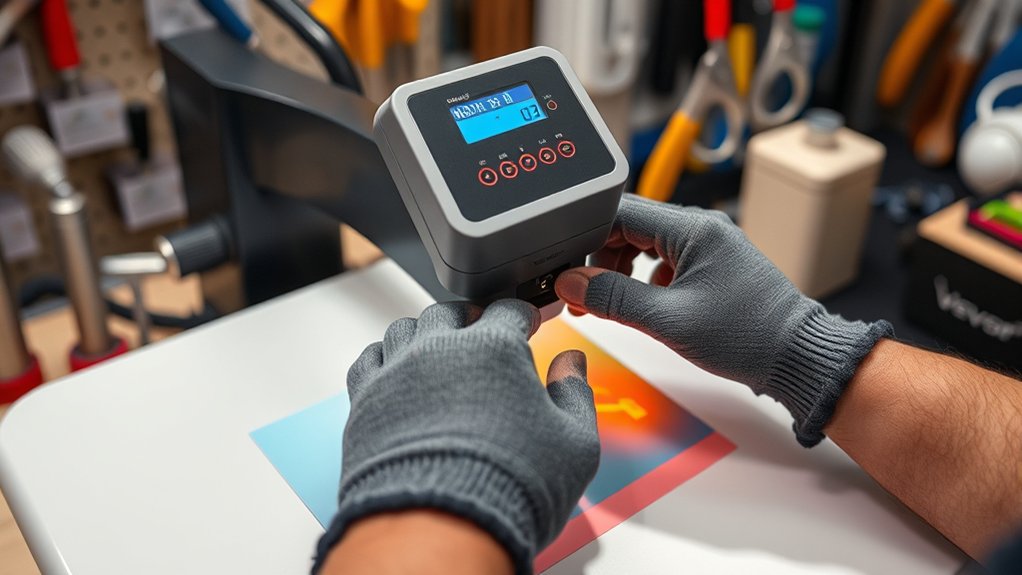
Position your design carefully on the material, wear heat-resistant gloves, and firmly press for the recommended time.
Always ensure your workspace is clear and never leave the press unattended during operation.
Keep going to uncover tips for flawless transfers and troubleshooting advice to get the best results from your Vevor heat press.
Key Takeaways
- Place the Vevor heat press on a stable, heat-resistant surface with adequate ventilation and plug it in securely.
- Adjust the pressure knob or lever based on the thickness of the material to ensure even pressing.
- Set the temperature and time according to the material and design specifications before starting the transfer.
- Position your design face down on the material, center it carefully, and wear heat-resistant gloves during operation.
- Apply firm, even pressure and avoid leaving the press unattended while the transfer process completes.
Setting Up Your Vevor Heat Press for Easy Use
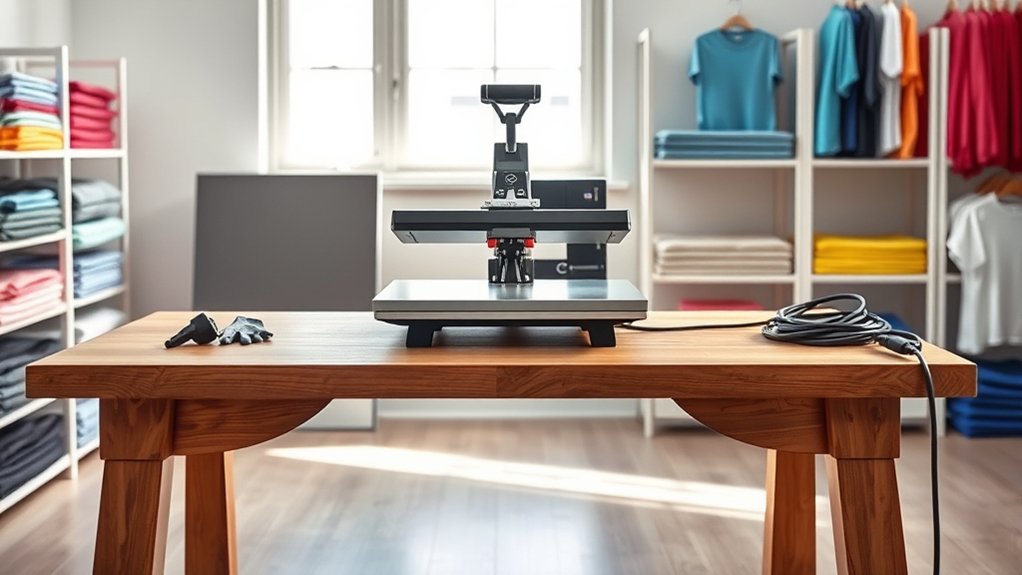
Before you start using your Vevor heat press, make certain to place it on a stable, heat-resistant surface. Choosing location carefully guarantees safety and peak performance.
Select a spot with enough space around the machine for easy access and ventilation. Avoid areas near flammable materials or where the heat press might be bumped.
Once positioned, plug it in and turn it on. Next, focus on adjusting pressure; this step is vital for quality transfers.
After plugging in and powering on, adjust the pressure carefully to ensure top-quality transfers every time.
Use the pressure adjustment knob or lever to set the pressure according to your material’s thickness. Too much pressure can damage your substrate, while too little may result in poor adhesion.
Test and fine-tune the pressure before starting your project to achieve consistent, professional results.
Preparing Your Designs and Materials for Heat Pressing
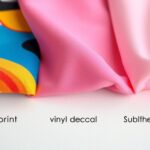
Once you have your heat press ready, focus on preparing your designs and materials to guarantee ideal transfer quality. Start with thoughtful design selection: choose high-resolution images or vector graphics to assure sharp, clean transfers. Confirm your design’s dimensions fit your material to avoid unwanted trimming.
Next, verify material compatibility: not all fabrics or surfaces respond well to heat pressing. Cotton, polyester blends, and certain synthetics work best, while materials like leather or vinyl may require special handling or be unsuitable. Pre-wash fabrics to remove residues that could affect adhesion.
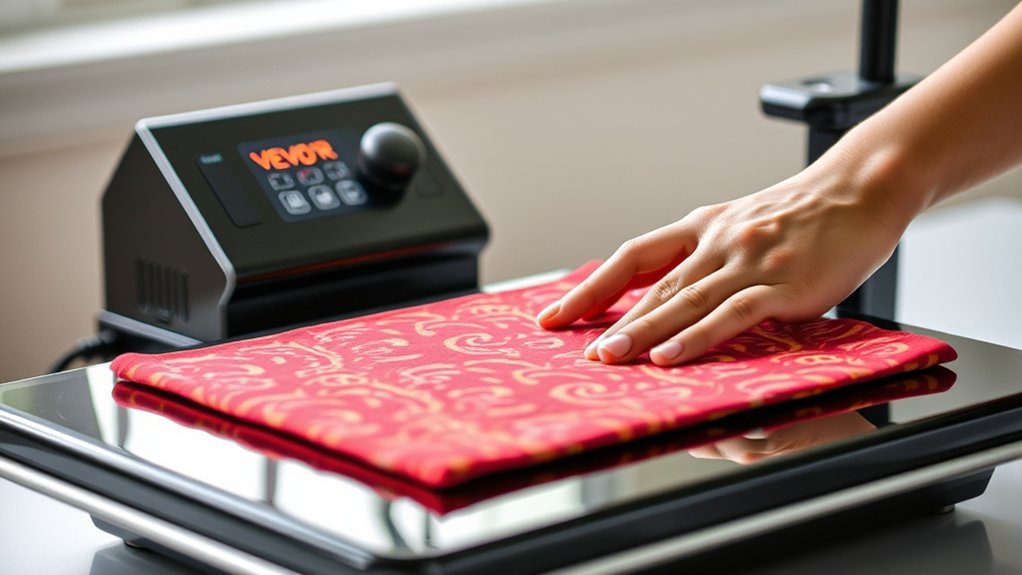
Finally, arrange your materials on a flat, heat-resistant surface and place your design face down on the substrate. Proper preparation here sets the foundation for a flawless, durable transfer during heat pressing.
How to Use Your Vevor Heat Press Safely and Effectively
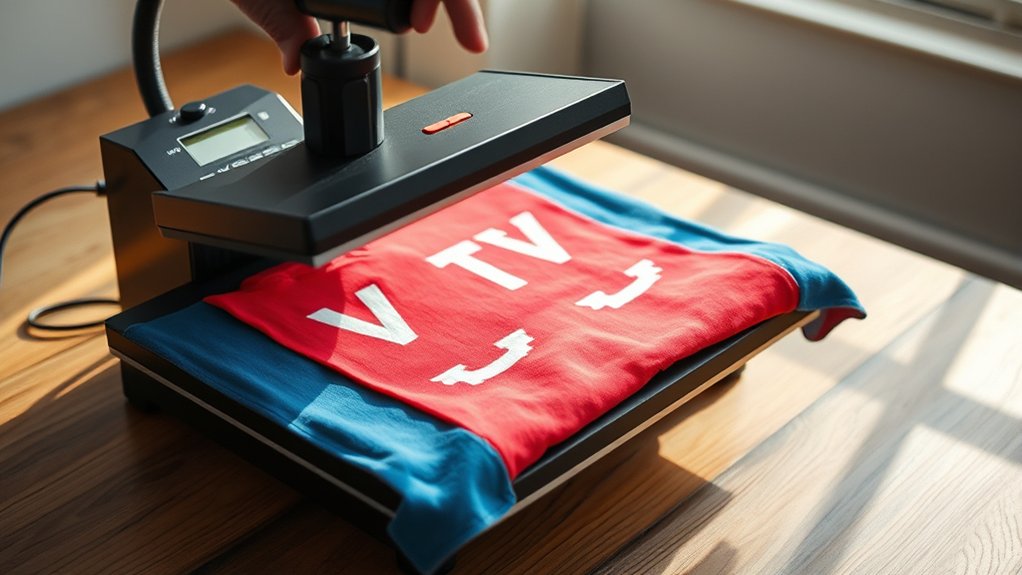
With your designs and materials properly prepared, it’s time to operate your Vevor heat press with care and precision. Always follow safety precautions: wear heat-resistant gloves, keep the workspace clear, and never leave the press unattended while in use.
Set the temperature and time according to your material’s specifications to avoid damage. When placing your item, guarantee it’s correctly aligned to prevent misprints. After pressing, carefully lift the heat platen to avoid burns.
Regular heat press maintenance is essential. Clean the platen surface after each use to remove residue and check wiring for wear. Proper upkeep extends your machine’s life and guarantees consistent results.
Vevor Heat Press Tips for Perfect Transfers
To achieve flawless transfers using your Vevor heat press, you need to pay close attention to preparation and technique. Start by ensuring precise design placement on the substrate to avoid misalignments.
Next, strictly follow the recommended transfer timing. Too short or too long can ruin your project. Use firm, even pressure for consistent results.
| Tip | Recommendation |
|---|---|
| Design Placement | Center design carefully; use a ruler or template |
| Transfer Timing | Follow specific time guidelines per material type |
| Pressure Application | Apply firm, even pressure throughout transfer |
Mastering these tips will improve your heat press results and reduce errors, ensuring your designs come out crisp and vibrant every time.
Troubleshooting Common Vevor Heat Press Problems
Several common issues can arise while using your Vevor heat press, but most can be quickly identified and resolved. For effective heat press troubleshooting, start by checking the temperature settings if transfers aren’t adhering properly. Confirm the pressure is correctly adjusted; uneven pressure is a frequent cause of poor results.
If the machine won’t heat up, verify it’s plugged in and the power switch is on. Inspect the heating element for damage or malfunction. Inconsistent heat distribution often stems from worn-out components or improper platen alignment.
Address sticky or jammed parts by cleaning and lubricating moving sections. By systematically addressing these common issues, you’ll maintain peak performance and extend your heat press’s lifespan. Always consult the user manual for specific guidance during your heat press troubleshooting process.
Frequently Asked Questions
What Types of Materials Are Compatible With Vevor Heat Presses?
You can use vinyl transfer and various fabric types like cotton, polyester, and blends with your Vevor heat press.
Just verify the material can withstand heat and pressure for the best transfer results.
Can I Use Vevor Heat Press for Sublimation Printing?
Yes, you can use a Vevor heat press for sublimation printing. Just adjust the heat press settings to match the sublimation process requirements, ensuring proper temperature, pressure, and time for vibrant, lasting transfers on compatible materials.
How Long Does the Vevor Heat Press Typically Last?
You might be surprised, but the Vevor heat press lifespan can reach 5-7 years with proper care. Follow maintenance tips like regular cleaning and calibration to keep it running smoothly and extend its durability considerably.
Are Replacement Parts Available for Vevor Heat Presses?
Yes, you’ll find replacement part options for Vevor heat presses to support heat press maintenance. Regularly checking and replacing worn components guarantees peak performance and prolongs your machine’s lifespan effectively.
What Warranty Does Vevor Offer on Their Heat Presses?
You’ll find Vevor offers a standard warranty covering defects, backed by responsive customer service.
For precise warranty details, you’ll want to review your product documentation or contact Vevor directly to guarantee full coverage understanding.
Conclusion
Now that you’ve mastered your Vevor heat press, you might find it ironically easier than expected—after all, who knew that a machine designed to apply intense heat and pressure could simplify your creative process so much?
By setting up correctly, preparing your materials, and following safety tips, you’ll achieve flawless transfers without breaking a sweat.
Remember, even the most stubborn problems have simple fixes, so don’t let hesitation press you down.
With these tips in mind, using your Vevor heat press will become second nature, ensuring perfect results every time.