To use a heat press for shirts, start by choosing transfer paper that matches your shirt’s fabric—whether cotton or polyester.
Setting your heat press to the recommended temperature is crucial, typically between 320°F and 375°F, along with the right pressure and timing, usually 10 to 20 seconds.
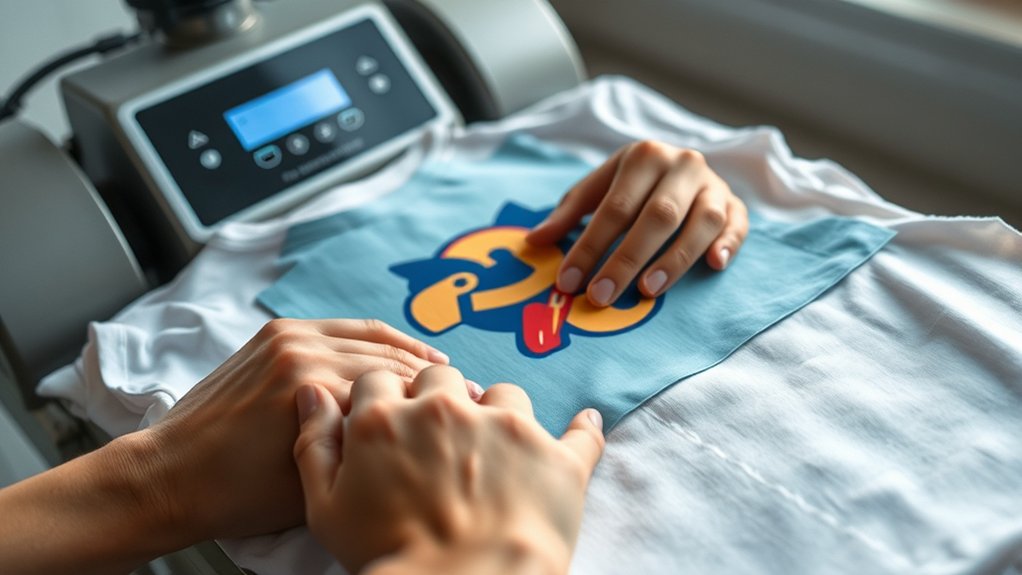
Lay your shirt flat on the press and carefully position your design. Close the heat press evenly to ensure consistent heat and pressure across the design.
After pressing, peel the backing according to the instructions—either hot or cold.
Addressing common issues such as fading or scorching will help improve your final results. Keep practicing to master every step and learn essential care tips for your heat-pressed shirts.
Key Takeaways
- Choose transfer paper compatible with your shirt fabric, such as inkjet for cotton or sublimation for polyester blends.
- Set heat press temperature, pressure, and time according to transfer paper instructions, usually between 320°F and 375°F for 10-20 seconds.
- Place the shirt flat on the platen with no wrinkles, align the design, and use heat-resistant tape if necessary before pressing.
- Press the shirt firmly with consistent pressure, then peel the backing hot or cold depending on the transfer type.
- Test settings on a sample fabric first and adjust heat or pressure to avoid issues like poor adhesion or blurred images.
Picking the Right Transfer Paper and Shirts
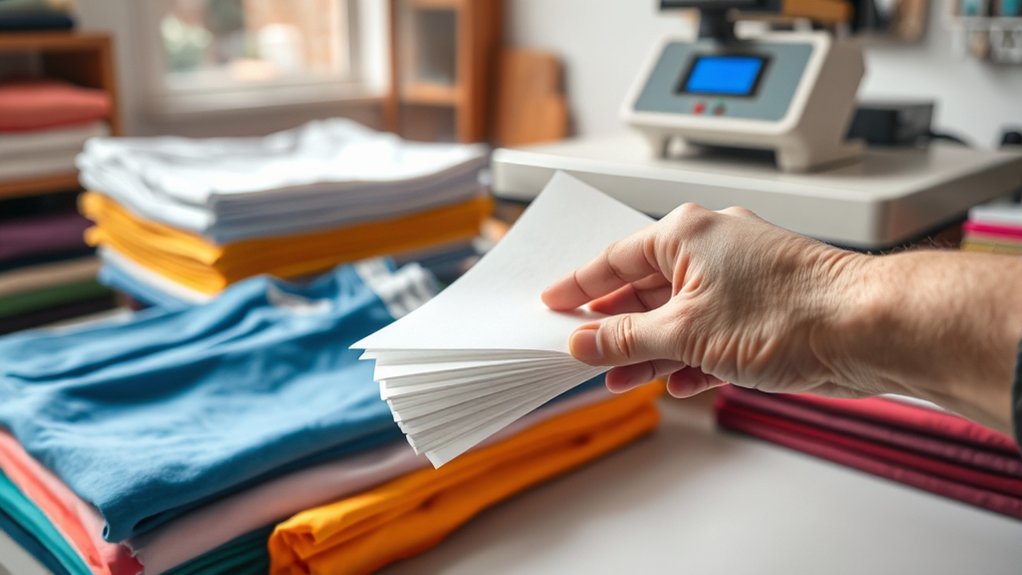
Choosing the right transfer paper and shirts is essential for achieving high-quality heat press results. First, identify the transfer paper types compatible with your heat press and shirt materials.
For cotton shirts, use inkjet or laser transfer papers designed for natural fibers. For polyester or blends, opt for sublimation or polyester-specific transfer papers to guarantee vibrant, durable prints.
Avoid using cotton transfer papers on synthetic fabrics, as adhesion and color accuracy will suffer. Also, consider shirt materials’ thickness and weave; thicker fabrics may require adjusted press time and temperature.
Always verify transfer paper specifications and shirt fabric content before starting. Matching transfer paper types precisely to shirt materials guarantees maximum ink absorption, durability, and minimizes transfer errors during the heat press process.
Setting Up Your Heat Press for Perfect Shirt Transfers
Before you start pressing, calibrate your heat press by setting the correct temperature, pressure, and time according to the transfer paper and shirt fabric specifications. Begin by consulting the transfer paper instructions to determine ideal temperature settings, typically ranging between 320°F and 375°F.
Use the heat press control panel to input this precise temperature. Next, adjust the pressure dial or knob to apply firm, even pressure. Too light, and the transfer won’t adhere; too heavy, and you risk damaging the shirt fibers. Select a medium to high pressure setting based on fabric thickness.
Finally, set the timer to the recommended duration, usually between 10 and 20 seconds. Perform a test press on a sample fabric to verify these settings before proceeding with your final shirt transfers.
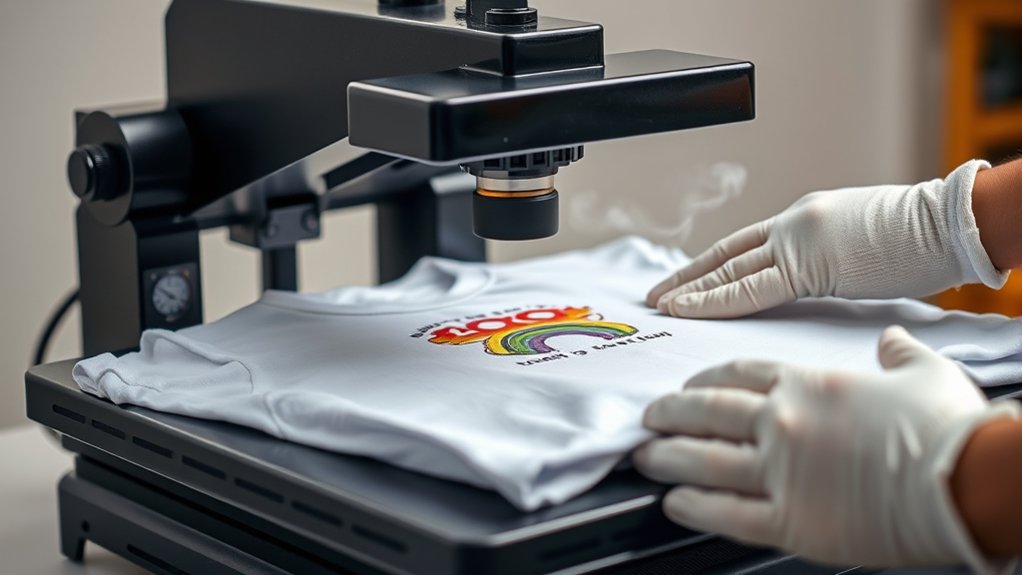
How to Apply Designs to Shirts With a Heat Press
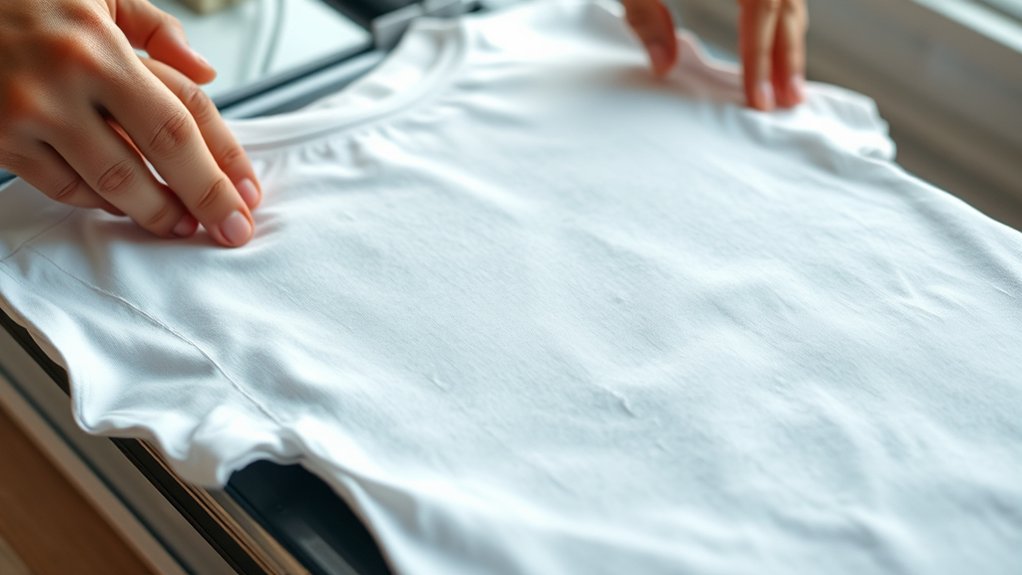
Place your shirt carefully on the heat press platen, making sure it lays flat without wrinkles or folds that could interfere with the transfer. Select the appropriate transfer option based on your design technique, whether it’s heat transfer vinyl (HTV), sublimation, or printed transfer paper.
Align the design precisely on the shirt, using heat-resistant tape if necessary to prevent shifting. Set the heat press to the recommended temperature, pressure, and dwell time specific to your transfer option and shirt material.
Close the press firmly, maintaining consistent pressure throughout the cycle. After the timer ends, carefully lift the press and peel the backing according to the transfer type, hot or cold peel, to guarantee maximum adhesion. Following these steps guarantees clean, durable transfers with professional quality.
Fixing Common Heat Press Problems
Even when you follow the proper steps for applying designs with a heat press, issues can still arise that affect the final outcome. Troubleshooting temperature issues is vital; too low a temperature results in poor adhesion, while excessive heat can cause scorching.
Adjusting pressure settings is equally important. Too little pressure yields incomplete transfers, and too much can damage the fabric.
| Problem | Cause | Solution |
|---|---|---|
| Faded Design | Low temperature | Increase heat by 5-10°F |
| Blurred Image | Excessive pressure | Reduce pressure slightly |
| Uneven Transfer | Uneven pressure or heat | Calibrate pressure & temp |
Caring for Shirts Made With Heat Press Transfers
When you want your heat-pressed shirts to last, proper care is vital to preserve the design’s vibrancy and adhesion. Always follow proper washing instructions: turn shirts inside out, use cold water, and select a gentle cycle.
Avoid bleach and fabric softeners, as they degrade the transfer. Use mild detergent to maintain fabric integrity. After washing, either air-dry the shirts flat or tumble dry on low heat; high heat can cause peeling or cracking.
For storage tips, fold shirts carefully to avoid creasing the transfer area, and store them in a cool, dry place away from direct sunlight to prevent fading. Avoid ironing directly on the transfer. If necessary, place a protective sheet between the iron and design.
These steps guarantee longevity and maintain the professional look of your heat-pressed shirts.
Frequently Asked Questions
Can I Use a Heat Press for Materials Other Than Shirts?
Yes, you can use a heat press for various heat press applications beyond shirts. Just verify fabric compatibility by checking material heat tolerance and pressure requirements to avoid damage and achieve best transfer results on items like bags, hats, or ceramics.
How Long Does a Heat Press Typically Last?
A heat press lifespan typically ranges from 5 to 10 years, depending on usage. You’ll extend its life by following maintenance tips like regular cleaning, checking pressure settings, and promptly replacing worn parts for peak performance.
Is It Safe to Use a Heat Press at Home?
Using a heat press at home is safe if you treat it like handling fire and respect heat press safety guidelines. Guarantee proper ventilation, use home equipment on stable surfaces, and always wear protective gear to prevent burns or accidents.
What Are the Best Safety Precautions When Operating a Heat Press?
For heat press safety, always wear heat-resistant gloves and avoid loose clothing. Make certain the workspace is clear, follow operating precautions like proper temperature settings, and never leave the machine unattended during use to prevent burns or accidents.
Can I Customize Multiple Shirts at Once With a Heat Press?
You can’t customize multiple shirts simultaneously with one heat press, but improving heat press efficiency by preparing multiple designs beforehand lets you press shirts consecutively. This speeds up production without compromising quality or temperature consistency.
Conclusion
By choosing the right materials and mastering your heat press settings, you’re well on your way to creating professional-quality shirt transfers. Remember, a little patience and attention to detail can turn potential hiccups into learning moments, improving your technique over time.
With proper care, your heat-pressed shirts will maintain their look and durability, making your efforts truly worthwhile. Keep refining your process, and your creations will speak volumes without saying a word.
In conclusion, using a heat press for shirts allows you to achieve vibrant, long-lasting designs that showcase your creativity and skill.