To use a tumbler heat press, start by cleaning your tumbler thoroughly and preheating your press.
Wrapping your design tightly around the tumbler is the next step, securing it with heat-resistant tape and ensuring perfect alignment.
Next, insert the tumbler into the curved mold of the heat press. Set the temperature between 350°F and 400°F, and heat for about 3 to 6 minutes.
Once done, gently peel off the transfer paper.
With careful timing and pressure, your design will come out vibrant and flawless.
Keep exploring to master every step and troubleshoot with ease.
Key Takeaways
- Clean and dry the tumbler thoroughly before placing it in the heat press for optimal transfer adhesion.
- Preheat the heat press to the recommended temperature, typically between 350°F and 400°F.
- Align and secure the transfer paper tightly around the tumbler using heat-resistant tape to prevent slipping.
- Place the tumbler in the heat press’s curved mold, apply even pressure, and set the timer between 3 to 6 minutes.
- After pressing, remove the tumbler carefully and peel off the transfer paper slowly to reveal the design without damage.
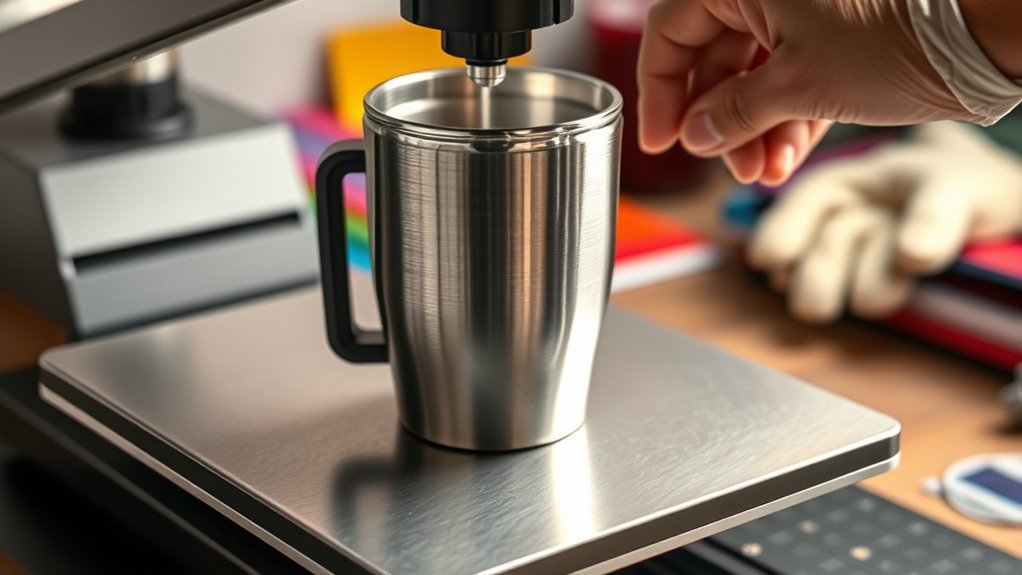
Prep Your Tumbler and Heat Press
Before you begin, make certain your tumbler is spotless and completely dry, as any residue or moisture can interfere with the heat transfer. Whether you’re working with stainless steel, plastic, or ceramic tumbler types, a clean surface guarantees vibrant, lasting prints.
Next, familiarize yourself with the heat press basics: gently preheat your machine, making sure the platen is evenly hot and ready. Position your tumbler securely in the press’s curved mold to prevent slipping or uneven pressure. Double-check that your design aligns perfectly before applying heat. Precision here means a flawless finish later.
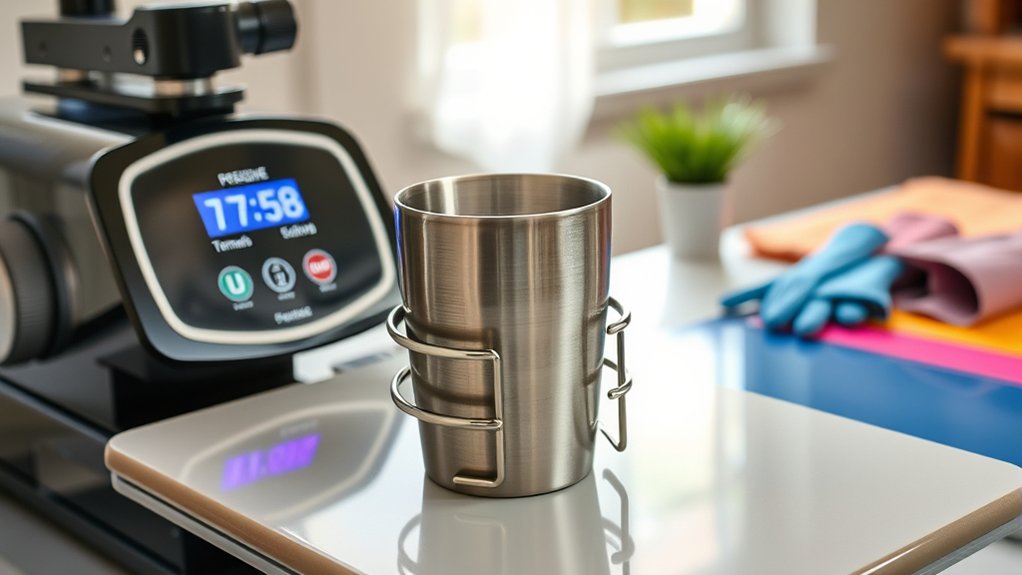
Set the Right Temperature and Time
Once you’ve secured your tumbler in place, dial in the perfect temperature and time settings to bring your design to life. Start by checking the recommended temperature settings for your specific material, usually between 350°F and 400°F.
Adjust the heat press timer accordingly, typically anywhere from 3 to 6 minutes, depending on the transfer type. Keep a close eye on your heat press timer; precision here guarantees vibrant, lasting results without scorching.
Visualize the heat evenly enveloping your tumbler, melding the design seamlessly onto its curved surface. Remember, too high a temperature or too long a press can ruin your work, while too low or short won’t fully transfer the image. Trust your settings, and your tumbler will emerge with a flawless finish every time.
Align and Secure Your Design for the Tumbler Heat Press
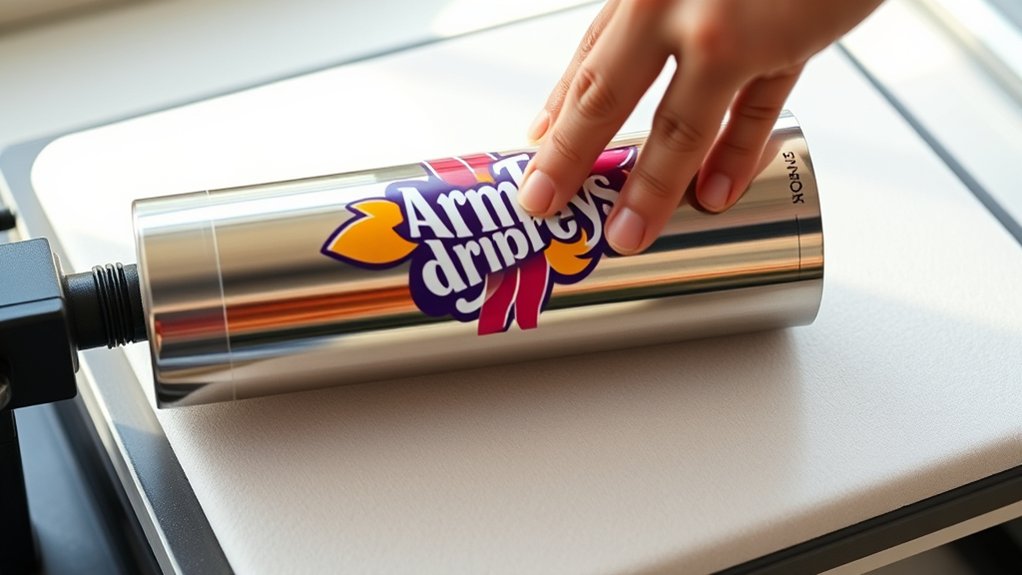
A perfectly aligned design is key to a professional-looking tumbler, so take your time positioning the transfer paper just right. Start by wrapping the design around the tumbler, carefully checking your design placement from every angle to guarantee it’s centered and level.
Use a ruler or measuring tape for exact spacing if needed. Once you’re happy with the placement, secure alignment by firmly pressing the transfer paper against the tumbler with heat-resistant tape. This prevents any slipping during the pressing process.
Double-check that the edges of the design are smooth and free of wrinkles. By focusing on precise design placement and secure alignment now, you’ll set yourself up for a flawless transfer that highlights your creativity and craftsmanship perfectly.
How to Use Your Tumbler Heat Press
First, make sure your tumbler is clean and dry, ready to embrace the heat. Then, set your press to the perfect temperature and time, tailored to your transfer material.
Finally, press your design firmly, then peel away the transfer to reveal your masterpiece.
Preparing Your Tumbler
Before you place your tumbler in the heat press, make sure its surface is spotless and completely dry. Any dust, oils, or moisture can ruin your design. Proper tumbler preparation sets the stage for a flawless transfer and vibrant finish.
Focus on design placement carefully; a crooked or uneven wrap will be noticeable after pressing.
Here’s how to get started:
- Clean the tumbler with rubbing alcohol using a lint-free cloth to remove oils and residue.
- Dry it thoroughly; even a tiny water spot can cause bubbles or smudges.
- Align your design precisely, using masking tape to secure it, ensuring it wraps evenly without gaps or overlaps.
With these steps, your tumbler will be ready for a perfect heat press transfer.
Setting Temperature And Time
Two key settings, temperature and time, determine the success of your tumbler heat press. First, consult your transfer’s guidelines to select precise temperature settings. Too hot, and your design might scorch; too cool, and it won’t adhere properly.
Visualize the heat evenly wrapping around your tumbler’s curve as you dial in the perfect temperature. Next, focus on time adjustments. Set the timer to the recommended duration—usually between 4 to 6 minutes—guaranteeing the heat fully activates the transfer without overcooking it.
As the countdown begins, imagine the design bonding seamlessly under steady heat and gentle pressure. Mastering these temperature settings and time adjustments will guarantee vibrant, lasting results every time you press.
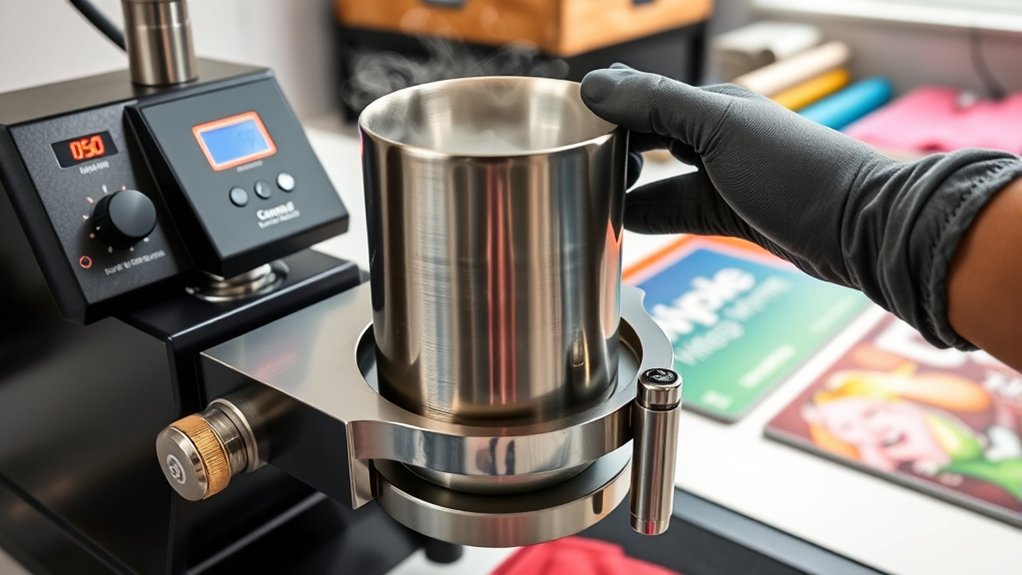
Applying And Removing Transfer
Once you’ve nailed the perfect temperature and timing, it’s time to bring your design to life by applying the transfer to your tumbler. Focus on transfer techniques that guarantee crisp, vibrant results and precise design placement. Here’s how to do it right:
- Wrap the transfer paper tightly around the tumbler, aligning your design exactly where you want it to appear. Secure it firmly with heat-resistant tape.
- Place the tumbler carefully into the heat press, making sure it’s stable and evenly positioned for consistent heat application.
- After the timer ends, quickly but gently remove the tumbler. Peel the transfer paper off slowly to reveal your stunning design, avoiding any smudges or tears.
Mastering these steps guarantees a flawless finish every time you use your tumbler heat press.
Remove the Transfer and Finish Your Tumbler Heat Press Project
Once your heat press beeps, it’s time to peel away the transfer carefully while the tumbler is still warm to lock in those vibrant colors. You’ll want to move slowly, watching the design come to life without smudges or wrinkles.
With the transfer removed, give your tumbler a final inspection and let it cool completely before showing off your masterpiece.
Proper Transfer Removal
Peel the transfer carefully while your tumbler is still warm to guarantee the design sets perfectly without smudging. This step is essential in mastering transfer techniques and ensuring your design placement remains flawless. Here’s how to nail it:
- Steady Grip: Hold the edge of the transfer firmly but gently, avoiding jerks that could distort the image.
- Slow Peel: Pull the transfer back at a low angle, revealing the design gradually to prevent lifting or tearing.
- Check for Flaws: Inspect your tumbler closely; if any spots seem incomplete, press again briefly to perfect the finish.
This delicate removal reveals your hard work, locking in the vibrant design you envisioned with precision and care.
Finalizing Your Project
After carefully removing the transfer while it’s warm, your focus shifts to sealing the design and giving your tumbler a flawless finish. Begin with a thorough design evaluation—inspect every curve and color for consistency and adherence. If you spot any imperfections, now’s the time for quick touch-ups with a heat-resistant marker or gentle sanding.
Next, apply a clear, heat-resistant sealant to protect your artwork from wear and tear, ensuring longevity and vibrancy. Let the tumbler dry completely on a flat surface, avoiding smudges or dust settling on it. These final touches not only enhance durability but also bring out a professional shine. With patience and care, your customized tumbler will emerge as a polished masterpiece, ready to impress.
Troubleshoot Common Issues With Your Tumbler Heat Press
Although your tumbler heat press is designed for ease, you might occasionally face issues like uneven heat distribution or poor adhesion. Don’t worry; these common problems have straightforward fixes. Here are some essential troubleshooting tips to get your press running smoothly again:
- Uneven Heat: Check the heating element for damage and guarantee the press clamps tightly and evenly around the tumbler to avoid hot spots.
- Poor Adhesion: Confirm you’re using the correct temperature, pressure, and time settings for your material. Adjust as needed for better results.
- Warped or Blurred Designs: Make sure the tumbler is rotating consistently during pressing and that your design paper or vinyl is properly aligned and secured.
Frequently Asked Questions
What Types of Tumblers Work Best With Heat Presses?
You’ll want stainless steel, insulated tumblers. They handle heat evenly and keep designs vibrant without warping. Their smooth, coated surface guarantees your heat press art sticks perfectly, giving your tumbler a sleek, professional finish every time.
Can I Use Sublimation Ink With a Tumbler Heat Press?
You can absolutely use sublimation ink with your tumbler heat press, but guarantee tumbler compatibility. Coated or polymer-coated tumblers capture vibrant, lasting colors perfectly. Otherwise, your design won’t transfer well or might fade quickly.
How Do I Clean My Tumbler Before Pressing?
Picture your tumbler gleaming, free of grime. Start tumbler preparation by wiping it down with a lint-free cloth and mild cleaning solutions like isopropyl alcohol. This guarantees your design sticks perfectly when you press.
Are There Safety Precautions When Using a Tumbler Heat Press?
You should always wear heat-resistant gloves and keep your workspace clutter-free for heat press safety.
Regular equipment maintenance, like checking cords and cleaning surfaces, guarantees smooth operation and prevents accidents while you press your tumblers.
Can I Customize Tumblers With Different Designs on Each Side?
Yes, you can customize tumblers with different designs on each side. Use varied design techniques and let creative inspiration flow, wrapping unique visuals around every curve to make your tumbler truly one-of-a-kind and eye-catching.
Conclusion
Now that you’ve mastered the dance between heat and pressure, your tumbler stands ready to shine like a canvas kissed by the sun. Each step you’ve taken—prepping, aligning, pressing—paints a stroke of perfection on your project.
Remember, patience and precision are your brushes; let them guide you as you create vibrant designs that cling like whispers of warmth. With practice, your tumbler heat press becomes an artist’s trusted companion, turning simple mugs into masterpieces.
Embrace the process, and soon your tumbler heat press will help you craft unique, lasting designs with ease and confidence.