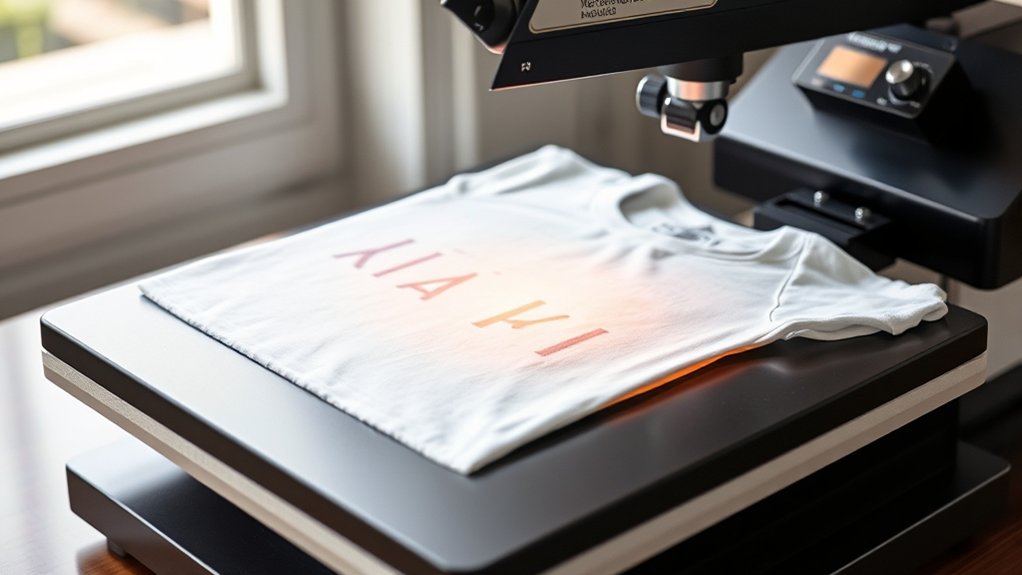
To use a T-shirt heat press, start by pre-pressing a clean, wrinkle-free shirt to remove moisture. This initial step ensures a smooth surface for your design.
Next, set your press temperature, time, and pressure according to your transfer’s instructions. Position and tape your design securely on the shirt to prevent shifting during pressing.
Close the press to apply steady, even pressure. Peel the transfer as directed, either hot or cold, and let the shirt cool flat. Proper setup and operation guarantee crisp, durable prints.
For detailed techniques and maintenance tips, you can explore further guidance.
Key Takeaways
- Pre-press the clean, wrinkle-free T-shirt for 3-5 seconds to remove moisture and creases before applying the design.
- Set the heat press temperature, time, and pressure based on the transfer manufacturer’s recommendations for the fabric type.
- Align and secure the design on the T-shirt using heat-resistant tape to prevent shifting during pressing.
- Apply firm, even pressure and lock the heat press while the timer counts down to ensure consistent heat transfer.
- Peel the transfer film at the recommended timing (hot or cold peel) and allow the T-shirt to cool flat to avoid distortion.
Prepare Your T-Shirt and Design for Heat Pressing
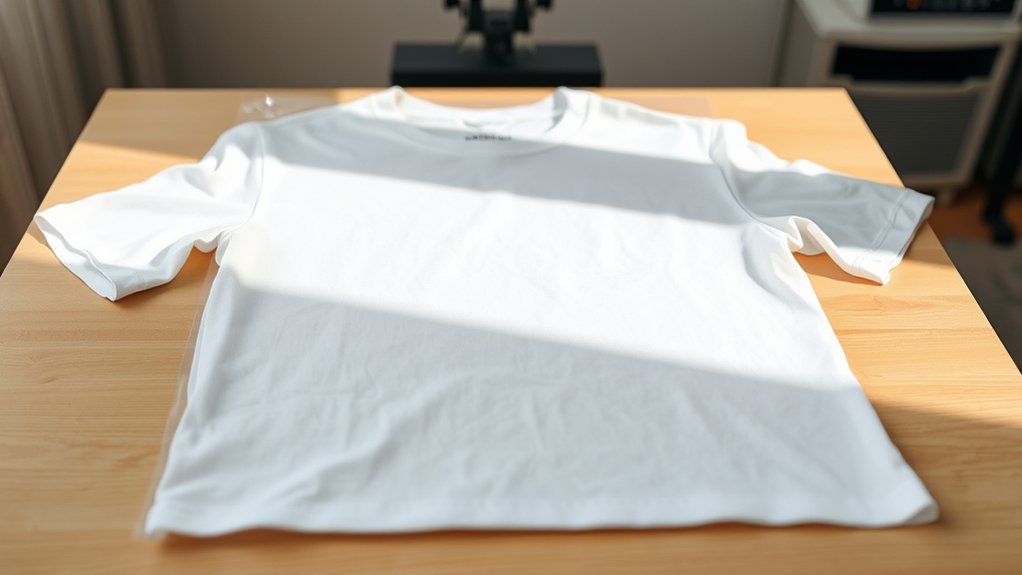
Before you start heat pressing, make sure your T-shirt is clean, wrinkle-free, and made of suitable material, such as cotton or polyester blends. Begin fabric preparation by pre-pressing the shirt for 3-5 seconds to remove moisture and creases, guaranteeing a smooth surface.
Next, focus on design selection: choose a heat transfer design compatible with your fabric type and heat press capabilities. Verify the design’s size and placement on the shirt to avoid misalignment. If you’re using printed transfers, confirm the ink is fully dry.
Position the design carefully on the fabric, using heat-resistant tape if needed to prevent shifting during pressing. Proper fabric preparation and thoughtful design selection are critical for achieving a clean, durable heat transfer result.
Set Temperature, Time, and Pressure on Your Heat Press
When you set your heat press, calibrate the temperature, time, and pressure according to the specific material and transfer type you’re using. Start by consulting the transfer manufacturer’s guidelines for recommended temperature settings and pressing duration.
Input the exact temperature into your heat press control panel to guarantee consistent heat application. Next, adjust the pressure using the machine’s pressure knob or lever; ideal pressure varies by fabric thickness and transfer type, so make precise pressure adjustments to avoid under- or over-pressing.
Set the timer according to the recommended pressing time, as exceeding this can damage the design or fabric. Double-check all settings before starting to maintain print quality and fabric integrity. Accurate calibration of temperature settings and pressure adjustments is essential for professional results.
Position and Secure Your Design on the T-Shirt
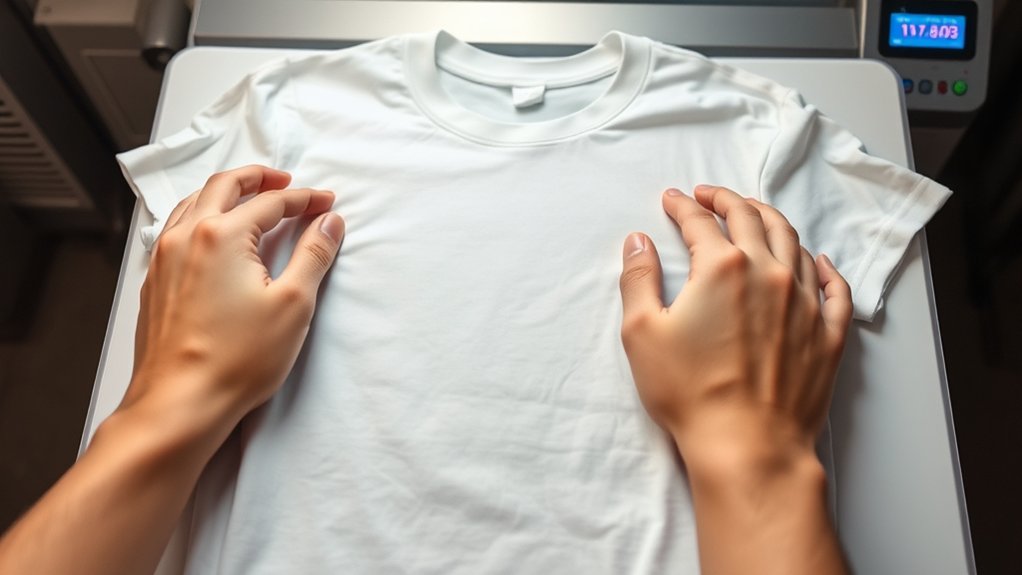
Although precise alignment is critical for a professional finish, you’ll need to carefully position your design on the T-shirt to guarantee it prints exactly where you want. Begin by laying the T-shirt flat on the press platen, smoothing out wrinkles.
Use a ruler or alignment guide to confirm consistent design placement relative to the collar and center line. Secure the design with heat-resistant tape or a low-tack adhesive to prevent shifting during pressing.
Confirm T-shirt alignment visually and with measurements before proceeding.
| Feeling | Why It Matters |
|---|---|
| Confidence | Ensures your design looks sharp |
| Satisfaction | Perfect placement every time |
| Control | Keeps your work consistent |
| Precision | Avoids costly misprints |
| Pride | Results in a professional finish |
Operate the Heat Press and Apply Even Pressure Safely
You’ll need to handle the heat press carefully, ensuring your hands stay clear of hot surfaces. Apply firm, even pressure across the entire platen to avoid uneven transfers or damage.
Always lock the press securely before starting the timer to maintain consistent pressure throughout the process.
Proper Heat Press Handling
Before operating the heat press, confirm you understand the machine’s controls and safety features to prevent accidents. Proper handling is essential for heat press safety and to guarantee efficient operation.
Always use the handle firmly, applying steady pressure without forcing the mechanism. Avoid sudden movements which can cause uneven heat distribution or machine damage.
| Step | Action | Safety Tip |
|---|---|---|
| 1 | Preheat machine | Verify temperature settings |
| 2 | Position garment | Use heat-resistant gloves |
| 3 | Apply pressure evenly | Keep hands clear of platen |
Follow these guidelines strictly to maintain operational safety and prolong your heat press’s lifespan.
Ensuring Uniform Pressure
Apply consistent, even pressure across the entire platen to confirm the transfer adheres correctly and prevents defects. Begin by performing pressure calibration according to your heat press model’s specifications. This step guarantees the correct force is applied evenly during each cycle.
Check the pressure distribution by placing a thin sheet of carbon paper between the platen and your shirt; press down and inspect for uniform imprint marks. Adjust the pressure knob or settings if you detect uneven areas.
When operating the heat press, avoid excessive force that can damage the garment or platen. Maintain steady pressure throughout the pressing time, and always release the pressure smoothly to avoid shifting the transfer. Following these steps will optimize transfer quality and extend your heat press’s operational life.
Remove Heat Press Transfer and Cool the T-Shirt

Once the pressing time is complete, peel the transfer according to the specific timing instructions for your material, either hot or cold peel. Use proper cooling techniques, such as laying the T-shirt flat or using a cooling rack, to prevent distortion.
Handle the transfer carefully during removal to avoid damaging the design or fabric.
Timing For Peel
The timing for peeling the heat press transfer is critical to guarantee a clean removal and ideal adhesion. You must follow specific peel timing based on your transfer technique. Hot peel requires immediate removal while the transfer is warm, whereas cold peel demands waiting until it cools completely.
To determine the correct peel timing, consult your transfer material guidelines precisely. Incorrect peel timing can cause transfer distortion, incomplete adhesion, or damage to the design. Use steady, even pressure when peeling away the carrier sheet to maintain transfer integrity.
Cooling Techniques
Although peeling the transfer is a crucial step, properly cooling the T-shirt afterward guarantees the design sets correctly and prevents smudging or distortion. Begin by removing the heat press transfer carefully, then lay the T-shirt flat on a heat-resistant surface to promote uniform heat dissipation.
Employ active cooling methods such as using a fan or allowing ambient air circulation to expedite temperature reduction without applying pressure. Avoid folding or stacking the garment during cooling, as trapped heat can cause design deformation.
You can also use a cooling rack to maximize airflow beneath the fabric, enhancing heat dissipation efficiency. Implement these cooling methods promptly after transfer removal to preserve design integrity and maintain a crisp, durable finish on your T-shirt.
Handling Transfer Removal
Start by carefully lifting the transfer film from one corner, peeling it back slowly at a consistent angle to prevent any damage to the design. Maintain steady tension during removal to avoid lifting or distorting the print.
Use proper transfer techniques by following manufacturer guidelines on hot or cold peel methods. For hot peel, remove the film immediately after pressing; for cold peel, allow the shirt to cool before peeling.
Removal tips include checking the adhesive’s readiness and confirming the transfer is fully set to avoid incomplete separation. After removal, lay the T-shirt flat to cool completely, preventing wrinkles or shifting of the design.
Proper handling during transfer removal guarantees a clean, durable print and extends the lifespan of your heat press results.
Troubleshoot Common Heat Press Issues
When your heat press doesn’t perform as expected, identifying the root cause quickly can save both time and materials. Effective troubleshooting techniques hinge on understanding key factors in heat press maintenance. Start by examining these common issues:
- Uneven Heat Distribution: Check the platen’s surface for debris or damage; clean it and verify temperature settings with an accurate thermometer.
- Inconsistent Pressure: Inspect the pressure adjustment knob and guarantee it’s calibrated evenly across the platen to avoid patchy transfers.
- Timer Malfunctions: Confirm the timer’s functionality by running test cycles and reviewing the control panel for error codes.
Keep Your Heat Press in Top Shape
Addressing common heat press issues promptly helps maintain ideal performance, but regular upkeep prevents many problems from arising in the first place. For effective heat press maintenance, start by cleaning the platen after each use with a non-abrasive cloth and a mild cleaning solution to remove residue. Avoid harsh chemicals that can damage the surface.
Inspect electrical connections and cords regularly to guarantee safety and functionality. Lubricate moving parts monthly using manufacturer-recommended lubricants to maintain smooth operation. Calibrate temperature and pressure settings periodically with a reliable thermometer and pressure gauge to ensure consistent transfers.
Keep the workspace dust-free to prevent debris buildup inside the machine. By following these cleaning techniques and maintenance steps, you guarantee your heat press remains reliable, extends its lifespan, and produces high-quality results every time.
Frequently Asked Questions
Can I Use a Heat Press on Materials Other Than Cotton?
You can use a heat press on polyester and blends, essential for sublimation printing. Verify material compatibility by checking heat tolerance and surface coating.
Cotton works well, but synthetic fabrics often yield better sublimation results.
What Types of Designs Work Best With a Heat Press?
Vinyl designs and sublimation printing shine like stars under your heat press. You’ll want crisp, bold graphics with clear edges for vinyl and vibrant, full-color images for sublimation printing, ensuring flawless adhesion and vivid results every time.
How Long Does a Heat Press Machine Usually Last?
A heat press lifespan typically ranges from 5 to 10 years. You’ll extend it by following maintenance tips like regularly cleaning the platen, checking pressure settings, and inspecting electrical components for wear or damage.
Are There Any Safety Hazards With Prolonged Heat Press Use?
Yes, prolonged exposure to heat presses poses heat safety risks like burns and heat exhaustion. You should wear protective gloves, guarantee proper ventilation, take breaks, and avoid direct skin contact to minimize hazards during extended use.
Can I Use a Home Iron Instead of a Heat Press?
You can use a home iron for heat transfer, but it won’t provide consistent pressure or temperature like a heat press.
For best results, apply firm, even pressure and maintain the correct temperature and time manually.
Conclusion
Now that you’ve mastered using your heat press, you’re ready to create flawless transfers with precision and care. Just like a skilled scribe with a quill, your attention to temperature, timing, and pressure guarantees a perfect imprint every time.
Keep troubleshooting minor issues promptly and maintain your machine regularly to extend its lifespan. Follow these steps consistently, and your T-shirt designs will always come out crisp, vibrant, and professionally finished.
By understanding how to use a T shirt heat press effectively, you ensure every project achieves the best possible results with ease and confidence.