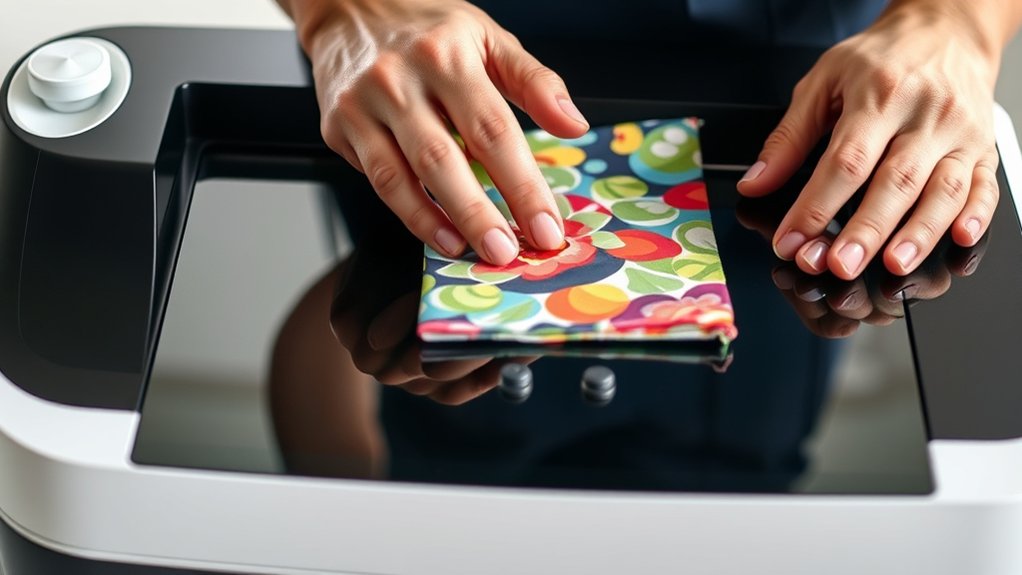
To use your Cricut heat press, start by placing the item on a stable, heat-resistant surface and smoothing out any wrinkles.
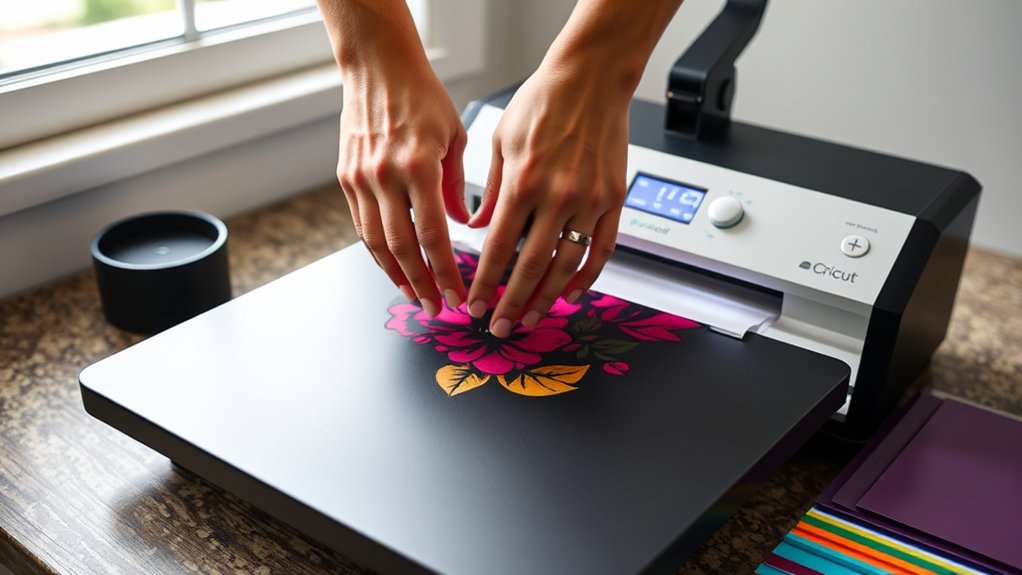
Position your heat transfer vinyl design face down on the material.
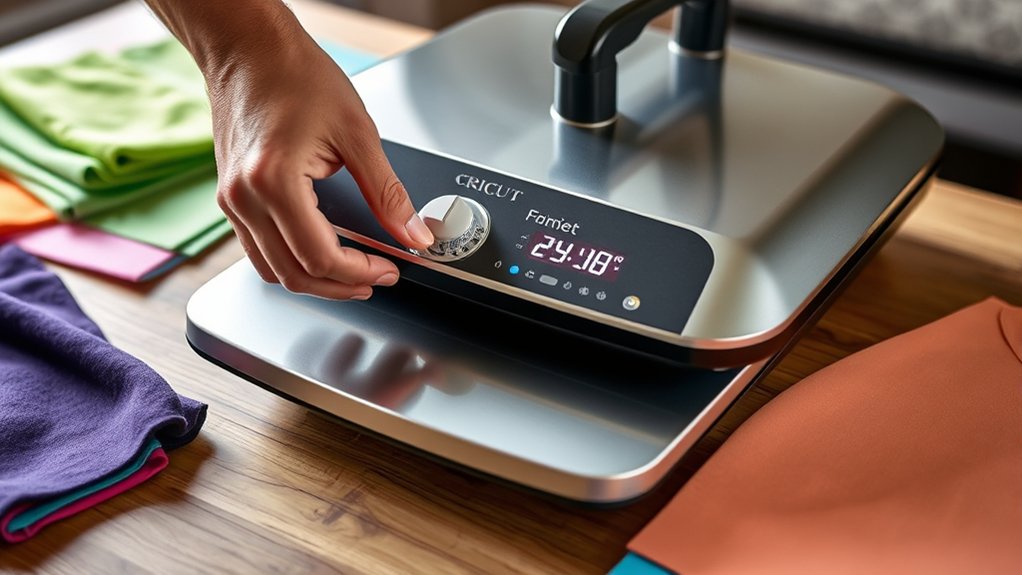
Set the press to the correct temperature and time based on your material—usually around 315°F for cotton—and apply firm, even pressure.
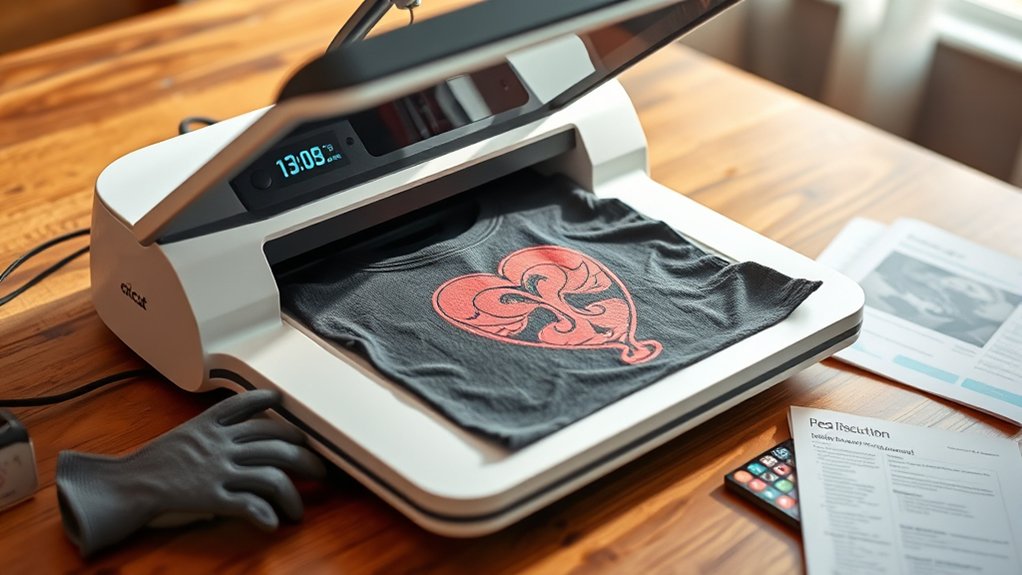
After pressing, peel the transfer sheet carefully as directed.
Follow these steps to get crisp, lasting transfers, and keep exploring for tips on perfecting your technique and troubleshooting.
Key Takeaways
- Place your fabric or item flat on the heat press base, smoothing out any wrinkles before starting.
- Position the heat transfer vinyl design face down on the material for accurate placement.
- Set the temperature and timer on the heat press according to your material’s specifications.
- Lower the heat press firmly, applying consistent pressure for the recommended time duration.
- Carefully peel the transfer sheet following the warm or cold peel instructions to complete the process.
Setting Up Your Cricut Heat Press
Before you start pressing, make sure you place your Cricut Heat Press on a stable, heat-resistant surface to assure safety and maximum performance. Begin by unpacking the heat press accessories, such as the heat-resistant mat, Teflon sheets, and protective gloves.
Organize these items neatly within your workspace to keep everything accessible and prevent clutter. Make certain your workspace organization allows you to move smoothly between tasks without reaching over hot surfaces.
Plug in the heat press and check for any visible damage or loose parts before powering on. Set the temperature and timer according to your project specifications but don’t turn it on until you’re ready.
Proper setup minimizes risks and prepares you for efficient, accurate heat pressing every time.
Using Your Cricut Heat Press Step-by-Step
Once your Cricut Heat Press is properly set up and preheated to the correct temperature, you’re ready to begin the pressing process. To guarantee flawless heat transfer on your design projects, follow these steps precisely:
With your Cricut Heat Press preheated and ready, follow precise steps to ensure perfect heat transfers every time.
- Position your fabric or item on the heat press base, smoothing out wrinkles.
- Place your heat transfer vinyl design face down on the material where you want it.
- Lower the heat press firmly, applying consistent pressure for the recommended time.
- Carefully lift the press and peel the transfer sheet according to instructions, usually warm or cold.
Choosing Materials and Heat Settings for Cricut Heat Press
Selecting the right materials and adjusting the heat settings accurately are essential steps to guarantee your Cricut Heat Press delivers professional-quality results. First, check the material compatibility; your heat press works best with cotton, polyester blends, and heat-transfer vinyl (HTV).
Avoid materials sensitive to high temperatures like nylon or leather unless specified. Next, consult the Cricut heat settings chart to find the exact temperature, pressure, and time for your chosen material. For example, cotton typically requires 315°F for 30 seconds with medium pressure.
Adjust the heat settings on your press accordingly to match these guidelines. Using the correct material and heat settings prevents damage, guarantees proper adhesion, and produces crisp, durable transfers every time you press.
Tips for Perfect Cricut Heat Press Transfers
Achieving flawless heat press transfers requires careful attention to preparation and technique. To master your Cricut heat press, follow these essential tips:
- Preheat your material to remove moisture, ensuring better adhesion.
- Adjust pressure settings precisely. Too much pressure can distort the design, and too little causes incomplete transfer.
- Use proper transfer techniques: align your design carefully and cover it with a Teflon sheet or parchment paper to protect both the press and material.
- Apply consistent heat and pressure for the recommended time, avoiding lifting the press too early to prevent peeling.
Troubleshooting Common Cricut Heat Press Problems
If your heat press transfers aren’t coming out as expected, identifying the root cause quickly can save you time and materials. Start by checking the temperature and pressure settings; incorrect calibration is a common issue.
Use a reliable thermometer to verify the heat press’s actual temperature, and adjust pressure to guarantee even contact. Inspect your heat press for wear or damage. Regular heat press maintenance prevents uneven heating and mechanical failures.
If the transfer peels or bubbles, lower the heat or reduce pressing time. Sticky or incomplete transfers may require a cleaner or fresh transfer sheets. Always test on scrap material before final pressing.
These troubleshooting tips help you maintain consistent results and extend your heat press’s lifespan.
Frequently Asked Questions
Can I Use My Cricut Heat Press for Commercial Purposes?
Yes, you can use your Cricut Heat Press for commercial use, but make certain you understand licensing restrictions.
Managing your profit margins carefully is vital since material costs and machine wear impact your overall earnings.
What Safety Precautions Should I Take When Storing the Heat Press?
You should store your heat press in a cool, dry storage environment to prevent rust and damage. For example, a user who neglected heat press maintenance found warped plates after a humid summer.
Always clean and cover it properly.
How Does the Cricut Heat Press Compare to Other Brands?
You’ll find Cricut vs. competitors stands out with precise temperature control, even heat distribution, and user-friendly features. Its compact design and customizable settings make heat press tasks easier and more efficient compared to other brands.
Are There Any Recommended Accessories to Enhance the Heat Press Experience?
Oh, you definitely don’t need Teflon sheets, heat resistant gloves, silicone mats, or pressing pillows unless you want perfect transfers and safety. Use these accessories precisely to protect surfaces, guarantee even heat, and prevent burns for flawless results.
Can the Cricut Heat Press Be Used on Curved or Irregular Surfaces?
You can’t use the Cricut heat press directly on curved surfaces or irregular items since it requires a flat, firm surface for even heat application. Instead, consider using a heat-resistant pad or specialized press for those shapes.
Conclusion
Now that you know how to set up and use your Cricut heat press, don’t worry if it seems tricky at first—it gets easier with practice. Just follow the recommended heat settings for your materials, and you’ll achieve flawless transfers every time. Remember, patience and precision are key.
If a transfer isn’t perfect initially, adjust your time or pressure slightly. With these steps, you’ll create professional-quality projects confidently and efficiently. Mastering how to use a Cricut heat press will open up countless creative possibilities for your crafting projects.