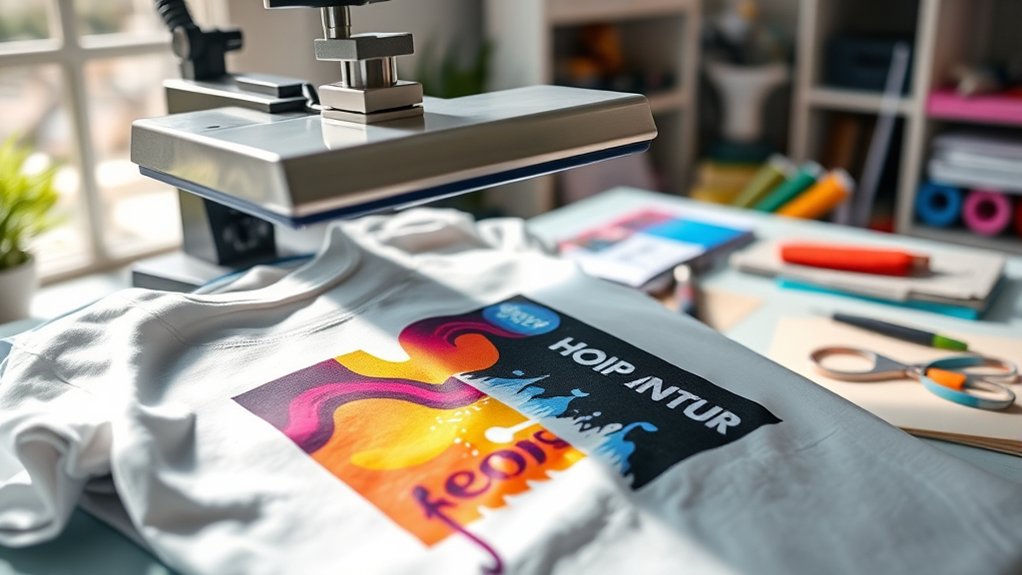
To make shirts with a heat press, start by choosing 100% cotton or cotton-poly blends and appropriate transfer materials like heat transfer vinyl. These materials work best for transferring designs cleanly and durably onto fabric.
Preheat your heat press to the manufacturer’s specified temperature, typically between 320°F and 350°F. Set the pressure according to the thickness of the fabric to ensure proper adhesion.
Lay the shirt flat on the press platen and center your design carefully. Press for the recommended time, usually between 10 to 20 seconds, depending on the vinyl and fabric type.
After pressing, allow the shirt to cool completely before washing to set the transfer properly. Wash with gentle care using cold water to maintain the design’s longevity.
Mastering these steps guarantees quality results. Explore further to refine your technique and troubleshoot common issues that may arise during the heat pressing process.
Key Takeaways
- Choose suitable fabric like 100% cotton or cotton-poly blends and select compatible heat transfer vinyl or sublimation paper.
- Lay the shirt flat, align the design precisely, and secure it with heat-resistant tape if needed before pressing.
- Set the heat press to the recommended temperature and pressure based on material and fabric thickness.
- Press the design for the manufacturer’s suggested time, then allow the shirt to cool completely before handling.
- Wash shirts in cold or warm water on gentle cycles and avoid high heat drying to preserve the print quality.
Choose Heat Press Shirts and Transfer Materials
Before you begin pressing, you need to select shirts and transfer materials compatible with your heat press machine. Focus on fabric selection first; 100% cotton or cotton-poly blends work best due to their heat tolerance and ink absorption. Avoid fabrics with polyester above 50% to prevent melting or poor adhesion.
Next, choose transfer materials suited to your fabric type. Use heat transfer vinyl (HTV) for cotton blends or sublimation paper strictly for polyester items. Your design inspiration should guide both fabric and transfer choice to guarantee color vibrancy and durability.
Verify that your transfer material’s specifications align with your heat press capabilities. Proper alignment between fabric and transfer material guarantees ideal heat distribution, preventing incomplete transfers or scorching. This precise preparation sets the foundation for a successful heat press project.
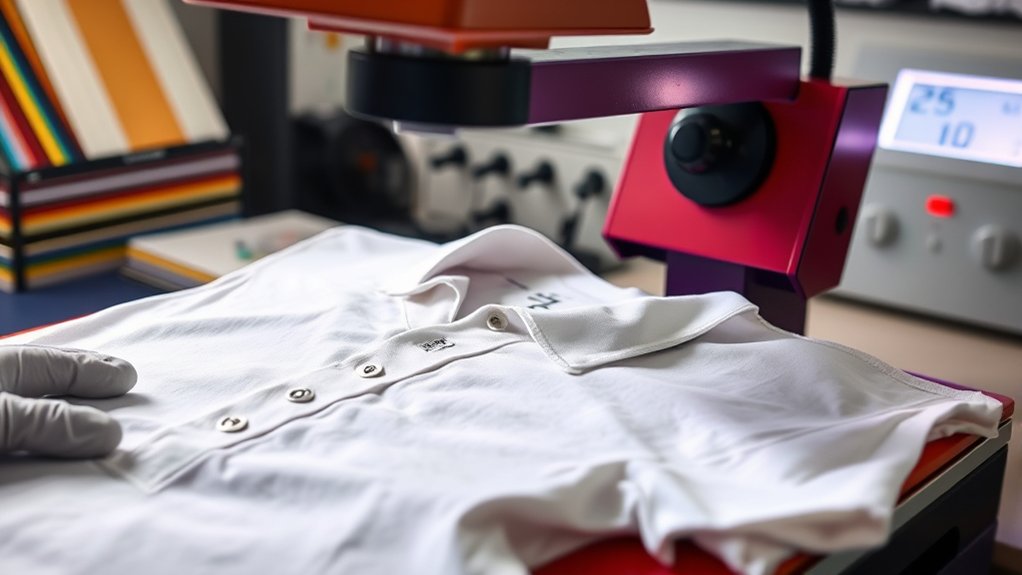
Get Your Heat Press Ready: Temperature, Pressure, and Timing
Setting your heat press to the correct temperature, pressure, and timing is essential for achieving crisp, durable transfers. Start by performing temperature calibration to guarantee accuracy, as even slight deviations impact transfer quality.
Adjust pressure based on fabric thickness; too much can damage material, too little causes poor adhesion. Timing must align with the transfer material’s specifications. Don’t forget regular heat press maintenance to keep performance consistent.
Proper pressure and timing tailored to your fabric ensure flawless transfers and consistent heat press performance.
Calibrate temperature with a heat gun or thermal sensor before each session. Set pressure using the machine’s pressure dial or adjustment knob. Follow manufacturer’s recommended timing for your transfer type.
Perform routine cleaning of the heat platen to avoid residue buildup. Inspect and replace worn silicone pads to maintain even pressure.
These steps guarantee ideal transfer results and prolong your heat press’s lifespan.
Position and Press Your Shirt Correctly
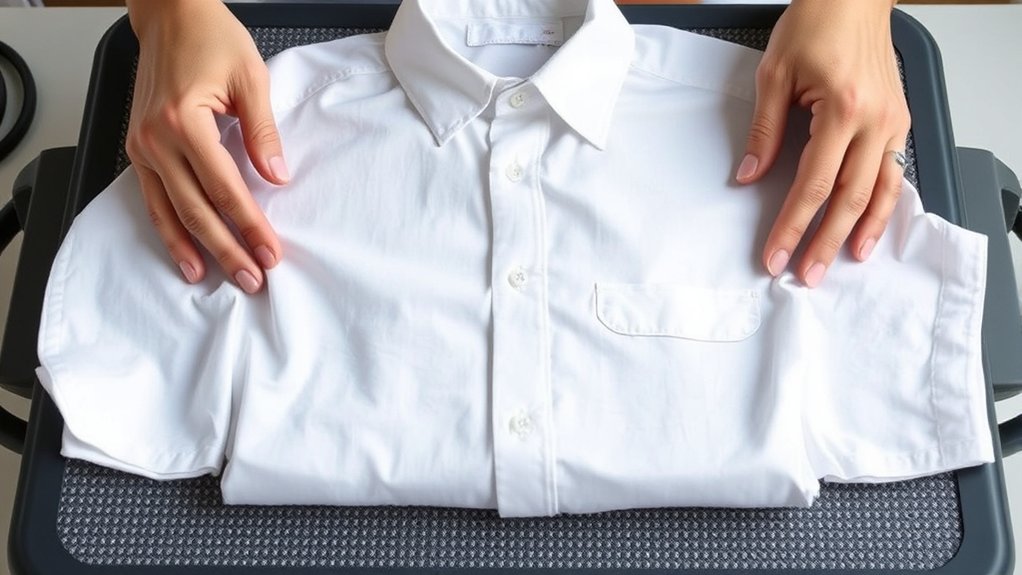
Start by laying your shirt flat on the heat press platen, making certain the fabric is smooth and free of wrinkles or folds. Proper positioning is critical. Align the shirt so the design area is centered and straight.
Use the platen edges as reference points for shirt alignment to avoid off-center prints. Secure the shirt with heat-resistant tape if needed to maintain position during pressing. Close the press firmly, applying consistent pressure based on your fabric type.
| Step | Action | Tip |
|---|---|---|
| 1. Shirt Alignment | Center design on platen | Use platen edges as guides |
| 2. Positioning | Lay shirt wrinkle-free | Smooth fabric before pressing |
| 3. Pressure | Close press with firm pressure | Adjust pressure per fabric |
This guarantees ideal transfer quality and reduces shifting errors.
Cure and Cool Your Heat Press Shirts Properly
You need to cure your heat press shirts at the ideal temperature, typically between 320°F and 350°F, to guarantee the design sets correctly.
After pressing, use proper cooling techniques, like air cooling or placing the shirt on a flat surface, to prevent adhesive damage. Timing is essential; let the shirt cool for at least 24 hours before washing or wearing for the best durability.
Ideal Curing Temperatures
Although achieving the right temperature is crucial, knowing how to cure and cool your heat press shirts properly guarantees durability and vibrancy. The perfect temperature ranges typically fall between 320°F and 350°F, but you must adjust based on fabric and transfer type. Curing times usually range from 10 to 20 seconds, confirming ink or vinyl fully bonds without scorching.
To master ideal curing temperatures, follow these guidelines:
- Preheat your heat press to the recommended temperature range for your material.
- Use a timer to maintain consistent curing times.
- Avoid overheating, which can weaken fabric fibers.
- Conduct test presses to verify best temperature and time.
- Monitor ink or vinyl adherence visually and by touch after curing.
Applying these steps guarantees your shirts remain vibrant and long-lasting.
Cooling Techniques Explained
Properly curing your heat-pressed shirts doesn’t end once the heat and pressure cycle stops; managing cooling effectively is just as important to lock in the design’s durability. Different cooling methods influence the final quality of your heat transfer. You want to avoid premature handling and rapid cooling that causes cracking or peeling.
| Cooling Method | Description | Best For |
|---|---|---|
| Air Cooling | Let shirts cool naturally in open air | Most heat-sensitive fabrics |
| Fan Cooling | Use gentle airflow to speed cooling | Large batches |
| Pressed Cooling | Place a protective sheet and apply light pressure | Flattening prints |
Choose your cooling method based on fabric type and production volume to guarantee ideal design longevity and color vibrancy.
Timing for Best Results
Anyone aiming for ideal heat press results must master the timing of both curing and cooling phases. Precise timing techniques assure the ink or vinyl adheres correctly and longevity is maximized. You need to follow optimal durations tailored to your shirt material and transfer type to avoid under- or over-curing.
Key timing techniques include:
Set curing times according to manufacturer recommendations.
Use a timer rather than guessing to maintain consistency.
Allow the shirt to cool completely on a flat surface before handling.
Avoid stacking shirts immediately after pressing to prevent moisture buildup.
Adjust durations based on ambient temperature and humidity for accuracy.
Implementing these steps guarantees durable prints and a professional finish every time you press your shirts.
Create Your Heat Press Shirt Design
Design creation forms the foundation of your heat press project, as it determines the final appearance of your shirt. Begin by gathering design inspiration from trends, themes, or personal creativity. Use graphic software like Adobe Illustrator or CorelDRAW to draft your artwork, guaranteeing vector formats for scalability.
Set your design dimensions to match your shirt size, maintaining proper resolution (300 DPI minimum) for crisp prints. Incorporate layers to separate colors and elements, simplifying adjustments. Convert text to outlines to avoid font issues during printing.
Once finalized, mirror your design horizontally, especially for heat transfer vinyl or sublimation prints, to guarantee correct orientation on the fabric. Save your file in compatible formats such as PNG or SVG, ready for cutting or printing. This meticulous preparation assures a sharp, professional heat press shirt design.
Troubleshoot Heat Press Shirt Issues
When your heat press shirt doesn’t turn out as expected, identifying the root cause quickly can save time and materials. Common heat press problems usually stem from incorrect temperature, pressure, or timing settings.
Use these troubleshooting tips to diagnose and fix issues efficiently:
Verify temperature accuracy with an external thermometer to avoid overheating or underheating.
Check pressure distribution; uneven pressure causes incomplete transfers or ghosting effects.
Confirm time settings align with your transfer material requirements to prevent peeling or cracking.
Inspect the heat platen surface for debris or damage that may impact transfer quality.
Ascertain proper alignment of the design to avoid crooked or misplaced prints.
Care and Wash Your Heat Press Shirts
You should wash your heat press shirts in cold or warm water to prevent damage to the transfer. Avoid high heat when drying; opt for air drying or a low-heat setting instead.
For stains, treat them gently with mild detergent before washing to maintain the print’s integrity.
Washing Temperature Guidelines
Although heat press shirts are durable, washing them at the correct temperature is essential to maintaining the design’s integrity. Following proper washing guidelines based on fabric types prevents damage to both fabric and print. Typically, lower temperatures prolong the life of heat press designs, especially on synthetic blends.
Here are key washing temperature guidelines to follow:
Wash cotton shirts at or below 40°C (104°F) to avoid color fading and print cracking.
Use cold water (around 30°C/86°F) for polyester or polyester blends to prevent print melting.
Avoid hot water above 60°C (140°F); it can degrade heat press adhesives.
Always check garment labels for specific fabric care instructions.
When uncertain, opt for the lowest temperature setting to maximize shirt and print longevity.
Drying Method Recommendations
How should you dry heat press shirts to preserve both fabric quality and print durability? The best method is air drying. Hang your shirts on a clothesline or lay them flat on a drying rack in a well-ventilated area. This minimizes heat exposure, preventing the print from cracking or peeling and maintaining fabric integrity.
If you must use tumble drying, select a low heat or delicate setting to reduce thermal stress. Avoid high temperatures, as they degrade both the adhesive and fabric fibers. Always turn shirts inside out before tumble drying to shield the print. Avoid over-drying, which can cause brittleness.
Handling Stains Properly
When stains appear on heat press shirts, prompt and proper treatment prevents damage to both fabric and print. You must identify the fabric types first, as synthetic blends react differently than cotton during stain removal. Avoid harsh chemicals that can deteriorate heat-pressed designs. Instead, gently blot stains with cold water and use a mild detergent suited for the fabric.
Follow these steps for effective stain removal:
Test stain remover on a hidden area to ascertain fabric and print safety.
Apply stain remover sparingly and let it sit briefly.
Use a soft brush to agitate fabric fibers without damaging the print.
Rinse with cold water to prevent setting the stain.
Air dry the shirt; avoid heat dryers that can fix stains permanently.
Handle stains swiftly to preserve your heat press shirts’ longevity.
Frequently Asked Questions
Can I Use a Heat Press for Materials Other Than Cotton?
Yes, you can use a heat press for various materials beyond cotton. Always check fabric compatibility. Synthetics like polyester require lower temperatures.
Adjust heat press settings accordingly to prevent damage and guarantee proper adhesion with heat press materials.
What Safety Precautions Should I Take When Using a Heat Press?
Like walking on eggshells, prioritize heat press safety by wearing heat-resistant gloves and keeping your workspace clear. Regular equipment maintenance guarantees smooth operation and prevents accidents.
Always unplug the heat press before cleaning or adjusting to avoid burns.
How Long Does a Heat Press Machine Typically Last?
A heat press longevity typically ranges 5-10 years, depending on usage. You’ll extend its lifespan by regularly cleaning the platen, checking pressure settings, lubricating moving parts, and promptly addressing mechanical issues with proper maintenance tips.
Are There Eco-Friendly Heat Transfer Materials Available?
Yes, you’ll find eco friendly options like water-based inks and biodegradable vinyl. Choose sustainable materials made from organic cotton or recycled polyester to reduce environmental impact while maintaining high-quality heat transfer results on your shirts.
Can I Start a Small Business With Just a Heat Press?
You can start a small business with just a heat press, but guarantee business profitability by conducting thorough market research. Analyze target demographics, pricing strategies, and competition to optimize production efficiency and maximize your return on investment.
Conclusion
Now that you’ve mastered choosing materials and setting your heat press with precision, imagine the crisp imprint of your design perfectly fused onto fabric. By positioning your shirt accurately and controlling temperature, pressure, and timing, you guarantee lasting durability.
Remember to cure and cool your creation thoroughly to lock in quality. With proper care, your heat-pressed shirts will maintain vibrant designs wash after wash, showcasing your craftsmanship in every thread.
This attention to detail ensures that your efforts in how to make shirts with heat press result in professional, long-lasting apparel that stands out.