To make shirts with a heat press, start by selecting compatible shirts and transfer materials suited to your fabric. Using a heat press ensures your designs adhere properly and last longer.
Prepare your high-resolution design, then position the shirt flat on the lower platen. Align the transfer paper carefully, close the press, and apply the recommended temperature (around 320°F–375°F), pressure, and timing for your materials.
Peel the transfer sheet per instructions to reveal your design. Mastering these core steps sets the foundation for precise customization and durability.
Further insights can help improve your process efficiency and care techniques.
Key Takeaways
- Choose a compatible shirt material like cotton or polyester blends for effective heat transfer.
- Design high-resolution artwork with contrasting colors and prepare transfer paper suited for the fabric.
- Preheat the heat press machine to recommended temperature and pressure settings for your transfer material.
- Position the shirt flat on the lower platen, align transfer paper accurately, then press with consistent pressure.
- Peel transfer paper as instructed, then care for shirts by washing inside out with cold water and avoiding direct ironing on designs.
Essential Tools and Materials for Heat Press Shirts
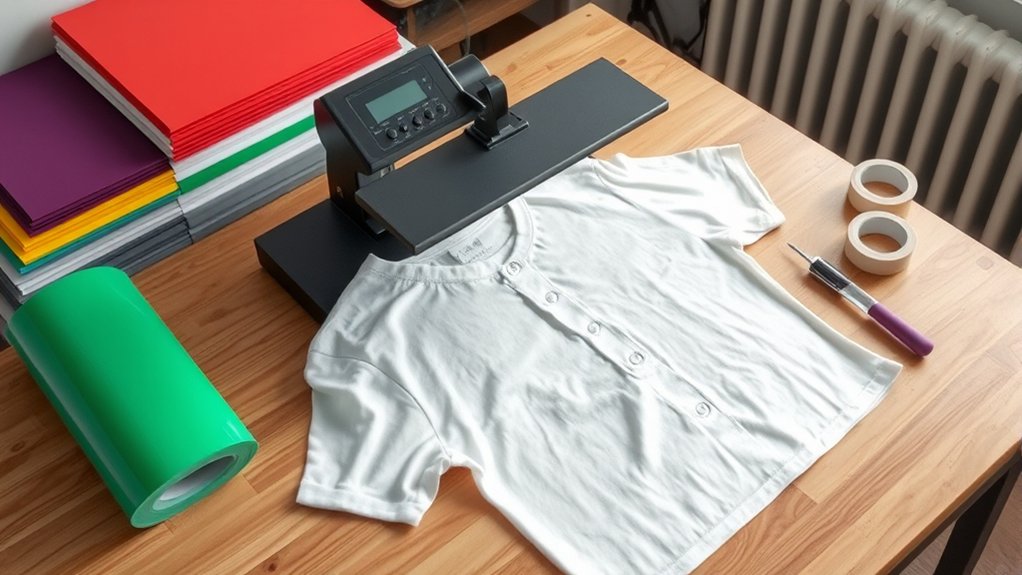
To create high-quality heat press shirts, you need specific tools and materials that assure accuracy and durability. Start with a reliable heat press machine capable of consistent temperature and pressure control. Precision in these settings guarantees ideal transfer results.
Essential materials include heat-resistant silicone pads to protect your shirts and evenly distribute pressure. Use Teflon sheets or parchment paper to shield the transfer surface from scorching or adhesive residue.
You’ll also require high-quality heat transfer vinyl or printable transfer sheets compatible with your heat press. A digital timer and temperature gauge integrated into the heat press help maintain exact processing conditions.
Choosing the Right Shirt and Transfer Paper
You’ll want to select shirts made from materials compatible with heat transfer, like cotton or polyester blends, to guarantee proper adhesion and durability.
Next, choose transfer paper designed specifically for your shirt material and printer type, whether inkjet or laser. Matching the right paper and shirt material is critical for achieving sharp, lasting prints without damage.
Shirt Material Selection
Selecting the right shirt and transfer paper greatly impacts the quality and durability of your heat press designs. Start by choosing shirts made from cotton blends, as they provide an ideal surface for heat transfer adherence while maintaining comfort.
Avoid 100% synthetic fabrics, which can melt or distort under heat. Moisture-wicking materials require special attention; opt for blends with higher cotton content to guarantee transfer longevity.
Verify the fabric’s heat tolerance by consulting manufacturer specifications to prevent scorching. Pre-test a small area if possible.
Additionally, verify that the shirt’s surface is smooth and free of coatings that could interfere with transfer adhesion. By carefully selecting your shirt material, you set a strong foundation for precise, durable heat press results every time.
Transfer Paper Types
Although choosing the right shirt material is essential, matching it with the appropriate transfer paper guarantees perfect adhesion and image quality. You must consider the ink types used in your design, as not all papers support every ink formulation. Paper compatibility with your shirt’s fabric affects durability and color vibrancy after heat pressing.
Focus on these key transfer paper types:
Inkjet Transfer Paper: Designed for inkjet inks; perfect for cotton and light-colored fabrics.
Laser Transfer Paper: Compatible with toner-based inks; works best on polyester and dark fabrics.
Sublimation Paper: Requires polyester fabric; uses sublimation inks for permanent, vibrant prints.
Selecting the correct transfer paper guarantees precise heat transfer, maximum washability, and professional results. Always verify ink types and paper compatibility before proceeding.
Designing Artwork for Heat Press Shirts
You’ll start by selecting design software that supports high-resolution images and vector graphics for sharp prints. Focus on color choices that contrast well with your shirt fabric and stay within the printable color range of your heat press system.
Finally, prepare your artwork files by setting the correct dimensions, resolution, and file format to guarantee accurate transfer results.
Choosing Design Software
When preparing artwork for heat press shirts, choosing the right design software is essential to guarantee your graphics are crisp, scalable, and compatible with your cutting or printing equipment. Start by evaluating design software options that support vector graphics for scalability without quality loss.
You’ll want software that aligns with your graphic design basics, such as layering, path editing, and color management. Consider these key factors:
- Compatibility with your heat press cutter or printer file formats (e.g., SVG, EPS, PNG)
- Intuitive interface that streamlines workflow and reduces design time
- Robust editing tools for precision adjustments and clean outlines
Selecting software that meets these criteria guarantees your heat press designs transfer sharply and professionally onto shirts every time.
Color Selection Tips
After finalizing your design software and creating scalable artwork, focus on selecting colors that maintain vibrancy and contrast through the heat press process. Choose hues resistant to fading under heat and pressure, ensuring longevity.
Apply color psychology principles to evoke desired emotions. Use warm tones like red for energy or cool blues for calm. Factor in seasonal trends to enhance market relevance; for example, opt for pastels in spring or rich tones in fall.
Test your palette on sample fabrics to verify color accuracy post-press. Prioritize high contrast between the design and shirt color to maximize visibility. Avoid overly complex gradients that may lose definition.
Preparing Artwork Files
Preparing artwork files for heat press shirts involves optimizing your design to guarantee crisp, accurate transfers. Start by selecting the correct file formats. Vector files like .AI or .EPS assure scalability without loss of quality, while high-resolution raster files (.PNG, .TIFF) must meet resolution requirements, typically 300 DPI or higher.
Next, verify your artwork’s color mode is set to CMYK or RGB based on your printer’s specifications. Finally, confirm the design’s dimensions match the intended print area to prevent distortion.
- Use transparent backgrounds for precise placement
- Convert fonts to outlines to avoid substitution
- Check for and eliminate stray points or hidden layers
Following these steps assures your artwork files are perfectly prepared for heat pressing.
Preparing Your Heat Press and Workspace
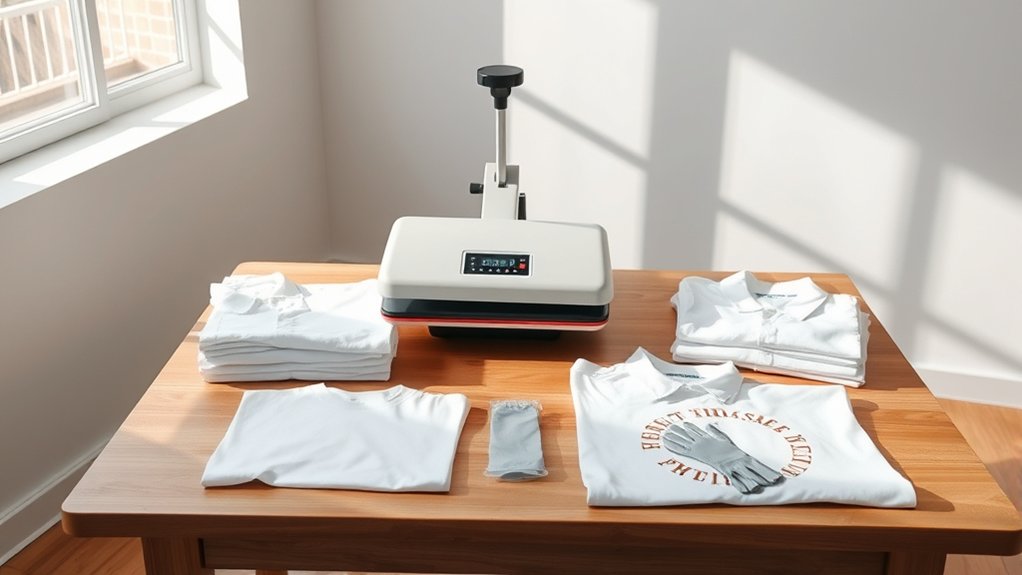
Before you begin operating your heat press, make certain that the workspace is clean, flat, and free of any debris that could interfere with the transfer process. Effective workspace organization minimizes errors and enhances safety.
Next, complete your heat press setup by verifying temperature, pressure, and timer settings per your transfer material requirements.
| Task | Key Considerations |
|---|---|
| Workspace Organization | Clear surface, accessible tools |
| Heat Press Setup | Calibrate temperature and pressure |
| Safety Measures | Wear heat-resistant gloves, check power supply |
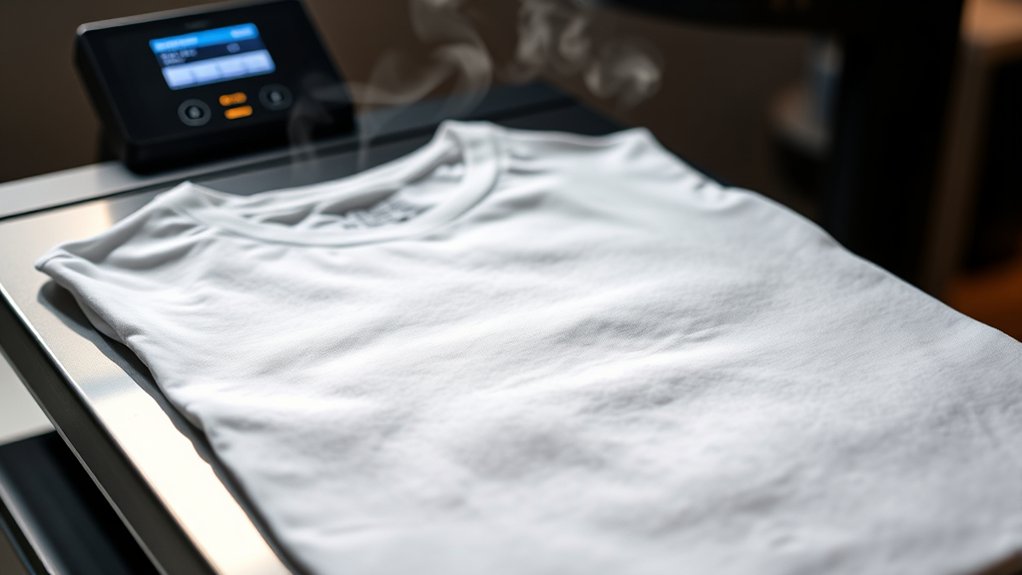
Ensure the heat press platen is clean to prevent image imperfections. Position your shirt evenly on the lower platen, maintaining a smooth surface.
Confirm that all adjustments meet the specifications outlined for your transfer type before proceeding. This preparation optimizes transfer quality and reduces rework.
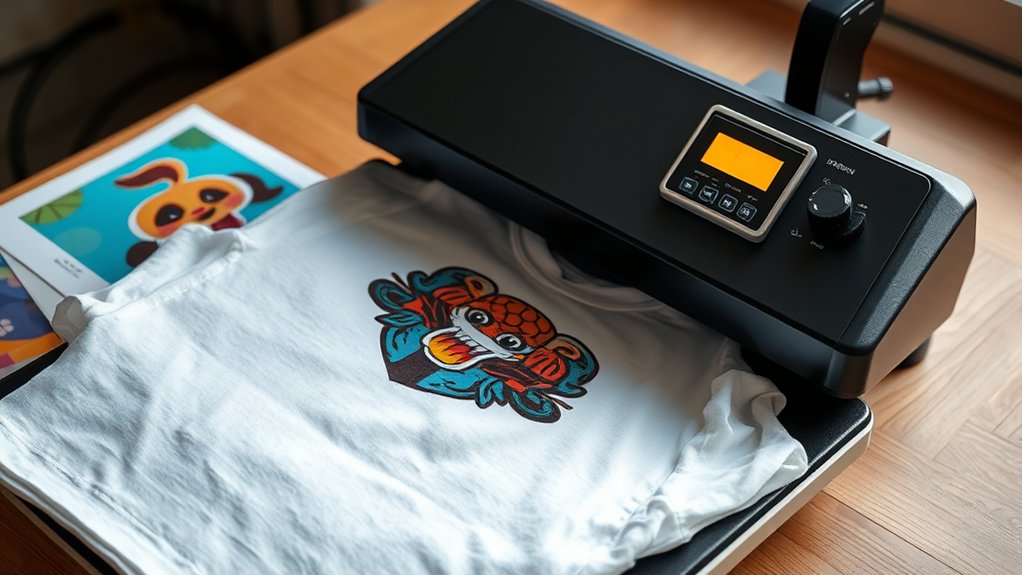
Heat Pressing Your Shirt: Step-by-Step
Start by placing your shirt securely on the lower platen, guaranteeing it lies flat without wrinkles or folds. Position your transfer paper or design on the desired shirt area, aligning it carefully to avoid misprints.
Close the heat press and apply consistent pressure, following recommended settings for temperature and time specific to your shirt material and transfer type. Use these key heat press techniques for ideal shirt printing results:
- Set temperature between 320°F–375°F depending on fabric type
- Apply medium to firm pressure for even heat distribution
- Time the press for 10–20 seconds, adjusting for transfer material
Once the timer ends, lift the upper platen carefully and peel the transfer paper according to instructions. This precise, step-by-step approach guarantees crisp, durable prints every time.
How to Avoid Common Heat Press Mistakes
Although mastering the heat press process is essential, avoiding common mistakes guarantees consistent, high-quality results. First, monitor temperature and pressure settings precisely; common errors include overheating or insufficient pressure, which can damage fabric or cause poor adhesion.
Use a reliable heat press calibration tool regularly to maintain accuracy. Next, verify correct placement of transfer materials to prevent misalignment. Pre-press your shirt to remove moisture and wrinkles, reducing transfer defects.
Always follow the manufacturer’s recommended time and temperature guidelines for your specific transfer type. For troubleshooting tips, inspect the transfer surface for debris that may cause imperfections and replace worn pads promptly.
Caring for Your Custom Heat Press Shirts
When you care for your custom heat press shirts properly, you extend their lifespan and preserve the design’s vibrancy. Follow precise washing instructions: always wash inside out, use cold water, and avoid bleach to prevent design fading.
For drying, opt for air drying or a low-heat setting to maintain fabric integrity.
Pay close attention to ironing techniques. Never iron directly on the printed design; instead, place a protective cloth over the area or iron the shirt inside out on a low setting. This prevents heat damage to the transferred image.
Remember these key steps:
Remember to wash inside out, avoid direct ironing on designs, and air dry or use low heat.
- Wash shirts inside out with cold water and mild detergent
- Avoid direct ironing on the design; use a protective barrier
- Air dry or use low heat to preserve fabric and print quality
Following this protocol keeps your heat-pressed shirts looking sharp longer.
Advanced Heat Press Techniques for Shirts
Maintaining your custom heat press shirts is one part of the process; mastering advanced heat press techniques elevates your shirt-making quality and efficiency. Begin by experimenting with layering different heat transfer vinyls to create textured, multi-dimensional designs.
Utilize precise temperature and pressure adjustments to accommodate various materials, ensuring ideal adhesion without damaging fabrics. Incorporate creative applications such as sublimation printing combined with heat pressing for vibrant, lasting images.
Employ time management strategies by preheating your press and organizing workflow to reduce downtime. Don’t overlook the importance of using heat-resistant tape and protective sheets to prevent shifting and scorching.
Frequently Asked Questions
Can I Use a Heat Press for Materials Other Than Cotton Shirts?
You can use a heat press for various materials beyond cotton, but you must consider material compatibility. Sublimation printing works best on polyester or polymer-coated substrates, ensuring vibrant results and proper heat transfer during the process.
How Long Does a Heat Press Machine Typically Last?
Your heat press can last like a well-oiled machine, typically 5-10 years. Durability factors include usage frequency and build quality.
Regular maintenance tips, like cleaning and calibration, extend its lifespan and guarantee consistent performance.
Is It Safe to Use a Heat Press at Home Without Professional Training?
Yes, you can safely use a heat press at home without professional training by strictly following safety precautions: wear heat-resistant gloves, keep the area clear, never leave it unattended, and carefully follow the manufacturer’s operating instructions.
What Is the Best Way to Remove a Heat Transfer if Placed Incorrectly?
For heat transfer removal and correcting mistakes, gently reheat the transfer with the heat press. Then carefully peel it off using a heat-resistant tool.
Clean residue with adhesive remover to prepare for reapplication or replacement.
How Do I Troubleshoot Uneven Heat Distribution on My Shirt?
Check your heat settings first, ensuring they match your material’s requirements. Then adjust pressure evenly across the platen, recalibrate your heat press if needed, and perform test presses to confirm consistent heat distribution before final application.
Conclusion
Now that you’ve mastered the essentials of heat pressing shirts, you’re ready to create custom designs with precision and efficiency—no need to rely on quill and parchment! By selecting the right materials, prepping your workspace, and following each step carefully, you’ll avoid common pitfalls and produce professional-quality results every time.
Keep refining your technique, and don’t forget to care for your creations properly to guarantee they last as long as your craftsmanship demands. With patience and practice, your skills will improve steadily.
In conclusion, mastering how to make shirts with a heat press ensures your designs come out crisp and durable, making your custom apparel stand out every time.