To make heat press transfers, start by designing vibrant artwork at high resolution.
Print your design mirrored onto compatible transfer paper to ensure it appears correctly on the fabric.
Preheat your heat press and set the appropriate temperature and pressure based on the fabric type.
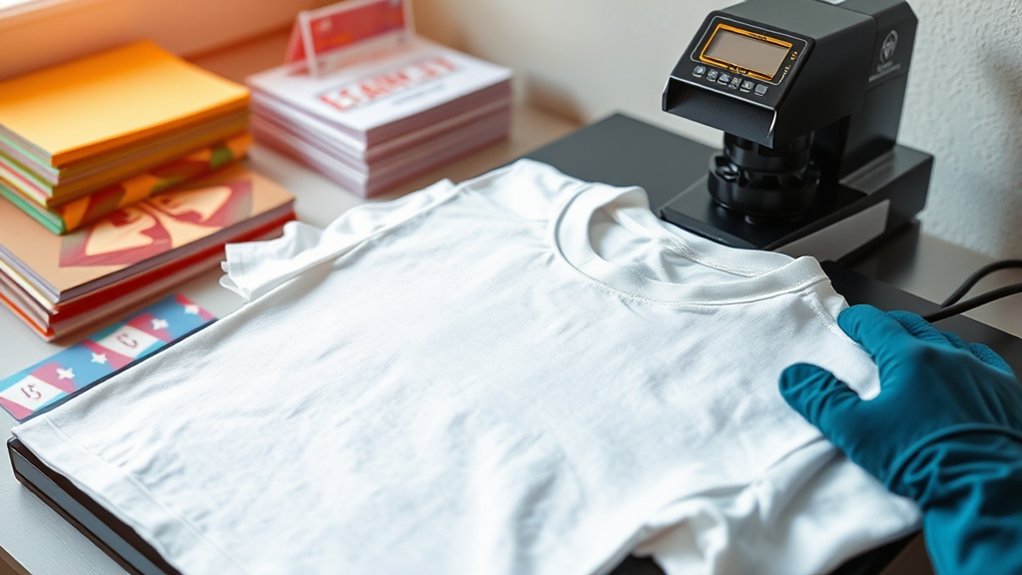
Position the transfer carefully on a smooth, wrinkle-free garment to avoid imperfections.
Apply steady heat and pressure for the precise amount of time needed to bond the ink beautifully without dulling colors.
Once cooled, peel off the protective layers to reveal your crisp, vibrant design.
Explore further techniques to master timing, fabric choices, and achieve perfect finishes for professional-quality heat press transfers.
Key Takeaways
- Design high-resolution artwork with vibrant colors, mirror it, and print on compatible transfer paper using highest quality printer settings.
- Prepare garments by smoothing wrinkles and properly positioning the transfer for accurate alignment before pressing.
- Set heat press machine to correct temperature, pressure, and timing based on fabric and transfer paper specifications.
- Apply steady, even pressure with the heat press and use protective sheets to ensure clean and durable adhesion.
- Assess final transfer quality by checking color vibrancy, adhesion, and durability, including wash testing for long-term performance.
Materials Needed for Heat Press Transfers
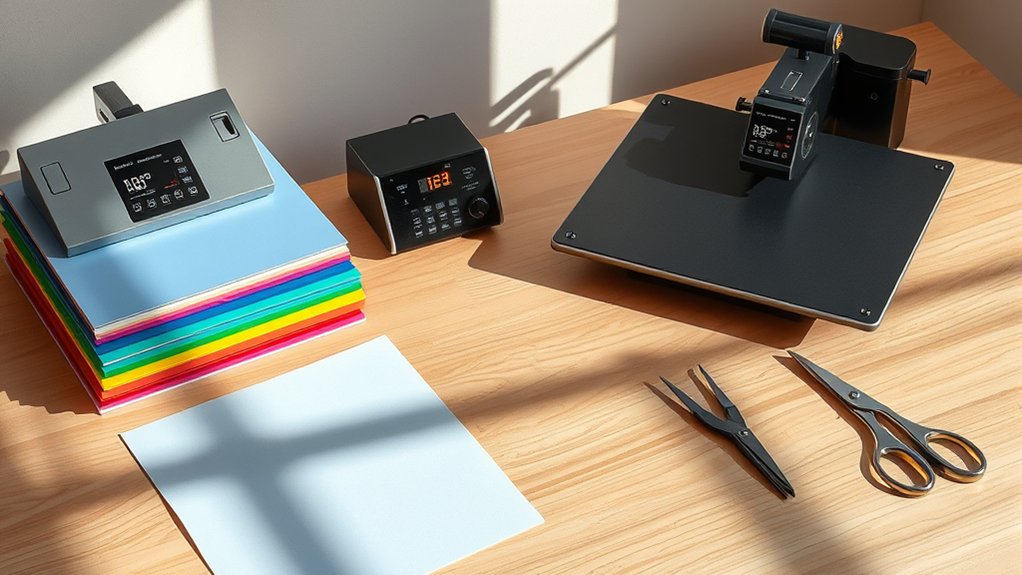
Before you start your heat press project, gather all the essential materials to guarantee a smooth process. You’ll need your heat press machine, the heart of your operation, ready to deliver consistent heat and pressure.
Next, choose the right transfer paper types, whether it’s inkjet or laser-compatible, or specialty papers for fabrics like cotton or polyester. Each transfer paper reacts differently under heat, so selecting the perfect one assures vibrant, lasting designs.
Don’t forget high-quality blank garments or items to press onto, alongside protective sheets to shield your work surface. Having these materials organized before you begin helps you avoid interruptions and keeps your workflow efficient, setting you up for a successful heat press transfer every time.
Designing Artwork for Heat Press Transfers
When designing your artwork for heat press transfers, you’ll want to pick colors that pop and stay vibrant after pressing. Verify your design’s resolution is crisp and clear, so every detail shines on your final product.
Paying attention to these elements guarantees your creation looks professional and eye-catching.
Choosing The Right Colors
Although selecting colors might seem straightforward, choosing the right palette for your heat press transfer can make all the difference between a vibrant, eye-catching design and a dull, lifeless print. You’ll want to lean on color theory to create harmony and contrast that pops.
Start by selecting complementary colors, those opposite each other on the color wheel, to make your artwork jump off the fabric. For example, pairing rich blues with bright oranges adds energy and balance.
Consider how colors interact under heat press conditions; some hues may darken or fade, so test samples first. Keep your base fabric color in mind, too, as it influences how your colors appear.
Optimizing Design Resolution
Since every pixel counts in heat press transfers, optimizing your design’s resolution guarantees crisp, vibrant results that don’t blur or pixelate when printed. Start by setting a high image resolution, ideally 300 DPI or higher, to ascertain every detail pops.
If you want scalability without loss of quality, lean on vector graphics; they maintain sharp edges regardless of size, perfect for intricate designs. Avoid stretching raster images beyond their native resolution, as this invites unwanted fuzziness.
Zoom in and scrutinize fine lines and text to confirm clarity before printing. Remember, a well-optimized design will translate into a flawless heat press transfer, bringing your artwork to life with sharp contrasts and vivid colors.
Your attention to image resolution directly impacts the professional feel of the final product.
Printing Your Heat Press Transfer on Transfer Paper
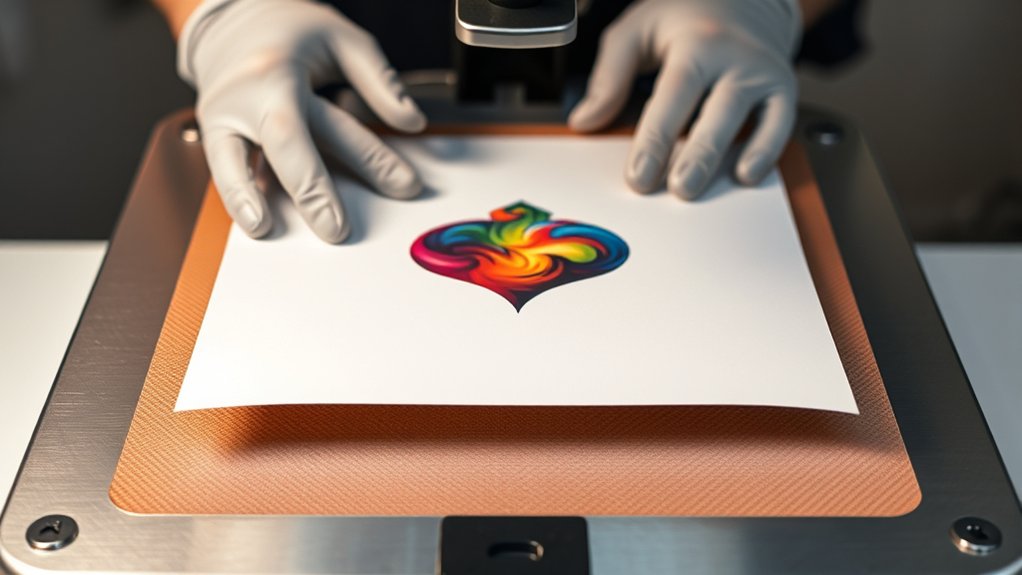
Before you hit print, pick the right transfer paper that matches your fabric and printer type to guarantee vibrant, lasting colors. Adjust your printer settings carefully, mirror the image, and select the highest quality print mode for sharp, detailed transfers. These small tweaks set the stage for a flawless heat press result.
Choosing Transfer Paper
Choosing the right transfer paper is the first essential step in bringing your heat press designs to life with vivid clarity and durability. You’ll want to explore various transfer paper types, each tailored for different fabrics and ink types.
For example, cotton-friendly papers differ from those for polyester blends, ensuring your design adheres perfectly without fading or cracking. Don’t overlook trusted transfer paper brands; reputable names often guarantee consistent quality and vibrant results.
Picture the glossy finish of a top-tier paper enhancing your bright, intricate image or the matte texture that suits subtle, elegant designs. By selecting the ideal transfer paper type and brand, you set a solid foundation for your project, ensuring that every detail transfers crisply and stays vivid wash after wash.
Printer Settings Guide
Three key printer settings can make or break the quality of your heat press transfer. First, understand your printer type, inkjet or laser, as each demands different transfer paper and heat settings. Next, adjust the color profiles to match your paper and ink; this guarantees vibrant, accurate hues that pop on fabric rather than dull, washed-out tones.
Immerse yourself in your printer’s settings menu, select the highest print quality, and disable any image enhancements that might alter colors unexpectedly. Finally, choose the correct paper type setting, often “Photo Paper” or “Transfer Paper,” to optimize ink flow and drying time. By fine-tuning these settings, you transform your digital design into a sharp, vivid transfer ready to impress, capturing every detail exactly as you envisioned.
Setting Up Your Heat Press Machine
Setting up your heat press machine starts with placing it on a sturdy, flat surface where you have plenty of room to work comfortably. Confirm the area is clean and well-lit, so you can easily monitor each step.
Next, plug in your machine and turn it on, allowing it to warm up. Regular heat press maintenance is essential. Clean the platen to prevent residue buildup that can affect transfers.
Now, focus on machine calibration: set the temperature and pressure according to your transfer material’s specifications. Adjust the pressure knob or screw so the platens close firmly but without excessive force.
Verify the time settings on the digital timer, confirming accurate heat application. Taking these steps guarantees consistent, professional results every time you press.
Positioning and Applying Your Heat Press Transfer
Before you press your design, carefully arrange the transfer on your garment to confirm perfect alignment. Use alignment techniques like centering the design between seams or employing a ruler for symmetrical spacing.
Lay your garment flat on the heat press, smoothing out wrinkles that could distort transfer placement. Pin or use low-tack tape to secure the transfer if needed, preventing shifting during pressing.
Visualize the final look by holding the garment up or marking light guidelines with chalk. When you’re confident the transfer sits exactly where you want it, close the heat press with steady, even pressure.
Precise positioning and firm application confirm your design adheres cleanly and crisply, setting the stage for a professional finish. Don’t rush; perfect placement makes all the difference.
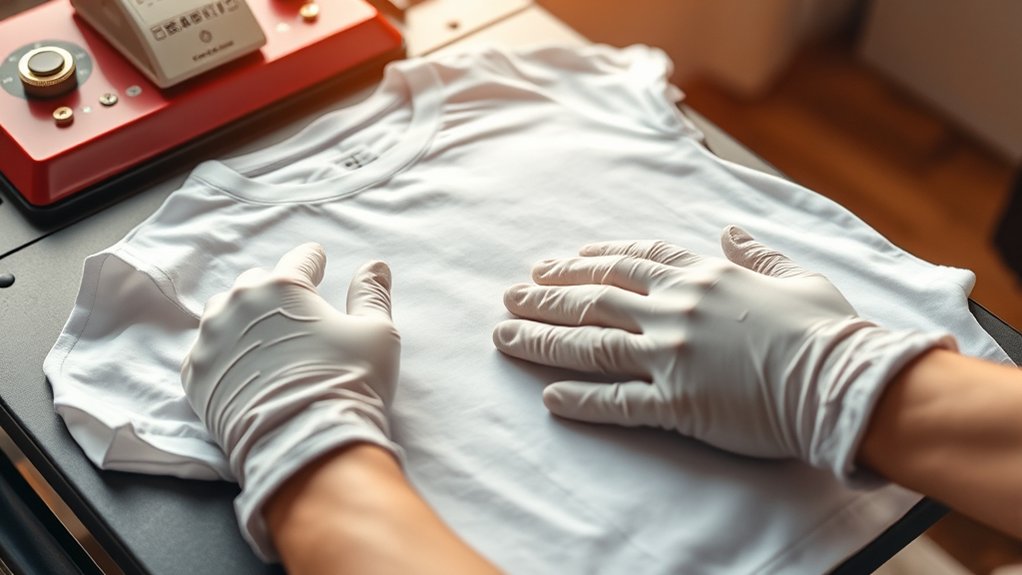
Curing and Protecting Your Heat Press Transfer Design
Once your design is perfectly placed and pressed, the next step is to cure and protect it to secure lasting vibrancy and durability. You’ll want to explore various curing methods, like air drying or using a heat press at a lower temperature for a brief time. This step seals the ink or vinyl into the fabric, locking in those vivid colors.
For transfer protection, consider applying a clear heat-resistant sheet over your design during a quick press to shield it from abrasion and washing wear. Let your garment cool completely before handling, and avoid immediate washing to make sure the design sets fully.
With these precise curing and protection steps, your heat press transfer will stay sharp and bold, ready to impress through countless wears and washes.
Troubleshooting Common Heat Press Transfer Issues
If your heat press transfers don’t come out as vibrant or smooth as expected, don’t worry—you’re not alone. Heat press troubleshooting often starts with spotting common transfer problems like peeling edges, fading colors, or uneven adhesion.
First, check your temperature and pressure settings; too high can scorch, too low leaves designs loose. Next, make sure your heat press platen is clean and even. Dirt or warped surfaces cause imperfect transfers.
Also, verify your pressing time; too short, and the ink won’t bond; too long, and colors may dull. Finally, consider the fabric type—some materials resist transfers more than others.
Frequently Asked Questions
Can Heat Press Transfers Be Used on Fabric Other Than Cotton?
You can definitely use heat press transfers on polyester blends, but you’ll want to check fabric compatibility carefully. Some fabrics might melt or warp, so always test small areas first to keep your designs vibrant and smooth.
How Long Do Heat Press Transfers Typically Last on Clothing?
You’ll find heat press transfer durability lasts about 30 to 50 washes, depending on fabric compatibility. Choosing the right fabric and caring for your clothing carefully paints a vivid picture of lasting, vibrant designs you’ll proudly wear.
Is It Safe to Wash Heat Press Transfer Garments in Hot Water?
You shouldn’t wash heat press transfer garments in hot water; it weakens transfer durability. Use gentle washing techniques like cold water and inside-out cycles to keep designs vivid, preserving that fresh, bold look you love.
Can I Reuse a Heat Press Transfer Sheet After One Use?
You can’t reuse a heat press transfer sheet. Its transfer sheet longevity lasts about one use only, like a firework bursting once in the sky. Instead, focus on perfect reuse techniques for leftover vinyl or designs.
What Is the Environmental Impact of Heat Press Transfer Materials?
You can reduce environmental impact by choosing sustainable materials for your heat press transfers. This cuts waste, shrinks landfill overflow, and lets you create vibrant designs while championing eco-friendly practices that brighten both fashion and the planet.
Conclusion
Now that you’ve mastered each step—from crafting your design to the perfect press—imagine the thrill as you lift the heat press and reveal your vibrant, flawless transfer.
But don’t rush; every detail counts. A tiny misstep can blur your masterpiece or dull those colors. Stay sharp, trust your process, and watch your creations come alive with every press.
Ready to turn heat and paper into wearable art? Your journey’s just beginning with heat press transfers.