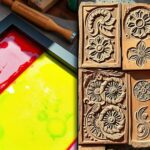
To make designs for heat press that truly pop, start by sketching bold, clear vector art using software like Adobe Illustrator or the user-friendly Canva.
Choosing colors that contrast well is crucial, and it’s important to consider your fabric type—cotton and polyester handle colors differently.
Keep your lines crisp and shapes simple to ensure sharp transfers. Always test your design on similar fabric to avoid any surprises during the actual pressing.
Perfect your sizing and placement for a flawless finish. With these tips, you’ll discover even more ways to master heat press creativity.
Key Takeaways
- Draw inspiration and sketch designs considering fabric color, texture, and clarity for standout heat press visuals.
- Use vector-based software like Adobe Illustrator or CorelDRAW for crisp, scalable design creation.
- Design with bold lines, simple shapes, and layered colors to ensure clear and vibrant heat transfers.
- Choose high-contrast, fabric-compatible colors and test palettes to avoid fading or blurring after pressing.
- Conduct test presses on scrap fabric and adjust heat press settings for even pressure and optimal design transfer.
How To Create Custom Heat Press Designs
Wondering how to bring your unique vision to life on a heat press? Start by diving into design inspiration around you: nature’s patterns, urban vibes, or even vintage motifs. Keep an eye on current design trends, like bold typography or minimalist shapes, to make your creation fresh and appealing.
Sketch your ideas or use simple digital tools to play with colors and layouts, ensuring your design pops on fabric. Focus on clarity and contrast because the heat press will amplify every detail.
Don’t forget to reflect on the garment’s color and texture; your design should complement and stand out. By blending personal creativity with trending elements, you’ll craft custom heat press designs that truly captivate and express your style.
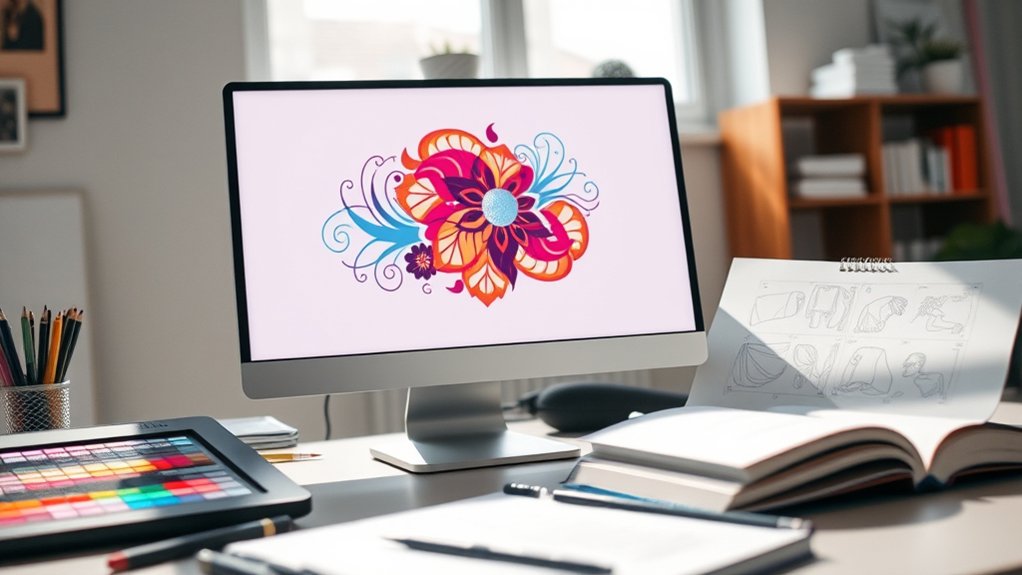
Choosing The Right Software For Heat Press Designs
You’ll want software that turns your vision into crisp, vibrant designs ready for the heat press. Comparing popular tools side-by-side helps you spot features like vector editing, color control, and file compatibility that match your needs. With the right program, your creative ideas will flow smoothly onto every fabric and surface.
Popular Design Software
Diving into the world of design software can transform your heat press projects from simple ideas into vibrant masterpieces. To stay ahead, you’ll want tools that reflect current design trends while fitting your workflow.
Popular choices like Adobe Illustrator and CorelDRAW offer precision and flexibility, perfect for intricate heat press artwork. For beginners, Canva and Cricut Design Space provide user-friendly interfaces and quick access to trendy templates.
Don’t overlook user reviews; they reveal real-world pros and cons, helping you pick software that matches your skill level and creative needs. Whether you crave detailed vector control or simple drag-and-drop layouts, exploring these options guarantees your heat press designs pop with clarity and style every time.
Software Features Comparison
After exploring popular design software options, it’s time to compare their features side by side to find the perfect fit for your heat press creations. You want design software that balances ease of use with powerful tools, like layering, vector support, and color management, that bring your visions to life vividly.
Some programs excel in precision editing, letting you tweak every curve, while others offer rich pre-made templates to jumpstart your process. Feature comparison helps you spot differences in file compatibility, export options, and integration with heat press machines.
Visualize your workflow: do you need seamless SVG imports or advanced text effects? By weighing these features carefully, you guarantee your software not only fits your creative style but also streamlines production, making every press a masterpiece.
Creating Crisp Vector Art For Heat Press Designs
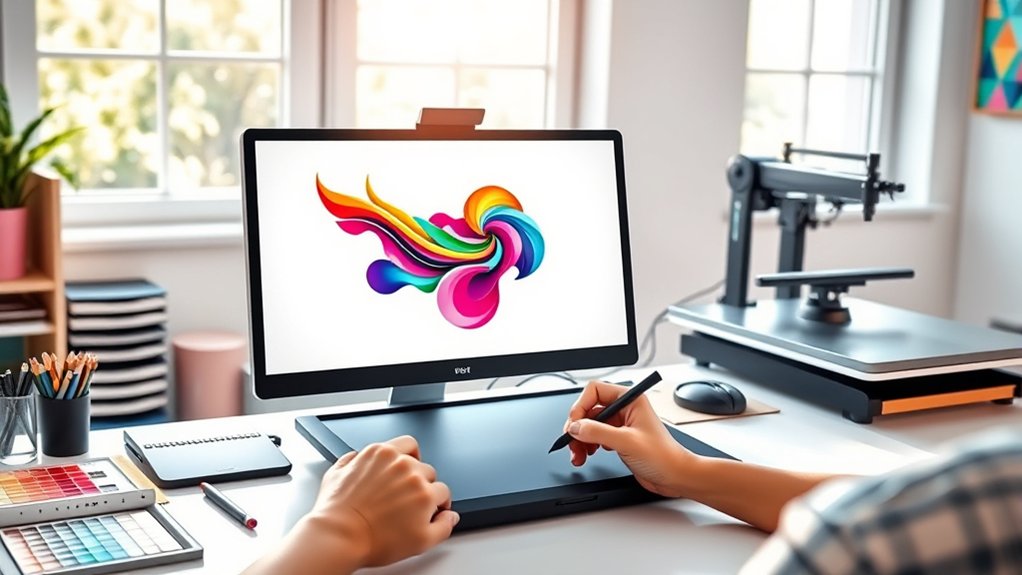
A sharp, clean vector design transforms your heat press project from ordinary to eye-catching. To achieve this, master vector art techniques like using smooth anchor points and crisp paths that maintain clarity when scaled. Always work in design file formats such as SVG or EPS to preserve sharpness and allow easy edits.
Keep your lines bold and shapes simple to guarantee the heat press captures every detail vividly. Use layers strategically to separate colors and elements, making adjustments effortless.
| Technique | Benefit | Ideal File Format |
|---|---|---|
| Smooth Anchor Points | Clean curves, no jagged edges | SVG |
| Bold Outlines | High visibility on fabric | EPS |
| Layered Colors | Easy editing & separation | AI |
| Simple Shapes | Crisp, clear transfer |
Selecting Colors That Transfer Well On Heat Press Fabrics
When you choose colors for your heat press design, consider how they’ll appear once transferred onto fabric, since not all pigments behave the same under heat and pressure. Vibrant reds might dull or shift, while subtle blues can deepen, so test your palette on the specific fabric you plan to use.
Fabric compatibility plays a huge role; cotton soaks color differently than polyester, influencing the final look. Harness color psychology to evoke emotions—bold yellows energize, calming greens soothe—ensuring your design’s message resonates.
Keep in mind that high-contrast combos usually pop best, but some color blends may blur or fade post-press. By thoughtfully selecting hues that meld well with your fabric and desired vibe, you’ll create striking, lasting heat press designs that truly shine.
How To Size And Position Your Heat Press Design Accurately
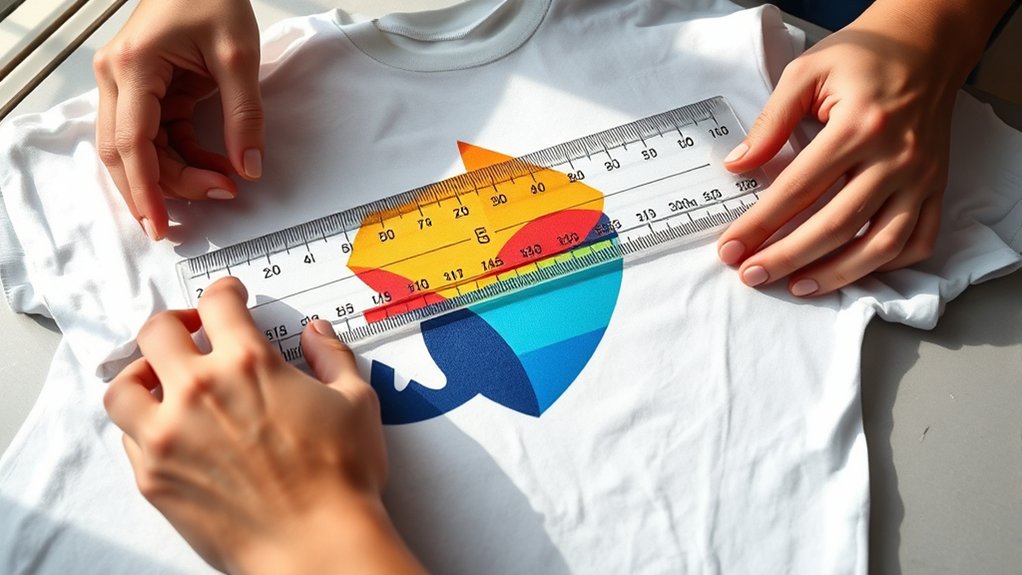
Three key factors determine how your heat press design fits and looks on your fabric: size, placement, and alignment. Start by mastering design scaling—adjust your artwork to match the garment’s dimensions without distorting details. Use a ruler or printable templates to visualize exact proportions.
Next, position your design thoughtfully; center chest prints usually work best, but consider collar or pocket areas for unique flair. Employ alignment techniques like taping your transfer paper to the fabric, then folding the garment to find the midpoint, ensuring symmetry.
Use heat-resistant tape to hold the design steady. Accurate sizing paired with precise placement creates a polished, professional finish that pops. Remember, your attention to these details transforms simple prints into standout creations that wear beautifully.
What Materials Work Best For Heat Press Projects
Choosing the right materials can make or break your heat press project. When selecting heat transfer materials, you need to take into account fabric compatibility to guarantee vibrant, lasting results. Cotton and cotton blends are ideal. They absorb heat transfer vinyl beautifully, yielding crisp designs.
Polyester fabrics work well with sublimation transfers, creating vivid, permanent images. Canvas and denim provide sturdy bases for bold, textured applications. Avoid materials like nylon or leather, which might not withstand heat or adhere properly.
- Cotton and cotton blends for vinyl transfers
- Polyester fabrics for sublimation prints
- Canvas and denim for textured designs
- Avoid nylon and leather due to poor heat compatibility
How To Troubleshoot Common Heat Press Design Issues
If your heat press design isn’t turning out as crisp or vibrant as you hoped, don’t worry—you’re not alone. Design errors often stem from temperature, pressure, or timing issues.
Start by double-checking your heat press settings; too much heat can scorch your design, while too little leaves it faint. Uneven pressure can cause patchy transfers, so adjust your platen for consistent contact.
Double-check heat press settings—too hot scorches, too cool fades; ensure even pressure for flawless transfers.
Use troubleshooting tips like testing on scrap fabric before the final press to spot issues early. Also, verify your design’s resolution is high to avoid pixelation.
If you see peeling or cracking, your ink or transfer paper might be incompatible with the fabric. By systematically diagnosing these common pitfalls, you’ll quickly master the art of flawless heat press designs.
Frequently Asked Questions
Can I Use Heat Press Designs on Non-Fabric Items?
You can absolutely use heat press applications on non-fabric materials like wood, metal, or ceramics. Just guarantee you pick the right transfer paper and adjust temperature settings to create vibrant, lasting designs on those unique surfaces.
How Long Do Heat Press Designs Typically Last After Washing?
Think of your heat press design as a sunset, vibrant but fleeting. With proper washing techniques, you’ll enjoy design longevity of 30-50 washes.
This keeps colors bright and edges sharp, preserving that sunset’s glow on your fabric.
What Safety Precautions Are Needed When Operating a Heat Press?
You should wear heat-resistant gloves, keep your workspace clear, and never touch the heated platen.
Regular equipment maintenance guarantees safety and longevity. Always follow heat press safety protocols to avoid burns, electrical hazards, and equipment damage.
Are There Eco-Friendly Heat Press Materials Available?
You’re in luck; there are greener paths to press! By choosing eco-friendly inks and sustainable fabrics, you’ll craft vibrant designs that whisper care for Earth.
This approach turns every heat press into an artful, eco-conscious statement.
Can I Reuse Heat Press Transfer Sheets Multiple Times?
You can’t usually reuse transfer sheets because their lifespan ends after one use; heat press techniques demand fresh sheets for vibrant results. However, experimenting with lower temps might extend life, though quality often fades visibly with each press.
Conclusion
Now that you’ve got the basics down, you’re ready to bring your heat press designs to life with flair and precision. Remember, the devil’s in the details—choosing the right software, colors, and materials makes all the difference. Don’t be afraid to experiment and fine-tune your work until it’s just right.
With patience and practice, your creations will jump off the fabric and turn heads wherever they go. Keep pressing forward! Mastering how to make designs for heat press will elevate your craft and ensure your projects stand out every time.