To make a shirt with a heat press, start by choosing the right fabric—cotton or polyester blends work best with specific transfer materials like vinyl or sublimation.
Preparing your high-resolution design file is crucial; remember to mirror it if needed before printing.
Set your heat press temperature between 320°F and 375°F, applying firm pressure for 10 to 20 seconds.
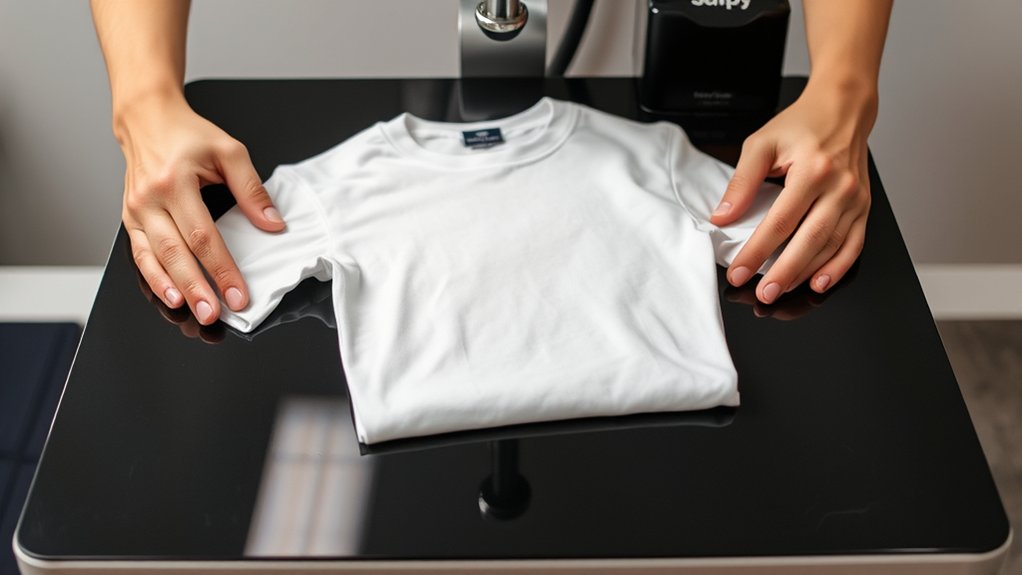
Position the shirt smoothly on the press surface, place your transfer correctly, then peel as directed.
After pressing, follow up with gentle washing to preserve your print.
For more detailed steps and tips, keep exploring the process.
Key Takeaways
- Choose a suitable shirt fabric like 100% cotton or polyester depending on the transfer type for vibrant, durable results.
- Prepare a high-resolution, vector-based digital design, mirroring it if using heat transfer vinyl.
- Set the heat press temperature between 320°F to 375°F and time between 10 to 20 seconds as per transfer guidelines.
- Place the shirt flat on the heat press, position the transfer design facing down, then apply firm pressure for the set time.
- Wash the finished shirt inside out in cold water with gentle detergent to preserve the transfer and fabric quality.
Choose the Best Shirts and Heat Transfer Materials for Your Custom Shirt
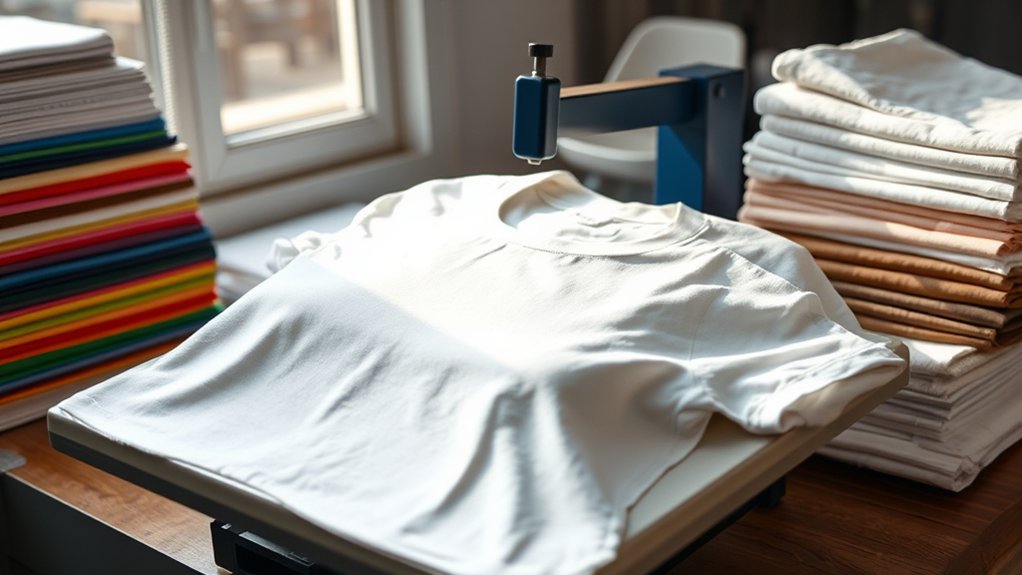
Before you start pressing designs onto fabric, you need to select shirts and heat transfer materials that guarantee durability and vibrant results. Focus on fabric types such as 100% cotton, cotton-polyester blends, or polyester, as each affects heat transfer adhesion differently.
Cotton offers excellent transfer bonding and color vibrancy, while polyester suits sublimation transfers. Next, evaluate transfer options including vinyl, plastisol transfers, and sublimation.
Vinyl provides sharp edges and durability but requires compatible fabric types to prevent cracking. Plastisol transfers mimic screen printing quality and adhere well to cotton blends. Sublimation transfers bond at a molecular level but only work on polyester fabrics.
Choosing the right combination of fabric types and transfer options guarantees your final product maintains quality after repeated washes and wear.
Prepare Your Artwork for Heat Pressing
When preparing your artwork for heat pressing, confirm your design is created or converted into a high-resolution digital file, preferably in vector format, to maintain sharpness during resizing. Use professional design software such as Adobe Illustrator or CorelDRAW to ascertain compatibility with various artwork formats like SVG, EPS, or AI.
These formats allow precise scaling without pixelation. Before finalizing, verify color modes are set to RGB or CMYK based on your transfer material requirements. Clean your design by removing unnecessary layers and elements to streamline the pressing process.
Additionally, mirror your image if you’re using heat transfer vinyl to guarantee correct orientation on the shirt. Export your file in the appropriate format supported by your heat press cutting or printing system to assure peak results.
Set Your Heat Press Temperature and Time for Perfect Prints
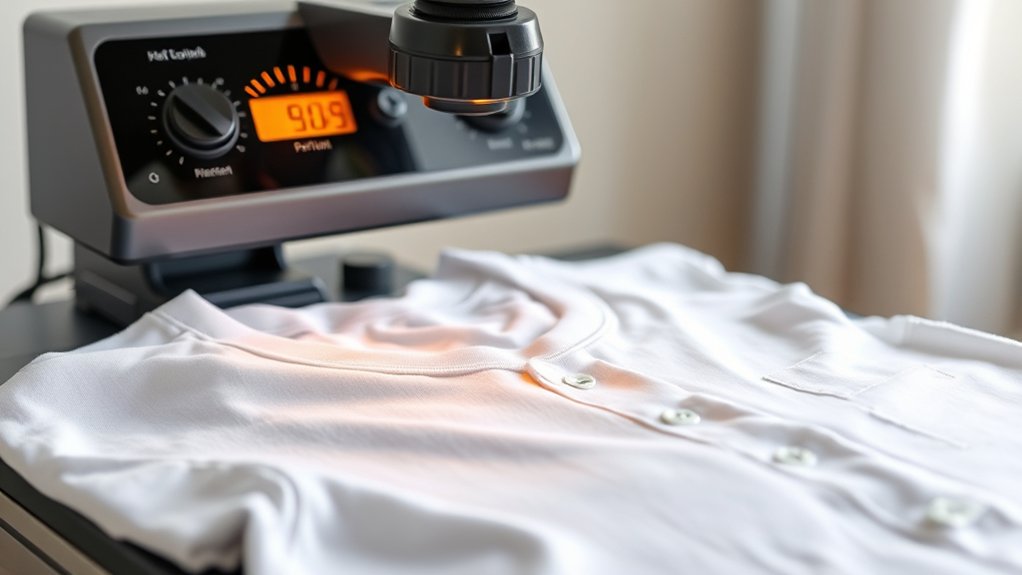
Although selecting the correct temperature and time settings can vary depending on the material and transfer type, you should always start by consulting the manufacturer’s guidelines for your heat press and transfer paper or vinyl. Begin by performing temperature calibration on your heat press to verify accuracy; use a temperature strip or an infrared thermometer for confirmation.
Set the temperature precisely according to the recommended range, typically between 320°F to 375°F for most transfers. Next, adjust the time settings strictly within the suggested duration, commonly 10 to 20 seconds, to prevent under- or over-curing.
Avoid guesswork: incorrect temperature calibration or improper time settings can cause poor adhesion or damage. Maintain consistent pressure and recheck settings before each batch to confirm perfect prints every time.
How to Press Your Custom Shirt: Step-by-Step Instructions
Follow these five exact steps to press your custom shirt efficiently and achieve professional-quality results. First, preheat your heat press to the recommended temperature. Next, position the shirt flat on the lower platen, smoothing out wrinkles for accurate design placement.
Place the transfer paper with your design facing down on the shirt. Close the press and apply firm pressure for the set time, utilizing proper heat press techniques to guarantee even heat distribution.
After pressing, carefully open the press and peel the transfer paper according to the instructions, whether hot or cold peel. Allow the shirt to cool completely on a flat surface.
Following these steps with precision guarantees your design adheres flawlessly, delivering durable, vibrant prints every time.
How to Wash and Care for Your Heat Press Shirt
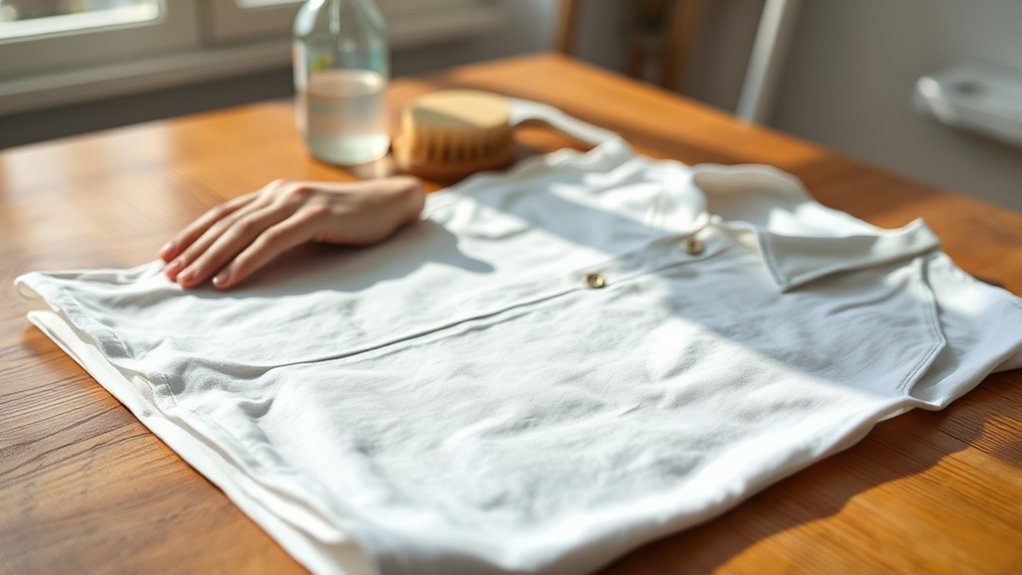
You should wash your heat press shirt in cold or lukewarm water to preserve the transfer and fabric integrity. Avoid harsh detergents and bleach, which can cause damage or fading.
When storing, fold the shirt neatly and keep it in a cool, dry place to maintain its quality.
Washing Temperature Guidelines
When caring for your heat press shirt, selecting the correct washing temperature is crucial to preserving the design’s longevity. Use cold water settings, typically below 30°C (86°F), to minimize heat exposure that can degrade the transfer.
Avoid hot water, as it accelerates ink fading and fabric wear. Implement washing techniques such as gentle or delicate cycles to reduce agitation, further protecting the fabric and design.
Always turn the shirt inside out to shield the print. Adhering to these temperature guidelines supports effective fabric care by maintaining both the garment’s integrity and the transfer’s vibrancy.
Precise temperature control combined with appropriate washing techniques guarantees your heat press shirt remains in peak condition over multiple wash cycles.
Avoiding Fabric Damage
Three key practices minimize fabric damage and extend the life of your heat press shirt. First, always consider the fabric types when selecting wash and dry cycles. Natural fibers like cotton tolerate moderate heat, while synthetics require cooler settings to avoid melting or warping.
Second, turn the shirt inside out before washing to protect the heat-pressed design from abrasion. Third, avoid high heat settings in both washing and drying; excessive heat can degrade the transfer and weaken fabric fibers. Use gentle detergents without bleach or fabric softeners, which can also damage prints.
Storing Your Shirt Properly
Maintaining the quality of your heat-pressed shirt extends beyond washing techniques; proper storage plays a significant role in preserving both fabric and design. To guarantee longevity, follow these steps for effective shirt storage and proper folding:
- Fold Carefully: Lay the shirt flat and fold along the seams to avoid creasing the heat press design. Proper folding reduces stress on the graphic and fabric.
- Use Breathable Containers: Store shirts in fabric bins or cotton bags to prevent moisture buildup, which can degrade the adhesive and fabric over time.
- Avoid Compression: Don’t stack heavy items on top of your heat-pressed shirts. Excess pressure can crack or distort the heat transfer.
Implementing these precise storage practices will maintain the integrity and appearance of your heat-pressed shirts for extended use.
Troubleshooting Common Heat Press Problems
Although heat pressing is straightforward, you’ll occasionally encounter issues that affect the quality of your shirt. Common problems stem from incorrect heat press settings or poor transfer adhesion.
To troubleshoot effectively, check temperature, pressure, and time first. Uneven pressure or wrong temperature can cause peeling or fading. Verify the transfer material matches your fabric type.
| Problem | Solution |
|---|---|
| Transfer peeling | Increase pressure or pressing time |
| Fading print | Raise temperature within limits |
| Wrinkled fabric | Use a Teflon sheet or adjust pressure |
| Uneven adhesion | Check platen alignment |
| Image distortion | Avoid moving shirt during pressing |
Frequently Asked Questions
Can I Use a Regular Iron Instead of a Heat Press for Shirts?
You can use an iron instead of a heat press, but iron versus heat press differs in pressure and temperature consistency, affecting shirt printing techniques’ quality.
A heat press guarantees precise, even application, while an iron may yield less durable results.
What Types of Fabrics Are Not Suitable for Heat Pressing?
You shouldn’t use heat pressing on fabric types like nylon, acetate, or leather because of their high heat sensitivity. These materials can melt, shrink, or get damaged, so always check fabric specifications before applying heat.
How Do I Create Custom Designs Without Graphic Design Software?
You find design inspiration, you explore online tools, and you utilize templates. You select elements, customize colors, and arrange layouts methodically.
You export files in proper formats, ensuring crisp, precise prints without needing graphic design software expertise.
Is It Safe to Use Heat Press Materials on Kids’ Clothing?
Yes, you can safely use heat press materials on kids’ clothing by following safety guidelines, such as selecting non-toxic, skin-safe materials. Use appropriate temperatures and test small fabric areas to prevent damage or irritation.
Can Heat Pressing Be Used for Other Items Besides Shirts?
Absolutely, heat pressing extends beyond shirts. You’ll uncover heat press applications on alternative materials like wood, metal, ceramics, and canvas.
Mastering temperature and pressure settings guarantees flawless transfers, expanding your creative and commercial possibilities methodically and precisely.
Conclusion
Think of making a shirt with a heat press like engineering a precise machine—each step, from selecting materials to setting temperature, plays a crucial role in the final product’s performance.
By carefully preparing your artwork, calibrating your press, and following exact pressing and care instructions, you guarantee your custom shirt lasts like a well-crafted tool.
Master these methods, and your heat-pressed shirt will stand resilient, just like a perfectly tuned mechanism.
Understanding how to make a shirt with a heat press ensures your design remains vibrant and durable every time.