To heat press a T-shirt, start by selecting the right heat press and preparing your clean, wrinkle-free shirt along with a high-resolution design.
Choosing the proper transfer material like vinyl or sublimation is essential for a quality finish.
Set your press to the correct temperature, typically between 300°F and 375°F, with a time range of 10 to 20 seconds, and apply appropriate pressure.
Preheat the shirt before aligning the design carefully.
Press the shirt without moving it and then remove it cautiously to avoid smudging the print.
Follow these steps precisely, and you’ll achieve durable, vibrant prints.
You can explore how to avoid errors and care for your shirts next.
Key Takeaways
- Preheat the heat press to the recommended temperature (300°F to 375°F) based on your transfer material and fabric type.
- Place a clean, wrinkle-free T-shirt on the press platen and position your design accurately.
- Use medium to firm pressure and press the design for 10 to 20 seconds without moving the press.
- Cover the design with a Teflon sheet to protect the print and ensure even heat distribution.
- Allow the shirt to cool slightly before peeling the transfer backing, then follow care instructions to maintain print quality.
Equipment Needed for Heat Pressing T-Shirts
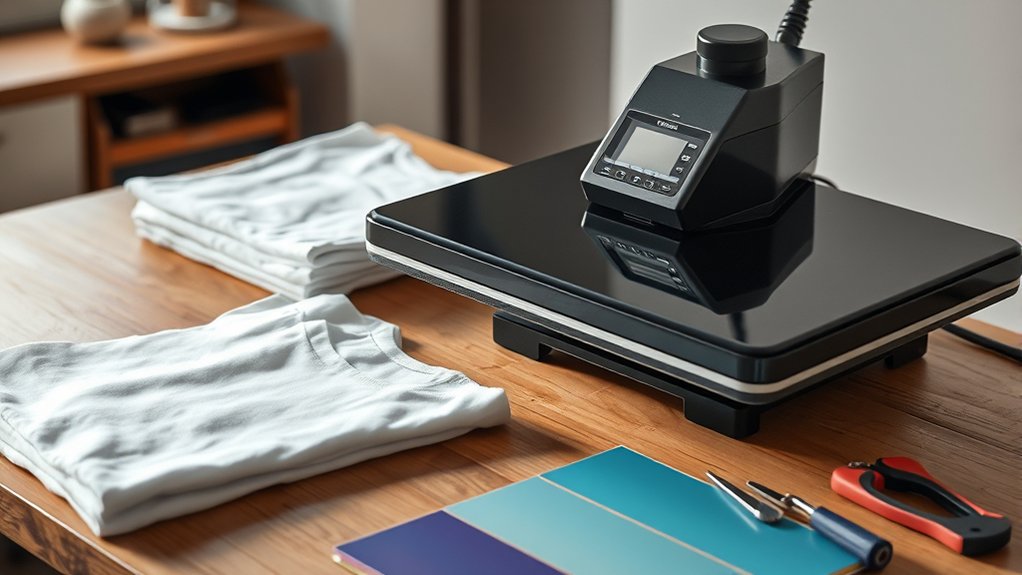
To heat press T-shirts effectively, you need specific equipment designed to apply consistent heat and pressure. Start by selecting the appropriate heat press type: clamshell, swing-away, or draw-style. Each offers distinct advantages; clamshell presses save space, swing-away models provide better access, and draw-style presses enhance precision.
Next, gather essential heat press accessories, such as Teflon sheets to protect your garment and design, heat-resistant tape to secure transfers, and a heat press pillow for uneven surfaces. Use a digital timer and temperature controller to maintain exact settings, ensuring consistent results.
Proper equipment selection and accessories streamline your workflow, minimize errors, and improve the durability of your prints, laying the foundation for professional-quality heat-pressed T-shirts.
Preparing Your T-Shirt and Design Files
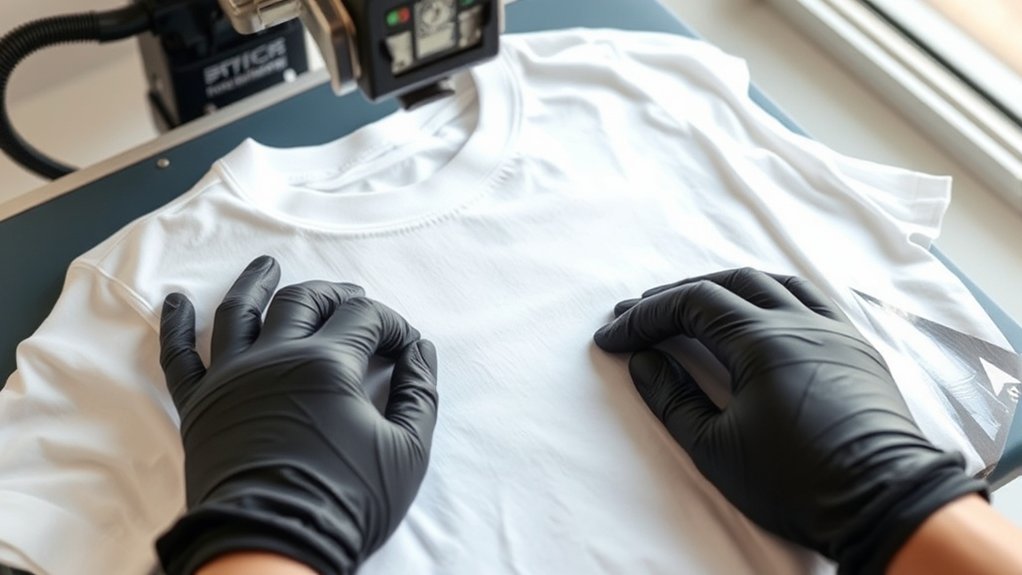
Before pressing, you’ll want to confirm your T-shirt is clean, wrinkle-free, and preheated to remove moisture. This guarantees ideal adhesion and prevents imperfections. Start with precise T shirt selection. Choose fabrics compatible with heat pressing, typically 100% cotton or cotton blends.
Next, focus on design file preparation: use high-resolution images and convert your design to a vector format when possible. Verify the colors are set to RGB or CMYK per your printer’s requirements and the design is mirrored if using heat transfer vinyl or sublimation.
Ensure high-resolution, vector designs with correct color settings and mirrored images for perfect heat press results.
Finally, align your design and T-shirt properly on the press platen to avoid misprints.
- Feel the confidence of a perfectly aligned design.
- Experience the satisfaction of flawless fabric preparation.
- Enjoy the crispness of a well-prepared design file.
Choosing the Best Heat Transfer Materials for Heat Pressing T-Shirts
You need to select heat transfer materials that match your t-shirt fabric and design requirements precisely. Consider vinyl, sublimation, or plastisol transfers based on durability and texture compatibility.
Ensuring material compatibility prevents adhesion issues and maintains print quality during pressing.
Types Of Heat Transfers
Although selecting the right heat transfer material might seem straightforward, understanding the differences between types such as vinyl, plastisol, and sublimation transfers is essential for achieving durable and vibrant results. Vinyl transfers offer sharp edges and bold colors, ideal for simple designs with limited colors.
Sublimation transfers infuse ink directly into polyester fibers, producing detailed, long-lasting images with excellent color vibrancy, but work only on light-colored polyester. Plastisol transfers provide a soft, flexible finish that resists cracking over time, suitable for complex, multi-colored designs.
Choose your transfer type with care to guarantee:
- Maximum design longevity and color retention
- Appropriate application method for your fabric
- Best visual impact that matches your creative vision
Material Compatibility Tips
When selecting heat transfer materials, consider the fabric composition carefully to assure proper adhesion and durability. Different fabric types, such as cotton, polyester, and blends, react uniquely to heat and pressure.
For instance, vinyl compatibility varies: standard heat transfer vinyl (HTV) excels on cotton but may require special formulations for polyester or moisture-wicking fabrics. Always check the vinyl manufacturer’s guidelines to confirm compatibility with your t-shirt’s fabric.
Additionally, adjust temperature and pressing time based on the fabric type to prevent scorching or insufficient bonding. Testing on fabric swatches helps you fine-tune settings.
Setting the Right Temperature, Time, and Pressure
You’ll need to set your heat press to the ideal temperature based on the transfer material you’re using, typically between 300°F and 375°F. Apply the correct time, usually ranging from 10 to 20 seconds, to guarantee proper adhesion without scorching the fabric.
Finally, adjust the pressure to medium or firm, depending on the thickness of your t-shirt and transfer type, to achieve a durable, clean finish.
Optimal Temperature Settings
Since proper heat, time, and pressure settings determine the quality of your heat press results, you need to calibrate your machine carefully before starting. Focus on understanding the specific temperature ranges for your materials; cotton typically requires 350°F, while polyester demands lower settings around 320°F.
Perform heat press calibration by using a reliable temperature strip or digital thermometer to verify the platen’s actual heat output. Avoid relying solely on preset numbers, as variations between machines affect results.
- Precision in temperature prevents fabric damage and guarantees vibrant transfers
- Consistent heat distribution assures professional, long-lasting prints
- Calibration builds confidence, reducing costly errors and wasted materials
Ideal Time And Pressure
After calibrating the temperature accurately, focus on setting the correct time and pressure to guarantee ideal transfer quality. The pressing time typically ranges between 10 to 20 seconds, depending on your transfer material and fabric type.
Use a timer to verify consistent pressing time for every shirt. Apply the ideal pressure, which varies with the material thickness; too little pressure causes incomplete transfers, while too much can damage the fabric or design.
Adjust your heat press’s pressure knob or lever to achieve firm, even pressure across the entire platen. Conduct test presses to fine-tune these settings, balancing pressing time and pressure to optimize adhesion without scorching.
Maintaining precise control over pressing time and ideal pressure guarantees sharp, durable designs on your heat-pressed T-shirts.
Heat Press Your T-Shirt Step by Step
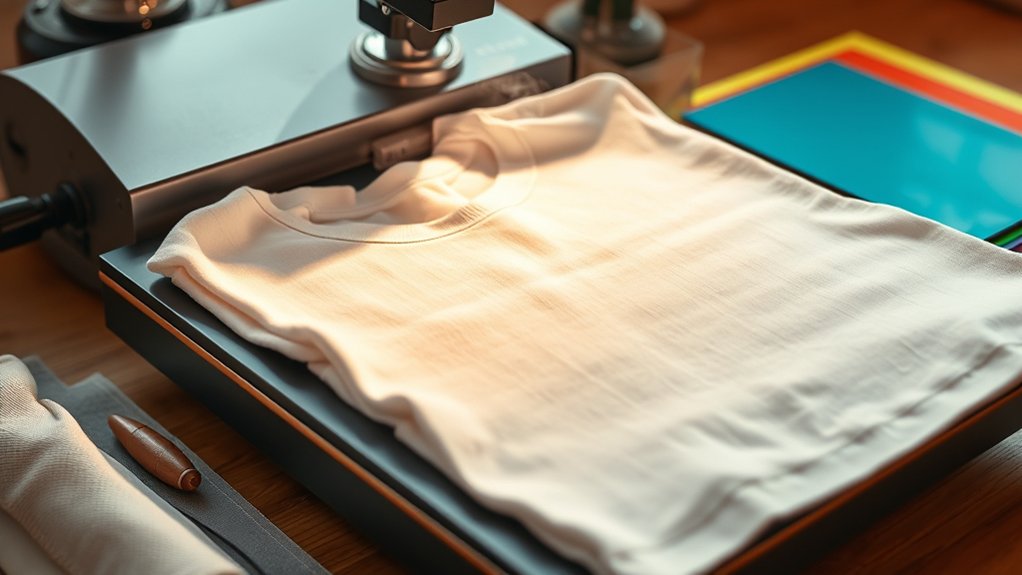
Start by preheating your heat press machine to the recommended temperature, usually between 350°F and 375°F. While waiting, position your t-shirt on the lower platen, ensuring it’s smooth and free of wrinkles.
Preheat your heat press and prepare a smooth, wrinkle-free t-shirt for flawless printing.
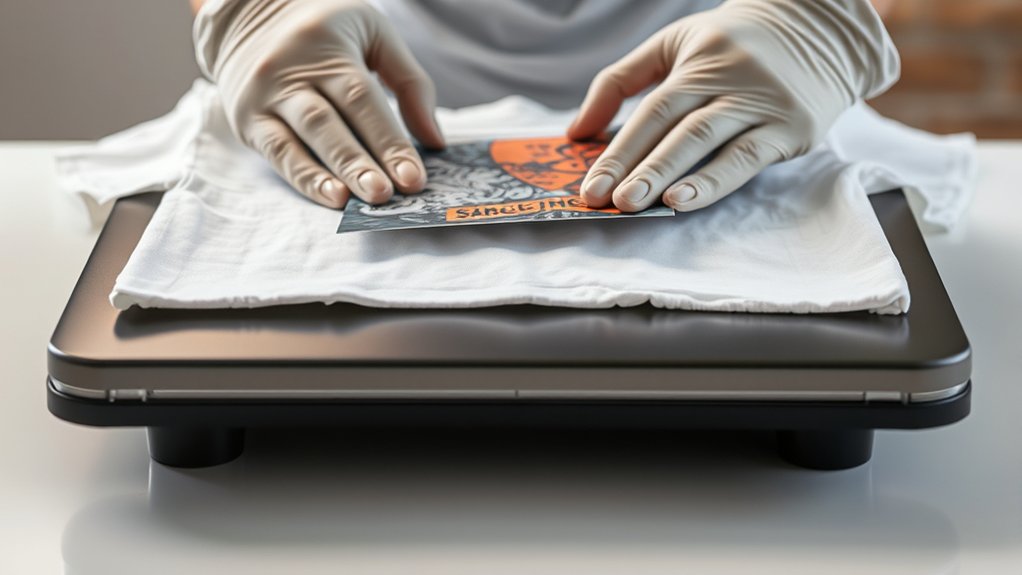
Place your design inspiration transfer paper precisely where you want the print. Always observe heat press safety by wearing gloves and avoiding direct contact with the heated platen.
Close the press firmly, applying the appropriate pressure as specified for your material. Hold the press closed for the recommended time, then carefully lift it.
Allow the shirt to cool before removing the transfer paper to avoid smudging.
Feel the thrill of bringing your design inspiration to life.
Experience the satisfaction of crisp, vibrant prints.
Enjoy confidence from mastering heat press safety and technique.
Avoid Common Heat Pressing Mistakes
When you heat press your t-shirt, avoiding common mistakes guarantees consistent, high-quality results. One frequent pitfall is incorrect temperature settings; always calibrate your heat press according to the transfer material specifications.
Another common error is uneven pressure, which can cause incomplete transfers or damage fabric. Use a pressure gauge if available to maintain uniform force.
Additionally, skipping pre-pressing leads to wrinkles or moisture, so always pre-press the garment before applying the transfer. Avoid moving the press during the cycle to prevent smudging.
These heat press tips help you steer clear of common pitfalls and secure sharp, durable designs. By following precise timing, temperature, and pressure protocols, you’ll achieve professional-grade heat-pressed t-shirts every time.
Caring for Your Heat Pressed T-Shirts
Maintaining the quality of your heat-pressed t-shirts depends heavily on how you care for them post-application. Proper washing techniques guarantee the design remains vibrant and intact. Always turn your shirts inside out before washing in cold water with mild detergent, avoiding bleach or fabric softeners.
Use a gentle cycle to minimize friction. For drying, opt for air drying or tumble dry on low heat to prevent damage to the print.
Additionally, attentive storage tips help preserve your heat-pressed shirts. Store them folded in a cool, dry place away from direct sunlight to avoid fading and cracking.
Protect your investment by following these precise care steps.
Feel confident wearing your custom designs longer.
Enjoy the crisp, fresh look of your shirts after every wash.
Troubleshooting Heat Press Problems and Solutions
Although heat pressing is a straightforward process, you may encounter issues such as uneven transfers, scorching, or adhesive failure. Start by verifying your heat press maintenance routine. Clean the platen regularly to prevent residue buildup that causes uneven heat distribution.
Use troubleshooting techniques like adjusting temperature, pressure, and time settings incrementally to identify ideal parameters for your material. If scorching occurs, reduce temperature or press time immediately. For adhesive failure, make certain you apply sufficient pressure and check that transfer paper aligns correctly.
Inspect heating elements and replace worn parts to maintain consistent heat output. Record each adjustment systematically to isolate problems efficiently. Following these steps guarantees precise, consistent results and extends your heat press’s operational lifespan.
Proper maintenance coupled with targeted troubleshooting techniques will minimize downtime and improve transfer quality.
Frequently Asked Questions
Can I Heat Press Designs on Fabrics Other Than Cotton?
You can heat press designs on polyester blends, but you must adjust temperature and time for fabric compatibility. Use lower heat and shorter press cycles to avoid damaging synthetic fibers while ensuring proper adhesion of your design.
How Do I Create Custom Designs for Heat Pressing?
You’ll want to use design software like Adobe Illustrator or CorelDRAW, ensuring your image resolution is at least 300 DPI. Over 70% of successful prints rely on high-res, clean vector files for crisp heat press results.
What Are the Differences Between Sublimation and Heat Transfer Vinyl?
Sublimation advantages include vibrant, permanent color infused into fabric, perfect for polyester.
Vinyl durability offers strong, flexible designs on various materials but sits atop fabric. You’ll choose based on fabric type and design longevity needs.
Is It Safe to Heat Press at Home Without Professional Training?
You won’t melt the sun by heat pressing at home, but safety precautions are essential. Follow DIY tips like using heat-resistant gloves, maintaining proper temperature, and ensuring ventilation to avoid burns or damage during your precise heat press process.
Can I Use a Regular Iron Instead of a Heat Press Machine?
You can use iron techniques as an alternative, but you must adjust temperature and pressure based on fabric considerations. Guarantee even heat distribution, apply firm pressure, and avoid steam for better transfer results, mimicking a heat press process.
Conclusion
Now that you’ve mastered the precise dance of temperature, time, and pressure, imagine your heat press humming steadily as vibrant designs fuse flawlessly onto crisp cotton.
Each step, from prepping your files to applying even pressure, guarantees a professional finish that lasts. With careful attention and proper care, your t-shirts will emerge vivid and durable, ready to wear or sell.
Keep troubleshooting handy, and you’ll turn every press into a perfect print. By following these steps, you’ll ensure the best results every time you heat press t shirt.