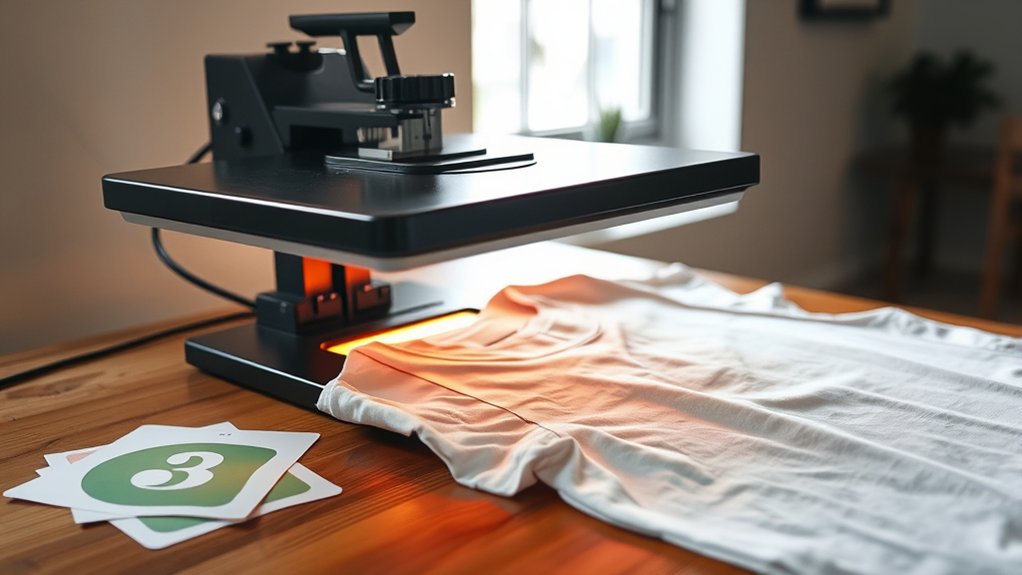
To heat press shirts effectively, start by preheating your press to 320–375°F, depending on the fabric type.
Lay the shirt flat on the press surface and smooth out any wrinkles to ensure an even application.
Next, position your design precisely on the shirt where you want it to appear.
Place a Teflon sheet over the transfer to protect both the design and fabric during pressing.
Apply firm, even pressure for 10–20 seconds, adhering to the recommended temperature, time, and pressure settings. This helps prevent peeling or fading of your print.
Finally, follow proper care instructions to preserve the life of your printed design.
Understanding these basics will set you up for professional, lasting results when you heat press shirts.
Key Takeaways
- Preheat the heat press machine to the recommended temperature based on the shirt fabric and transfer material.
- Smooth the shirt on the press platen and correctly position the design using a ruler or heat-resistant tape.
- Cover the design with a Teflon sheet or parchment paper to protect it during pressing.
- Apply firm, even pressure and press for the specified time, typically between 10 to 20 seconds.
- Allow the shirt to cool slightly before peeling the transfer paper to ensure proper adhesion.
Gear Up: Equipment and Materials for Heat Pressing Shirts
Before you begin heat pressing shirts, you need to assemble the essential equipment and materials. Start with a reliable heat press machine capable of consistent temperature and pressure control; these factors are vital for an effective design transfer. Choose a heat press with adjustable settings to accommodate different fabric types.
Next, gather high-quality transfer paper compatible with your printer and design inks. You’ll also need a digital printer to print your design, guaranteeing crisp, vibrant images. Include a Teflon sheet or heat-resistant parchment paper to protect the shirt and design during pressing.
Additionally, have heat-resistant gloves for safety and a flat, heat-safe surface for setup. By preparing this gear, you guarantee precise, durable design transfers and efficient heat pressing operations.
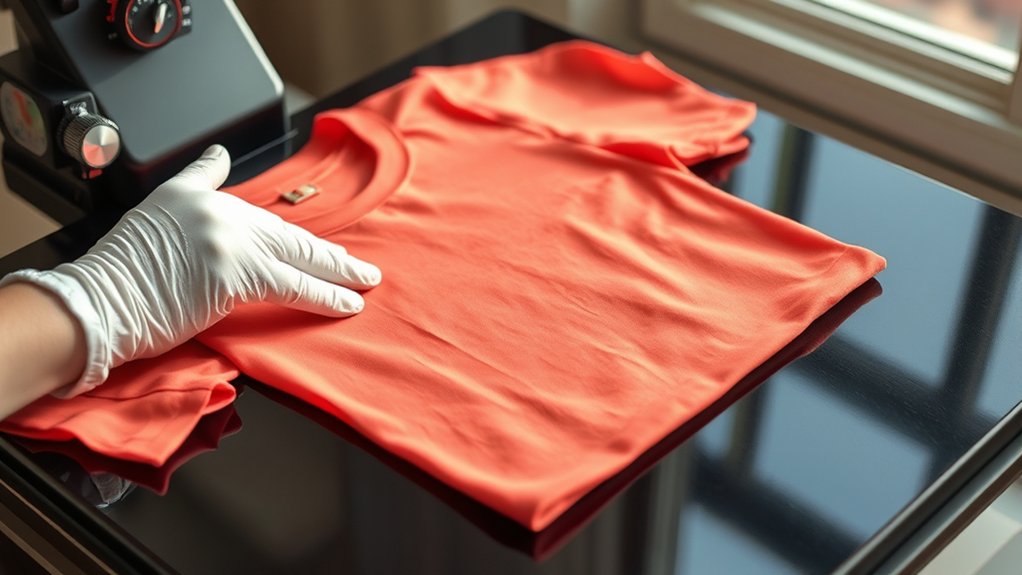
Prepare Your Shirt and Design for the Heat Press
First, identify your shirt’s fabric type to set the correct temperature and pressure. Preheat the shirt briefly to remove moisture and place your design accurately on the desired area.
Secure the shirt flat on the heat press to prevent shifting during the transfer process.
Choose Fabric Type
Although heat pressing works on various fabrics, selecting the right material is essential for ideal adhesion and durability. You should prioritize cotton blends because they offer a balanced combination of softness and heat resistance, ensuring your design bonds effectively without damaging the fabric.
Pure cotton is highly receptive to heat transfer but may shrink or distort if not properly handled. Meanwhile, synthetic fabrics like polyester require lower temperatures to prevent melting but may reduce fabric durability over time.
When choosing your shirt, examine the fabric content label carefully and opt for materials with at least 50% cotton to maximize heat press performance. This approach helps maintain the integrity of both the shirt and your design during repeated washes and wear.
Preheat and Align Design
After selecting the appropriate fabric, you’ll need to prepare both your shirt and design for heat pressing. Begin by preheating the heat press to the recommended heat settings for your fabric type and transfer material. This step removes moisture and wrinkles from the shirt, ensuring proper adhesion.
Next, lay the shirt flat on the press platen, smoothing out any creases without stretching the fabric. Carefully position your design on the shirt, focusing on precise design placement to align it symmetrically and at the desired height. Use a ruler or heat-resistant tape if needed to maintain accuracy.
Verifying the heat settings and design placement before pressing prevents misprints and wasted materials, setting a foundation for a professional-quality heat transfer.
Secure Shirt Properly
To secure your shirt properly, start by positioning it firmly on the heat press platen to prevent any movement during pressing. Confirm accurate shirt placement by smoothing out wrinkles and aligning the fabric edges with the platen borders.
Next, double-check design alignment using registration marks or a ruler, confirming the design sits exactly where you want it on the shirt. Use heat-resistant tape if needed to hold the transfer in place without shifting. Proper securing prevents design distortion and guarantees crisp, professional results.
| Step | Action |
|---|---|
| 1. Shirt Placement | Lay shirt flat, smooth wrinkles |
| 2. Edge Alignment | Align shirt edges with platen |
| 3. Design Position | Verify design alignment precisely |
| 4. Secure Transfer | Use heat-resistant tape if needed |
Set Temperature, Time, and Pressure for Perfect Prints
You need to set your heat press to the ideal temperature based on the material and transfer type, usually between 320°F and 375°F. Adjust the time duration carefully, typically ranging from 10 to 20 seconds, to make sure the design adheres properly without scorching.
Apply appropriate pressure, firm but not excessive, to assure even contact and crisp, lasting prints.
Ideal Temperature Settings
Three key factors determine the quality of your heat-pressed shirts: temperature, time, and pressure. Focusing on ideal temperature settings guarantees consistent heat transfer and strong adhesion.
Set your press between 305°F and 320°F (150°C to 160°C), as this range suits most vinyl compatibility requirements. Different vinyl types may require adjustments, so always check manufacturer guidelines.
Avoid using temperatures above 330°F to prevent fabric scorching or vinyl melting. Maintain precise temperature control, as fluctuations can cause uneven prints or weak bonds.
Preheat your press and verify the platen’s temperature with an infrared thermometer for accuracy. By mastering temperature settings, you optimize heat transfer efficiency, preserving fabric integrity and print durability without compromising vinyl quality.
This precision forms the foundation for perfect, long-lasting heat-pressed shirts.
Optimal Time Duration
Although temperature and pressure set the stage, controlling the time duration is crucial for achieving flawless heat transfers. You need to apply the best time based on the material and transfer type, generally ranging between 10 to 30 seconds.
Using precise timing prevents under- or over-curing, which can cause poor adhesion or scorching. Employ a reliable timer on your heat press to guarantee consistency.
Different heating techniques may require slight adjustments; for instance, thicker fabrics demand longer durations, while delicate materials need shorter times to avoid damage.
Always refer to your transfer’s manufacturer guidelines, then test and adjust accordingly. Mastering the best time duration, combined with proper temperature and pressure, guarantees vibrant, durable prints that maintain quality wash after wash.
Appropriate Pressure Levels
When setting up your heat press, adjusting the pressure correctly guarantees ideal ink transfer and fabric adhesion. You must focus on pressure calibration to guarantee pressure consistency across the platen. Inconsistent pressure can cause uneven prints or incomplete transfers. Follow these steps:
- Use a pressure gauge or test sheet to calibrate the pressure before starting your batch.
- Adjust the heat press knob or screw to achieve medium to firm pressure, typically around 40-60 psi, depending on fabric thickness.
- Perform test presses on scrap material to confirm uniform pressure and print quality.
Maintaining consistent pressure during each press cycle is essential for repeatable results. Regularly check pressure calibration, especially after prolonged use or platen adjustments, to avoid print defects and maximize transfer durability.
Heat Press Your Shirt: Step-by-Step Instructions
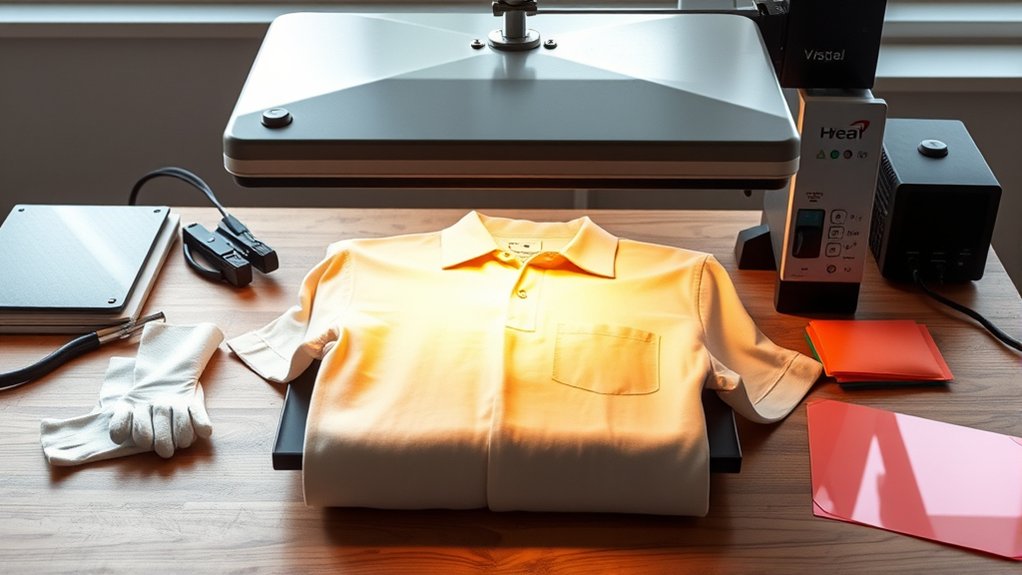
Start by preheating your heat press to the recommended temperature for the transfer material you’re using. While it heats, lay your shirt flat, guaranteeing smooth fabric selection. Cotton or cotton blends work best.
Position your design placement carefully on the shirt, aligning it precisely where you want the print. Place a Teflon sheet or parchment paper over the design to protect it during pressing.
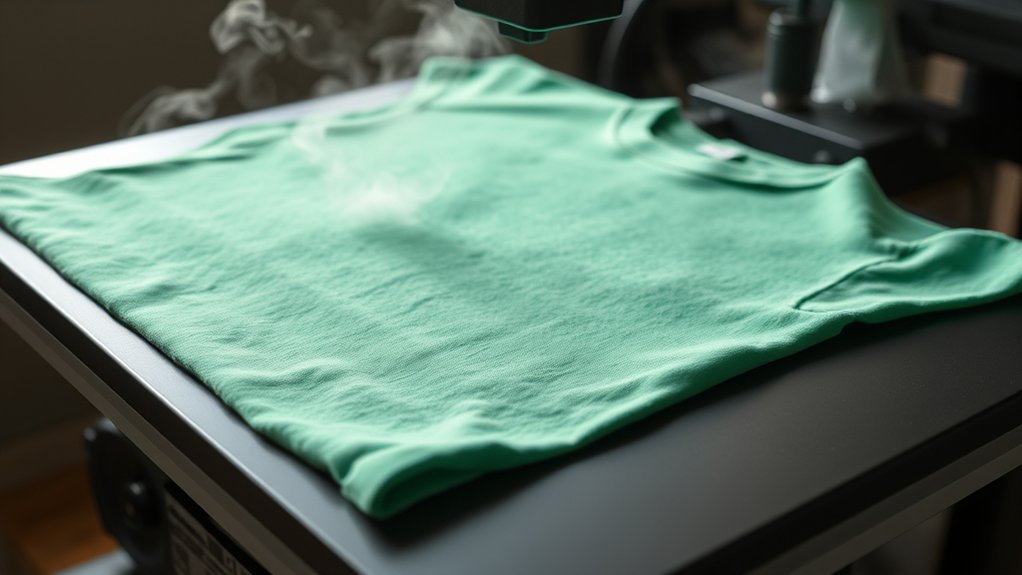
Close the heat press, applying the appropriate pressure level you determined earlier, and set the timer according to the transfer’s instructions. When the timer ends, lift the press carefully and peel the transfer backing as directed, either hot or cold peel depending on your material.
Allow the shirt to cool before handling further. This systematic approach guarantees a clean, durable transfer every time.
Avoid Common Heat Pressing Mistakes on Shirts
To achieve professional results, you must recognize and avoid common heat pressing mistakes that compromise shirt quality. Identifying these common errors early allows you to apply effective troubleshooting techniques, ensuring crisp, durable designs.
- Incorrect Temperature Settings: Using too high or low heat can cause peeling or fading. Always calibrate your press to the recommended temperature for your material.
- Insufficient Pressure: Uneven or weak pressure leads to incomplete transfers. Adjust your press to apply firm, even pressure across the entire design.
- Improper Pressing Time: Over- or under-pressing affects adhesion. Use a timer to maintain precise pressing duration as specified for your substrate.
Addressing these issues with precise adjustments guarantees consistent, professional heat-pressed shirts every time.
Care Tips to Make Your Heat Pressed Designs Last
Proper care greatly extends the life of your heat-pressed designs by preserving their adhesion and vibrancy. To maximize design durability, always turn shirts inside out before washing.
Turning shirts inside out before washing helps preserve the adhesion and vibrancy of heat-pressed designs.
Use cold water and select a gentle cycle to minimize fabric agitation, which can degrade both fabric and design. Avoid bleach and fabric softeners, as they weaken adhesive bonds.
For drying, opt for air drying or tumble dry on low heat to prevent heat-induced damage. When ironing, never apply direct heat to the design; instead, use a protective parchment sheet or iron the garment inside out on low settings.
Consistent, proper fabric care enhances the longevity of your heat-pressed designs, ensuring they remain crisp and vibrant through repeated use and laundering. Following these guidelines will maintain your shirts’ professional appearance and extend design durability.
Get Creative: Custom Ideas for Heat Pressed Shirts
Maintaining your heat-pressed shirts guarantees the designs stay sharp, but exploring creative customization can truly elevate your projects. To make your heat-pressed shirts stand out, focus on integrating creative slogans and personalized graphics that resonate with your intended audience.
Here are three precise ideas to get you started:
- Combine bold, readable creative slogans with matching fonts to enhance visual impact.
- Use vector-based personalized graphics for crisp, scalable designs that maintain clarity after pressing.
- Experiment with multi-layered heat transfers to add depth and texture, aligning graphics with slogans for cohesive aesthetics.
Frequently Asked Questions
Can I Heat Press on Materials Other Than Cotton and Polyester?
Yes, you can heat press materials beyond cotton and polyester, but you must confirm fabric compatibility to avoid damage. Always check heat press materials’ care instructions and test on a small area to ascertain proper adhesion and durability.
How Do I Troubleshoot a Heat Press Machine That Won’T Reach Temperature?
Don’t let your heat press feel colder than the Arctic! Check the heating element for damage, make certain temperature calibration is correct, verify power supply, and replace faulty parts to restore proper heating performance and precision.
Is It Safe to Use Heat Press at Home Without Professional Training?
Yes, you can use a heat press at home, but follow strict safety precautions. Always wear protective gloves and guarantee proper ventilation.
Never leave the machine unattended to prevent burns or equipment damage when operating home equipment.
Can I Wash Heat Pressed Shirts in Cold Water Only?
Yes, you should use cold water only when washing heat pressed shirts to protect the design. Employ gentle washing techniques and avoid harsh detergents to guarantee the best fabric care and prolong the heat press’s durability.
What Types of Inks Are Best for Heat Pressing Designs?
You’ll want to use sublimation inks for polyester fabrics and plastisol inks for cotton.
Sublimation inks bond chemically, while plastisol inks sit on the surface, providing durable, vibrant designs perfect for heat pressing.
Conclusion
By mastering heat pressing, you can create vibrant, durable shirt designs with ease. Did you know that heat pressing transfers retain up to 95% of their color vibrancy after 50 washes? This means your efforts result in long-lasting prints.
Follow proper preparation, temperature, time, and pressure settings to guarantee professional results every time. With attention to detail and practice, you’ll consistently produce high-quality, custom heat-pressed shirts that stand out and endure.
In conclusion, learning how to heat press shirts effectively ensures your designs remain bright and durable, making your creations truly impressive and long-lasting.