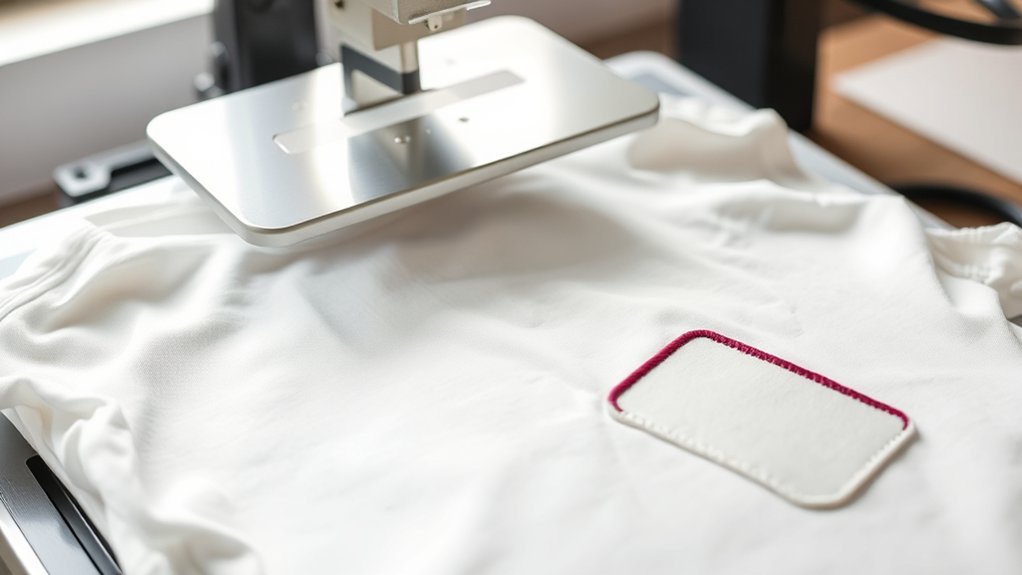
To heat press a patch on your shirt, start by selecting a heat-resistant fabric to ensure durability.
Position the patch precisely using a ruler and fabric pencil for accurate placement.
Preheat your heat press to 320-350°F.
Then, place a Teflon sheet over the patch to protect both the fabric and the patch during pressing.
Apply firm, even pressure for 10-20 seconds to secure the patch.
After pressing, let it cool completely to ensure strong adhesion.
Avoid washing the shirt in hot water later to prolong the bond.
Careful alignment and timing are key to mastering this process for perfect results.
Key Takeaways
- Choose a heat-resistant shirt and position the patch carefully on a flat, clean area, marking placement lightly for accuracy.
- Set the heat press temperature between 320°F and 350°F and press the patch for 10 to 20 seconds using a protective sheet.
- Use a heat press machine to apply firm, even pressure, ensuring proper alignment and avoiding wrinkles or seams under the patch.
- Allow the patch and fabric to cool completely before handling to ensure strong adhesion and prevent shifting.
- Wash the shirt inside out in cold water on a gentle cycle, avoiding bleach and high heat to maintain patch durability.
What Materials and Tools Do You Need?
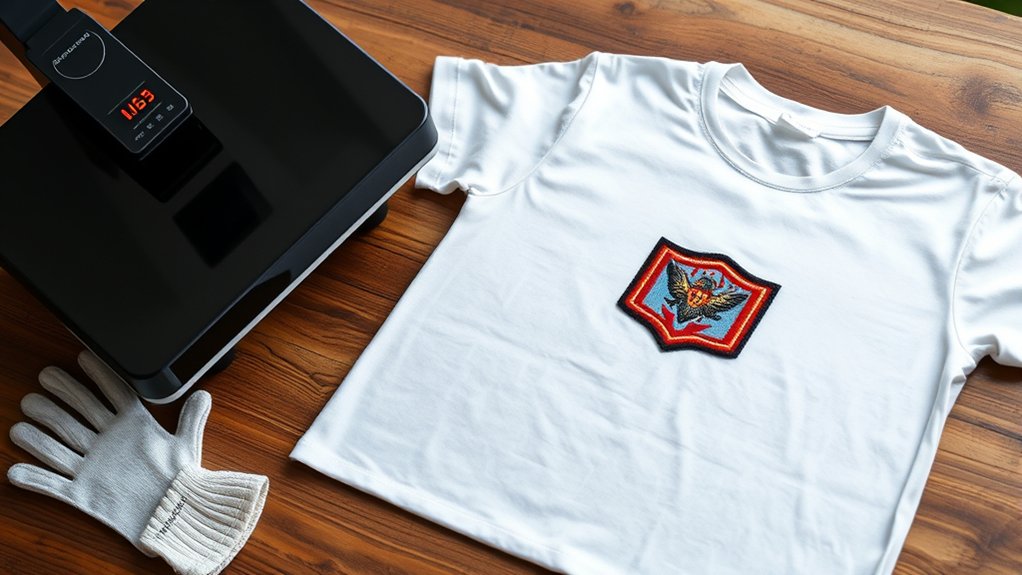
To heat press a patch on a shirt effectively, you’ll need a few essential materials and tools. First, select the appropriate patch type. Common options include embroidered, PVC, or woven patches designed for heat transfer.
Each patch type has specific heat and pressure requirements, so consult the manufacturer’s guidelines. You’ll also need a reliable heat press machine capable of consistent temperature and pressure control, crucial for proper adhesion.
Consult manufacturer guidelines for heat and pressure settings; use a reliable heat press for consistent results.
Additional tools include a heat-resistant silicone pad or Teflon sheet to protect the shirt and patch during pressing, and a digital timer to monitor pressing duration precisely. Finally, make sure you have a clean, flat workspace to position the shirt and patch correctly.
Using the right materials and tools guarantees ideal heat transfer and durable, professional results.
How to Prepare Your Shirt and Patch for Heat Pressing
You’ll want to choose a shirt made from heat-resistant fabric, like cotton or a cotton blend, to guarantee proper adhesion. Before pressing, position the patch carefully on a flat, clean area of the shirt, avoiding seams or wrinkles that could affect the bond.
Use a ruler or measuring tape to align the patch precisely where you want it for a professional finish.
Shirt Fabric Selection
Selecting the right shirt fabric is essential for a successful heat press application, as different materials respond uniquely to heat and pressure. You need to choose fabric types that withstand the heat settings required for your patch materials without damage.
Cotton and polyester blends are ideal since they tolerate temperatures around 320°F (160°C) without scorching. Avoid delicate fabrics like silk or nylon, which can melt or deform under heat.
Additionally, consider the patch material; PVC-backed patches need lower heat, while embroidered patches often require higher temperatures. Before pressing, test a small fabric area to check heat resistance and guarantee proper adhesion.
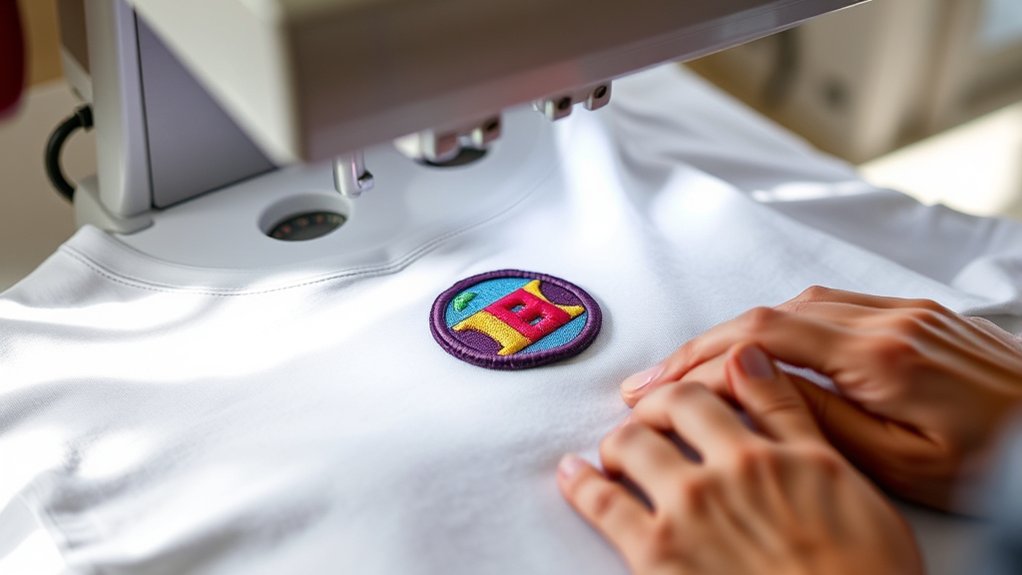
Patch Placement Tips
After confirming your shirt fabric can handle the heat and pressure requirements, focus on positioning the patch accurately before pressing. Proper patch placement hinges on evaluating patch size and patch orientation to guarantee alignment with the shirt’s design and structure. Use precise measurements to avoid off-center or crooked application.
Consider these tips for ideal placement:
Align the patch’s edges parallel to shirt seams or design lines for uniformity. Use a ruler or measuring tape to center the patch based on patch size. Mark placement lightly with a fabric pencil to guide positioning without permanent marks. Test the patch orientation by temporarily securing it with heat-resistant tape before pressing.
Following these steps assures a professional, clean finish while preventing shifting during heat pressing.
What’s the Best Temperature and Time to Heat Press a Patch?
To achieve a secure bond, you’ll need to set your heat press to the ideal temperature, typically between 320°F and 350°F, depending on the patch material. Pressing time usually ranges from 10 to 20 seconds, but you should adjust based on your fabric type to prevent scorching or incomplete adhesion.
Understanding these variables guarantees a durable, professional finish on your shirt.
Ideal Temperature Settings
Finding the ideal temperature and time is essential for a successful heat press application of a patch. You must account for temperature variations depending on fabric type and patch material to avoid damage or inadequate adhesion. Adjust your heat press settings carefully to guarantee consistent results.
Consider these guidelines for ideal temperature settings:
Set the press between 320°F and 350°F (160°C–177°C) for most cotton and polyester blends.
Lower temperatures suit delicate fabrics to prevent scorching.
Use manufacturer recommendations for specialized patches.
Preheat the garment slightly to reduce heat loss during pressing.
Optimal Pressing Duration
An ideal pressing duration guarantees your patch adheres securely without damaging the fabric or patch material. Typically, you’ll want to apply heat for 10 to 20 seconds at the best pressing temperature determined by your patch material compatibility.
For polyester patches, 15 seconds at 320°F (160°C) often works best, while cotton patches may require slightly lower temperatures and shorter durations. Exceeding the recommended time risks scorching or warping the patch, while too brief a press may lead to poor adhesion.
Always consult the manufacturer’s guidelines to match the best pressing temperature with the correct duration. Using a timer guarantees precision, preventing guesswork.
Fabric Type Considerations
Although heat pressing techniques share common principles, the perfect temperature and time settings vary considerably depending on the fabric type of your shirt. You must evaluate fabric weight considerations and fabric blend compatibility to avoid damage while guaranteeing strong adhesion.
For lightweight fabrics like silk or polyester blends, use lower temperatures (around 270°F) and shorter press times (10-15 seconds). Heavier fabrics such as cotton require higher heat (320°F) and longer duration (20-25 seconds) for ideal bonding.
Keep in mind:
- Synthetic blends often need reduced temperature to prevent melting.
- Thick fabrics may require increased pressure for even contact.
- Test on fabric scraps to verify settings.
- Adjust pressing time if the patch backing or adhesive differs.
Tailoring your heat press parameters guarantees durability without compromising fabric integrity.
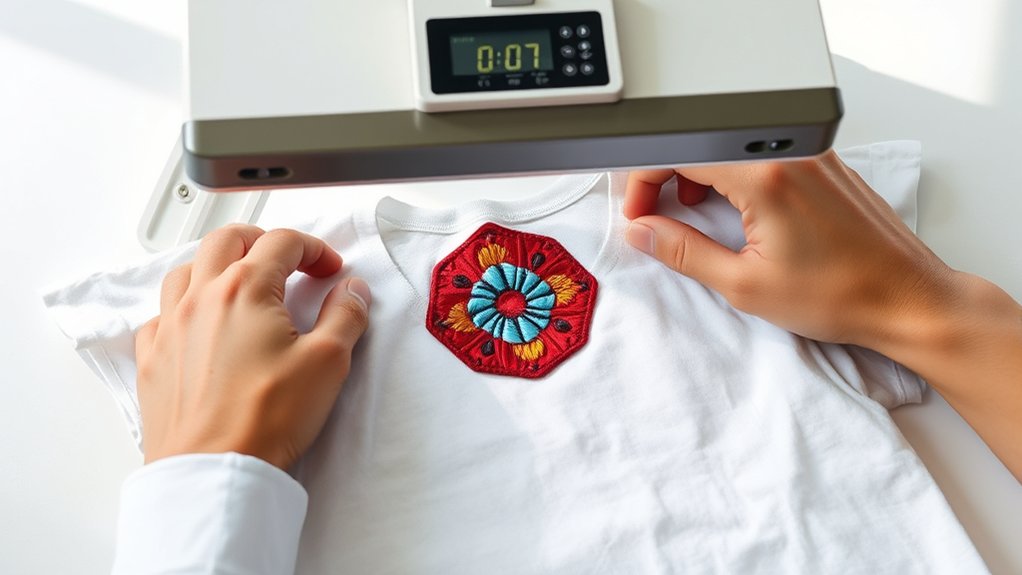
Step-by-Step Guide to Heat Pressing a Patch on Your Shirt
To heat press a patch on your shirt effectively, you’ll need to follow five key steps that guarantee a secure and lasting bond. First, verify fabric compatibility to confirm your shirt can withstand the heat and pressure without damage.
Next, position the patch design precisely on the desired area, aligning edges carefully. Preheat your heat press machine to the recommended temperature for your patch and fabric type.
Then, place a protective Teflon sheet over the patch to prevent scorching and apply firm, even pressure for the specified time. Finally, allow the patch and fabric to cool before handling to solidify the adhesive bond.
Following this methodical approach guarantees peak adhesion and preserves both the patch and shirt quality.
How to Check Patch Adhesion After Heat Pressing
Once you’ve completed the heat pressing process, you’ll want to verify that the patch has adhered properly to confirm durability. Conducting thorough patch durability tests and heat resistance checks guarantees the patch remains secure under normal wear and washing conditions.
Focus on these key steps:
- Gently peel a corner of the patch to check for any lifting or weak adhesion.
- Perform a heat resistance check by lightly exposing the patch to heat again and observing if it stays intact.
- Apply moderate pressure and friction with your fingers to simulate wear stress.
- Inspect the edges and center for consistent bonding without gaps or bubbles.
Common Mistakes to Avoid When Heat Pressing Patches
When you heat press a patch, skipping proper temperature settings or timing can cause poor adhesion or damage to both the patch and fabric. Common heat press mistakes include incorrect pressure, rushed timing, or neglecting patch alignment. These errors often lead to peeling edges or fabric burns.
| Mistake | Consequence |
|---|---|
| Excessive heat | Patch warping or fabric scorching |
| Insufficient time | Weak adhesion, patch lifts |
| Poor patch alignment | Crooked or uneven placement |
| Uneven pressure | Partial bonding, patch edges curl |
Avoid these pitfalls by calibrating your machine to the patch’s recommended temperature and time. Always double-check patch alignment before pressing to guarantee a professional finish.
How to Remove or Reposition a Patch If You Make a Mistake
Although heat pressing a patch demands accuracy, mistakes can happen, and you might need to remove or reposition it. Correcting heat press mistakes quickly is essential to avoid fabric damage. Here are effective patch repositioning techniques to help you:
Heat pressing requires precision, but quick correction of mistakes is key to protecting your fabric and patch.
Reheat the patch briefly (about 5-7 seconds) with the heat press at a lower temperature to soften the adhesive. Gently peel off the patch using a thin, flexible tool like a plastic spatula, applying minimal force.
If adhesive residue remains, use a fabric-safe adhesive remover or gently rub with a damp cloth. Reposition the patch precisely, then press again following the correct time and temperature settings.
Act swiftly during removal to prevent weakening the fabric or patch backing and guarantee a clean repositioning process.
How to Care for Your Shirt and Patch After Heat Pressing
After repositioning or securing your patch, proper care guarantees its longevity and appearance on your shirt. Follow patch maintenance tips such as avoiding high heat when washing or drying, since excessive temperatures can weaken adhesive bonds.
Always turn the shirt inside out before washing to reduce friction on the patch surface. Use cold or lukewarm water and a gentle cycle to preserve both fabric and patch integrity. Avoid bleach and harsh detergents that may degrade patch colors or adhesive.
When drying, opt for air drying or low heat settings in a tumble dryer. Iron the shirt inside out with a protective cloth over the patch to prevent direct heat damage. Adhering to these shirt washing guidelines guarantees your heat-pressed patch remains secure and vibrant over time.
Frequently Asked Questions
Can I Use a Regular Iron Instead of a Heat Press Machine?
You can use an iron instead of a heat press, but iron vs heat press differs in pressure consistency. For patch application techniques, a heat press offers more precise, even heat and pressure, ensuring better adhesion and durability.
Are There Specific Patch Designs Better Suited for Heat Pressing?
You’ll find vinyl patches suit heat pressing best due to their smooth backing and heat-activated adhesive.
Embroidered patches need special backing or adhesive sheets, making them less ideal without additional preparation for consistent heat pressing.
How Durable Are Heat-Pressed Patches After Multiple Washes?
You’ll find patch longevity depends on quality and heat pressing technique. Properly applied patches exhibit strong wash resistance, maintaining adhesion and appearance through multiple washes.
Repeated harsh laundering can reduce durability over time.
Can Heat Pressing Damage Delicate Shirt Fabrics?
Yes, heat pressing can damage delicate fabric types like silk or lace if you use high heat settings. You should always adjust temperature and pressing time based on the fabric’s heat tolerance to prevent burns or deformation.
Is It Possible to Heat Press Patches on Non-Cotton Materials?
Yes, you can heat press patches on non-cotton materials by selecting appropriate heat transfer techniques and adjusting temperature and pressure.
Always test fabric compatibility first to prevent damage and guarantee strong adhesion on synthetic or blended fabrics.
Conclusion
Now that you’ve mastered heat pressing your patch, imagine your shirt transforming into a canvas where precision meets permanence. Like a skilled artisan sealing a masterpiece, you’ve fused fabric and design with the perfect temperature and timing.
With careful preparation and attention to detail, your patch will cling securely, ready to withstand wear and washing. Keep these techniques close, and your creations will stay sharp, vibrant, and firmly in place every time.
By following these steps, you ensure successful heat pressing a patch on shirt, creating durable and eye-catching apparel that lasts.