To heat press DTF transfers, start by preparing a clean, wrinkle-free garment made of cotton, polyester, or blends. This ensures the best adhesion and print quality.
Set your heat press to 300–320°F, apply firm pressure around 30–40 psi, and press for 15–20 seconds.
Position the transfer carefully on the garment, press with even heat, then peel the film cold once cooled.
Follow these steps precisely to guarantee strong adhesion and vibrant prints.
Keep going to master peeling, curing, and troubleshooting techniques.
Key Takeaways
- Preheat garment to remove moisture and wrinkles before placing the DTF transfer for better adhesion.
- Set heat press temperature between 300°F and 320°F, apply medium to firm pressure (30-40 psi), and press for 15-20 seconds.
- Align the DTF transfer accurately on the garment to ensure precise print placement and symmetry.
- Place garment flat on the heat press platen, avoiding wrinkles or folds, and close the press carefully.
- After pressing, perform a cold peel by waiting for the transfer to fully cool before removing the film to preserve print quality.
How To Prepare Garments And DTF Transfers
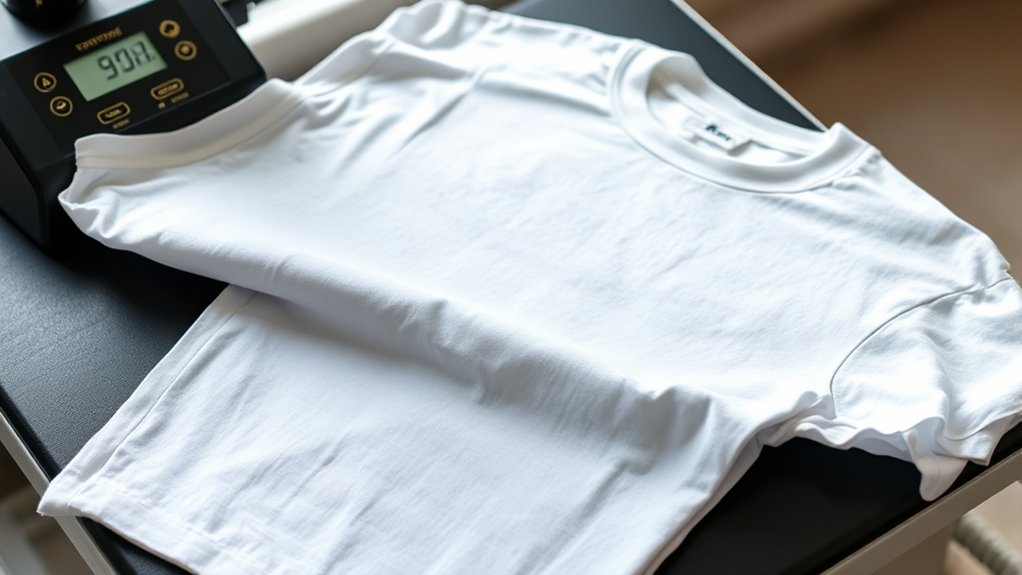
Before you begin the heat pressing process, make sure your garments are clean and wrinkle-free, as any debris or folds can affect transfer adhesion. Start your garment selection by choosing materials compatible with DTF transfers. Cotton, polyester, or blends work best. Avoid coated or textured fabrics that hinder bonding.
Next, preheat the garment briefly to remove moisture and smooth out wrinkles. Position the DTF transfer carefully on the garment, guaranteeing precise transfer alignment to avoid skewing or misplacement. Use a heat-resistant tape if needed to secure the transfer in place. Confirm the design is centered and straight by measuring or using alignment guides. Proper preparation of both garment and transfer guarantees ideal adhesion and a professional final result.
Best Temperature, Pressure & Time For DTF Transfers
When you set your heat press, aim for a temperature between 300°F and 320°F (149°C to 160°C) to guarantee excellent ink melting and adhesion. Maintain consistent heat settings throughout the process to avoid uneven curing.
For pressure adjustments, apply medium to firm pressure, typically around 30 to 40 psi, making sure the transfer fully contacts the garment without damaging the fabric. Too little pressure can cause poor adhesion; too much may distort the design.
Set the timer for 15 to 20 seconds, balancing sufficient curing time without overheating. These parameters suit most DTF transfers on cotton or polyester blends.
Always calibrate your heat press periodically, as variations in equipment can affect results. Following these precise temperature, pressure, and timing guidelines guarantees durable, vibrant transfers with excellent wash resistance.
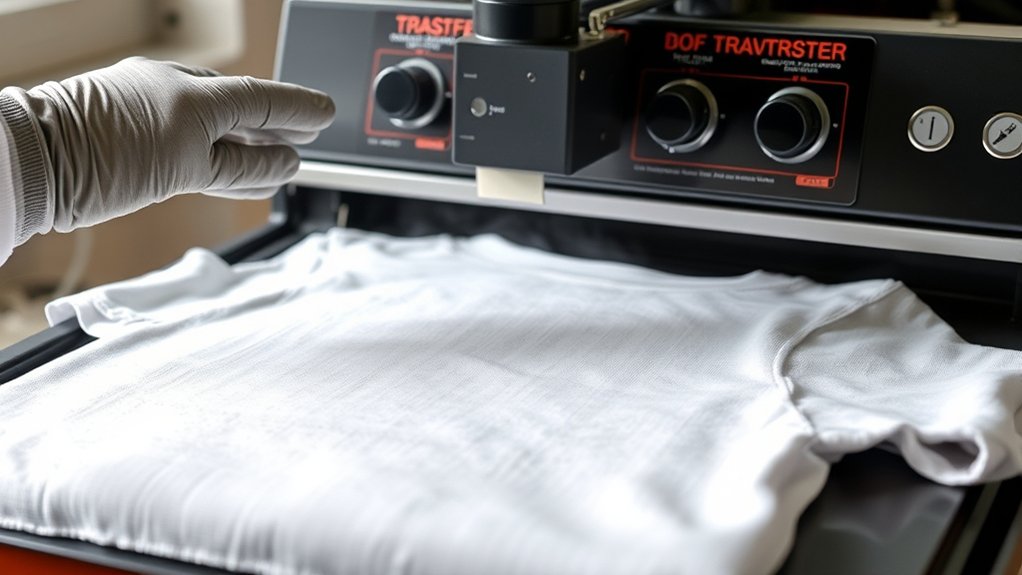
How To Heat Press Your DTF Design
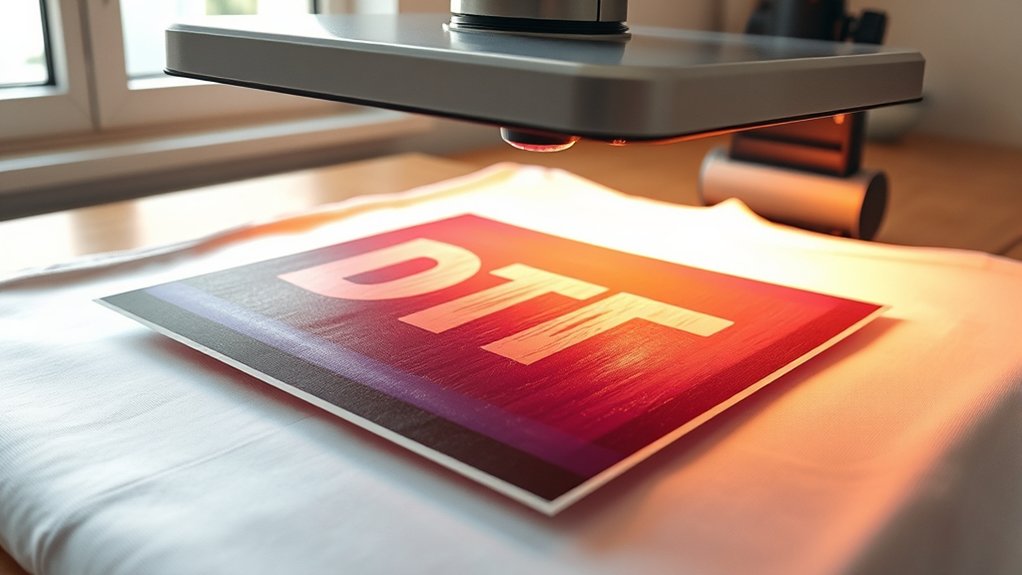
Start by positioning your garment flat on the heat press platen, making certain there are no wrinkles or folds in the fabric. Next, focus on precise design alignment by carefully placing your DTF transfer on the garment where you want the print.
Position your garment flat and wrinkle-free before accurately placing your DTF transfer for perfect print alignment.
Confirm transfer placement by measuring or visually checking to verify symmetry and proper positioning. Close the heat press and apply the recommended temperature, pressure, and time settings based on your previous calibration.
Maintain consistent pressure throughout the pressing cycle to guarantee even adhesion. When the timer ends, lift the heat press carefully without shifting the garment or transfer.
This methodical approach to design alignment and transfer placement guarantees a crisp, professional finish on your DTF printed garment every time.
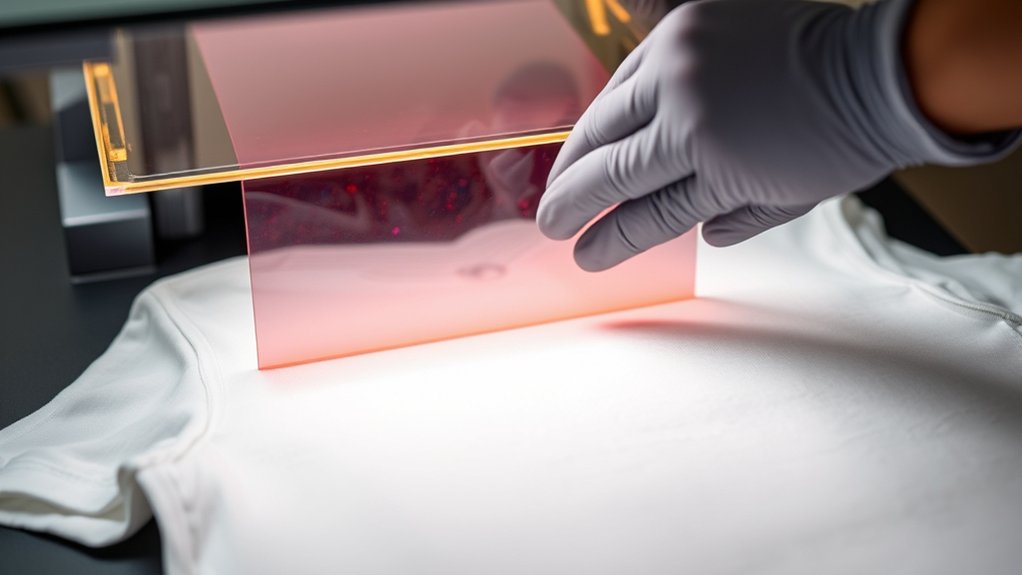
Cold Peeling And Curing Techniques For DTF Transfers
After completing the heat press cycle with accurate temperature, pressure, and timing, you’ll need to perform the cold peel to confirm the transfer adheres properly without damaging the print. Cold peeling means removing the film while it’s fully cooled, preventing smudges or lifting.
Following this, apply curing methods such as additional heat pressing or air drying to secure durability.
| Step | Action | Key Detail |
|---|---|---|
| 1 | Heat press | Set correct temp/time |
| 2 | Cool down | Wait until fully cool |
| 3 | Cold peel | Peel film slowly |
| 4 | Cure | Heat press or air dry |
| 5 | Inspect | Check adhesion quality |
These cold peeling and curing methods confirm your DTF transfers last and maintain quality.
How To Fix Common Heat Press Problems With DTF Transfers
Although DTF transfers generally produce reliable results, you may encounter issues like incomplete adhesion, color fading, or film lifting during heat pressing. To fix these common heat press transfer issues, first verify your temperature and pressure settings match the transfer’s specifications. Typically, this means 320°F at medium pressure for 15 seconds.
Ensure correct temperature and pressure—usually 320°F, medium pressure, 15 seconds—to avoid DTF transfer issues.
If adhesion is weak, increase pressure slightly or extend pressing time by 5 seconds. For color fading, confirm the heat press platen is clean and evenly heated to avoid uneven curing.
Film lifting often results from peeling too soon; always peel cold unless the transfer recommends hot peel. Additionally, use parchment paper or a Teflon sheet as a protective barrier between the heat platen and transfer to prevent scorching.
Regular maintenance of your heat press prevents inconsistent results.
Frequently Asked Questions
What Types of Printers Are Best for Creating DTF Transfers?
You’ll want inkjet printers compatible with pigment inks for creating DTF transfers. These printers deliver sharp, durable prints essential for transfers.
Make sure your printer supports specialized DTF films and inks for best results.
Can DTF Transfers Be Washed in Hot Water Without Damage?
Yes, you can wash DTF transfers in hot water, but keep washing temperatures below 60°C to maintain transfer durability. Higher temperatures risk weakening the adhesive, so always follow care instructions for best results and longevity.
How Long Do DTF Transfers Typically Last on Garments?
DTF transfers typically last 30-50 washes, but durability factors like washing temperature and detergent affect longevity.
You’ll guarantee ideal lifespan by mastering application techniques, including proper heat press time, pressure, and temperature settings.
Are DTF Transfers Safe for All Fabric Types?
Though not exactly from the Elizabethan era, you’ll find DTF transfers safe for most fabrics. Verify fabric compatibility by testing first; transfer durability varies, especially on delicate textiles like silk or nylon.
These fabrics require precise heat and pressure adjustments to ensure a successful transfer.
What Are the Environmental Impacts of DTF Printing?
You’ll face sustainability concerns in DTF printing due to chemical inks and plastic films. Proper waste management, including recycling and safe disposal, is essential to minimize environmental impact and comply with eco-friendly industry standards.
Conclusion
Now that you’ve mastered preparing garments and setting the perfect temperature, pressure, and time, the real challenge begins. Will your heat press deliver that flawless, vibrant DTF transfer or leave you troubleshooting common issues?
Stay sharp with cold peeling and curing techniques—they’re the secret to durability and brilliance. Get ready to apply these steps precisely, because the difference between a good print and a perfect one depends on what you do next.
Don’t miss it, as mastering how to heat press DTF transfers is key to achieving exceptional results every time.