To heat press a shirt, first select a fabric compatible with your transfer type—cotton for vinyl, polyester for sublimation.
Preparing a high-resolution, properly mirrored design is essential before starting. Then, preheat your press to the correct temperature, usually between 320°F and 375°F.
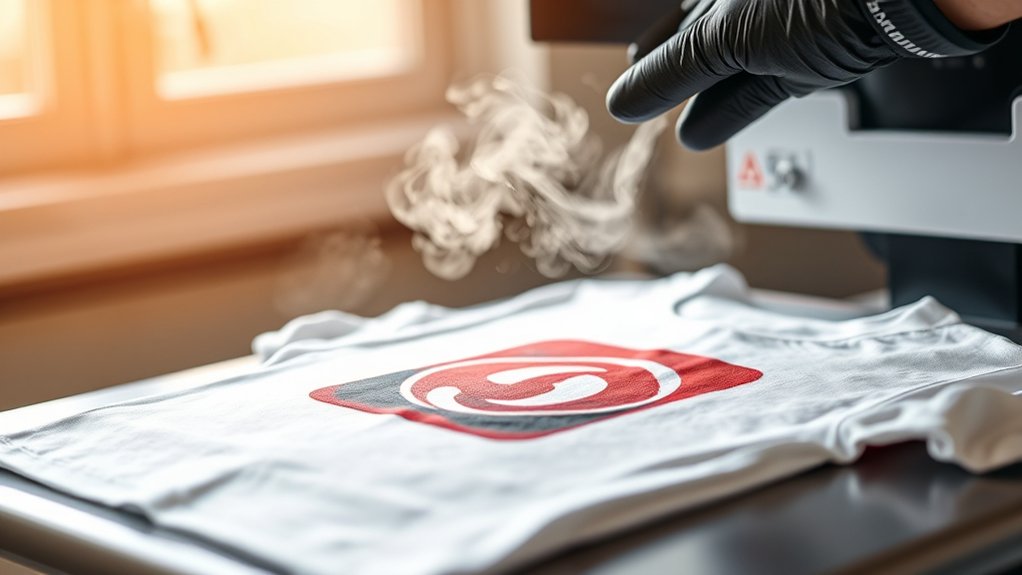
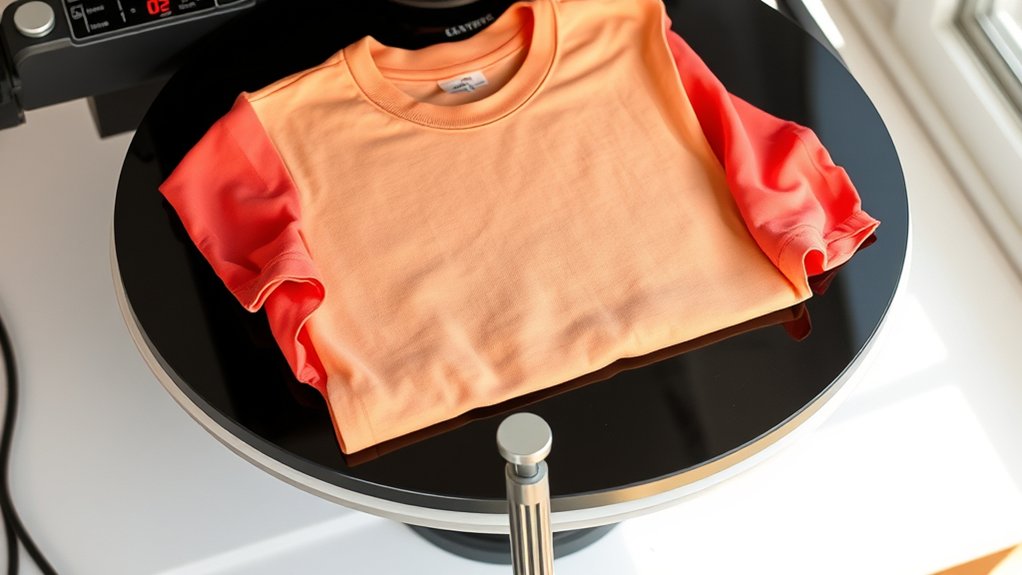
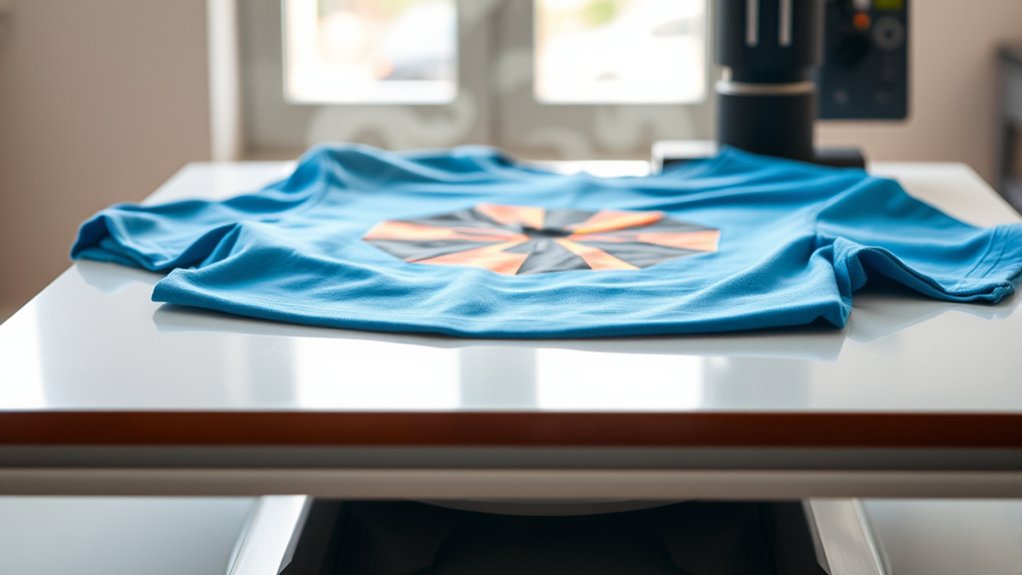
Lay the shirt flat on the heat press platen and position the transfer accurately on the fabric. Apply firm, even pressure for 10 to 20 seconds to ensure the design adheres well.
Peel the transfer as instructed—either hot or cold—to guarantee durability and a professional finish.
If you want to perfect your technique and avoid common mistakes, there’s more to explore.
Key Takeaways
- Preheat the heat press machine to the recommended temperature for your shirt’s fabric and transfer type.
- Lay the shirt flat, removing all wrinkles for an even pressing surface.
- Position and align the transfer design accurately on the shirt before pressing.
- Close the heat press, apply firm pressure, and press for the specified time based on fabric and transfer.
- Lift the press and peel the transfer according to instructions for proper adhesion and durability.
Choosing Shirt Fabrics and Transfer Types for Heat Pressing

Before you begin heat pressing, you need to select the right shirt fabric and transfer type to guarantee ideal adhesion and durability. Start by identifying the shirt blends. Common options include 100% cotton, polyester, or poly-cotton blends. Each fabric reacts differently to heat and pressure, so understanding your shirt blend is essential.
Next, evaluate transfer compatibility. For example, vinyl transfers work best on cotton and polyester, while sublimation transfers require polyester or high-poly blends. Avoid 100% cotton for sublimation, as it won’t bond properly.
Additionally, consider the transfer type’s temperature and pressure requirements, verifying they suit your fabric to prevent scorching or incomplete adhesion. By matching shirt blends with compatible transfers, you’ll guarantee a professional, long-lasting heat press result every time.
Preparing Your Shirt Design for Heat Pressing
Start by ensuring your design file is in a high-resolution format with a transparent background and the correct color profile for printing.
Next, select transfer materials compatible with your fabric type, such as vinyl, plastisol, or sublimation paper. Proper preparation at this stage guarantees a crisp, durable heat press result.
Design File Preparation
Preparing your shirt design file correctly is essential for achieving sharp, vibrant results in heat pressing. Start by selecting the appropriate design file formats. Vector files like AI, EPS, or SVG are ideal because they maintain quality at any size.
If you’re using raster images, make sure the graphic resolution is at least 300 DPI to prevent pixelation during pressing. Adjust your design’s dimensions to match the shirt size, and confirm the colors align with your heat transfer method.
Convert all text to outlines or paths to avoid font issues. Use a transparent background if possible to simplify the transfer. Finally, mirror your design horizontally if you’re applying heat transfer vinyl or sublimation on the shirt’s front side. This preparation guarantees precision and peak print quality.
Choosing Transfer Materials
Once your design file is accurately set, selecting the right transfer material becomes the next step to confirm ideal adhesion and durability. You need to match the material with your shirt fabric and design type.
For cotton or cotton-blend shirts, heat transfer vinyl (HTV) offers excellent results due to its strong adhesive backing and vibrant colors. Ascertain you choose HTV compatible with your heat press temperature and pressure settings.
Alternatively, sublimation printing works best on polyester fabrics or polymer-coated surfaces, producing durable, full-color images with excellent wash resistance. When using sublimation, verify your shirt’s polyester content is at least 65% for vivid transfers.
Avoid mixing incompatible materials, as this can cause peeling or color fading. Proper material selection confirms your heat-pressed design remains crisp and long-lasting.
How to Set Your Heat Press: Temp, Time & Pressure
You’ll need to set your heat press to the ideal temperature based on your shirt material and transfer type, usually between 320°F and 375°F. Adjust the pressing time accordingly, typically ranging from 10 to 20 seconds, to guarantee proper adhesion without scorching.
Apply firm, even pressure to secure the design. Too little pressure can cause peeling, while too much can damage the fabric.
Optimal Temperature Settings
Although setting the correct temperature varies by material and transfer type, maintaining precise control over temperature, time, and pressure is essential for optimal results. You must select appropriate temperature ranges based on fabric types to prevent damage and guarantee transfer adhesion. For example, polyester requires a lower temperature than cotton blends.
Refer to the table below for guidance:
| Fabric Type | Appropriate Temperature (°F) | Notes |
|---|---|---|
| Cotton | 350 – 375 | Suitable for most transfers |
| Polyester | 300 – 320 | Use lower heat to avoid melting |
| Cotton Blend | 320 – 340 | Balance between durability and softness |
Always verify your heat press specifications and test on a sample fabric to confirm settings before production.
Adjusting Time And Pressure
When setting your heat press, adjusting time and pressure correctly guarantees a durable and high-quality transfer. Begin by consulting the material and transfer type guidelines to determine initial time adjustments.
Set the timer precisely, as under- or overexposure can result in poor adhesion or scorching. Next, calibrate your pressure settings based on fabric thickness; thin materials require lighter pressure, while thicker textiles need firmer pressure to guarantee proper ink bonding.
Use the machine’s pressure adjustment knob or lever to fine-tune this. Perform test presses on sample fabrics to verify the balance between time and pressure, adjusting incrementally if you notice issues like incomplete transfer or fabric deformation.
Accurate time adjustments combined with correct pressure settings guarantee consistent, professional results every time you heat press a shirt.
How to Heat Press a Shirt: Step-by-Step Guide
Before you begin, make certain your heat press machine is properly calibrated to the recommended temperature and pressure settings for your shirt material. Follow these heat press techniques to guarantee precise shirt customization:
| Step | Action | Detail |
|---|---|---|
| 1 | Preheat machine | Set temperature & pressure |
| 2 | Prepare shirt | Lay flat, remove wrinkles |
| 3 | Position transfer design | Center and align accurately |
| 4 | Press & time | Close press, apply set timer |
Once the timer ends, quickly lift the press and peel the transfer according to instructions. Proper execution guarantees durable adhesion and professional-quality customization. Always test settings on a sample shirt first to optimize results.
How to Avoid Heat Pressing Mistakes on Shirts
A common source of problems in heat pressing shirts comes from overlooking critical details during setup and execution. To avoid common mistakes and guarantee quality results, follow these steps:
- Set Correct Temperature and Time: Use manufacturer guidelines to prevent scorching or under-adhesion.
- Prepare the Shirt Properly: Make sure the fabric is clean, wrinkle-free, and positioned evenly on the platen.
- Use Appropriate Pressure: Adjust pressure for the shirt material; too much or too little pressure causes poor transfer.
- Check Transfer Placement: Align your design precisely before pressing to avoid misprints.
How to Care for Heat-Pressed Shirts
Although heat pressing creates durable designs, proper care is essential to maintain their quality and longevity. Follow specific washing instructions: always turn the shirt inside out, use cold water, and select a gentle cycle to prevent damage to the design. Avoid bleach and fabric softeners, as they degrade the adhesive and print.
Tumble drying on low heat is acceptable, but air drying is preferable to extend the design’s life.
For storage tips, keep the shirts folded neatly in a cool, dry place away from direct sunlight to prevent fading and cracking. Avoid hanging heat-pressed shirts for long periods, as this may cause stretching.
Frequently Asked Questions
Can I Use a Home Iron Instead of a Heat Press Machine?
You can use a home iron, but its effectiveness is limited compared to a heat press. For heat press alternatives, guarantee consistent pressure, temperature, and time to avoid poor adhesion or damage during transfer.
What Safety Precautions Should I Take When Using a Heat Press?
You should always wear protective gear like heat-resistant gloves and safety glasses for heat press safety. Keep your workspace clear, avoid loose clothing, and never touch the heated platen to prevent burns and accidents.
How Do I Troubleshoot Uneven Heat Distribution on My Shirt?
If your heat press feels like the sun’s unevenly scorching your shirt, check uneven pressure first. Adjust heat settings precisely and use a pressure gauge to verify uniform contact, guaranteeing flawless transfers every single time.
Can Heat Pressing Be Done on Non-Cotton Materials?
Yes, you can heat press non-cotton materials, but you’ll need to adjust temperature and time settings carefully. Use heat transfer methods compatible with synthetic fibers to avoid scorching or melting, ensuring precise application and garment safety.
What Are the Environmental Impacts of Heat Pressing Shirts?
Like harnessing a controlled flame, heat pressing consumes energy and impacts the environment. You should choose sustainable materials and optimize energy consumption to reduce your carbon footprint while ensuring precision and durability in your work.
Conclusion
Heat pressing a shirt is like tuning a fine instrument—precision in fabric choice, design prep, and press settings guarantees a flawless result. By carefully controlling temperature, time, and pressure, you’ll achieve vibrant, durable transfers every time. Avoid common pitfalls by following each step meticulously.
Maintain your shirt with proper care to extend its life. Mastering these details transforms your heat press process from a simple task into expert craftsmanship. With practice and attention to detail, heat pressing a shirt becomes an art form that yields professional-quality results.