To heat press a hat, start by securing your design with heat-resistant tape on a clean, moisture-free hat.
Place the hat carefully on a curved platen to ensure proper fit and contact.
Set your heat press to the correct temperature and time, which will depend on the fabric type of your hat.
Apply firm, even pressure during the pressing process to transfer the design effectively.
After pressing, peel the backing according to the instructions and allow the hat to cool completely.
Avoid overheating or misalignment to prevent damage.
By following these basics, you’ll ensure your custom hats look professional every time.
Understanding how each step affects quality is key to successful heat pressing.
Key Takeaways
- Use a heat press machine with a curved hat platen and heat-resistant silicone pads for proper heat distribution and fabric protection.
- Position and secure your design on the hat’s front panel using heat-resistant tape to prevent shifting during pressing.
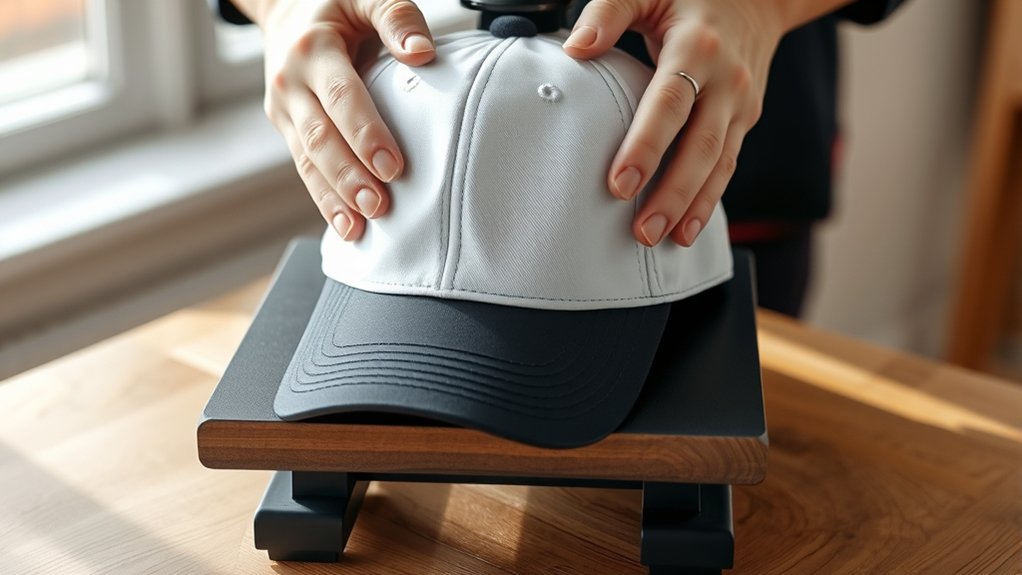
- Pre-press the hat briefly to remove moisture and flatten fabric before applying the heat transfer design.
- Set the machine to the recommended temperature and time for your hat’s fabric, then apply firm, even pressure during pressing.
- Peel the transfer backing as instructed after pressing and allow the hat to cool before handling or wearing.
Materials and Tools Needed for Heat Pressing Hats

To heat press a hat effectively, you’ll need specific materials and tools designed for curved surfaces and fabric adhesion. First, select a heat press machine with a hat platen. This curved attachment fits various hat types, guaranteeing even pressure and temperature distribution.
Use heat-resistant silicone pads to protect the hat’s fabric and maintain consistent contact. You’ll also require heat transfer vinyl (HTV) or sublimation paper, depending on your design method. A heat-resistant tape holds your design in place, preventing shifting during pressing.
Additionally, a Teflon sheet safeguards the hat’s surface from direct heat, avoiding scorching. Choose hats made from cotton, polyester, or blends compatible with heat pressing. Avoid materials like leather or wool that may not tolerate heat well.
Having these tools and materials ready guarantees precision and quality in your heat press application.
Preparing Your Hat and Design for Heat Pressing
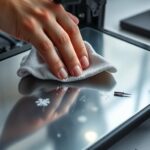
Before you begin heat pressing, make certain your hat is clean and free of wrinkles or moisture that could affect adhesion. Inspect the hat fabric closely; synthetic blends and cotton require different heat settings, so knowing your material guarantees proper temperature control.
Next, position your design precisely on the hat’s front panel, considering curvature and seams for ideal design placement. Use heat-resistant tape or a positioning tool to secure the design, preventing shifting during pressing.
Position your design carefully, accounting for curves and seams, and secure it with heat-resistant tape to avoid shifting.
Pre-press the hat briefly to eliminate residual moisture and flatten the fabric, creating a smooth surface for transfer. This step improves bonding and reduces the risk of bubbles or wrinkles in the final imprint.
Proper preparation of both hat and design ensures a clean, durable heat press result.
Step-by-Step Guide to Heat Pressing a Hat
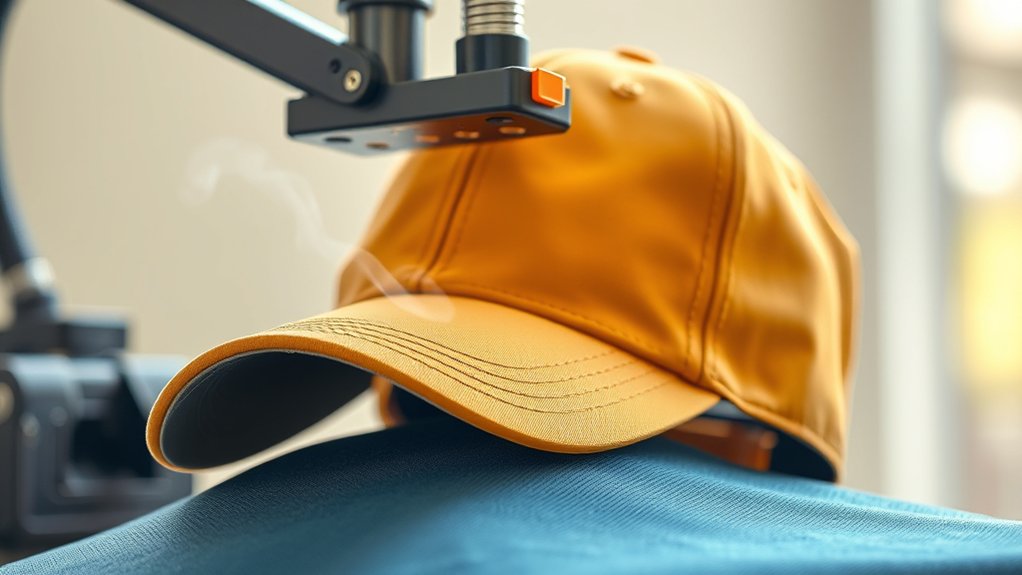
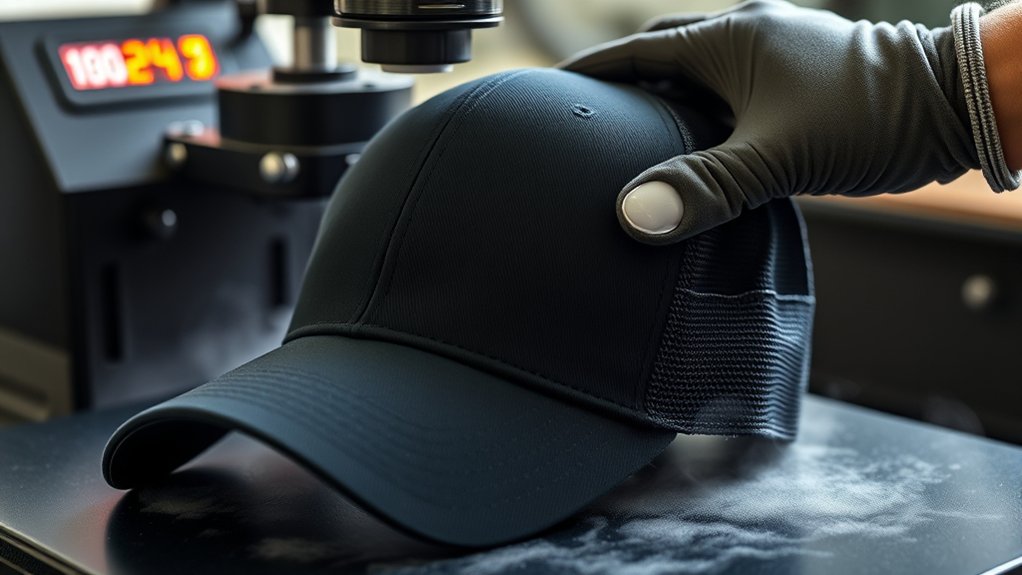
Start by setting your heat press machine to the correct temperature and time based on your hat’s fabric type and the transfer material. Next, position the hat securely on the heat press’s curved platen, guaranteeing stability.
Align your design placement carefully on the hat’s front panel, double-checking for symmetry and centering. Lower the heat press, applying firm, even pressure.
Maintain the predetermined temperature settings and time, usually between 320°F to 350°F for 15 to 30 seconds, depending on materials. Once the cycle ends, lift the press and peel the transfer backing according to the transfer type, either hot or cold peel.
Allow the hat to cool briefly to set the design. Following these precise steps guarantees a clean, durable application and professional-quality results every time.
Common Mistakes to Avoid When Heat Pressing Hats
Although heat pressing hats seems straightforward, overlooking key details can compromise your results. One common mistake is improper design placement; ascertain the design aligns precisely with the hat’s curve to avoid distortion or misalignment.
Another critical error is neglecting exact temperature settings. Setting the press too high can scorch the fabric, while too low prevents proper adhesion. Always calibrate your heat press according to the material and transfer type.
Avoid excessive pressure, which can warp the hat’s shape, and insufficient pressure, which leads to incomplete transfers. Also, don’t rush the pressing time; follow manufacturer guidelines strictly. By avoiding these pitfalls, you’ll achieve sharp, durable designs and maintain the hat’s structural integrity for professional-quality results every time.
Caring for Your Heat-Pressed Hat to Keep Designs Vibrant
Maintaining the quality of your heat-pressed hat doesn’t end once the design is applied. Proper hat maintenance tips guarantee your design stays vibrant and intact over time. Use cold water and mild detergent for cleaning, avoid bleach, and air dry your hat to prevent heat damage.
Store it away from direct sunlight to slow fading. Employ these design longevity techniques consistently to extend the life of your custom hat.
| Action | Emotional Benefit |
|---|---|
| Gentle washing | Preserves your pride |
| Avoiding high heat | Protects your investment |
| Proper storage | Keeps memories vivid |
Follow these steps, and your heat-pressed hat will maintain its sharp, colorful appeal longer, reflecting your care and craftsmanship.
Frequently Asked Questions
Can I Heat Press a Hat With a Curved Brim?
Yes, you can heat press a hat with a curved brim by using curved brim techniques to guarantee even pressure.
Follow hat pressing tips like using a specialized hat press attachment for consistent results without damaging the shape.
What Types of Fabrics Work Best for Heat Pressing Hats?
You’ll get the best results heat pressing hats made from cotton blends and polyester fabrics. These materials handle heat well, ensuring durable adhesion without damage.
Avoid delicate or heat-sensitive fabrics to prevent warping or scorching.
How Long Does a Heat-Pressed Design Typically Last on a Hat?
A heat-pressed design typically lasts 1-3 years, depending on design longevity and fabric quality. You’ll extend its life by following maintenance tips like gentle washing, avoiding heat, and storing hats properly when not in use.
Can I Use a Regular Heat Press Machine for Hats?
You can use a regular heat press machine for hats if you adjust heat press settings properly. Use a curved platen or hat press attachment to guarantee even pressure and protect your hat design during pressing for best results.
Is It Safe to Heat Press Hats With Foam or Mesh Panels?
Think of foam and mesh as delicate wings; foam panel safety demands lower heat and shorter press times, while mesh panel concerns require caution to avoid warping. Use precise temperature control to protect your hat’s integrity.
Conclusion
By carefully choosing your materials and meticulously managing your method, you’ll master the magic of heat pressing hats. Avoiding common mistakes guarantees crisp, clean, and consistent creations. Remember, proper preparation primes perfect prints, while attentive aftercare maintains marvelous, meaningful motifs.
Stay sharp, stay steady, and stay successful—your skillful strategy will showcase stunning, standout styles every single time. Heat pressing hats isn’t just a task; it’s a technique turning textiles into timeless treasures.
Mastering heat pressing hats ensures your designs are both vibrant and durable, making every hat a unique work of art.