You can use an iron instead of a heat press for transfers, but it won’t deliver the same consistent temperature and pressure needed for ideal results.
Irons require careful manual control and risk uneven heat or shifting designs, especially on cotton or polyester blends.
While an iron can work for small projects, it lacks the efficiency and accuracy of a heat press.
If you want to improve your technique or explore when upgrading becomes worthwhile, keep exploring these key points.
Key Takeaways
- Yes, an iron can be used instead of a heat press but requires careful temperature and pressure control for good transfer results.
- Irons lack consistent heat and pressure, increasing the risk of uneven adhesion and potential design shifting during application.
- Use a firm, even pressure with a towel or parchment paper as a barrier to protect fabric and distribute heat evenly.
- Best results with irons occur on natural fibers like cotton, avoiding steam settings to prevent moisture damage.
- Heat presses offer superior consistency, efficiency, and durability, making them better for frequent or professional use despite higher initial cost.
How a Heat Press and an Iron Work Differently
Although both a heat press and an iron apply heat to transfer designs onto fabric, they operate using distinct mechanisms. When comparing heat press vs. iron, you’ll notice a heat press delivers consistent temperature and pressure over a flat surface, controlled electronically.
This precision guarantees uniform heat distribution, critical for ideal transfer quality. In contrast, an iron relies on manual pressure and variable heat settings, which can lead to uneven application.
The heat press’s clamping mechanism maintains constant pressure, preventing shifting of the design, whereas an iron requires you to hold and press, increasing the risk of movement and inconsistent results.
Understanding these differences helps you appreciate why transfer quality typically favors a heat press over an iron for professional and reliable fabric transfers.
Is an Iron Hot and Pressed Enough for Transfers?
How hot and firmly pressed does an iron need to be to achieve successful transfers? You must set your iron to the correct temperature based on the transfer material compatibility, typically around 300-350°F (148-177°C) for standard heat transfer vinyl or sublimation sheets.
Avoid using the steam setting, as moisture can interfere with adhesion. Apply firm, even pressure manually for 20-30 seconds, ensuring no movement to prevent blurred images.
Unlike a heat press, an iron lacks precise temperature control and consistent pressure distribution, so you’ll need to monitor carefully. Using a thick towel or parchment paper as a barrier helps distribute pressure evenly.
Proper iron temperature settings combined with firm, steady pressing can yield acceptable transfers, but variations in iron performance may affect overall quality and durability.
Which Fabric Transfers Work Best With an Iron?
When you choose fabrics for iron-on transfers, natural fibers like cotton and polyester blends typically yield the best results due to their heat tolerance and ability to bond with transfer adhesives. For ideal fabric compatibility, you should consider the best transfer types that suit your material.
Here are top fabric transfers that work well with an iron:
- Cotton: Ideal for most iron-on vinyl and paper transfers.
- Polyester blends: Compatible with sublimation and heat transfer vinyl (HTV).
- Nylon: Requires lower heat transfers to prevent damage.
- Spandex blends: Works with flexible HTV for stretchability.
- Denim: Durable enough for thick vinyl transfers with extended heat application.
Selecting the right fabric and transfer type guarantees a durable, high-quality result when using an iron instead of a heat press.
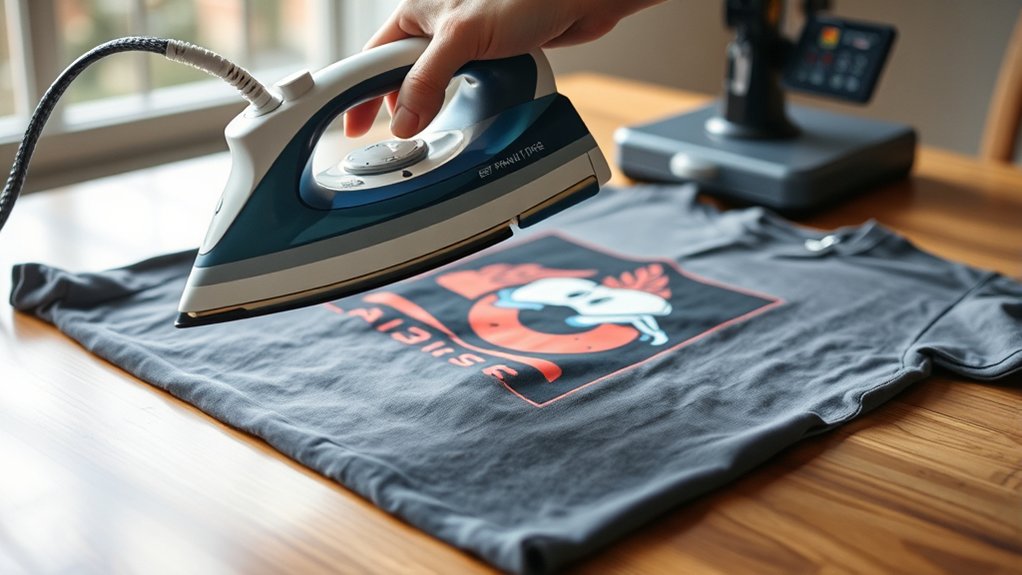
How to Use an Iron for Heat Transfers
Before you start, make certain your iron’s surface is clean and set to the correct temperature for your transfer type. Place the transfer design face down on the fabric, then apply firm, even pressure with the iron, moving slowly to cover the entire area.
Follow the specific timing and heat settings recommended for your transfer to guarantee proper adhesion.
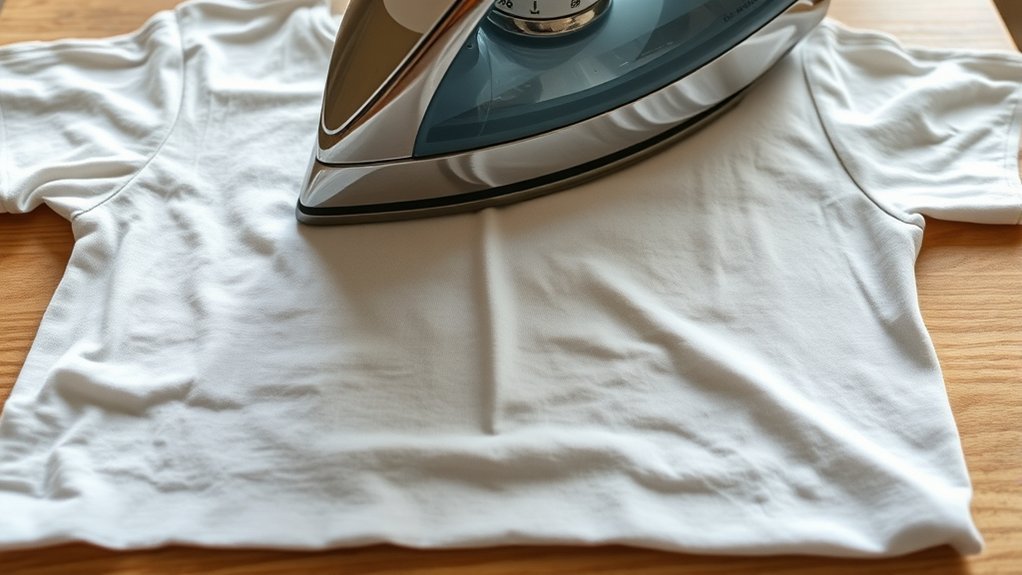
Preparing the Iron Surface
To achieve ideal heat transfer results, you’ll need to confirm your iron’s surface is clean and free of any residue or debris. Proper iron surface preparation is critical to prevent transfer imperfections and fabric damage.
Start with thorough cleaning iron techniques before beginning your project. Here’s how to prepare your iron surface:
Unplug the iron and allow it to cool completely. Wipe the soleplate with a damp cloth to remove dust or lint. Use a non-abrasive cleaner or a mixture of water and vinegar to eliminate stubborn residues.
Avoid using steel wool or harsh abrasives that might scratch the surface. Dry the soleplate thoroughly to prevent steam interference during heat transfer.
Following these steps guarantees a smooth, contaminant-free surface for ideal heat application.
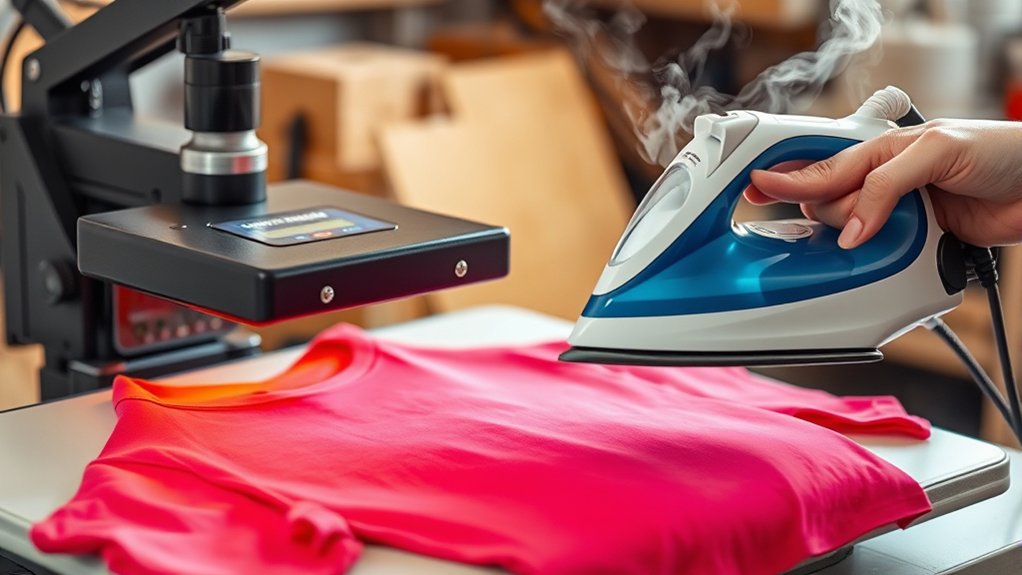
Applying Heat Transfer Properly
Although using an iron for heat transfers lacks the uniform pressure of a heat press, you can still achieve professional results by applying consistent, firm pressure and maintaining the recommended temperature. Begin by positioning the transfer materials accurately on the fabric, guaranteeing no wrinkles or folds.
Set the iron to the precise heat level specified for your transfer materials, usually without steam. Use a heat-resistant barrier, such as parchment paper, between the iron and transfer to prevent damage.
Apply steady pressure with the iron, pressing down firmly and moving slowly in small circular motions to distribute heat evenly. Avoid sliding the iron excessively, which can cause misalignment.
Follow the recommended application time exactly to confirm full adhesion without scorching. This methodical approach to application techniques maximizes transfer durability and image quality.
What Problems Might You Face Using an Iron?
When you use an iron instead of a heat press, you might encounter inconsistent temperature and pressure distribution, which can affect the quality of your transfer. Unlike a heat press, an iron delivers uneven heat and inconsistent pressure, causing potential transfer defects.
Using an iron instead of a heat press can cause uneven heat and pressure, leading to transfer defects.
You may face these issues:
- Uneven heat leading to incomplete or patchy transfers
- Inconsistent pressure causing areas of weak adhesion
- Difficulty maintaining steady heat over the transfer surface
- Limited control over dwell time and pressure intensity
- Risk of scorching fabric due to localized hot spots
These factors reduce the durability and clarity of your heat transfer. Understanding these limitations helps you anticipate challenges when substituting an iron for a heat press in your heat transfer projects.
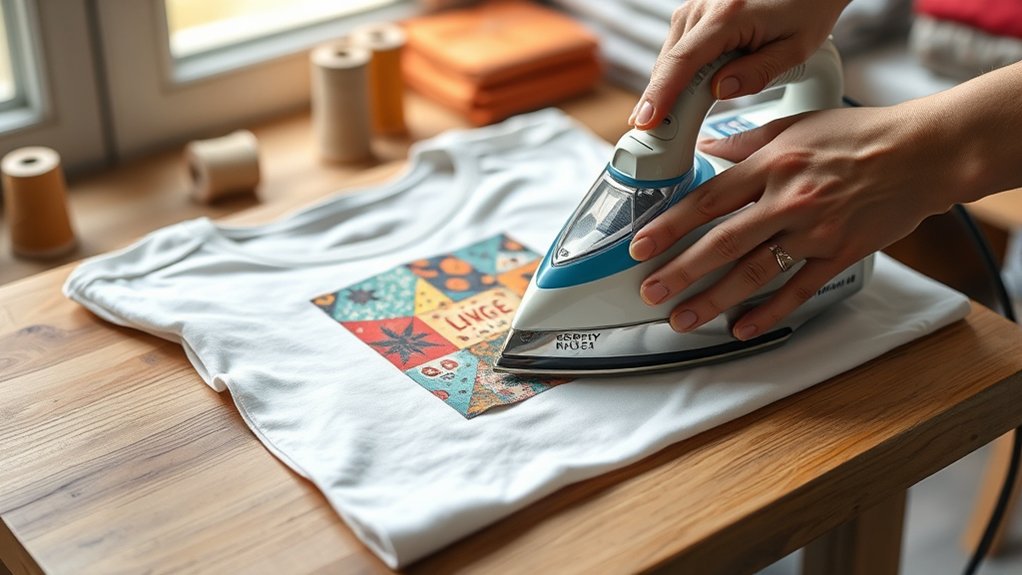
Tips to Improve Your Iron Heat Transfers
Achieving consistent heat transfers with an iron requires precise technique and careful preparation. First, understand fabric compatibility; some fabrics like cotton and polyester respond better to heat transfers than delicate synthetics.
Always preheat the fabric to remove moisture and wrinkles, guaranteeing even adhesion. Use a firm, steady pressure with the iron, avoiding any movement that might shift the transfer.
Employ appropriate transfer techniques by applying heat for the recommended time and temperature specified by the transfer material manufacturer. Protect your design with parchment paper or a Teflon sheet to prevent scorching.
Finally, let the transfer cool completely before peeling to verify proper bonding. Mastering these steps improves your results considerably, making iron transfers more reliable and professional-looking.
When to Invest in a Heat Press Instead
You should consider investing in a heat press when you need consistent durability and faster production times. A heat press applies even pressure and temperature, reducing errors compared to an iron.
Over time, this efficiency translates into cost savings, especially if you’re handling frequent or large-volume transfers.
Durability And Efficiency
Durability plays a critical role in determining whether to use an iron or invest in a heat press for your projects. When you perform a durability comparison, a heat press consistently outperforms an iron due to its robust build and uniform pressure application.
Efficiency analysis also favors heat presses, especially for repetitive tasks requiring consistent results.
Consider these factors:
- Heat presses deliver controlled temperature and pressure, reducing errors.
- Irons lack precision, causing uneven transfers and wear over time.
- Heat presses withstand frequent use without degradation.
- Irons can overheat or damage materials with inconsistent heat distribution.
- Heat presses save time with faster cycle completion and consistent output.
If durability and efficiency matter in your workflow, investing in a heat press is the technically sound choice.
Long-Term Cost Benefits
Although the initial cost of a heat press may be higher than that of an iron, investing in one pays off over time through reduced material waste, consistent quality, and lower maintenance expenses. The equipment lifespan of heat presses generally exceeds that of irons, contributing to significant long term savings.
You’ll also benefit from improved temperature control and pressure consistency, which minimize errors and rework.
| Factor | Iron | Heat Press |
|---|---|---|
| Initial Cost | $20–$50 | $200–$500 |
| Equipment Lifespan | 1–3 years | 5–10 years |
| Maintenance | Frequent (replacements) | Minimal |
For high-volume or professional use, a heat press is a cost-efficient choice over time.
Other Affordable Heat Transfer Tools to Try
Several affordable heat transfer tools offer effective alternatives to traditional heat presses, catering to various project needs and budgets. If you want precision without high costs, consider these options:
- Clamshell Heat Presses: Compact and budget-friendly, suitable for small-scale sublimation printing.
- Handheld Heat Press Tools: Ideal for spot applications and vinyl cutting projects with intricate details.
- Silicone Heat Pads: Provide even heat distribution when paired with a household iron.
- Microwave Heat Presses: Use microwave energy for quick transfers, good for lightweight materials.
- DIY Heat Plates: Custom-built plates using heating elements offer control over temperature and pressure.
Each tool supports different transfer techniques, ensuring you can find a cost-effective solution tailored to your heat transfer and vinyl cutting needs.
Frequently Asked Questions
Can an Iron Damage Delicate Fabrics During Heat Transfers?
Yes, you can damage delicate fabric types using an iron during heat transfers. You’ll need precise transfer techniques, adjusting temperature and pressure carefully to avoid scorching or warping, unlike using a controlled heat press for consistent results.
How Long Does an Iron Take to Heat up Compared to a Heat Press?
Speedy heating starts your iron’s journey, usually taking 2-5 minutes, depending on heat settings.
In contrast, a heat press powers up faster, offering superior time efficiency for consistent, controlled temperature application every time you press.
Are There Specific Iron Brands Recommended for Heat Transfers?
You’ll find brands like Sunbeam and Black+Decker recommended for heat transfer due to consistent temperature control and even heat distribution. These iron brands help guarantee better adhesion and reduce the risk of damaging your transfer materials.
Can You Use an Iron on Materials Other Than Fabric?
You can use an iron on alternative materials like wood and leather, showcasing iron versatility. Over 60% of DIYers exploit this tool beyond fabric, but precise heat control is essential to avoid damage or unsatisfactory transfers.
Does Ironing Affect the Longevity of the Transferred Design?
Ironing can reduce design durability due to uneven heat and pressure, compromising transfer quality. To maintain longevity, you should use consistent temperature and apply firm pressure. Avoid frequent washing or abrasion on the transferred design.
Conclusion
You can use an iron instead of a heat press for certain transfers, but you’ll face challenges with consistent heat, pressure, and timing. You’ll need to apply steady pressure, maintain even heat, and monitor your fabric closely.
For small projects or occasional use, an iron works fine. However, it can be difficult to achieve uniform results on larger or more intricate designs.
For larger runs, delicate fabrics, or professional results, investing in a heat press guarantees precision, efficiency, and durability—giving you better control, better results, and better satisfaction. Ultimately, while an iron can substitute in some cases, a heat press is the preferred choice for consistent quality.