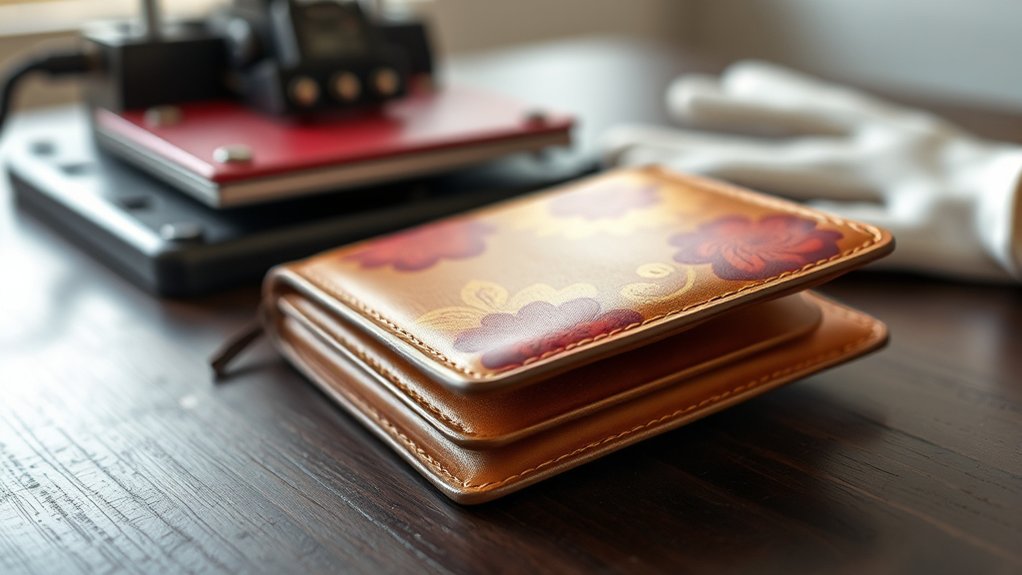
You can heat press on leather without ruining it if you control the temperature, pressure, and pressing time carefully.
Use moderate heat settings around 275°F to 300°F, apply light to medium pressure, and limit pressing time to 10–20 seconds.
Always test on a scrap piece first to avoid discoloration or warping. Protect the leather with a Teflon sheet during pressing for best results.
If you want to optimize the process and maintain your leather’s quality, there’s more essential guidance to follow.
Key Takeaways
- You can heat press on genuine leather using moderate temperatures (250°F-300°F) and short pressing times to avoid damage.
- Always test heat press settings on scrap leather to prevent discoloration, warping, or surface changes before final application.
- Use a protective barrier like a Teflon sheet to prevent imprint transfer and protect leather surface during heat pressing.
- Smooth, full-grain or top-grain leather responds best to heat pressing, while suede and textured leathers are not recommended.
- After heat pressing, clean gently with a soft cloth and condition leather to maintain suppleness and prolong imprint longevity.
Can You Heat Press Leather Without Ruining It?
How can you heat press leather without damaging it? You need to control temperature, pressure, and time precisely to maintain leather durability. Start by setting your heat press to a moderate temperature, typically between 250°F and 300°F, depending on the leather type.
Use minimal pressure to avoid imprinting or warping the surface. Keep pressing times short, generally 10 to 15 seconds, to prevent scorching or discoloration. Always test on a leather scrap before proceeding on the final piece.
Employ a protective barrier, like a Teflon sheet or parchment paper, between the press and leather to distribute heat evenly and prevent direct contact. Mastering these heat press techniques guarantees the leather remains supple and intact, preserving both appearance and strength during customization.
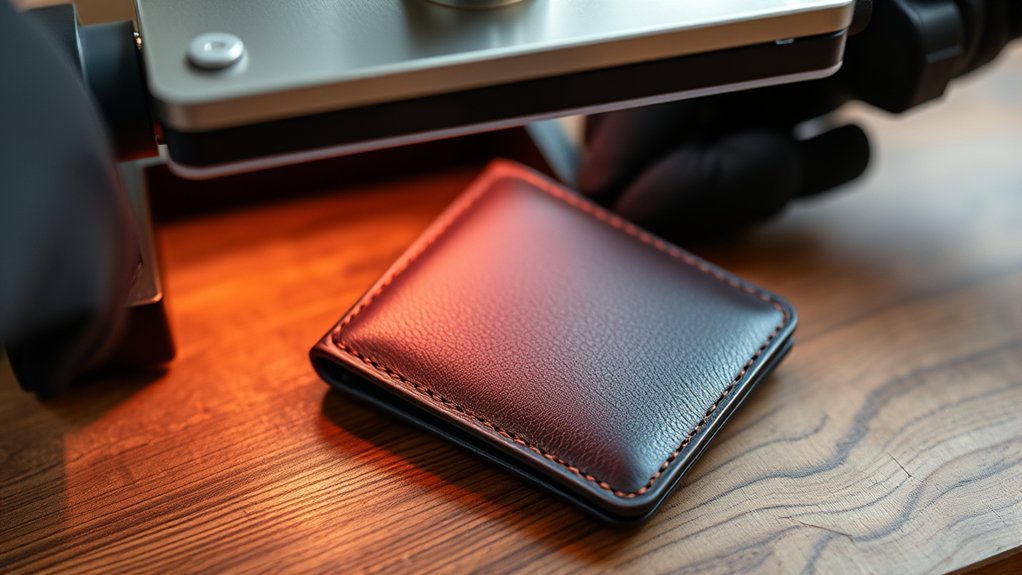
What Types of Leather Work Best for Heat Pressing?
Controlling heat press settings is only part of ensuring a successful application on leather. You need to start by selecting the right type of leather. Genuine leather, especially full-grain and top-grain variants, responds well to heat pressing due to their durability and consistent surface texture.
These types withstand moderate heat without warping or discoloration. Synthetic leather, such as PU or vegan leather, can also work but requires lower temperatures and shorter press times since excessive heat may cause melting or surface damage.
Avoid suede or highly textured leathers, as their porous surfaces impede even heat transfer and ruin the design clarity. To summarize, opt for smooth, durable genuine leather or carefully managed synthetic leather to achieve the best heat press results without compromising material integrity.
Preparing Your Leather for Heat Pressing
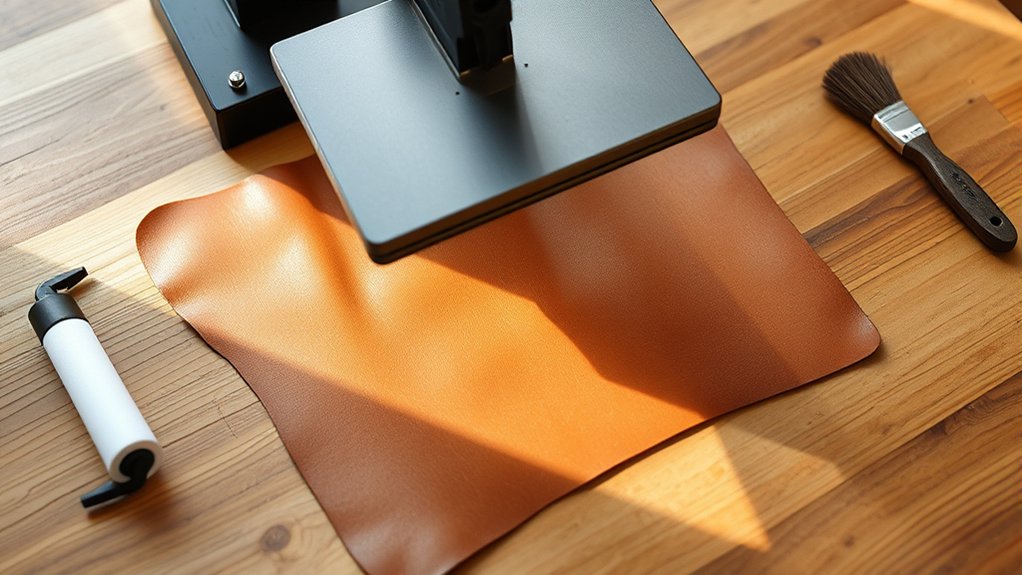
Before applying heat press to leather, you need to thoroughly clean and condition the surface to guarantee proper adhesion. Test a small, inconspicuous area for heat sensitivity to avoid damage or discoloration.
Always use protective barriers like Teflon sheets to shield the leather during pressing.
Cleaning and Conditioning Leather
Although leather is a durable material, you must thoroughly clean and condition it to guarantee ideal heat transfer during pressing. Begin leather cleaning by using a specialized leather cleaner or a mild soap solution applied with a soft cloth to remove oils, dirt, and residues that can impede adhesion.
Avoid saturating the leather, as excess moisture may cause damage. After cleaning, allow the leather to dry completely in a well-ventilated area. Next, apply a quality leather conditioner evenly to restore suppleness and prevent drying or cracking under heat.
Conditioning also helps maintain the leather’s natural oils, ensuring the material remains flexible and receptive to heat transfer materials. Proper leather cleaning and leather conditioning are essential steps to optimize the heat press process and achieve lasting, professional results.
Testing Heat Sensitivity
Once you’ve cleaned and conditioned your leather, the next step is to test its heat sensitivity to prevent damage during pressing. Conducting heat sensitivity tests involves applying controlled heat and pressure on a small, inconspicuous leather patch.
Use your heat press at the intended temperature and time settings for your project. Observe the leather reaction carefully. Look for discoloration, warping, or surface changes.
If the leather softens or darkens excessively, lower the temperature or reduce pressing time. Repeating these tests helps you identify the best heat parameters that preserve the leather’s integrity.
Thorough heat sensitivity tests guarantee you avoid irreversible damage, guiding you to safely apply heat transfers or embossing techniques without compromising the material’s quality.
Using Protective Barriers
Three essential protective barriers can help you shield leather effectively during heat pressing. Using protective sheets made of heat resistant materials prevents scorching and discoloration.
You should always position these barriers between the heat press platen and the leather surface. This approach maintains the leather’s texture and finish while distributing heat evenly.
| Protective Barrier | Purpose |
|---|---|
| Teflon Sheets | Non-stick surface, heat resistant |
| Parchment Paper | Heat resistant, prevents direct contact |
| Silicone Baking Mats | Durable, reusable, protects leather |
| Heat Resistant Fabric | Insulates, reduces heat damage |
Applying these barriers correctly minimizes risk and guarantees professional results every time you heat press on leather.
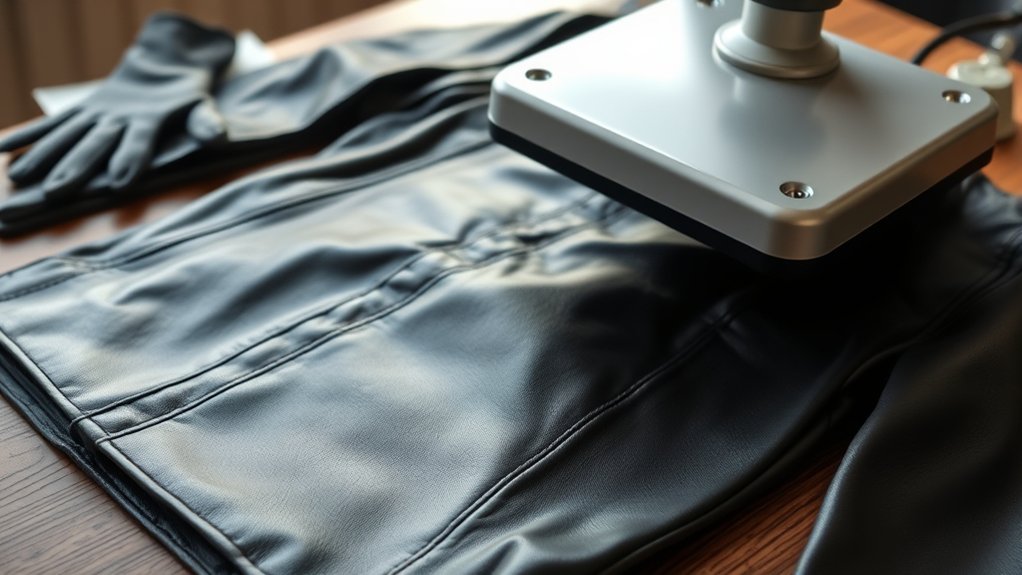
Heat Pressing Leather: A Step-by-Step Guide
To successfully heat press leather, you need to carefully control temperature, pressure, and timing to avoid damaging the material. First, identify the leather type, genuine, bonded, or synthetic, as each responds differently to heat transfer.
Set your heat press to a moderate temperature, typically between 275°F and 300°F, to prevent scorching. Place a protective barrier, like a Teflon sheet, over the leather to evenly distribute heat.
Position your heat transfer design precisely on the leather surface. Apply medium pressure for 15 to 20 seconds, monitoring closely.
Once pressed, lift the heat press carefully to avoid smudging. Allow the leather to cool completely before handling.
Following this method guarantees effective heat transfer while maintaining leather integrity and preventing deformation or discoloration.
How to Avoid Damage and Adhesion Issues When Heat Pressing Leather
To prevent damage and adhesion problems when heat pressing leather, you need to set your press to the correct temperature and pressure specific to the leather type. Always use a protective barrier, like a Teflon sheet, to shield the surface from direct heat.
Before committing to a full project, test on a small, inconspicuous area to guarantee compatibility and avoid costly mistakes.
Choose Proper Heat Settings
Although leather is a durable material, improper heat settings can easily cause scorching, warping, or poor adhesion when heat pressing. You need to exercise precise temperature control to protect the leather’s integrity. Start by consulting the leather type’s heat tolerance. Typically, 275°F to 300°F is safe for most leathers.
Avoid exceeding this range, as higher temperatures risk damaging the surface. Adjust your heat press to the recommended setting and allow it to stabilize before pressing. Use a timer to limit exposure, generally 10 to 15 seconds, to prevent overheating.
Consistent temperature control guarantees the adhesive bonds properly without compromising the leather’s texture or finish. By carefully selecting and maintaining appropriate heat settings, you’ll achieve excellent results while preserving the leather’s quality.
Use Protective Barriers
Maintaining the proper heat settings protects the leather, but you still need to shield the surface during pressing to prevent direct contact with the heat platen. Using protective barriers guarantees you avoid scorching, sticking, or unwanted impressions.
Select materials with high heat resistance to withstand the pressing temperature without degrading or transferring marks.
Consider these protective sheets and materials:
- Teflon sheets for non-stick, heat-resistant coverage
- Silicone mats that evenly disperse heat
- Parchment paper as a disposable barrier
- Thin cotton fabric to cushion and protect
- Heat-resistant craft paper designed for pressing
Test Small Leather Areas
Whenever you work with leather, always test a small, inconspicuous area before applying full heat and pressure. This step helps you avoid irreversible damage and adhesion problems.
Testing small leather areas allows you to observe how the material reacts to heat, pressure, and transfer time. Documenting these results guarantees consistent quality in your final product.
| Test Parameter | Recommended Setting | Observed Outcome |
|---|---|---|
| Temperature | 320°F (160°C) | No discoloration |
| Pressure | Medium (40 PSI) | Even adhesion |
| Time | 15 seconds | No surface cracking |
| Leather Type | Aniline | Slight softening |
| Protective Layer | Teflon sheet | No imprint transfer |
Always record your findings when you test small leather areas to optimize your heat press process.
Cleaning and Maintaining Heat-Pressed Leather
Once you’ve heat-pressed leather, you’ll need to clean it carefully to preserve both the material and the applied design. Proper leather care after heat transfer guarantees durability and prevents damage to the imprint.
Carefully clean heat-pressed leather to preserve both the material and the design’s durability.
Avoid harsh chemicals or abrasives that can degrade the leather or distort the transfer. Instead, use gentle, leather-specific cleaning methods.
Wipe with a soft, damp microfiber cloth
Use pH-balanced leather cleaner sparingly
Avoid soaking or saturating the leather
Condition with a leather conditioner to maintain suppleness
Store in a cool, dry place away from direct sunlight
Frequently Asked Questions
Can You Use Heat Transfer Vinyl on Leather?
Yes, you can use heat transfer vinyl on leather, but you’ll need to adjust temperature and pressure carefully. Vinyl application requires precise heat transfer settings to avoid damaging the leather while ensuring strong adhesion and durability.
What Is the Best Temperature for Heat Pressing Leather?
You should set temperature settings between 250°F and 300°F, adjusting based on leather types. Softer leathers need lower heat. Always test a small area first to avoid scorching or damaging your leather material during heat pressing.
How Long Does a Heat-Pressed Design Last on Leather?
Your heat-pressed leather design can enjoy long-lasting vibrancy when you prioritize design durability and consistent leather maintenance. Proper temperature control and gentle care help preserve the artwork, ensuring your leather’s elegance endures through time and use.
Can Heat Pressing Change Leather Color or Texture Permanently?
Yes, heat pressing can cause permanent color alteration and texture change on leather. You’ll need precise temperature control to minimize damage, as excessive heat may darken or harden the leather, affecting its appearance and feel.
Are There Eco-Friendly Inks Suitable for Heat Pressing Leather?
Yes, you’ll find eco friendly inks designed for leather compatibility that withstand heat pressing. These inks use sustainable, non-toxic components, ensuring durability and minimal environmental impact while preserving leather’s texture and appearance during transfers.
Conclusion
You can definitely heat press leather without turning it into a burnt toast, as long as you handle it with care and precision. Choosing the right type of leather and preparing it properly are your best allies. Follow exact temperature and timing guidelines to avoid damage or adhesion problems.
With the right technique and maintenance, your heat-pressed leather will stay durable and sharp, showcasing your craftsmanship like a well-tuned machine. In conclusion, mastering how to heat press on leather ensures beautiful, long-lasting results every time.